


A Practical Guide to Walk In Wardrobe Fittings
Walk-in wardrobe fittings are the nuts and bolts—the rails, shelves, drawers, and clever accessories—that bring an empty room to life. They're the core components that let you build a completely bespoke storage space, ensuring every last cufflink and winter coat has a home.
Laying the Groundwork for Your Perfect Wardrobe
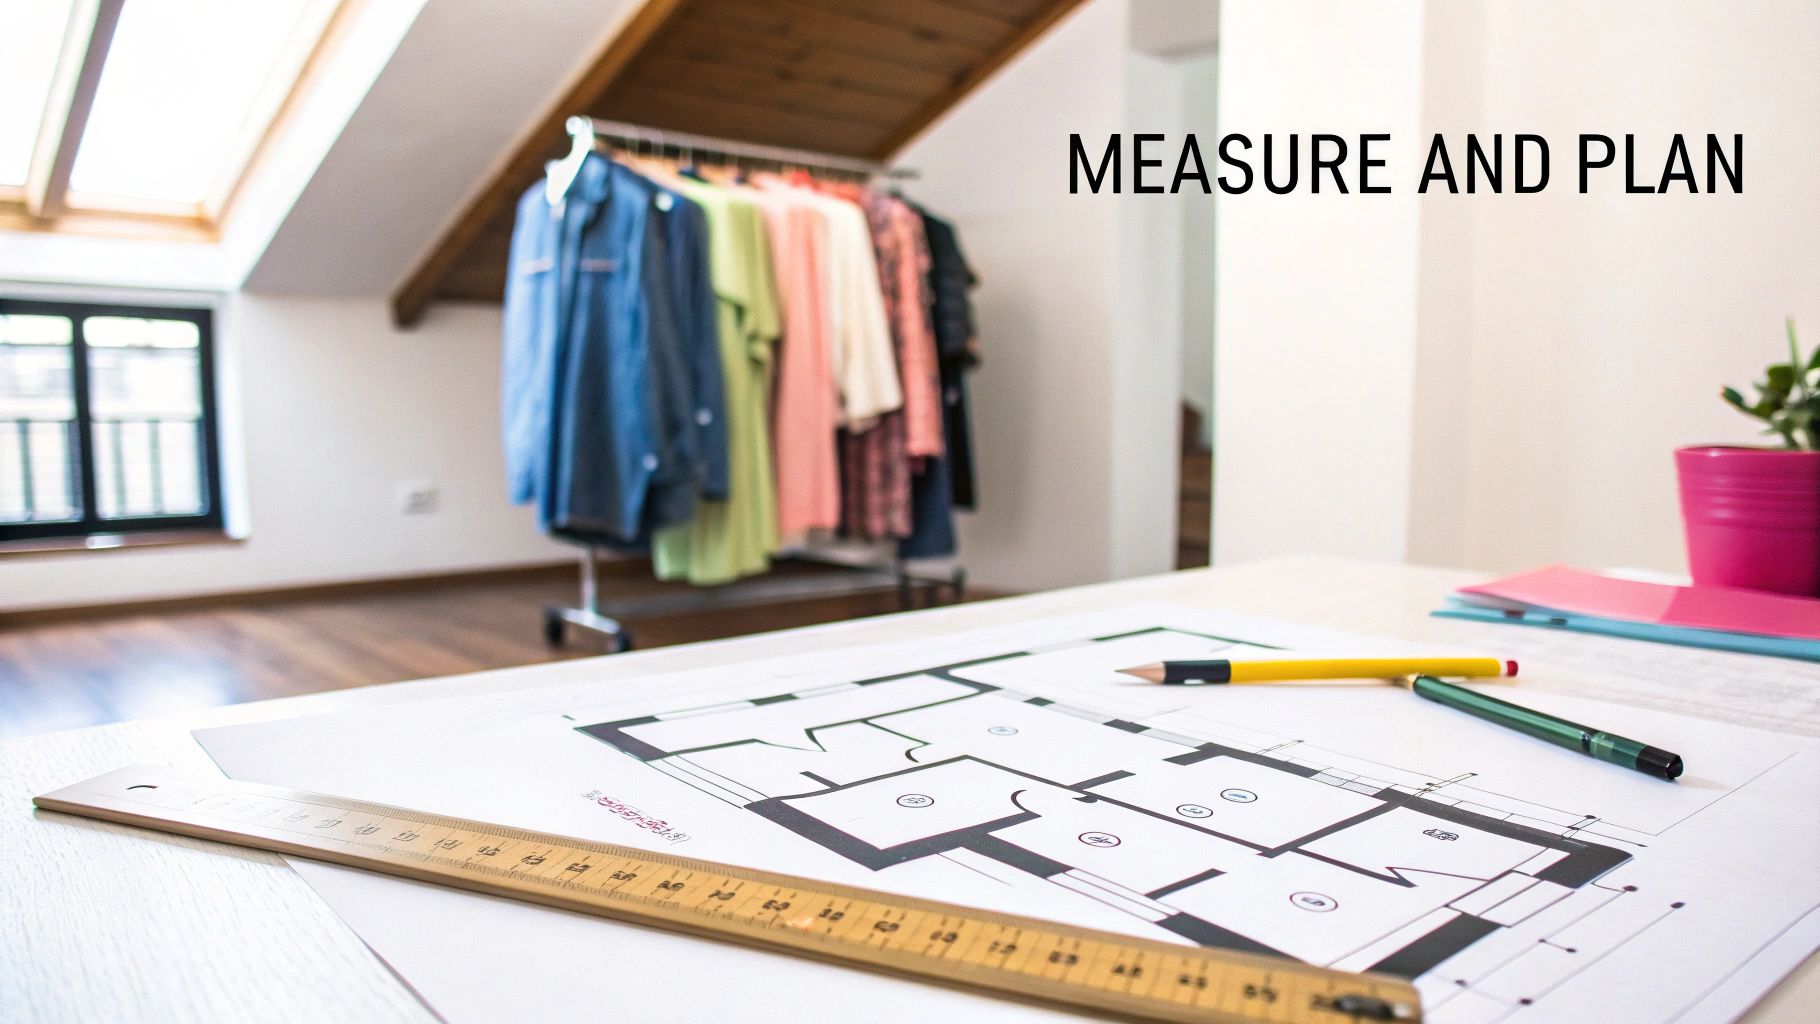
Before you even think about picking up a drill, a successful walk-in wardrobe relies entirely on a solid plan. This isn't just about making it look good; it's about crafting a blueprint for a space that actually works for you and avoids those all-too-common installation pitfalls. And the very first, non-negotiable step? Accurate measurements.
Nailing the Measurements and Layout
Get your tape measure out and record the room's height, width, and depth. Don't just measure once—take at least three readings for each dimension. Walls and floors are rarely perfectly straight, and those few millimetres can make a big difference. Sketch out a simple floor plan and be sure to mark any permanent fixtures.
Pay close attention to potential obstacles:
- Sloped Ceilings: These will immediately limit the height of your units on at least one side.
- Windows and Radiators: You can't just block these, so they'll influence where full-length cupboards or drawer units can go.
- Power Sockets and Light Switches: Your final design needs to keep these accessible.
A classic mistake is forgetting about door swing. You need enough clearance for the main door to open fully, plus any internal cupboard doors, without everything clashing. It’s about creating a space you can move around in comfortably. When designing any custom storage, the principles of space and function are universal, much like when weighing up a Butlers Pantry Vs Walk In Pantry.
Zoning Your Space for Maximum Functionality
With your measurements in hand, start thinking in zones. This is simply the process of assigning different areas for different categories of clothing and accessories to create a natural, logical flow.
A tailor working from home, for instance, might dedicate a large, robust zone for heavy fabric rolls and a dedicated work surface. A professional stylist, on the other hand, would probably prioritise double-hanging rails to maximise garment capacity and acres of shoe shelving. You can get more ideas on this by reading our guide on how to install https://www.displayguru.co.uk/blogs/news/hanging-wardrobe-rails.
The aim here is to build a functional blueprint that reflects how you'll actually use the space day-to-day. By deciding where long coats, folded jumpers, and accessories will live before you buy anything, you guarantee that every fitting serves a purpose and every inch is put to good use.
Selecting the Right Walk In Wardrobe Fittings
Choosing the right hardware is where your vision truly comes to life. The fittings you select are the very backbone of your walk-in wardrobe, dictating everything from its durability and look to its day-to-day usability. This isn’t just about picking parts; it’s about making smart, long-term decisions that will serve you well for years.
The first big decision is always about the materials. If you’re outfitting a busy retail stockroom or a theatre’s costume archive, you’ll be dealing with some serious weight. In that scenario, industrial-grade metal rails aren't just a good idea—they're essential. Their high load capacity means you never have to worry about them bending under pressure.
On the other hand, for a home sewing studio or an elegant boutique display, the warmth of wood or the sleekness of high-quality laminates might be a better fit, creating a much more inviting and polished atmosphere.
Matching Materials to Your Needs
The material you choose has a huge impact on both function and feel. Think carefully about what the space will be used for. Is it purely for heavy-duty storage, or is it a space designed to display beautifully curated items?
The finish is just as important. A matte black powder-coated metal can give you a sharp, modern edge, while a light oak or walnut veneer brings a classic, almost luxurious, touch to the space.
Remember that durability is key. A beautiful finish that chips or scratches easily will quickly diminish the professional look of your space. Invest in quality materials that can withstand daily use, especially for high-contact fittings like drawer handles and hanging rails.
For a deeper dive into the specifics, our guide on choosing the right wardrobe pole and fittings has some great pointers.
When it comes to selecting the best materials for your wardrobe fittings, it helps to see a direct comparison. Each material offers a unique combination of strength, style, and practicality, making it better suited for different environments, from a high-traffic retail stockroom to a refined personal closet.
Comparing Wardrobe Fitting Materials
| Material | Best For | Load Capacity | Aesthetic/Finish | Maintenance |
|---|---|---|---|---|
| Powder-Coated Steel | Retail stockrooms, heavy garment storage, industrial-chic home wardrobes | High | Modern, minimalist. Available in matte black, chrome, white, and custom colours. | Very low. Wipe clean with a damp cloth. |
| Solid Wood (Oak, Walnut) | Boutique displays, luxury home closets, showcasing high-end apparel | Medium-High | Warm, classic, sophisticated. Natural grain provides a unique, high-end look. | Requires occasional polishing to maintain lustre. |
| Laminate/Veneer | Home sewing studios, budget-conscious commercial fits, versatile designs | Medium | Huge range of colours and finishes, including realistic wood grains. | Low. Easy to clean, but be careful of chipping. |
| Anodised Aluminium | Modern retail spaces, lightweight modular systems, accessory displays | Medium | Sleek, contemporary look. Often used for frames and accents. | Very low. Resistant to corrosion and fingerprints. |
Ultimately, the right choice balances your functional needs with the aesthetic you want to achieve. A busy tailor might prioritise the sheer strength of steel, while a homeowner creating a sanctuary will likely be drawn to the natural beauty of solid wood.
Core Components and Smart Accessories
A truly great wardrobe is more than just rails and shelves. To get a really functional space, you need a smart mix of different storage solutions. I'm a big fan of modular systems because they're so versatile—they let you combine all sorts of elements to perfectly suit your space and whatever you need to store.
Here are a few key components to consider:
- Drawer Units: You can't do without them for folded items, delicates, or haberdashery. If you can, opt for soft-close mechanisms. They give a premium feel and stop any jarring movements from messing up your neatly organised contents.
- Specialised Racks: Things like pull-out shoe racks, trouser hangers, and tie organisers are fantastic for keeping smaller items under control. They prevent everything from ending up in a cluttered mess at the bottom of the wardrobe.
- Valet Rods: These simple, retractable rods are one of my favourite secret weapons. Use one to temporarily hang a freshly pressed shirt, plan an outfit for the next day, or air out a jacket before putting it away.
For those with a very large collection or limited floor space, you might look into more advanced solutions. A high-density garment carousel, for instance, can be a game-changer for retailers or designers needing to store and access a huge amount of stock efficiently.
At the end of the day, the best walk-in wardrobe fittings are the ones that work for you and your specific workflow. By carefully thinking through load capacities, material durability, and the right mix of components, you can create a system that’s not only beautiful but also an incredibly efficient tool. It's an investment that should give you a space that's both inspiring and truly built to last.
A Hands-On Guide to Installing Your Fittings
With your layout finalised and your fittings chosen, it’s time to bring your design to life. This is where careful preparation and a methodical approach really pay off, ensuring your walk-in wardrobe is not just installed, but installed to last with a clean, professional finish.
Moving from blueprint to a finished build is a clear, manageable sequence.
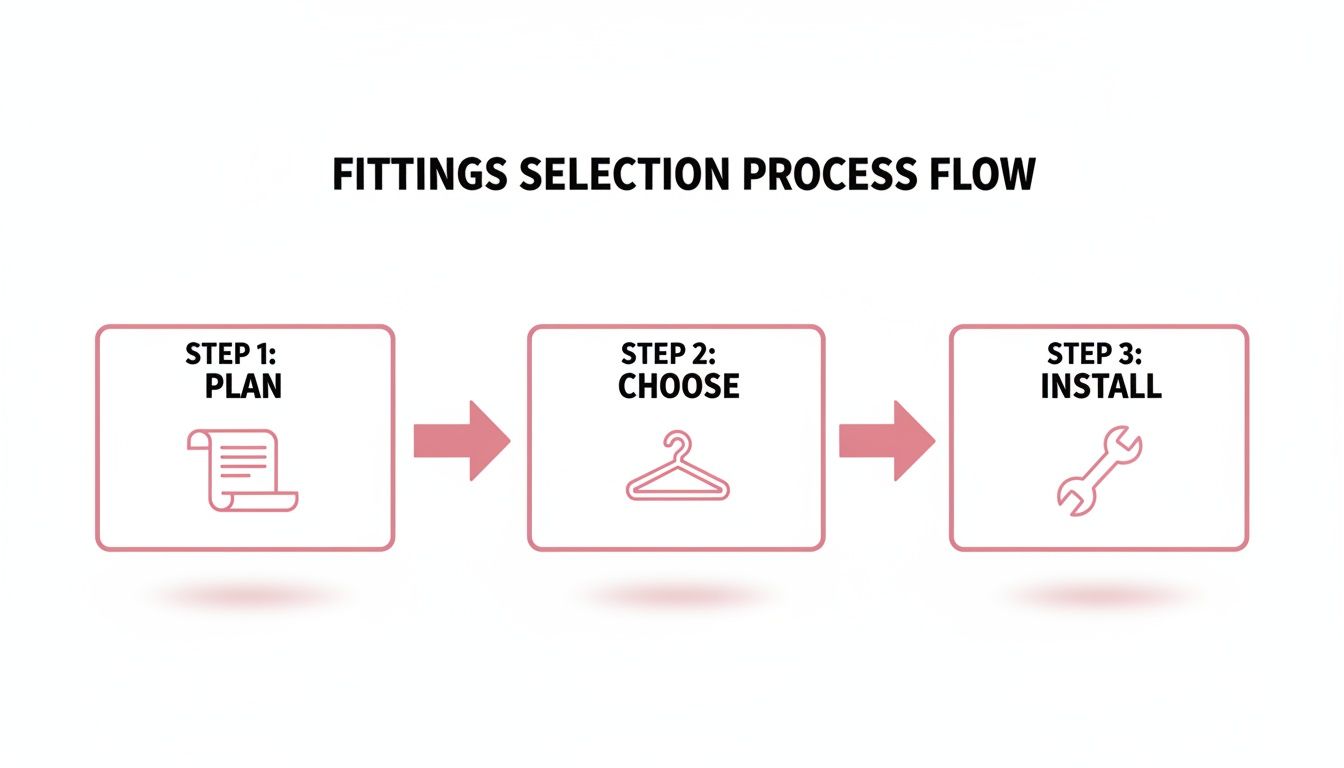
As you can see, the journey is straightforward: a solid plan informs your choice of fittings, which in turn dictates how you'll tackle the installation.
Preparation and Finding Support
Before a single screw goes into the wall, let’s get the tools together. You’ll absolutely need a quality drill, a spirit level (a laser level is even better for perfect precision), a tape measure, a pencil, and a stud finder. Honestly, that stud finder is your most important ally here.
Plasterboard alone will never support the weight of a fully laden wardrobe rail. It’s critical to locate the vertical wooden studs behind the plasterboard for a secure installation. Run the stud finder along the wall where you plan to mount your fittings and lightly mark the centre of each stud with your pencil.
What if your layout doesn't align with the existing studs? You'll need to use heavy-duty wall anchors designed specifically for your wall type. Whatever you do, never rely on standard plasterboard plugs for load-bearing fittings. They will fail.
Installing Hanging Rails
Hanging rails are the backbone of most wardrobes, so getting the height right is crucial for everyday usability.
- For Long Garments: Mount a single rail at 180-200 cm from the floor. This gives you plenty of drop for dresses, long coats, or trousers hung full-length without them crumpling on the floor.
- For Double Hanging: To really maximise your vertical space, install two rails. I find the sweet spot is placing the lower rail at about 105 cm, with the upper rail at 210 cm. This configuration is perfect for shirts, blouses, and folded trousers.
Always use a spirit level to ensure your pencil marks for the brackets are perfectly horizontal before you even think about drilling. A slightly sloped rail isn’t just visually jarring; it will cause all your hangers to slide to one end. If you need a deeper dive on this, our guide offers more detail on choosing the correct wardrobe rail and fixings.
Here’s a little tip from experience: before securing the second bracket to the wall, temporarily place the rail into both brackets. This lets you double-check your levelling with the rail itself, which can account for any tiny imperfections in the fittings.
Assembling Shelves and Drawer Units
For shelving, the process is much the same as for rails. Mark your heights, find your studs, and keep everything level. If you're planning for fixed shelves that will hold heavy items like fabric bolts or boxes of shoes, make sure you have brackets placed every 60-80 cm. This is key to preventing that dreaded sag over time.
Drawer units typically arrive as flat-pack assemblies. My advice? Take your time and follow the instructions to the letter. A common mistake I see is people overtightening screws, which can easily damage the material.
Before you attach the back panel, ensure the assembled unit is perfectly square—this is what gives the whole structure its rigidity. A simple set square is all you need to check the corners. Once it's built, push the unit into place and use shims underneath to get it perfectly level before securing it to the wall. This final step is non-negotiable for safety, preventing any risk of the unit tipping over, which is especially important in a busy workroom or retail stockroom.
Side-Stepping Common Installation Mistakes
Even with the best plan in the world, things can go sideways during installation. It’s one thing to see it on paper, but quite another when you’re standing in the space. That measurement that looked perfect can suddenly feel tight, or you might discover a wall isn't as solid as you'd hoped. Knowing what to watch out for can save you a world of headaches.
One of the most common blunders I see is underestimating the sheer weight of clothing. Seriously, a rail packed with winter coats or denim puts a huge amount of strain on the fixings. This is exactly why you have to anchor any load-bearing part of your system directly into the wall studs. Just using standard plasterboard plugs is asking for trouble.
Another classic mistake is misjudging the space in action. You might install a beautiful set of drawers, only to find they can't open all the way because they smack into a radiator or the door frame. You always have to plan for the "active space"—the room needed for everything to open and function properly.
The Problem of Overloading and Weak Fixings
The single biggest installation error is overloading fittings that aren’t properly anchored. Imagine a shelf stacked high with bolts of fabric or a rail groaning under the weight of stock—that’s a lot of stress on the wall. If you start drilling and realise the wall is weaker than you thought (dot and dab plasterboard is a common culprit), don't panic. You've got a couple of solid options.
- Bring in the Heavy-Duty Anchors: Specialist fixings like toggle bolts or frame anchors are your best friend here. They work by spreading the load over a much wider surface area behind the plasterboard, giving you a far more secure hold.
- Add a Support Batten: This is a simple but incredibly effective trick. Fix a sturdy piece of timber (a batten) horizontally across the wall, making sure you screw it securely into the studs. Then, you can mount your rails and shelves directly onto this rock-solid batten.
When you know you’ll be storing heavy garments or materials, it’s always best to start with the right kit. You can learn more about choosing the correct hanging rail for heavy duty use and avoid any issues right from the get-go.
Here’s a piece of advice I always give: over-engineer your supports. It’s far, far better to use fixings that feel like overkill than to risk a catastrophic collapse that damages your stock and your new wardrobe.
Don't Forget the Practical Details
Beyond the structural stuff, it's the small, practical oversights that can really undermine how well your new space works. A perfect example is forgetting about lighting and ventilation until it's too late. Trying to run wires for integrated LEDs or wall lights after all the cabinetry is built and installed is a nightmare.
Likewise, poor ventilation can leave the space feeling stuffy and your clothes smelling less than fresh—a real issue in smaller, enclosed walk-ins. A simple air vent can work wonders, or even just designing the layout to encourage natural airflow. And if things feel too cramped once it's all in? Think about swapping a hinged door for a slider, or even removing it completely to create a more open, accessible feel.
Organising and Styling Your New Wardrobe Space

Now for the best part. With your walk-in wardrobe fittings firmly installed, it's time to bring the space to life. This is your chance to transform a solid framework into a genuinely inspiring, clutter-free environment. Forget just stashing things away; we’re aiming for a strategic, boutique-style approach to organisation.
The ultimate aim is to create a space that not only looks fantastic but also makes your daily life easier. For a busy tailor, this could mean setting up an efficient ‘get ready’ zone where client fittings or daily outfits can be planned in a flash. If you're a home sewer, you might want to display your favourite creations or organise fabrics by colour and texture so they're always within reach.
Create Intentional Displays
One of the secrets to professional styling is to be intentional with what you display. Instead of cramming every rail to capacity, leave some breathing room. This simple trick allows you to showcase your favourite or most-used pieces, instantly making the space feel more curated and less like simple storage. Use open shelving to display items you want to see every day, like beautiful knitwear, handbags, or hat boxes.
This concept is gaining serious traction. In the UK, a growing community of home sewing enthusiasts and designers is fuelling the demand for customisable walk-in wardrobe fittings. It's a key factor in a market that's poised for significant growth, with residential use already making up over 70% of the market share. It’s clear that people want more from their homes than just storage.
Smart Storage for Everything Else
Once you've got your main items hung and shelved, it's time to deal with all the smaller bits and pieces that so often lead to clutter. A truly organised wardrobe gives everything a home, and that’s where the right accessories make all the difference.
- Drawer Dividers: Absolutely essential for keeping smaller items like socks, ties, belts, or sewing notions neatly separated and visible. No more rummaging.
- Accessory Trays: Think about shallow drawers lined with velvet trays for jewellery, watches, or cufflinks. It not only looks elegant but also protects your valuables from scratches.
- Storage Boxes: Use a set of matching boxes on higher shelves for out-of-season clothes or less-used materials. Just remember to label them clearly so you know what’s inside at a glance.
For more ideas on making the most of every centimetre, take a look at our guide to clever clothes rail storage solutions.
If you do one thing, make it this: use uniform hangers. Switching everything to a single style, whether it’s slim velvet, classic wood, or sleek metal, brings an immediate sense of visual calm. It makes browsing your collection a genuinely pleasant experience.
Finally, don't overlook the lighting. Good lighting is more than just practical; it’s a powerful styling tool. Integrated LED strips running under shelves or inside hanging rails can illuminate your collection beautifully. It banishes dark corners and helps you see colours and textures properly, adding that final professional touch that turns a simple closet into a boutique-worthy space.
Frequently Asked Questions About Wardrobe Fittings
Even the most meticulously planned walk-in wardrobe project can throw up a few questions. It’s completely normal. To help you tackle those final details with confidence, I've pulled together some answers to the most common queries I hear from clients and colleagues.
Think of this as a quick reference guide to keep your project running smoothly. Getting these finer points right from the outset will save you a world of headaches later on.
What’s the Ideal Height for Hanging Rails?
Getting the height of your hanging rails spot on is crucial. Too low, and your clothes will crumple on the floor; too high, and they’re a pain to reach. It all comes down to what you’re hanging, but there are a couple of tried-and-tested approaches.
- For Long Garments: If you’re storing dresses, long coats, or trousers hanging full-length, a single high rail is the way to go. I usually aim to mount this somewhere between 180-200 cm from the floor. Before you drill any holes, though, always grab your longest item and measure it to be absolutely sure.
- For Double Hanging: This is a brilliant space-saver. By stacking two rails, you instantly double your hanging capacity. A good rule of thumb is to place the lower rail around 105 cm from the floor and the top rail at 210 cm. It’s the perfect setup for shirts, blouses, jackets, and trousers folded over a hanger.
How Do I Maximise an Awkwardly Shaped Closet?
Sloping ceilings, odd angles, and tight corners are a designer's bread and butter. Don't see them as a problem! These are the spaces where custom walk in wardrobe fittings really come into their own, allowing for clever solutions that you'd never get from an off-the-shelf unit.
Customisation is your best friend here. Think about installing floor-to-ceiling shelving to really exploit the full height of the room. I’ve found that specialised corner units and even curved hanging rails can turn a previously dead spot into prime storage real estate. Modular systems are also fantastic, as you can configure the individual components to fit perfectly into non-standard dimensions.
My advice? Reframe awkward spaces as an opportunity for a unique design feature. That shallow alcove you're not sure what to do with could become the perfect home for your shoe collection or a dedicated accessory display.
What’s the Best Lighting for a Walk-In Wardrobe?
Lighting is so often an afterthought, but it makes a world of difference to how your wardrobe looks and functions. The key is to layer your lighting, mixing different types to create a bright, clear space without any frustrating shadows.
I always start with a good central ceiling fixture for general ambient light. Then, it's time to add task lighting. This is what really elevates the space. Think about integrated LED strips tucked under shelves or built into the hanging rails themselves. This puts light directly onto your clothes, so you can actually see the difference between navy and black. For a final touch, motion-activated lights in drawers are a small luxury that you'll appreciate every single day.
At Display Guru, we stock the high-quality rails, fittings, and accessories you need to create a perfectly organised space. Explore our collection and start building your ideal wardrobe today.