


Your Complete Guide to the Dress Mannequin Adjustable
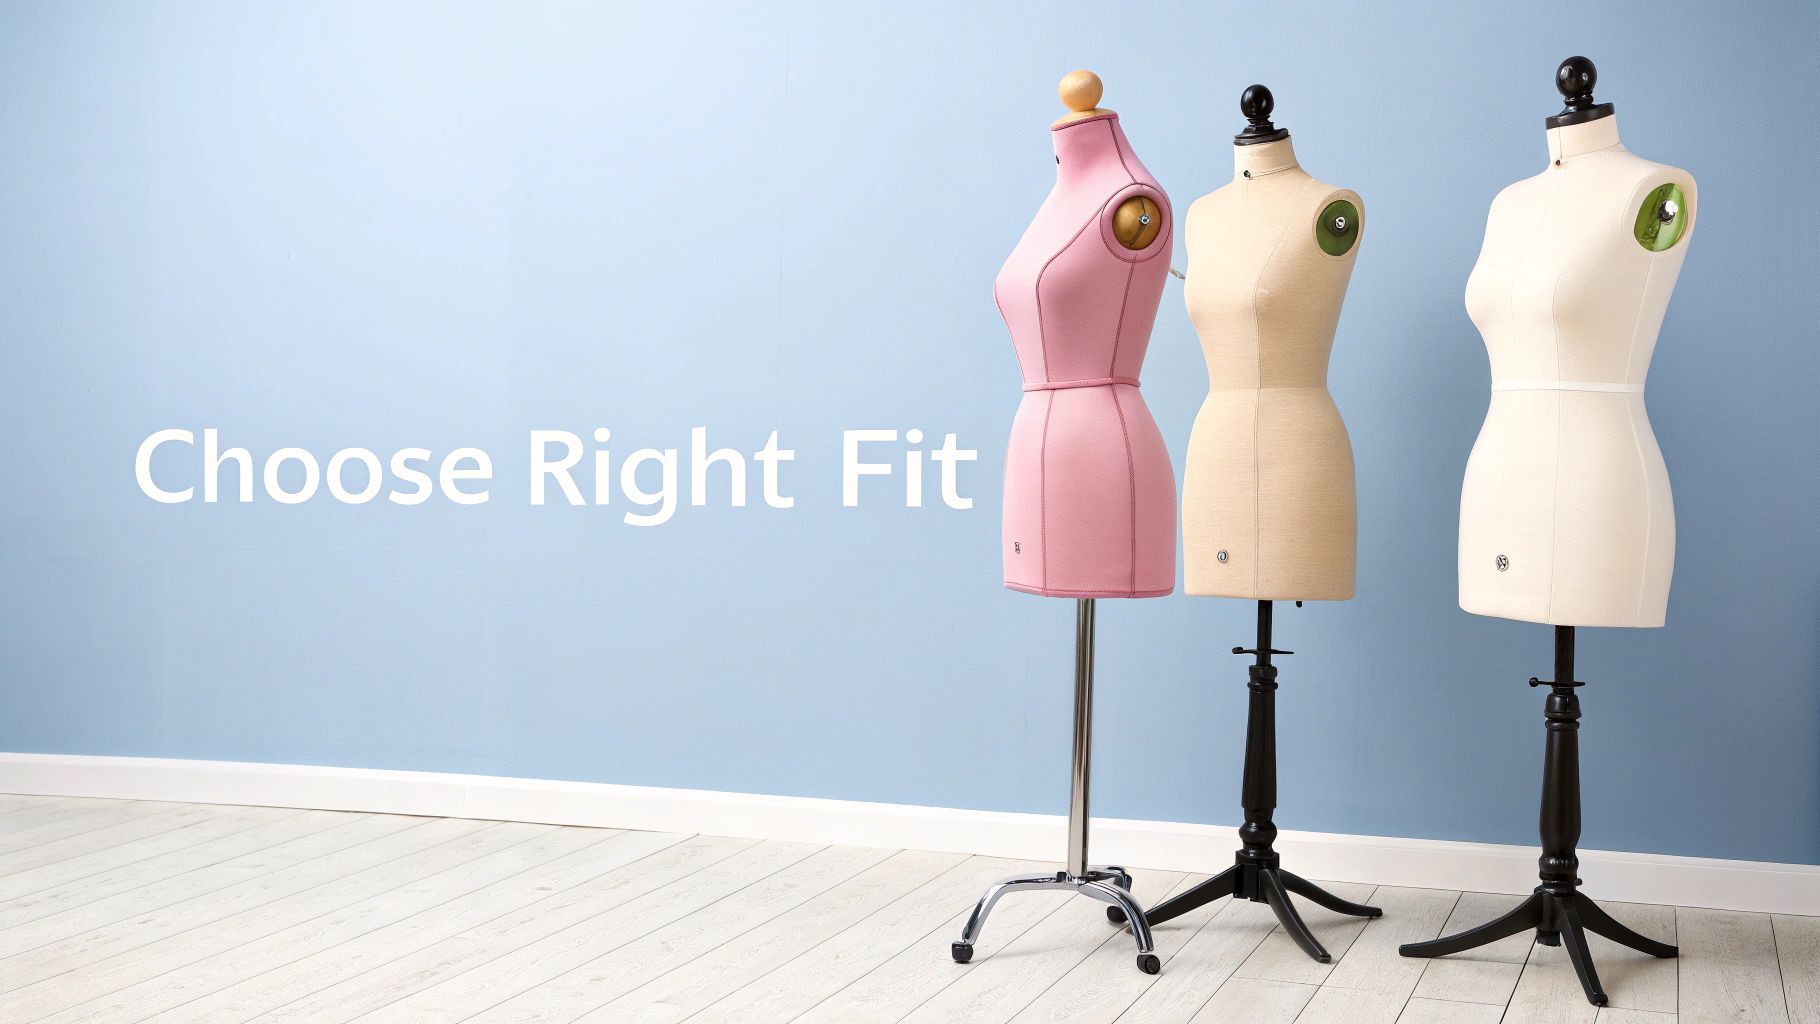
Finding the perfect dress mannequin adjustable to your needs is really the first step towards getting professional-looking results. It doesn't matter if you're sewing at home, tailoring for a living, or setting up a shop display. The right choice boils down to three things: a pin-friendly material, a base size that aligns with your measurements, and a stand that works for your space. Get this right, and you're well on your way to creating beautifully fitted garments and eye-catching displays.
Choosing The Right Adjustable Dress Mannequin
With so many options out there, picking your first or next adjustable mannequin can feel a bit daunting. The best approach is to simplify the decision by looking at the three core parts: the material of the form itself, its base size, and the type of stand it sits on. Each of these directly affects how you'll use it, so it's vital to match them to what you do most often.
Pin-Friendly Materials: The Non-Negotiable Feature
For any kind of serious sewing or draping, a pin-friendly surface is non-negotiable. This means you can stick pins straight into the mannequin’s torso, not just angled through a thin fabric cover. Polystyrene forms are a fantastic option here, giving you a firm surface that grips pins securely without a fight.
A truly pinnable form makes all the difference because you can:
- Drape fabric accurately: You can smooth and hold your material right against the form's curves without it slipping around.
- Mark seam lines with precision: Your pins will stay put, letting you draw out exact style lines for your patterns.
- Fit garments effectively: You can pin alterations exactly where they need to be, creating a clear map for your sewing adjustments.
Be wary of mannequins made purely for display. They often have a hard fibreglass or plastic body with just a thin cover. While they look the part, trying to pin into them is a lesson in frustration. Always double-check that the model you're looking at is described as "pinnable" or "pin-friendly" if you plan on doing any sewing.
Navigating Size Charts for a Better Fit
An adjustable mannequin is all about mimicking specific body measurements, but you have to start with the right foundation. It’s a classic mistake to buy a form that’s far too big or small, thinking the dials will make up the difference.
When picking a size, find a mannequin whose smallest settings are just a little smaller than your own measurements (or your client's). This gives you room to dial up to the exact dimensions you need and even add padding for custom shaping without straining the internal parts.
If you try to shrink a large form down too much, you’ll end up with big, ugly gaps between the panels. These can easily snag your fabric and ruin the smooth silhouette you're trying to create. On the other hand, expanding a small form to its absolute limit puts too much stress on the adjustment gears. Starting with the closest base size not only gives you a more realistic shape to work with but also helps your mannequin last much longer.
Matching The Stand to Your Workspace
The stand is more than just a base; it’s all about stability and mobility. The two you’ll see most often are tripod stands and pedestal (or round-base) stands, and each has its own strengths.
A tripod stand is the real workhorse for a sewing room. Its wide, three-legged footprint provides brilliant stability, which is exactly what you need when you're pulling and tugging fabric during draping and fitting. It's far less likely to wobble or tip, especially when you're working with heavy materials like wool or denim.
A pedestal or round-base stand has a sleeker, more modern look, making it a favourite for retail displays and shop windows. It’s still stable, and its smaller footprint can be a lifesaver in tight spaces. For vigorous draping sessions, however, it might not feel quite as solid. If you’re a dressmaker who also sells at craft fairs, a sturdy tripod is usually the more practical, all-round choice.
For a deeper dive into the different forms available, you can learn more about how to choose from a variety of dress forms for sewing in our detailed guide.
Adjustable Mannequin Features at a Glance
To help you decide, here’s a quick comparison of key features and how they suit different needs. Think about your main use case—are you a weekend hobbyist, a professional tailor, or a shop owner?
| Feature | Best for Home Sewing/Hobbyists | Best for Professional Tailoring | Best for Retail Display |
|---|---|---|---|
| Pinnability | Essential. Look for a fully pinnable polystyrene body for draping and fitting. | Crucial. A professional-grade, fully pinnable form is a must for precision work. | Optional. A fabric-covered hard form is fine if pinning isn't required. |
| Adjustment Dials | 8-12 dials are great for general body shaping and getting a good fit. | 12+ dials, including neck and back length adjustments, offer the most control. | Basic bust/waist/hip dials are usually enough to display standard sizes. |
| Padding | Can add padding to mimic personal body shape for custom projects. | Essential for creating custom body doubles for clients with unique proportions. | Generally not needed unless displaying custom or couture garments. |
| Stand Type | A tripod stand is best for stability during active sewing and fitting sessions. | A heavy-duty tripod stand with lockable castors is ideal for frequent use. | A pedestal or round-base stand offers a cleaner look for shop floors. |
| Hem Marker | A built-in hem marker is a very useful time-saver for finishing garments. | An accurate, easy-to-use hem marker is a key feature for efficiency. | Not a primary feature, but can be useful for showing garment length. |
This table should give you a clearer picture of what to prioritise. For most sewists, a stable, fully pinnable mannequin in the right size range is the perfect starting point. Professionals will want to invest in more adjustment points, while retailers can focus more on aesthetics.
Getting Your Dress Form Set Up for Stability and Use
That moment when you unbox a new adjustable dress mannequin is always exciting. But before you jump right in, taking a bit of time to assemble it properly will make all the difference to its stability and how well it works for you in the long run. It's tempting to rush, but a methodical setup now prevents a wobbly stand or stripped threads later on.
First things first, do a quick inventory. Lay out all the pieces and make sure everything on the instruction sheet is actually in the box. It’s a simple check that can save you a world of frustration if you discover a screw is missing halfway through.
Build from the Ground Up
You should always start with the stand. Whether it’s a tripod or a pedestal base, getting this right gives you a solid foundation to build upon. If you have a tripod stand, attach each leg so it’s firm, but don't crank the screws down just yet. You want them secure, but with just enough wiggle room to let all the feet sit flat on the floor.
Now, stand it up and give it a gentle push. If there’s any wobble, that's your cue to adjust the leg screws until it’s perfectly level. This is probably the most critical step for preventing a top-heavy mannequin from tipping over during a fitting. Once you're certain it’s stable, go ahead and tighten everything up properly.
With the base sorted, you can insert the main pole. Most models have a locking mechanism—usually a simple screw or clamp. Make sure you secure this tightly; you don't want the pole shifting or rotating when you're working. This is the spine of your dress form, so it needs to be solid.
My Pro Tip: When you're attaching the torso to the pole, you should hear a definite 'click' or feel it slot securely into place. If it feels at all loose, check that the height adjustment mechanism isn't getting in the way. That connection is vital for both safety and stability.
A Quick Check of the Adjustment Dials
Before you even think about expanding the form to your measurements, it’s a good idea to gently test each adjustment dial or key. Just give them a small turn in both directions to make sure they move smoothly. Fresh from the factory, they can sometimes be a little stiff.
Doing this gives you a feel for how the mechanism works without putting any real strain on it. If a dial feels particularly tight, don't force it. Just work it back and forth in small movements to loosen it up. This simple action can prevent you from damaging the internal gears, ensuring you can make those tiny, precise adjustments later on. You can find out more about all the different components in our guide to the essential parts of a dress form stand.
Now that your stand is solid and the torso is mounted securely, your dress form is ready for action. Those few extra minutes you spent on assembly will pay you back every time you use it by providing a reliable and sturdy tool. With a stable base ready to go, you can now move on to calibrating the measurements and turning it into a perfect body double for all your projects.
Adjusting Your Mannequin to Create a Body Double
Once your adjustable dress mannequin is assembled and standing steady, the real work—and the fun—begins. This is where you transform a generic form into a precise body double, an absolute game-changer for getting a truly bespoke fit. The process is a mix of careful measurement, methodical dial-turning, and a bit of clever padding.
The magic is in the adjustment dials. Most forms have between eight and twelve of them, letting you fine-tune the bust, waist, hips, and sometimes even the neck and back length. It’s tempting to just start twisting them until they look about right, but that’s a fast track to a distorted, lumpy silhouette. Experience has taught me that a specific, logical order is the key to building the shape correctly.
The Correct Adjustment Sequence
To get a natural and proportional shape, you need to work systematically. I’ve always found the most reliable method is to start from the centre of the body and work your way out. This approach anchors the form's proportions and stops it from becoming top- or bottom-heavy before you've even properly started.
Here's the sequence that's never failed me:
- Adjust the Waist First: Think of the waist as the body's natural anchor point. By setting this measurement first, you establish a solid centreline from which you can expand the bust and hips in proportion.
- Move to the Hips: With the waist set, adjust the hip dials next. This builds out the lower body's foundation and helps you create a smooth, realistic curve from waist to hip.
- Finish with the Bust: Lastly, dial in the bust measurement. This completes the main torso shape, balancing the upper body against the waist and hip dimensions you’ve already established.
Keep a tape measure in your hand the entire time. Adjust a dial a little, then measure. Then repeat. It might feel slow, but this back-and-forth is crucial for hitting your target numbers spot-on.
Take your time and make small, incremental turns on each dial. It’s far easier to dial up to a measurement than to overshoot it and have to dial everything back down again. A bit of patience here pays huge dividends in the accuracy of your final form.
Precision Through Padding
The dials will get you 90% of the way there, but no two bodies are identical. People have unique curves, subtle dips, and slight asymmetries that a standard mannequin simply can't replicate on its own. This is where strategic padding comes into play, taking your form from a close match to a true body double.
You don't need much—just some polyester wadding (batting), a stretchy jersey or knit cover for your mannequin, and a good supply of pins. The idea is to build up specific areas on the form to mimic the body's unique contours.
Common areas that almost always need a bit of padding include:
- A Fuller Bust: Add smooth, thin layers of wadding over the bust area, being careful to avoid lumps.
- Rounded Shoulders or a Sway Back: A little padding at the upper back or the small of the back can make a world of difference in replicating posture.
- Fuller Thighs or Seat: Build up the hip and upper thigh areas to match these specific curves for a better trouser fit.
- Stomach Shape: A soft pad over the abdomen helps reflect a real stomach, which is essential for fitting skirts and trousers correctly.
After pinning the padding in place, pull the jersey cover down over everything. This not only compresses the wadding for a smooth finish but also gives you a fantastic, pinnable surface that mimics the softness and shape of a real body. Of course, this all relies on having great measurements to begin with. If you need a refresher, our guide on how to take body measurements for clothes is a great place to start.
This quick diagram shows the simple assembly that gets your form ready for all these detailed adjustments.
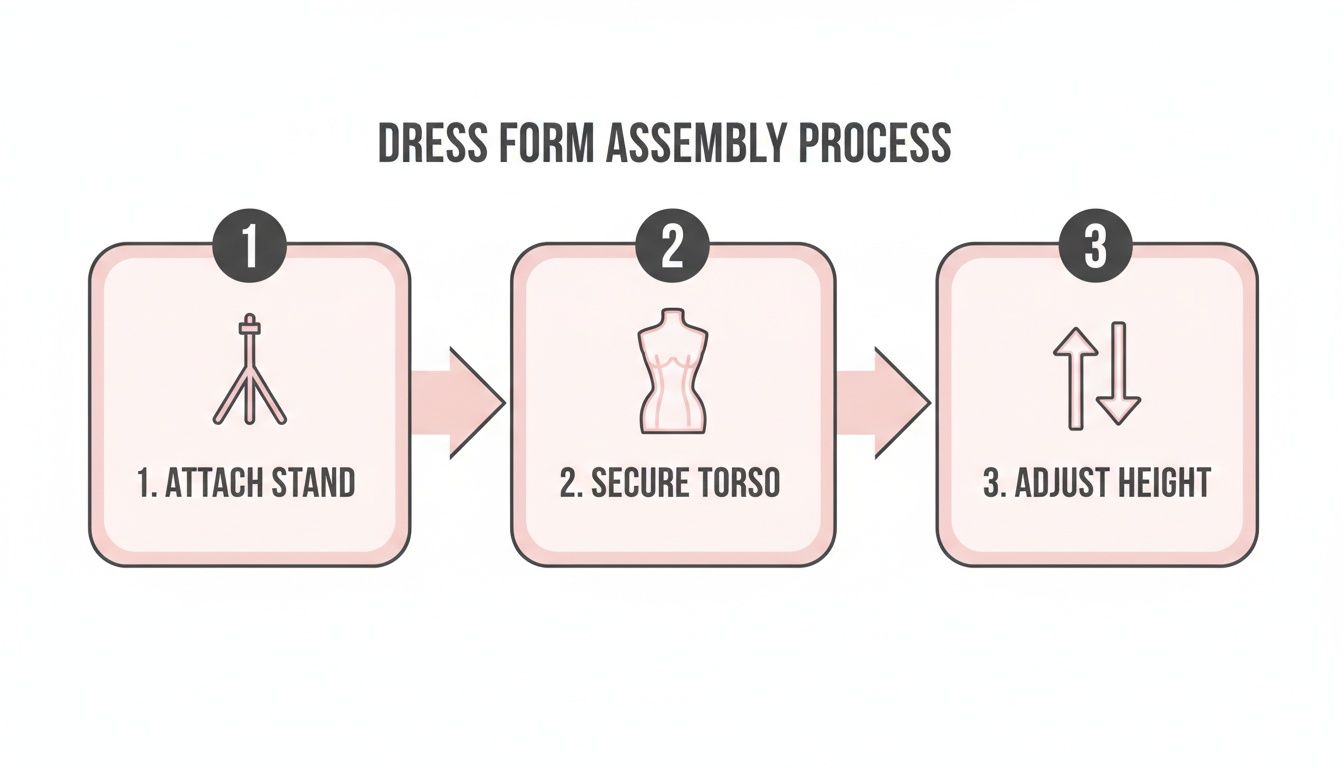
Getting the form stable—attaching the stand, securing the torso, and setting the height—is the foundational work you need to do before you can dive into the customisation process.
Final Checks for a Perfect Double
With your mannequin dialled in and padded out, it's time for one last round with the tape measure. Don’t just check the big three (bust, waist, hips). Measure other critical points like the back-waist length, the shoulder width, and the distance from the shoulder down to the bust point.
Compare these new measurements against your chart. If anything is still a little off, don't be afraid to make small tweaks to the padding. This meticulous final check is what ensures your body double is as accurate as it can possibly be. Now you have a reliable partner in your sewing room that will dramatically improve your fitting process, saving you time and making sure every garment hangs perfectly.
Draping and Fitting: Putting Your Mannequin to Work
Once you've dialled in your dress mannequin adjustable to mirror the right measurements, it stops being just a display piece and becomes your most valuable creative partner. This is where you'll really see the return on your investment. Working in three dimensions lets you sculpt with fabric and tackle tricky fitting problems in a way a flat pattern never could.
Whether you're draping a new design from scratch or tailoring an existing garment, your form is the reliable body double that makes it all possible.
The Art of Draping Fabric
For designers, the mannequin is a blank canvas. Draping is all about moulding fabric directly onto the form to build a pattern, letting you see instantly how a material wants to hang and move. It's a very intuitive, hands-on process that often leads to more organic and creative designs than flat pattern-making.
Before you touch any fabric, though, you need to prep your form. Grab some narrow tailor's tape and mark out the key style lines on your mannequin. These lines are your roadmap, ensuring everything you create is balanced and symmetrical.
You’ll want to mark:
- The Centre Front and Centre Back: Your core vertical guides.
- Bust Line: A horizontal line across the fullest point of the bust.
- Waistline: Across the narrowest part of the torso.
- Hip Line: A horizontal line across the fullest part of the hips.
- Princess Seams: These vertical lines run from the shoulder or armhole, over the bust, down to the waist.
With your form taped up, you can start pinning. The number one rule of draping is to always work with the grainline. Pin your fabric so its lengthwise grain runs parallel to the centre front line. This is crucial for ensuring the finished garment hangs properly without any twisting. As you smooth the fabric over the form’s curves, pin it along your taped style lines to create the shape you want, adding darts, pleats, and gathers as you go.
A classic beginner mistake is using too many pins. You only need enough to hold the basic shape. This lets the fabric settle naturally, giving you a much truer idea of its final drape.
Perfecting the Fit on Existing Garments
If you're a tailor or do alterations, an adjustable mannequin is your secret weapon for diagnostics. Fitting a garment on the form shows you exactly where the fit issues are, without making your client stand for ages. It's an incredibly efficient way to work.
Once the mannequin is a perfect stand-in for your client's body, it becomes your go-to for making precise adjustments, a process expertly covered in A Guide to Tailoring for Women for the Perfect Fit. When you put a garment on the form, fit problems become immediately obvious.
You might spot things like:
- Gaping Armholes or Necklines: Usually a sign the garment is too big across the chest or shoulders.
- Twisting Side Seams: This tells you the garment isn't balanced correctly.
- Pulling Across the Hips or Bust: This shows you exactly where more room is needed.
From there, you can pin the corrections directly onto the garment. Pin a deeper seam to fix that gaping neckline or unpick a side seam and repin it straight. These pinned adjustments give you a clear plan for your alterations, massively cutting down on mistakes and the need for endless fittings. You get a 360-degree view, letting you check balance and proportion from every angle for a truly professional finish.
For anyone new to this, getting a handle on the basics can build your confidence. You can learn more about the fundamentals in our helpful guide on sewing for beginners.
Whether you’re creating something new or perfecting an existing piece, your adjustable form is your silent partner, holding the shape steady so you can focus on the craft. It gives you the confidence to take on more ambitious projects, knowing the end result will fit beautifully.
Styling Your Mannequin for Retail and Display

Far beyond the confines of the sewing room, a dress mannequin adjustable is one of your most valuable assets in visual merchandising. Its job is to stop a potential customer in their tracks and help them picture themselves wearing your clothes. This isn't just about putting a dress on a form; it's about telling a story that makes your collection truly stand out.
In a crowded market, exceptional presentation can make all the difference. This is particularly true in the UK, where the mannequin market has become one of Europe's most dynamic sectors. Generating USD 278.2 million in 2023, the industry is forecast to hit a staggering USD 649.7 million by 2030. These numbers really drive home how crucial display tools are for any modern retail business. You can find more details on the UK mannequin market's rapid growth on Grand View Research.
Creating an Attractive Silhouette
The first thing to remember is that you're dressing the garment, not a person. Start by adjusting the form to create the ideal silhouette for the specific piece of clothing you’re showcasing. Expand the bust, waist, and hips to fill it out perfectly, getting rid of any bagginess or awkward folds. The aim is to present the garment in its absolute best light.
You might even want to exaggerate the proportions slightly, which is something you'd never do when fitting for a client. For instance, a beautifully nipped-in waist can make a fit-and-flare dress look even more dramatic and appealing on the shop floor. These small tweaks can completely change how a customer sees the fit and style.
Key Takeaway: For display, the garment is the star. Use the mannequin's dials to make the clothing look flawless, creating a clean, aspirational silhouette that catches the shopper's eye.
Once the dials are set, check that the garment is sitting correctly. Make sure the shoulder seams align perfectly with the mannequin’s shoulders and that the centre front is dead straight. These little details send a powerful message of quality and care to your customers.
The Power of Steaming and Accessorising
A wrinkled garment is an instant turn-off. It looks unprofessional and can make even a high-quality product look cheap. Always give your clothing a good steam directly on the mannequin for a pristine, crease-free finish. This lets the fabric drape naturally and shows off its true quality, making it infinitely more tempting to a buyer.
Accessories are where the magic really happens. They provide context, help build an entire look, and draw the customer into the story you're telling.
- Belts: A simple belt can instantly define the waist and add a pop of colour or texture.
- Jewellery: A statement necklace can draw the eye to a lovely neckline, while a bracelet adds that perfect final touch.
- Scarves and Bags: These are fantastic for helping shoppers imagine a complete outfit, often encouraging them to buy multiple items.
Think about a cohesive theme. Is the look for a summer holiday, a formal wedding, or a casual weekend away? Your choice of accessories should reinforce this narrative. For more professional tips, have a look at our guide on how to dress a mannequin like an expert.
Whether it’s for a high-street window, a pop-up stall, or your online store’s product shots, a beautifully styled mannequin is your silent salesperson—working around the clock to showcase your collection perfectly.
Looking After Your Mannequin for the Long Haul
An adjustable mannequin is a proper investment in your sewing, and just like any good tool, a little bit of care will keep it working beautifully for years. It doesn't take much time, but a simple maintenance routine really pays off, protecting its smooth operation and keeping your measurements spot-on.
Proper care is a must whether you’re a home sewer or running a professional retail space. In the UK, the fashion and retail sector’s continued focus on physical shops means there's a huge demand for display and fitting forms. Even with online sales making up 26.6% of all retail in May 2022, the need for reliable mannequins in studios, shops, and theatres hasn't gone anywhere. If you're interested in the data, you can dive into the full research on the UK mannequins market outlook.
Keeping Your Mannequin Clean and Dust-Free
The last thing you want is dust or grime transferring onto your beautiful fabrics. When it comes to cleaning the fabric covering on your dress mannequin adjustable, a gentle touch is all you need.
A lint roller is your best friend for the torso. A quick once-over will lift away stray threads, dust, and fabric fluff. If you spot any minor marks, grab a slightly damp cloth with a tiny bit of mild fabric soap. Just be sure to test it on a hidden spot first—like underneath the base—and blot gently. Never scrub.
As for the stand and pole, a quick wipe with a dry or slightly damp microfibre cloth is all it takes to keep them looking smart and dust-free. Stay away from harsh chemical sprays; they can easily damage the finish over time.
The Single Most Important Storage Tip
When you’re finished with a project and ready to put your mannequin away, there’s one thing you absolutely must do to protect its internal workings. It’s a simple habit that can dramatically extend the life of the adjustment gears.
Always dial your adjustable dress mannequin back to its smallest measurements for storage. Winding the bust, waist, and hips back to their minimum settings releases all the tension on the internal springs and gears. If you leave it fully expanded, you're putting those components under constant strain, which eventually leads to wear, stiffness, and damage.
Think of it like letting a muscle relax after a workout. This tiny action prevents fatigue and ensures the mechanism is primed and ready to go for your next project.
A Quick Maintenance Checklist
Here’s a straightforward routine to keep your mannequin in prime condition:
- After Every Project: Run a lint roller over the torso to catch loose threads and fibres.
- Once a Month: Wipe down the stand and pole. Give the base a quick check for any loose screws and tighten them up if needed.
- Spot Clean As Needed: Tackle any small stains on the fabric cover straight away with a damp cloth and a touch of mild soap.
- Before Storing: Always, always retract the dials to their smallest settings. This relieves pressure on the internal gears and is the key to a long life.
By making these simple checks part of your routine, you’ll ensure your adjustable mannequin remains a reliable and precise partner in all your creative work.
At Display Guru, we provide the high-quality, durable mannequins that professionals and hobbyists rely on. Explore our collection of adjustable dress forms to find the perfect tool for your needs.