


Hanging Rails for Wardrobe (hanging rails for wardrobe) - Organize Your Closet
The humble hanging rail for a wardrobe is easily the most important part of any organised, accessible, and efficient clothing storage space. It’s far more than just a simple metal bar; it’s the structural backbone that supports your entire collection, from everyday shirts to the heaviest winter coats, keeping everything crease-free and easy to find.
Why the Right Hanging Rail Is Your Wardrobe's Foundation
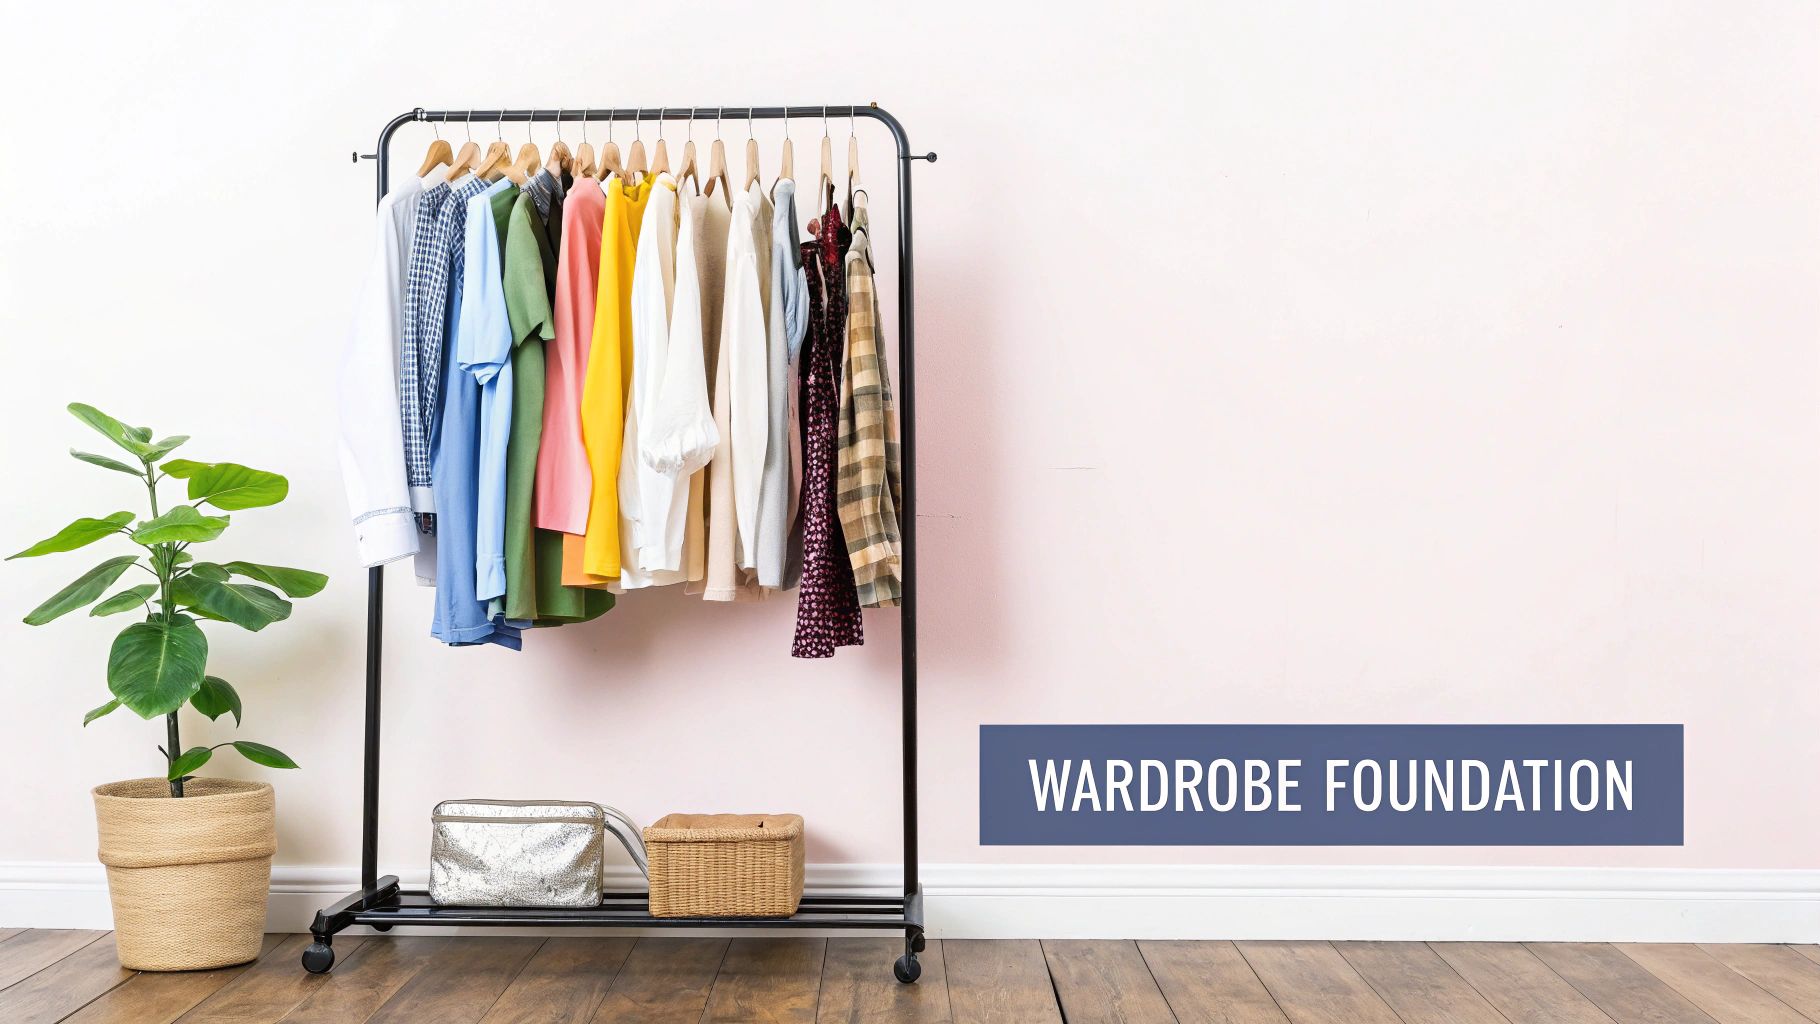
Think of it like the foundation of a house. If the foundation is weak or poorly chosen, everything you build on top of it is compromised. It’s the same with your wardrobe. The wrong rail can lead to sagging, instability, and a space that feels perpetually cluttered and frustrating. For professionals in tailoring, retail, or design, this foundation is even more critical—it's a fundamental tool for their daily work.
This guide isn't just a list of products. We’re going to walk you through everything you need to know, from picking the perfect type of rail to getting the installation spot-on. The idea is to stop seeing the hanging rail as just another piece of hardware and start treating it as a key investment in your organisation and presentation.
More Than Just a Bar
A well-chosen hanging system does so much more than just hold clothes. It actively improves your space and how you use it. Just look at the difference it makes in various settings:
- In Retail: Garment rails are essential for displaying stock in a way that creates a great customer experience and drives sales. With the UK apparel market set to hit an incredible £85.85 billion in revenue, it's no surprise that durable, well-designed rails are a must-have. You can dive deeper into these industry trends in this detailed fashion market recap.
- For Tailors: A strong, reliable rail keeps client projects organised, protects delicate fabrics from damage, and ensures finished garments remain in pristine condition.
- At Home: The right system can genuinely double your storage capacity. Options like wall-mounted rails are brilliant for freeing up precious floor space. We cover how to maximise your closet with wall hanging rails in our detailed guide.
By understanding the specific demands of your space—whether it’s a bustling shop floor or a compact home closet—you can select a hanging rail that not only meets but exceeds your organisational needs, creating a system that truly works for you.
Finding Your Ideal Wardrobe Rail: A Breakdown of Types
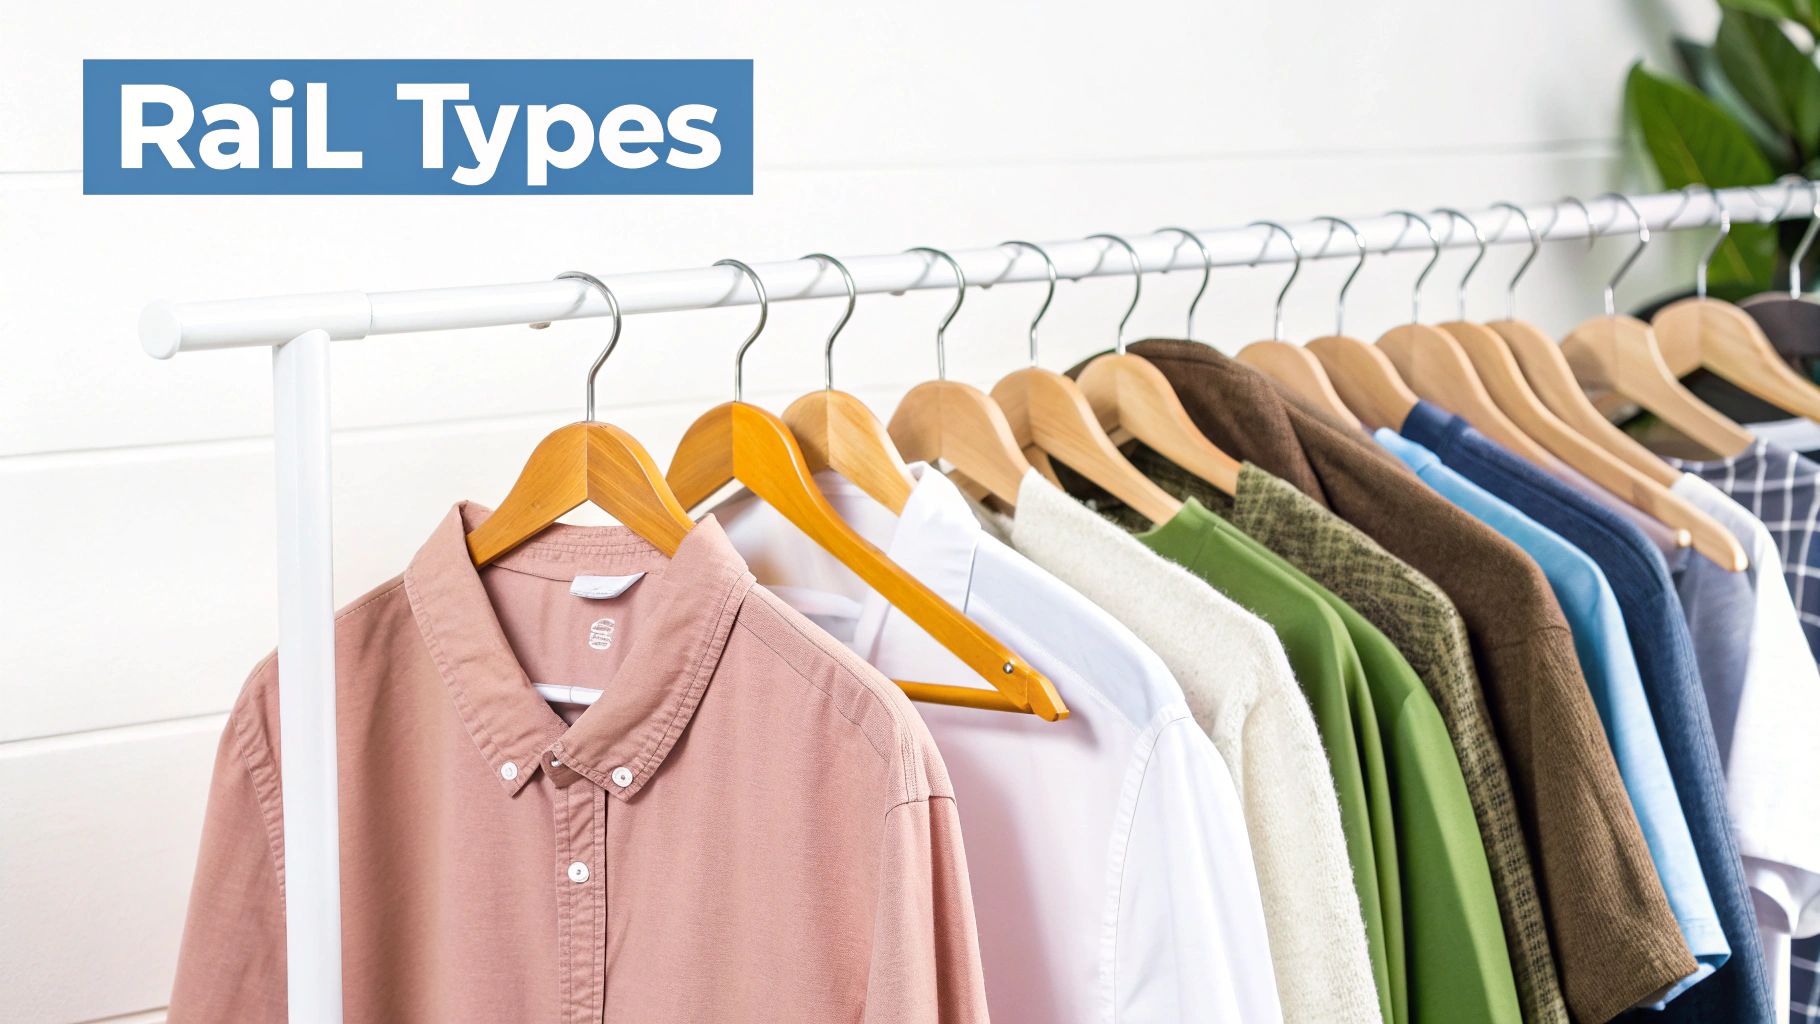
Choosing the right hanging rail can feel a little overwhelming at first, but it all comes down to matching the hardware to your wardrobe and what you plan to store in it. The trick is to stop seeing them as just metal tubes and start thinking of them as specific solutions to common storage problems. Once you know what each type is designed for, picking the perfect one becomes much easier.
For instance, a traditional fixed rail is the reliable workhorse of the wardrobe world—sturdy, simple, and built to last. On the other hand, a telescopic rail is like a problem-solver, cleverly designed to fit into those awkward alcoves or custom-built spaces where standard sizes just won’t do.
Let's walk through the most common options out there, from the everyday fixed rail to clever pull-down systems. We'll break down what they do best, so you can confidently choose a rail that genuinely works for you.
The Classic Fixed Wardrobe Rail
This is the one you’ll see most often, and for good reason. The fixed hanging rail is mounted between two solid points, usually the side panels of a wardrobe, and is prized for its sheer strength and simplicity. It's typically a solid round or oval tube held firmly in place by a bracket at each end, making it incredibly sturdy.
Fixed hanging rails for wardrobes are the go-to for just about any standard closet. They're perfect for holding heavier items without bowing—think winter coats, denim, or a whole collection of suits. Because there are no moving parts, there’s virtually nothing to fail, meaning it will give you years of solid, dependable use.
The Adaptable Extendable Rail
Ever tried to fit a rail into a non-standard space, like an old alcove with wonky walls? That’s where the extendable or telescopic rail comes into its own. It’s essentially two tubes, one sliding neatly inside the other, which allows you to adjust the length to get a perfect, snug fit.
This adaptability makes it a lifesaver for DIY projects or in older homes where perfectly square corners are a rarity. While they are incredibly versatile, it’s worth remembering their maximum load capacity might be a touch lower than a solid fixed rail, simply due to the overlapping design.
The real beauty of an extendable rail is its forgiveness. It gives you that custom-fit result without the headache of needing millimetre-perfect measurements, making it a fantastic choice for retrofitting an old wardrobe.
The Space-Saving Pull-Down Rail
If you’re blessed with high ceilings, the pull-down rail is a brilliant piece of engineering that lets you use every last inch of vertical space. The system mounts a rail high up inside the wardrobe, connected to a clever hinged mechanism. You simply pull a handle, and the entire rail glides down and forward to a comfortable height.
It’s a game-changer for doubling your hanging space, creating an accessible 'second story' in your wardrobe. It’s especially useful in smaller rooms or flats where storage is at a premium. If you're tackling a project that demands serious strength, our guide on heavy duty hanging rails has some great tips for choosing options that can handle a serious amount of weight.
Hanging Rail Type Comparison
To help you see the options at a glance, this simple table breaks down the key differences between the main types of wardrobe rails.
| Rail Type | Best For | Typical Load Capacity | Key Advantage |
|---|---|---|---|
| Fixed Rail | Standard wardrobes and heavy-duty use | High | Maximum strength and durability |
| Extendable Rail | Non-standard widths and alcoves | Medium to High | Adjustable length for a custom fit |
| Pull-Down Rail | Tall wardrobes with high ceilings | Medium | Makes high spaces fully accessible |
| Corner System | Walk-in wardrobes and L-shaped layouts | Varies | Utilises awkward corner space efficiently |
Think of this as your starting point. By understanding the core strengths of each hanging rail for a wardrobe, you can make a much more informed choice that fits your space and storage needs perfectly. Each one offers a smart solution, turning a potential storage headache into a well-organised wardrobe.
Matching Materials and Finishes to Your Needs
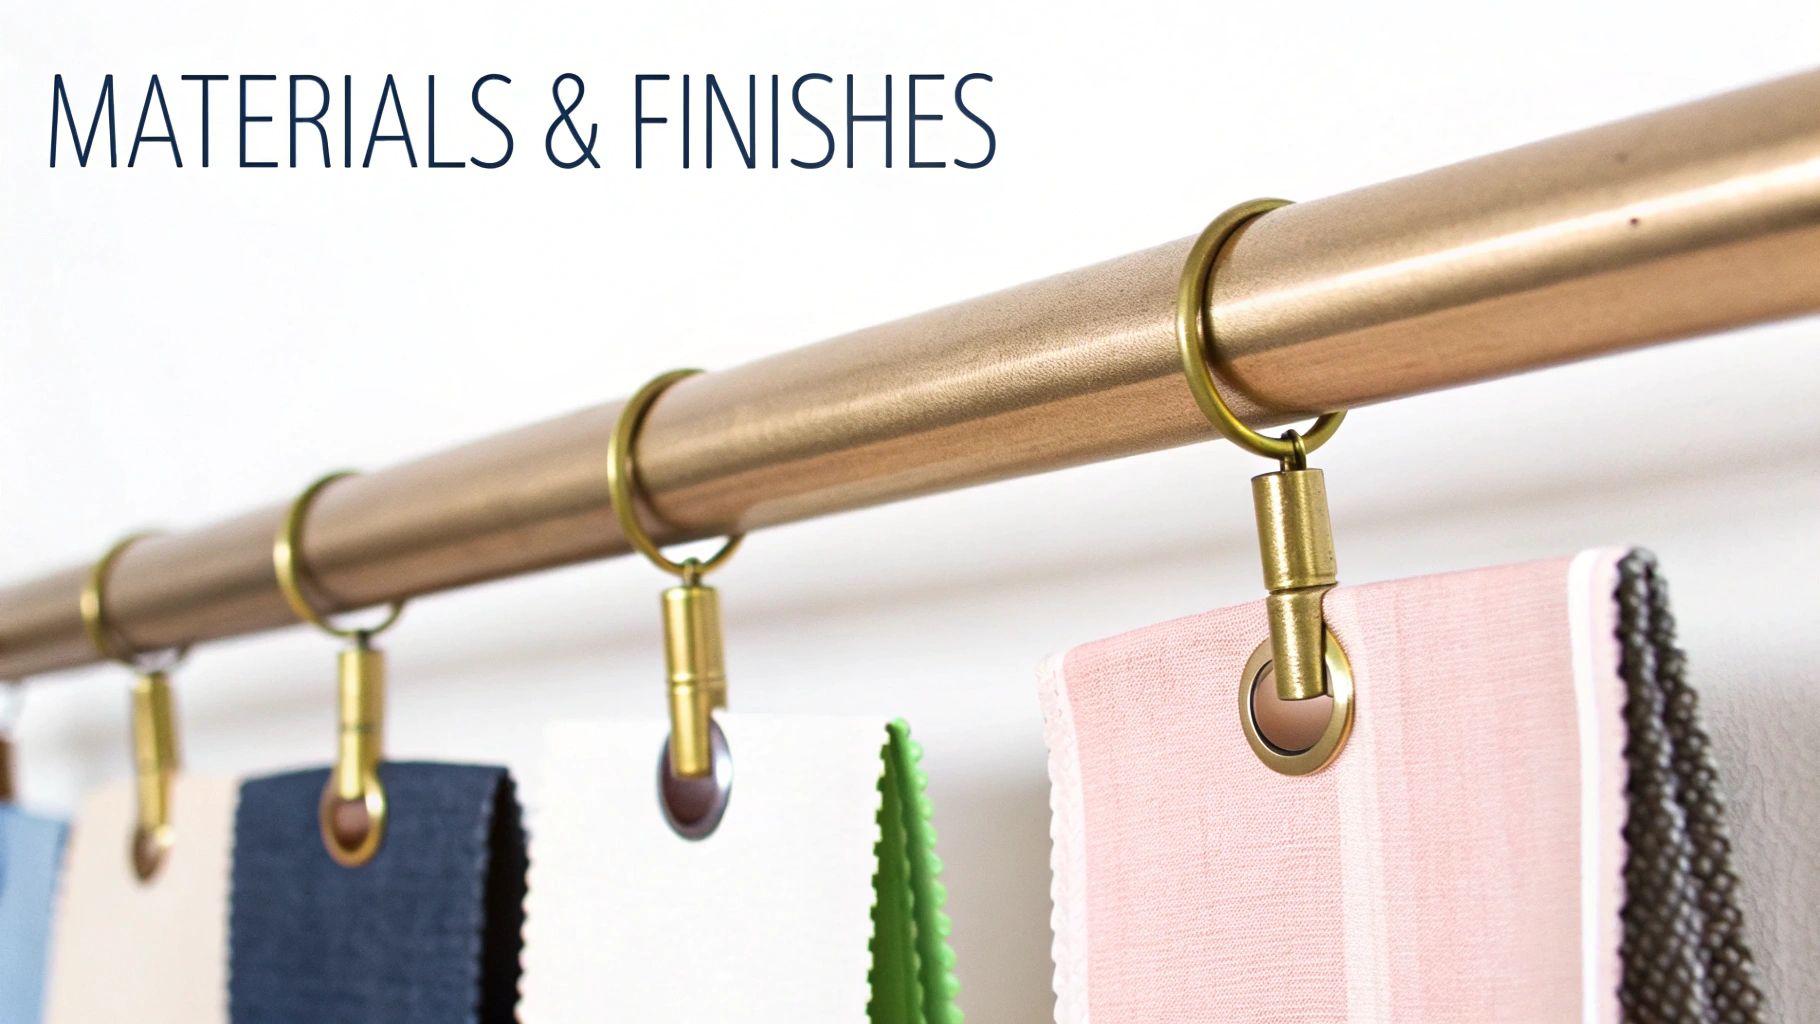
When you’re picking a hanging rail for a wardrobe, it’s easy to focus on looks alone. But the material is about much more than just style—it’s the heart of the rail’s strength, durability, and long-term performance.
Think of it like choosing tyres for a car. You wouldn't fit standard road tyres for a serious off-road adventure, and the same logic applies here. A rail destined to hold a dozen heavy winter coats needs a different kind of brawn than one for a few summer dresses. Getting this right means balancing practicality (how much it can hold and for how long) with aesthetics (how it looks).
Choosing the Right Core Material
The core material is the backbone of your rail. It dictates how much weight it can handle without bending, sagging, or failing over time.
- Steel: This is the undisputed industry workhorse, and for good reason. Steel gives you an incredible amount of strength for the cost, making it the go-to for just about any situation, from a teenager's bedroom to a busy shop floor. It handles the weight of heavy garments without breaking a sweat.
- Stainless Steel: If your rail will live in a damp or humid space—think utility rooms, basements, or even just a poorly ventilated closet—stainless steel is your best bet. It’s naturally resistant to corrosion, so you’ll never have to worry about rust.
- Aluminium: Aluminium's main advantage is its light weight. It’s also naturally rust-proof, which is a nice bonus. While not quite as mighty as steel, it’s plenty strong enough for everyday clothing and is a breeze to handle during installation.
The first step is always to be realistic about what you'll be hanging. A collection of heavy suits or wool coats demands a high-strength material like steel. For a deeper dive, our guide on finding truly strong clothing rails can help you match the material to your load.
Selecting the Perfect Finish
With the core material sorted, the finish is where you can let your style shine through. A finish isn't just a decorative layer; it adds protection while tying the rail into the room's overall design. It's what turns a simple piece of hardware into a cohesive part of your space.
Let’s break down some of the most popular options and where they fit best.
- Polished Chrome: Bright, shiny, and modern. Polished chrome is a retail favourite because its reflective surface brightens up interiors and makes everything look crisp and clean. It’s also tough and easy to wipe down.
- Satin Nickel/Brushed Steel: This is a more subtle, contemporary choice. The soft, low-sheen look is fantastic at hiding fingerprints and small scuffs, making it a very practical finish for high-traffic wardrobes in a family home.
- Matt Black: For a bold, industrial, or minimalist vibe, matt black is perfect. It creates a stunning contrast, especially against light-coloured wardrobe interiors, and has become a huge trend in modern homes and chic boutiques.
- Antique Brass/Bronze: If you're going for a traditional, classic, or vintage aesthetic, these warmer metal tones are ideal. They add an instant touch of elegance and character that pairs beautifully with dark woods and period details.
Ultimately, the best hanging rails for a wardrobe are a perfect marriage of material and finish—a solution that works hard and looks great doing it.
How to Measure and Plan Your Wardrobe Space
Proper planning is the secret to a truly functional wardrobe. It’s what transforms a chaotic jumble of clothes into a calm, organised space where everything has its place. Let's walk through a practical, step-by-step approach to measuring and mapping out your wardrobe for the best possible layout.
Think of it as creating a blueprint for your clothes. Just as an architect wouldn’t dream of building a house without precise measurements, you shouldn't install a hanging rail for a wardrobe without a clear plan. Getting this right from the start saves you a world of frustration and ensures every inch of your space is put to good use.
Mastering the Tape Measure
First things first: you need accurate dimensions of the inside of your wardrobe. Don't eyeball it—grab a tape measure and get the exact figures.
- Measure the Width: Start by measuring the internal width from one side panel to the other. Be sure to take this measurement at the top, middle, and bottom, as wardrobes, especially older ones, can be slightly irregular. Always use the smallest of the three measurements to guarantee your rail will fit comfortably.
- Measure the Depth: Next, check the distance from the back wall to the front edge of the wardrobe. You need enough room for hangers to sit without your clothes getting crushed when the doors are closed. A standard UK hanger is around 40-45 cm wide, so an internal depth of at least 55-60 cm is what you should be aiming for.
- Measure the Height: Finally, measure the total internal height from the floor of the wardrobe right to the top. This measurement is crucial, especially if you’re thinking about installing a double hanging system.
If you're starting a project from scratch, looking through various custom closet design ideas can be a brilliant source of inspiration for making the most of the dimensions you've just taken.
Spacing Rules for a Perfect Fit
With your measurements in hand, it's time to plan the layout. The goal here is simple: position your rails so that clothes hang freely, without dragging on the floor or getting tangled with items on other rails or shelves. This is where a few ergonomic rules of thumb become invaluable.
One of the most common mistakes people make is forgetting to account for the thickness of the rail brackets and the hangers themselves. It might not seem like much, but these small details can eat into your usable space, so always factor them in during the planning stage. Getting this right is key, and you can explore more about choosing the right components in our article on fitted wardrobe rails.
Recommended Hanging Rail Heights and Clearances
To take the guesswork out of planning, we've put together a handy table with standard UK measurements for positioning your hanging rails. Following these guidelines ensures your different types of clothing have enough room to hang naturally, which helps prevent wrinkles and keeps everything looking tidy.
| Garment Type | Recommended Rail Height from Floor (cm) | Minimum Vertical Clearance (cm) |
|---|---|---|
| Shirts & Blouses | 100 - 110 cm | 90 cm |
| Trousers (folded over hanger) | 100 - 110 cm | 90 cm |
| Jackets & Suits | 120 - 135 cm | 110 cm |
| Long Dresses & Coats | 150 - 180 cm | 140 cm |
| Double Hang (Top Rail) | 200 - 210 cm | 95 cm |
| Double Hang (Bottom Rail) | 100 - 105 cm | 95 cm |
Think of these figures as a fantastic starting point. Don't be afraid to adjust them based on your own clothing and the total height you have to work with. That's how you create a truly customised and functional storage solution.
This careful planning at home actually connects to broader market trends. The hangers market, which is closely tied to the demand for hanging rails in retail and tailoring, offers some telling insights. The UK carves out a hefty 11.80% slice of Europe's clothes hanger market, which in turn fuels local demand for quality garment rails from suppliers like us at Display Guru. It's a clear sign of a healthy, growing industry across Europe.
A well-planned wardrobe isn't just about storage; it's about efficiency. By applying these simple spacing principles, you can create a system that makes finding and putting away clothes effortless, saving you valuable time every single day.
Your Step-by-Step Wardrobe Rail Installation Guide
With the planning done and your measurements noted, it’s time to bring that organised wardrobe to life. This is the moment where careful prep work meets practical action. Installing a hanging rail might seem simple, but precision is what separates a wobbly, frustrating rail from a professional, long-lasting one you can rely on every day.
This guide breaks the whole process down into a few manageable stages. We'll walk through everything from gathering the right tools to fixing the last bracket, so you feel confident from the get-go. Following these steps will help you nail a sturdy, perfectly level setup every single time.
Preparing for a Flawless Installation
Before you even pick up a drill, a little bit of prep goes a very long way. The secret to a stress-free installation? Have everything you need within arm’s reach. Trust me, rummaging around for a screwdriver while trying to balance a bracket is a surefire recipe for disaster.
Get your toolkit together first. You don't need a massive workshop, just a handful of essentials that will make the job infinitely easier and more accurate.
- A reliable tape measure for double-checking everything.
- A pencil for making clear, fine marks on the wardrobe panels.
- A spirit level to guarantee your rail is perfectly horizontal—this is non-negotiable!
- A drill with the right drill bits for creating pilot holes.
- A screwdriver (manual or electric) that fits your screw heads perfectly.
- Of course, the rail, brackets, and all the necessary fixings.
Pro Tip: If you're mounting a rail directly onto a wall instead of inside a pre-built wardrobe, always use a stud finder first. Checking for hidden pipes or electrical wires behind the plasterboard is a crucial safety step you can't afford to skip.
Marking and Drilling with Precision
This is the make-or-break stage. Taking your time here is what ensures your hanging rail for a wardrobe will be level and positioned correctly, preventing wonky hangers and that awkward pile-up of clothes at one end.
- Mark Your Heights: Using your tape measure and the height plan you decided on earlier, make small, clear pencil marks on both side panels of the wardrobe. This is where the top of each bracket will sit.
- Ensure It's Level: Hold one bracket against your first mark and place the spirit level on top. Gently adjust it until the bubble is dead centre, then mark the screw hole positions through the bracket. Now, repeat this on the opposite side, using the spirit level across the width of the wardrobe to confirm both sets of marks are at the exact same height.
- Drill Pilot Holes: Choose a drill bit that’s slightly smaller in diameter than your screws. Drilling a small pilot hole first is a pro move—it stops the wood from splitting and helps the screw go in straight and true.
This infographic really highlights why getting your heights right is so crucial for different types of clothes.
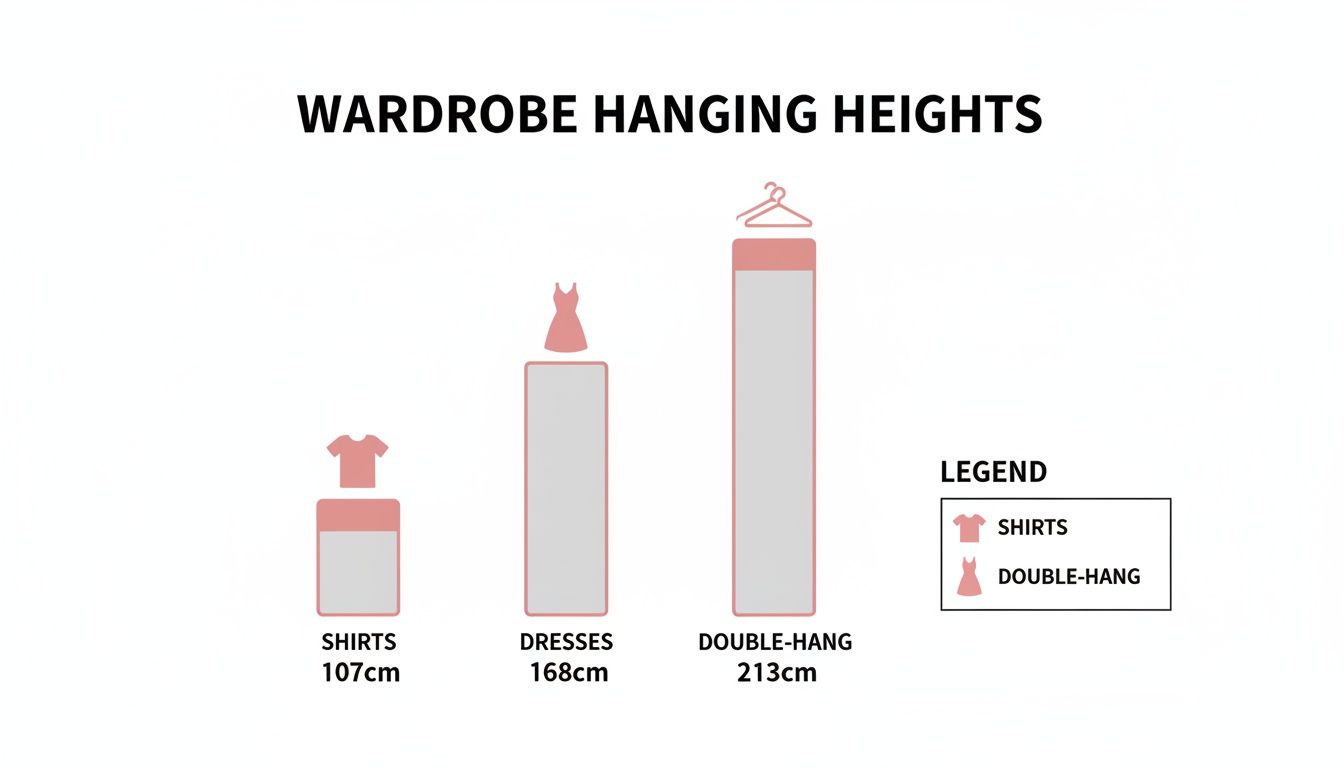
As you can see, the difference between the 107cm needed for shirts and the 168cm for dresses is massive, which is exactly why those careful measurements pay off.
Securing Your Rail for Maximum Strength
With your pilot holes drilled, the final assembly is quick and deeply satisfying. This is where your wardrobe truly starts to feel functional.
First, line up your brackets with the pilot holes and drive the screws in until they are snug and secure. Be careful not to overtighten, as you could damage the wardrobe panel or strip the screw head. Once both brackets are firmly in place, you can simply pop your hanging rail into the supports. Some systems have a tiny grub screw to lock the rail in place—if yours does, tighten it now. For a closer look at how these components work together, you can learn more about the relationship between a https://www.displayguru.co.uk/blogs/news/clothes-rail-and-brackets in our detailed post.
Finally, give the rail a good, firm tug to make sure everything is solid. A well-installed rail should have absolutely no wobble or give. If you're working with different wall materials or just want to see some other techniques, you might find these additional installation guides helpful.
And that's it! Congratulations—your perfectly installed rail is now ready for action.
Keeping Your Rails in Top Shape: Troubleshooting and Maintenance
Even the best-installed hanging rails for wardrobes can run into trouble now and then. A bit of wear is perfectly normal, but catching small issues early is the key to stopping them from becoming big headaches. Staying on top of maintenance keeps your wardrobe secure and working perfectly for the long haul.
One of the most common problems? A sagging rail. The first step is to play detective. Is the rail itself bowing in the middle, groaning under the weight of your clothes? Or are the support brackets actually pulling away from the wall? A bend points to an overloaded rail, while wobbly brackets suggest a problem with the fixings.
Fixing Common Rail Problems
If the rail itself is bending, the fix is usually simple: lighten the load. It's easy to forget how much heavy items like winter coats, suits, and denim add up. For longer rails, adding a central support bracket can make all the difference. Or, you could upgrade to a heavy-duty oval rail, which is built to handle much more weight.
Loose brackets are another matter. This almost always means the fixings have worked their way loose. If the rail is inside a solid wood wardrobe, you might get away with just tightening the screws. If a screw just spins and won't tighten, the wood is likely stripped – try using a slightly thicker screw to get a fresh grip.
For rails mounted directly onto a plasterboard wall:
- Check Your Anchors: Make sure proper heavy-duty plasterboard anchors, like spring toggles or worm-style fixings, were used. Standard plastic plugs just won't cut it for this kind of weight.
- Move and Re-Drill: If the original holes are chewed up and won't hold, the best bet is to move the bracket up or down slightly. This gives you a fresh patch of wall to drill into and secure with brand new fixings.
This isn’t just about keeping your closet tidy; it’s a core principle in professional retail. The entire shop fittings industry, which relies on robust garment rails and hangers, is a cornerstone of the UK’s massive £795.6 million textile retail sector. You can see how demand for quality fittings is outpacing UK GDP on valentinosdisplays.com.
Long-Term Care and Prevention
A little preventative maintenance goes a surprisingly long way. Taking care of your rails isn't just about function; it helps keep your wardrobe looking smart, too.
A quick, regular clean does wonders. Dust and clothing fibres inevitably build up, so a simple wipe-down with a soft, damp cloth is perfect for finishes like chrome, steel, or matt black. Steer clear of any harsh, abrasive cleaners that could scratch the surface and damage the protective coating.
But the single most important thing you can do is respect the weight limit. Pushing a rail past its capacity is the number one reason they fail. By spreading the weight of your clothes out and resisting the urge to cram every last item in, you protect the entire system – the rail, the brackets, and the wall they're fixed to.
Frequently Asked Questions
Got a few lingering questions about hanging rails? You're not alone. Here, we tackle some of the most common queries we get from customers, giving you the straightforward answers you need to get your project over the line with confidence.
Let's clear up those final details, from dealing with tricky plasterboard walls to knowing just how much weight your rail can handle.
What’s the Maximum Weight a Standard Wardrobe Rail Can Hold?
This is the million-dollar question, but the answer isn't a single number. A good rule of thumb is that a standard one-metre steel rail, properly fixed into solid brick or timber studs, will comfortably hold between 25kg and 40kg.
But that's just a guideline. The rail's material, its total length, and—most importantly—the quality of your wall fixings will make a huge difference. For absolute certainty, always check the manufacturer's specs. If you’re planning to load it up with heavy winter coats and suits, it’s always smarter to go for a heavy-duty rail and beefier fixings.
Can I Cut a Hanging Rail to a Custom Length?
Yes, absolutely. Most metal rails are designed to be cut to size. All you need is a basic hacksaw. A great little trick is to wrap some masking tape around the cut line before you start; it stops the saw from slipping and gives you a much cleaner edge.
Once you've made the cut, take a moment to file down any sharp burrs. This isn't just for safety—it ensures your hangers slide smoothly without snagging on your favourite shirt.
A custom-cut rail is what separates a standard job from a truly professional one. It’s the key to achieving that perfect, wall-to-wall fit that makes a wardrobe feel custom-built.
How Do I Choose Between a Round and an Oval Wardrobe Rail?
Your choice here really boils down to strength versus classic style. Oval rails are the heavy-lifters; their shape is specifically engineered to resist bending and sagging over longer distances. This makes them the go-to option for extra-wide wardrobes or for storing a lot of heavy garments. As a bonus, they stop hangers from spinning around.
Round rails, however, are the timeless industry workhorse. They’re incredibly versatile, compatible with a huge range of brackets and fittings, and have a classic look that just works in any style of wardrobe.
What Should I Do If My Wardrobe Walls Are Plasterboard?
Whatever you do, don't just screw the rail directly into the plasterboard. It will fail, and it won't be pretty. Plasterboard on its own simply isn't strong enough to take that kind of load. You'll need to use special fixings like spring toggles or heavy-duty self-drive plugs, which are designed to open up and grip the board from behind.
For the most secure installation possible, the best method is to grab a stud finder and locate the vertical timber supports inside the wall. Driving your screws directly into these solid wooden studs gives you a rock-solid anchor point that you can rely on.
At Display Guru, we stock the high-quality rails and provide the expert advice you need to create a perfectly organised space. Explore our collection of durable garment rails and find the ideal solution for your project.