


strong clothing rails: Ultimate Guide to Strength & Capacity
Strong clothing rails anchor any retail or design environment. While often overlooked, the right hardware safeguards your garments and speeds up stock management.
Investing in durable rails pays off over years of daily use. They turn an ordinary fixture into a reliable workhorse.
Why A Strong Clothing Rail Is Your Most Vital Asset
Shopping for rails without considering strength is like erecting a house on shifting sand. A flimsy setup may buckle under pressure, leading to torn fabrics and unhappy customers.
When you choose a robust clothing rail, you’re choosing consistency. Stock rotation becomes smoother, restock times shrink, and staff can focus on customer service instead of wrestling with collapsing fixtures.
- Prevent torn or wrinkled stock with a rail capacity that supports even your heaviest garments.
- Keep displays looking sharp—rails stay level, even at full load.
- Minimise downtime and repair costs by cutting out weak points in your fixture setup.
UK retailers already understand this: the UK clothing retailing industry generated an estimated £50.0 billion in revenue in 2025. Read the full research about the UK clothing retailing industry for more insights.
You might also find our guide on visual merchandising guidelines invaluable for optimising rail placement and product grouping.
Foundations Of Rail Strength
The secret to a long-lasting rail lies in material choice and smart construction. Heavy-wall steel tubing resists bending, while welded joints eliminate wobble.
Think of it like a car’s chassis: a continuous weld offers more stability than a cluster of screws. Over time, mechanical connectors can loosen, but a welded frame holds up under constant weight.
A reliable rail is like a firm foundation: everything above it depends on its strength.
- Superior load capacity holds up to 200kg of mixed garments.
- Industrial-grade finishes resist rust, scuffs, and daily wear on busy shop floors.
Benefits Beyond Strength
Choosing a sturdy rail isn’t just about load limits—it’s about cutting maintenance costs and presenting your brand professionally.
Solid fixtures mean fewer mid-shift breakdowns and a consistent shopping experience. That reliability reflects on your store’s reputation and keeps customers coming back.
Your rail choice impacts every display, fitting session, and stock rotation cycle. Prioritise strength now to secure the foundation your business deserves.
Understanding The Anatomy Of A Durable Clothing Rail
Clothing rails rely on three pillars: materials, construction, and load capacity. Each element shapes how your fixtures behave under real-world stresses, whether you’re running a busy boutique or staging a theatre production.
Materials Influence Strength
The backbone of any rail lies in its material. Industrial-grade steel tubing delivers high rigidity thanks to generous wall thickness and a robust diameter.
Aluminium alloys shave off weight and allow effortless mobility, though they carry a slightly lower load rating.
Finishes matter too. An epoxy powder coat forms a barrier against rust on busy shop floors, while galvanising adds long-term protection in more humid settings.
Construction Method Matters
Picture a fully welded rail as the chassis of a car: continuous welds spread stress evenly, resisting bending and vibration.
Screw-in fittings, by contrast, behave like flat-pack furniture—they tend to loosen over time under constant movement.
“A welded joint holds up like a car chassis, never wobbling under load.”
Load Capacity Explained
Technical load numbers become truly useful when you translate them into garment counts. A 200 kg rail supports roughly 50 heavy winter coats or 150 silk blouses, giving you clear guidance during peak stocking periods.
This practical view turns abstract specs into day-to-day planning—no more guessing how many items your rails will handle.
For deeper advice on selecting and installing fixtures, see our guide on heavy-duty hanging rails.
Comparing Clothing Rail Materials
Below is a quick snapshot of how common rail materials compare in strength, corrosion resistance, and best uses. This will help you match a rail’s properties to your environment and load requirements.
| Material | Typical Strength | Corrosion Resistance | Best For |
|---|---|---|---|
| Heavy-wall Steel | High (200-300 kg) | Excellent | Retail and industrial use |
| Aluminium Alloy | Medium (100-150 kg) | Good | Mobile setups and shows |
| Chrome Plated Steel | High (150-200 kg) | Fair | Boutique displays |
This comparison highlights the trade-offs between weight, load capacity and longevity when choosing your rail.
Selecting The Ideal Strong Clothing Rail
Start by mapping out your garment mix and workflow. Tailors often need micro-adjustable rails, whereas retailers focus on sleek finishes that enhance product appeal.
Key considerations include:
- Tube and wall specs: Thicker sections resist sagging
- Joint type: Fully welded seams outperform mechanical fasteners
- Finish durability: Powder coat or galvanisation prevents chipping
- Mobility features: Lockable castors and tool-free assemblies
- Load ratings: Always aim for at least 20 % above your maximum stock weight
Comparing Rail Options Quickly
• Freestanding Rails: Offer flexibility but need sturdy crossbars
• Wall-Mounted Rails: Save floor space but must secure into studs
• Mobile Rails: Great for events with reinforced bases and quick-release fittings
• Double Bars: Boost capacity but check combined load ratings carefully
Routine maintenance—tightening connections and lubricating moving parts—extends a rail’s lifespan and safeguards against unexpected failures.
“Choosing quality materials and robust construction ensures rails stay strong under any workload.”
Example: A local theatre group safely stored 200 costumes after switching to three rails rated at 250 kg each.
Select wisely, and your clothing rails will serve reliably for years to come.
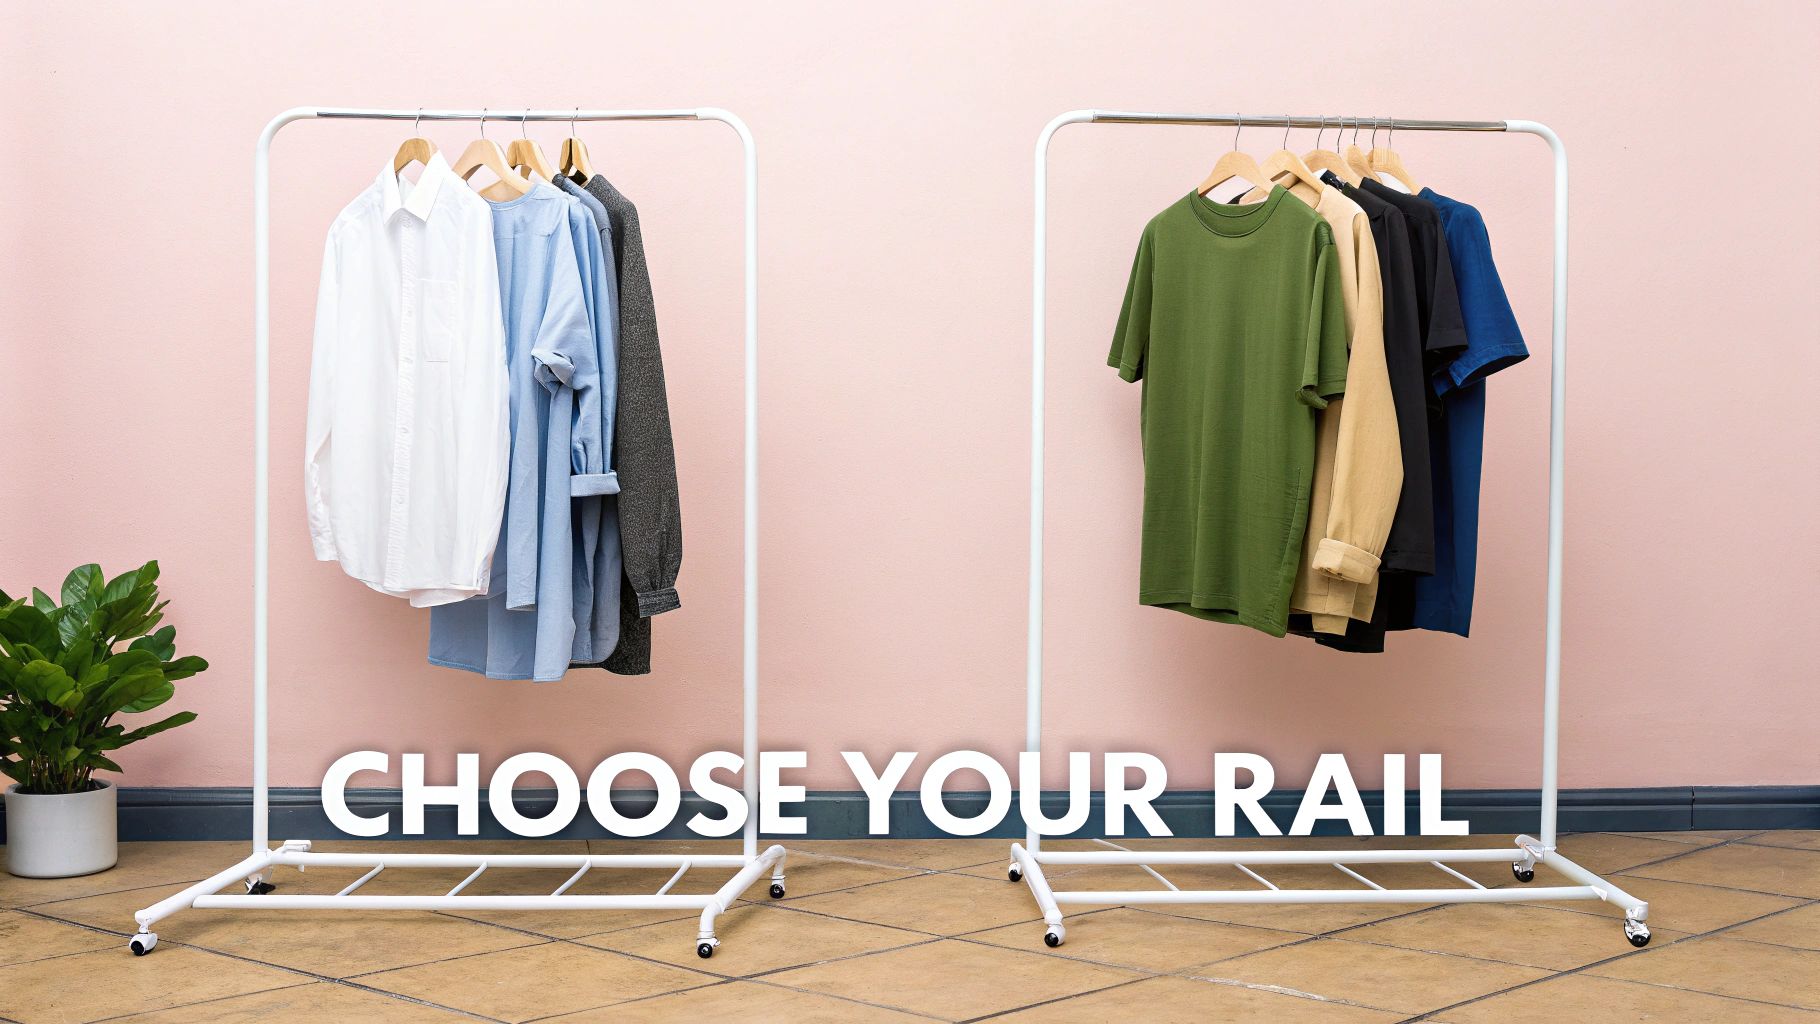
Choosing the Right Rail For Your Professional Space
Picking the ideal clothing rail is more than just a checklist exercise. In a professional environment, you need a system that carries weight, stays reliable day after day and still complements your décor.
Different setups call for different rail styles. From a snug boutique corner to a sprawling costume department, understanding each option helps you balance durability, capacity and aesthetics effortlessly.
- Freestanding Rails deliver instant flexibility. They roll or relocate without drilling into walls.
- Wall-Mounted Rails reclaim precious floor space but demand solid anchors.
- Mobile Rails pair heavy-duty castors with robust frames for active backrooms.
Types Of Strong Rails
In a busy theatre wardrobe, a freestanding Z-rail becomes your best ally. Its wide base keeps everything upright—even when you stack 200 kg of costumes.
On the flip side, a wall-mounted bar in a boutique opens up your centre floor. Just remember: it only works if you lock into studs in plasterboard or secure bolts in brick.
The UK market for commercial clothes racks and stands produces roughly 200 million units every year. That volume highlights why high-capacity rails are essential. Learn more about these figures from Archive Market Research.
A properly chosen rail adapts to your stock and workload without faltering under peak loads.
Proper Mounting Methods
First, identify your wall type. Plasterboard alone won’t support heavy rails—you’ll need to locate studs or switch to anchors designed for brick. Meanwhile, a solid sensor will save you time finding those studs.
You might find valuable insights in general discussions on efficient warehouse storage solutions.
- Position a spirit level across your mounting line and mark bracket points.
- Drill pilot holes into each stud or brick surface, then insert heavy-duty anchors.
- Gradually tighten all screws to avoid any twist or sag.
Check out our guide on clothing display racks for more tips on rail selection and layout.
Decision Making Framework
Begin by listing your garment types, sizes and peak volumes. Next, match each rail’s load capacity and add a 20% safety margin. Finally, weigh up mobility requirements, wall-space limits and the visual impact.
Use this quick checklist before you commit:
- Load capacity rating
- Installation complexity
- Flexibility for future layout changes
- Surface finish and corrosion resistance
This structured approach ensures you pick a rail that fits both your present demands and tomorrow’s updates. For deeper comparisons, try scoring each feature in a table—load capacity against adjustability and style, for instance.
Once you’ve installed your chosen rail, keep an eye on performance over a trial period. Gather feedback and fine-tune until it feels just right.
A Professional's Checklist for Selecting Your Rail
Choosing the right rail means striking the perfect balance between appearance, strength and adaptability. Whether you run a boutique, tailor studio or wardrobe department, each environment comes with its own demands.
Checklist for Retailers
Retail spaces need rails that look sleek and stand up to constant use.
- Modularity: Quick-connect fittings allow teams to reconfigure displays in seconds.
- Capacity: Opt for rails rated at 200 kg to cope with heavy turnover.
- Finish: Powder-coated steel survives daily scuffs and foot traffic.
- Aesthetics: Simple lines and neutral colours blend with any merchandise.
- Expansion: Stackable or extendable rails adapt as seasons and promotions change.
Checklist for Designers and Tailors
In a studio, stability matters as much as flexibility.
- Sturdy Base: A broad, welded crossbar prevents wobble during fittings.
- Adjustable Height: From 120 cm to 180 cm, tweak the rail to suit each garment.
- Smooth Slides: Low-friction hangers glide effortlessly for style swaps.
- Weight Margin: Choose rails rated 20 % above the heaviest fabrics.
- Secure Joint: Fully welded seams stand up to constant repositioning better than bolt-together kits.
“Strong clothing rails feel like a trusted atelier assistant—they never let you down under full load.”
Checklist for Wardrobe and Event Teams
Quick setups and heavy costumes call for mobility and toughness.
- Castors with Brakes: Industrial-grade wheels lock securely, even under 150 kg.
- Knock-flat Design: One-person assembly saves precious prep time.
- Multi-bar Options: Double-rail frames support layered costumes and props.
- Tool-free Connections: Snaps or press studs let crews move at speed.
- Foldable Frames: Collapsible uprights slot into transport cases without specialist tools.
Before you finalise your choice, make sure you:
- Confirm dimensions against room layouts to prevent clearance issues.
- Test sample rails with actual stock or costumes wherever possible.
- Check warranty terms—professional rails often include a 2-year guarantee.
For an in-depth look at compatible brackets and accessories, check out our guide on clothes rail and brackets.
Learn more about reliable mountings and fixtures with this internal link: Clothes Rail and Brackets Guide
This structured approach helps you avoid weak points and unexpected downtime.
Examples in Action
A London boutique cut its restocking time by 30 % after switching to modular, heavy-duty rails.
| Role | Key Feature | Benefit |
|---|---|---|
| Retail Store | Modularity | Rapid display changes |
| Tailoring Studio | Height Adjustability | Effortless fitting sessions |
| Theatre Wardrobe | Knock-flat Design | Fast setup and teardown |
73 % of boutique owners report quicker restocking when they upgrade to modular rails.
These real-world cases show how the right features boost efficiency, lower costs and improve the overall experience.
Ready to pick the perfect rail for your space? Use this checklist with confidence and explore Display Guru’s range for professional strong clothing rails.
Final Tips
- Inspect rails monthly for loose fittings and surface wear.
- Keep spare brackets and fixings on hand to reduce downtime.
- Choose finishes resistant to corrosion in humid or back-room areas.
- Train staff on safe load limits and correct assembly procedures.
A thoughtful selection process will ensure your rails remain the backbone of your operation for years to come.
Happy selecting!
Proper Installation and Long-Term Maintenance
Getting a clothing rail to perform faultlessly begins with the installation. You need the right fixings, the proper tools and rock-solid alignment. Nail these details, and you’ll ward off sagging, wall damage and premature wear.
To set yourself up for success:
- Select heavy-duty anchors rated for at least 200 kg of static load
- Use a calibrated spirit level to maintain perfect horizontal alignment
- Tighten screws in a gradual, cross-pattern sequence to prevent frame twisting
Locating Wall Supports
Start by running a stud finder across the plasterboard to locate the timber studs. Once you spot a stud, mark its centre lightly with a pencil—this is your prime drilling point for maximum grip.
Next, choose the correct drill bit for the wall material. In brickwork, drop in expansion plugs; on stud walls, you might need to fit battens if the bracket holes don’t line up exactly. Always:
- Position the bracket and mark each hole
- Drill pilot holes at low speed to avoid cracks
- Insert anchors and secure the bracket firmly
“Securing rails into solid supports is critical to avoid mid-shift failures,” says a Display Guru expert.
After fixing the brackets, slide the rail tube in place and fit the end caps. Take your time with each fastener—uneven torque can warp the rail or cause hidden loosening over time.
Routine Maintenance Checks
Every quarter, give your rail a thorough inspection. Look for hairline cracks in welds, corrosion spots and any loose nuts or bolts. Aim for connections that are snug but not over-torqued.
To keep the finish looking sharp and protect the metal, follow these cleaning tips:
- Powder-coated steel: Wipe with a mild detergent and a soft cloth
- Galvanised surfaces: Rinse with clean water, then dry completely
- Aluminium alloy: Buff with a non-abrasive polish to fend off stains
Retailers depend on sturdy rails because the UK fashion and textile industry brings in £62 billion annually, with racks turning over constantly. For deeper insights, explore the UK Fashion Waste Facts and Statistics.
Learn more about bracket selection in our dedicated guide: Clothing Rail Bracket Guide
Finally, don’t forget the moving parts. Lubricate castors and clear away dust or fibres regularly to ensure smooth, reliable operation.
Common Questions About Strong Clothing Rails
Professionals often wonder how to size, build and install a rail that won’t groan under the weight of their garments. Below, you’ll find clear answers on capacity, construction and fitting methods.
Calculating Weight Requirements
Begin by listing your heaviest pieces. A typical winter coat weighs around 2–3 kg, while a shirt sits at roughly 0.5 kg. That means a 6 ft rail rated for 200 kg comfortably holds about 40 coats.
Leave at least a 20 % safety margin. This buffer guards against long-term sagging and keeps your rail looking and performing like new.
- Multiply the number of heavy items by their average weight.
- Use 1 kg per mixed garment when your stock varies.
- Add 20 % to your total to set your minimum rail rating.
- Re-evaluate if you bring in fresh stock or new costume pieces.
Commercial Versus Domestic Rails
The real difference lies in metal thickness and how the joints are made. Commercial rails use thicker-gauge steel and fully welded seams, often rated above 100 kg per section. Domestic versions typically rely on thinner tubing or plastic fittings and screws that can loosen with heavy use.
Commercial rails thrive in retail stores and backstage areas, where they see constant loading and unloading. Home units suit lighter demands but risk bending if you overload them.
A welded rail frame resists twisting under load, whereas screw-in connectors can work loose over time.
Securing Plasterboard Installations
You can fit a heavy-duty rail on plasterboard—but only by anchoring into the studs behind it. First, locate each stud with a sensor and screw your brackets directly into the solid timber. If the spacing doesn’t match your bracket holes, mount a sturdy wooden batten across multiple studs and fix the rail to that.
Never rely on plasterboard anchors alone; they’ll pull out under sustained weight and could cause injury.
- Use a stud finder to mark the centre of each timber stud.
- Drill pilot holes, then insert heavy-duty wood screws or coach bolts.
- If studs don’t align, fasten a robust batten and attach brackets to it.
- Tighten all fixings in a cross-pattern to keep your rail perfectly level.
Comparing Static And Mobile Rails
A well-made mobile rail can rival a fixed one—provided its castors are industrial-grade. Look for rubber or polyurethane wheels rated for 150 kg or more, complete with locking brakes. The wheel assemblies themselves should be bolted or welded to a reinforced base.
| Feature | Static Rail | Mobile Rail |
|---|---|---|
| Load Rating | Up to 300 kg | Up to 200 kg with heavy-duty castors |
| Stability | Fixed position | Lockable brakes prevent unwanted movement |
| Mobility | Requires manual relocation | Easy to move and re-position |
| Installation | Wall brackets or floor stand | Castor mounts need secure attachment |
Both options deliver rock-solid support. Your choice comes down to whether you need wheels or prefer a permanent setup.
Key Takeaways
- Always size your rail with a 20 % safety buffer to avoid sag.
- Opt for commercial-grade steel and welded joints for heavy use.
- Anchor brackets into studs or battens when fitting to plasterboard.
- Check castor load ratings and brake quality for mobile rails.
Ready to elevate your display? Explore the full range of professional strong clothing rails at Display Guru: Display Guru