


Your Guide to Installing Clothes Rail and Brackets
Getting the foundation right is everything when it comes to garment storage. Choosing the perfect clothes rail and brackets from the outset is a balancing act between durability, how much weight it can take, and pure aesthetics. Get this right, and you've got a setup that can handle anything from delicate silks to the heaviest winter coats, all without sacrificing an ounce of style.
Choosing the Right Clothes Rail System
Picking a clothes rail system isn't just about finding somewhere to hang a few things. It's about building a functional, reliable solution that’s genuinely fit for purpose. Whether you’re setting up a chaotic retail stockroom, a meticulous tailoring studio, or a sleek home wardrobe, your first big decision has to be the materials.
Material Matters: Strength and Style
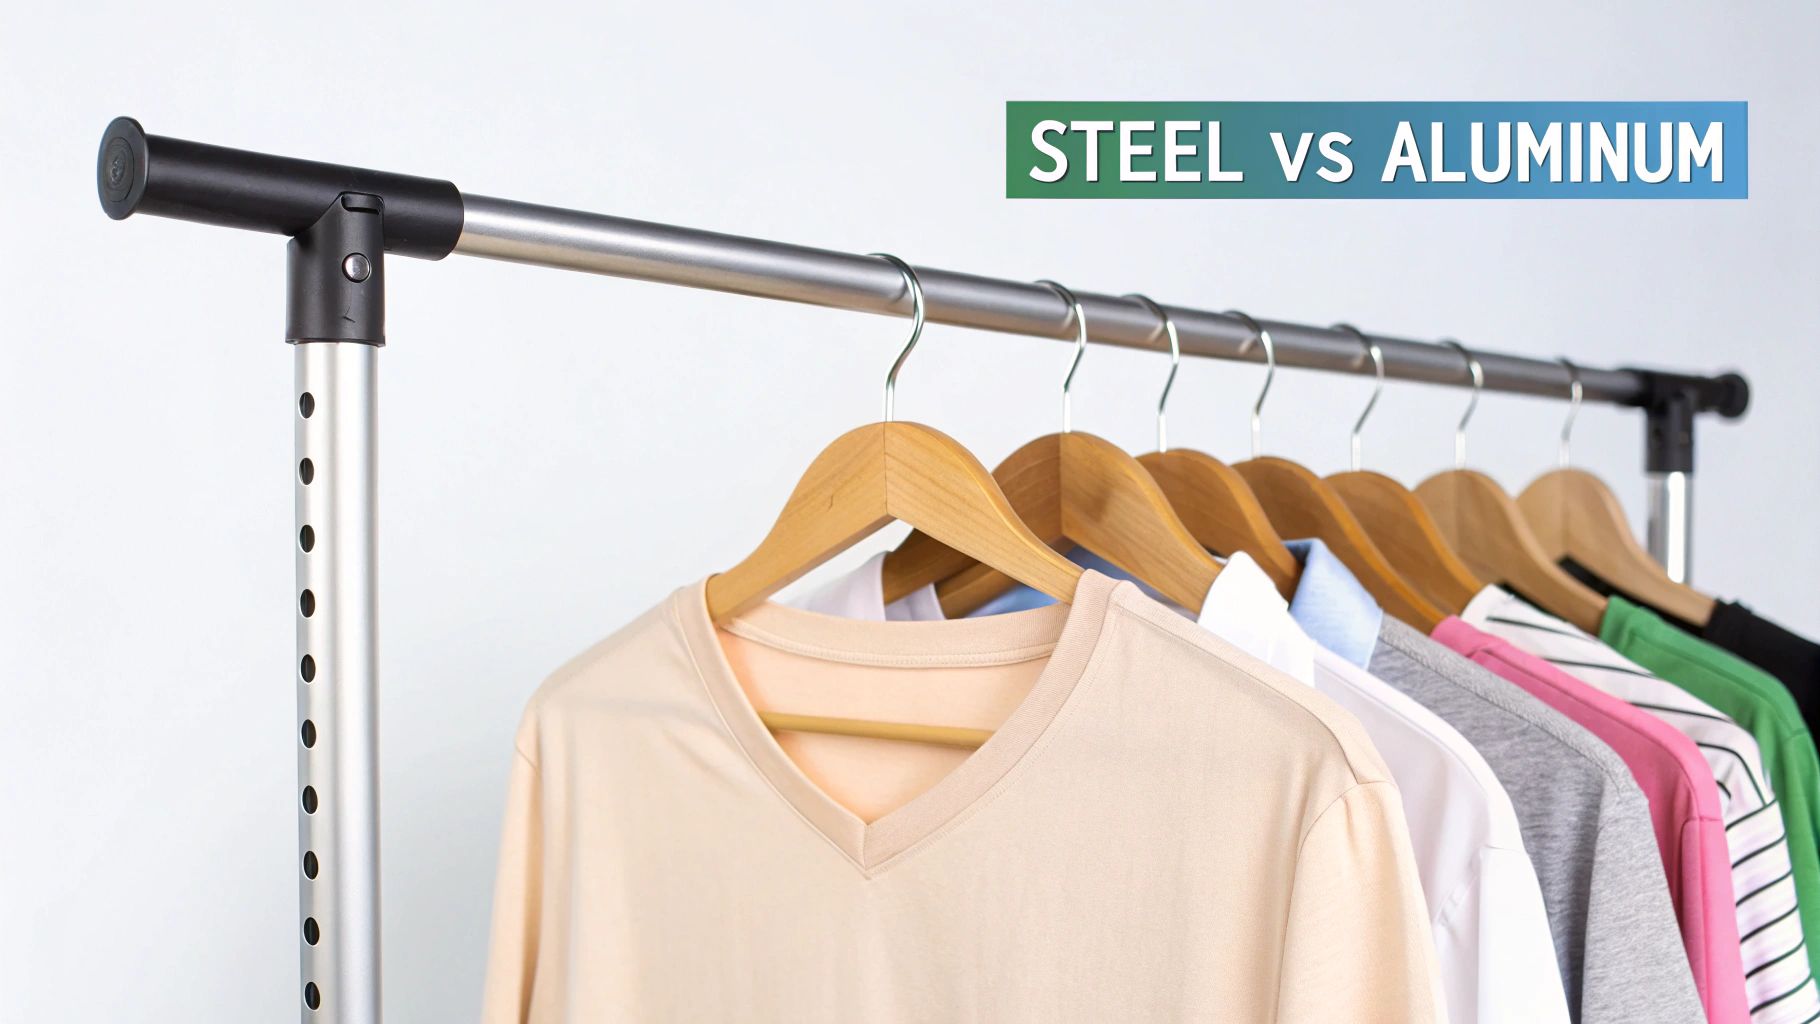
The material of your rail and brackets is what dictates its lifespan and, most importantly, how much weight it can actually support. For heavy-duty use, you really can't beat industrial-grade steel. It’s prized for its sheer strength and resilience, making it the default choice for any commercial space where you simply can't afford for things to fail.
On the other hand, you have materials like aluminium, which offers a lightweight but still surprisingly sturdy option. It’s often chosen for its clean, modern look in boutique displays or home settings. For a more unique or rustic vibe, some of the best systems use materials like galvanised pipe or even wood, blending practical function with a strong design statement. It's always worth thinking about how a rail system fits into your broader plans, especially if you're looking at custom wardrobe solutions for a truly tailored space.
To make things a bit clearer, here’s a quick rundown of what to expect from different materials.
Material and Finish Comparison for Clothes Rails
| Material | Typical Load Capacity | Best For | Aesthetic Style |
|---|---|---|---|
| Industrial Steel | 100-160kg+ | Retail stockrooms, heavy garment storage | Utilitarian, industrial, robust |
| Aluminium | 40-70kg | Boutique displays, home wardrobes | Modern, minimalist, clean |
| Galvanised Pipe | 80-120kg | Rustic interiors, industrial-chic boutiques | Edgy, bespoke, industrial |
| Wood | 20-40kg | Lightweight displays, children's rooms | Natural, Scandinavian, warm |
This table should give you a solid starting point for matching the material to your specific needs, ensuring you get both the performance and the look you're after.
Matching the System to Its Environment
The place where you'll be installing the rail really dictates the features you need to prioritise. I've seen it all, and these are the most common scenarios:
- Busy Retail Stockrooms: Here, it’s all about function. You need high load capacities, reinforced joints, and ideally, options for double-tier rails to really maximise that precious vertical space.
- Minimalist Home Wardrobes: For home use, aesthetics and smart use of space are usually the top concerns. A simple wall-mounted rail in a finish like matte black or brushed metal can create a beautiful, open-closet feel.
- Tailoring and Sewing Studios: Adjustability is absolutely key here. Being able to change the rail height is a lifesaver when you’re working on garments of all lengths, from blouses to full-length wedding gowns.
The UK market has really stepped up to meet these different demands. Spurred on by home organisation trends, leading suppliers are now offering heavy-duty clothes rails with certified load capacities of up to 160kg. These are typically built from industrial-grade steel to meet strict British standards like BS EN 16121.
A well-chosen clothes rail is a genuine investment. It saves you from the sheer frustration of sagging bars and collapsed fixtures, making sure your garments are always stored securely and displayed beautifully. For more inspiration on how to present your collection, have a look at our guide on https://www.displayguru.co.uk/blogs/news/clothing-display-racks.
Getting Your Measurements and Load Capacity Right
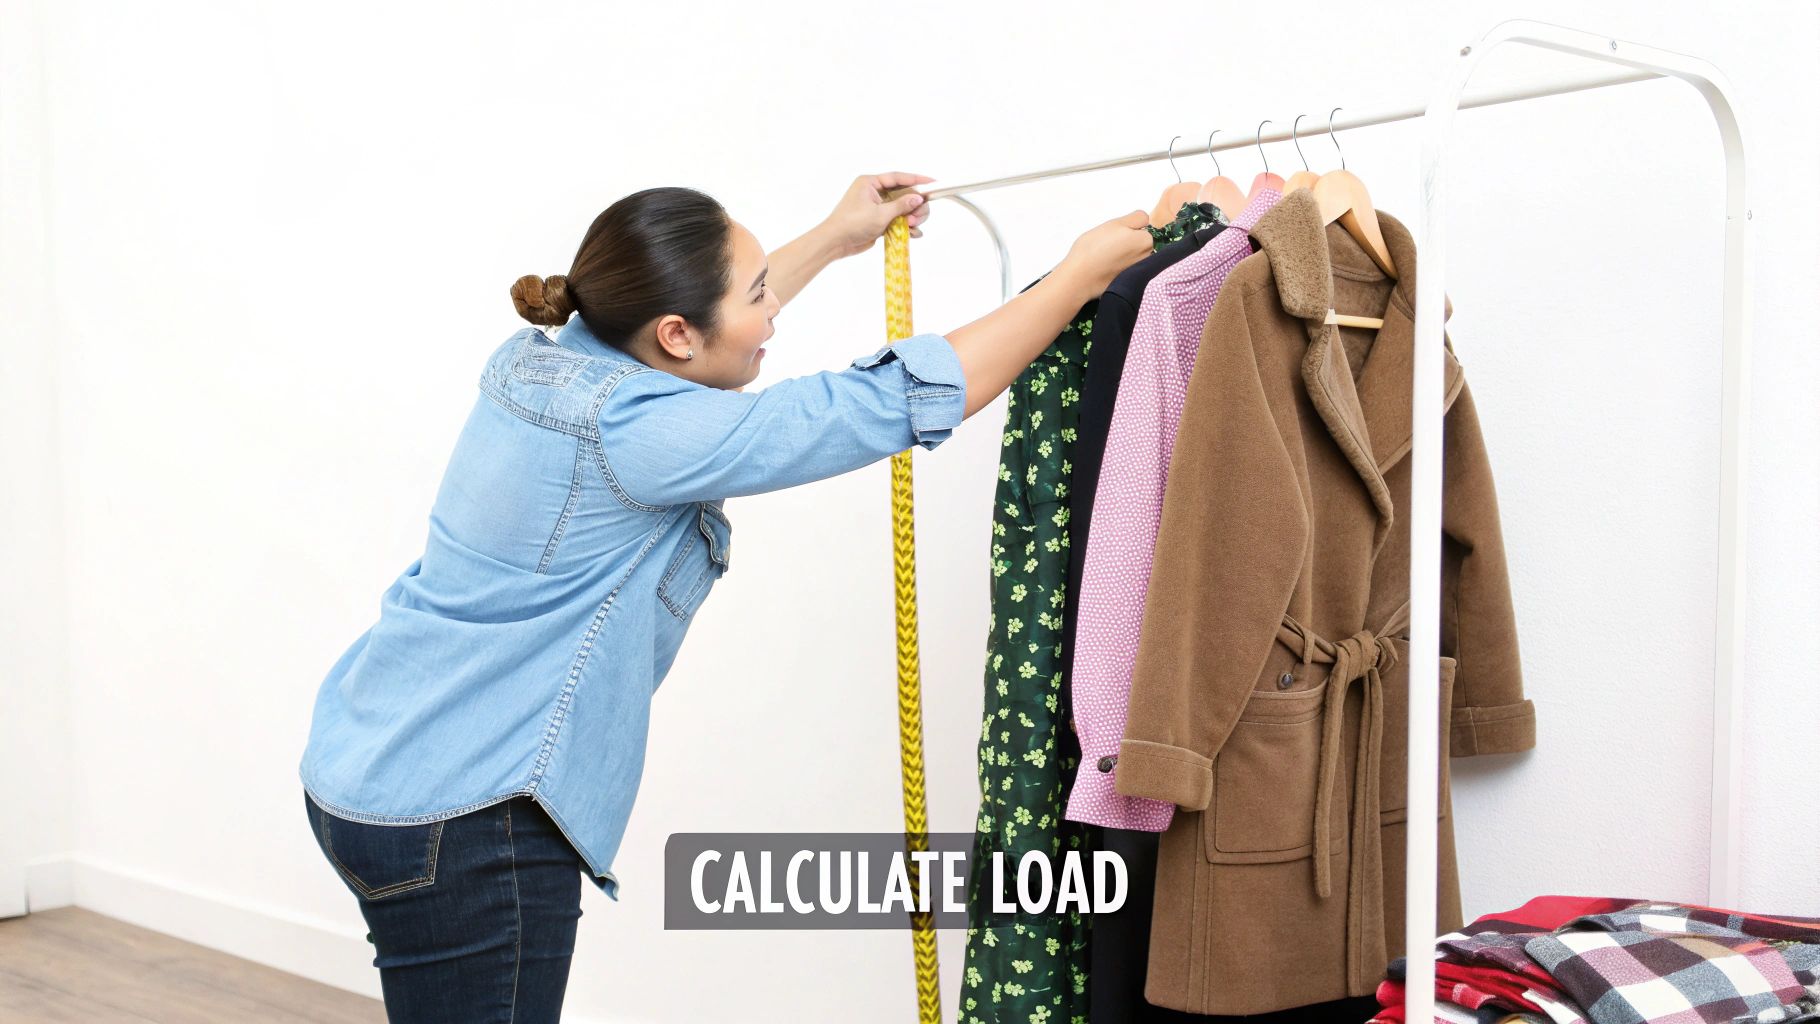
Before you even think about picking up a drill, there are two crucial questions you need to answer: will the rail actually hold everything you want to hang, and will it fit the space you have in mind? Honestly, getting this part wrong is the fast track to sagging rails, damaged walls, or a setup that just doesn't work. A bit of planning now will save you a world of headaches later on.
Figuring out the total weight of your garments is probably easier than you think. You don't need to weigh every single piece; a solid estimate is all that’s required. The aim here is to get a clear picture of the demands you'll be placing on your clothes rail and brackets.
Figuring Out the Weight of Your Garments
It’s no surprise that different clothes have wildly different weights. That heavy wool winter coat is going to put a lot more strain on your rail than a light summer dress. A single coat can easily top 2kg, while a blouse might be less than 0.5kg.
Here’s a rough guide I use to get a quick estimate:
- Heavy Winter Coat: 1.5 - 2.5kg
- Suit or Blazer: 1 - 1.5kg
- Pair of Jeans: 0.7 - 1kg
- Knit Jumper: 0.5 - 1kg
- Shirt or Blouse: 0.2 - 0.4kg
Just count up the items you plan to hang in each category and do some simple multiplication. For instance, if you're hanging ten heavy winter coats, you're already looking at a potential load of 25kg. That basic calculation gives you the minimum load capacity you should be looking for. If you know your collection is on the heavier side, you’ll want to check out our guide to finding the right clothes rail heavy duty option from the get-go.
Pro Tip: I always tell clients to overestimate their weight calculation by about 20%. This gives you a safety buffer, accounting for any future additions to the wardrobe and ensuring you aren't pushing the rail to its absolute limit from day one.
Measuring Your Space for the Perfect Fit
Accurate measurements are the bedrock of a professional, functional installation. It’s not just about the length of the rail; you need to consider the whole picture.
The Key Measurements You Can't Skip:
- Rail Length: Start by measuring the total horizontal space you've got. Crucially, don't forget to factor in the width of the brackets themselves. It's also wise to leave a little bit of breathing room at either end so the final installation doesn't look crammed in.
- Mounting Height: The perfect height is all about what you’re hanging. For long items like coats and dresses, I find that mounting the rail around 165-180cm from the floor works best. If it’s for shorter items like shirts or trousers folded over a hanger, then 100-120cm is usually plenty.
- Bracket Spacing: This is the big one for preventing that dreaded sag. As a rule of thumb, brackets should be spaced no more than 100cm apart. For anything heavy, I always bring that down to 60-80cm to spread the load more effectively. And for rock-solid stability, make sure the end brackets are positioned within 15cm of the rail's ends.
Nailing these three measurements ensures your chosen clothes rail and brackets don't just fit the space, but are set up to perform perfectly. This little bit of diligence is what guarantees a secure, level, and long-lasting rail that can handle your collection with ease.
Getting Your Tools Ready and Putting Safety First
Any experienced fitter will tell you that a successful installation is all about good preparation. Getting your kit together before you even think about drilling a hole is what separates a smooth, professional job from a frustrating afternoon of mistakes. It’s not just about getting it done quickly; it's about accuracy and, most importantly, keeping yourself safe.
Think of this as your pre-flight checklist. Most of what you'll need is standard DIY fare, but a few items are absolutely non-negotiable for securely fitting a clothes rail and brackets. A small investment in the right gear now pays dividends in the form of a perfectly level, solid rail that will stand up to years of use.
Your Essential Tool Kit
Before you start, lay everything out. Having it all to hand means you can get into a good rhythm without stopping and starting to hunt for a tool.
- Spirit Level: You simply can't do this job properly without one. A wonky rail looks awful and puts uneven stress on the fittings.
- Tape Measure: For getting your heights and bracket positions spot-on.
- Pencil: A sharp pencil is perfect for marking your drill points clearly on the wall.
- Power Drill: A good combi drill is your best friend here, as it’ll handle both drilling the pilot holes and driving the screws.
- The Right Drill Bits: This is critical. You'll need masonry bits for brick or concrete walls, and wood bits if you're lucky enough to be drilling straight into studs.
- Stud Finder: If you’re dealing with plasterboard, this little electronic gadget is the only foolproof way to find the timber joists you need for a secure fixing. Don't just guess!
Safety First. Always.
Drilling into walls isn't without its risks, but they're easy to manage with a bit of foresight. The biggest danger is hitting hidden pipes or electrical cables, a mistake that can lead to serious damage or injury.
Never, ever drill into a wall without first checking what’s lurking behind the plaster. A cable and pipe detector is an inexpensive tool that could save you from a very costly and dangerous accident. Just run it over the area you plan to drill to check for live wires or metal pipes.
Don't forget about your own safety, either. Always pop on some protective eyewear to shield your eyes from dust and debris, especially when drilling into crumbly masonry. Keeping your work area tidy and well-lit is another simple way to prevent trips and falls.
This kind of diligence is the hallmark of any well-run project, whether it's a big shop fit-out or a smaller home setup. For those running a home studio, applying this same careful approach can make all the difference, something we delve into in our guide to optimising your sewing and crafting space. Taking these simple precautions ensures your installation is not only a success but a safe one, too.
Installing Your Rail on Different Wall Types
The strength and long-term reliability of your new garment rail hinge entirely on how and where you mount it. Different walls demand different fixings; a screw and plug that holds firm in solid brick will likely rip straight out of plasterboard under load. Figuring out what your wall is made of is the absolute first step towards a secure, professional installation for your clothes rail and brackets.
This simple chart walks you through the essential prep work for any installation project.
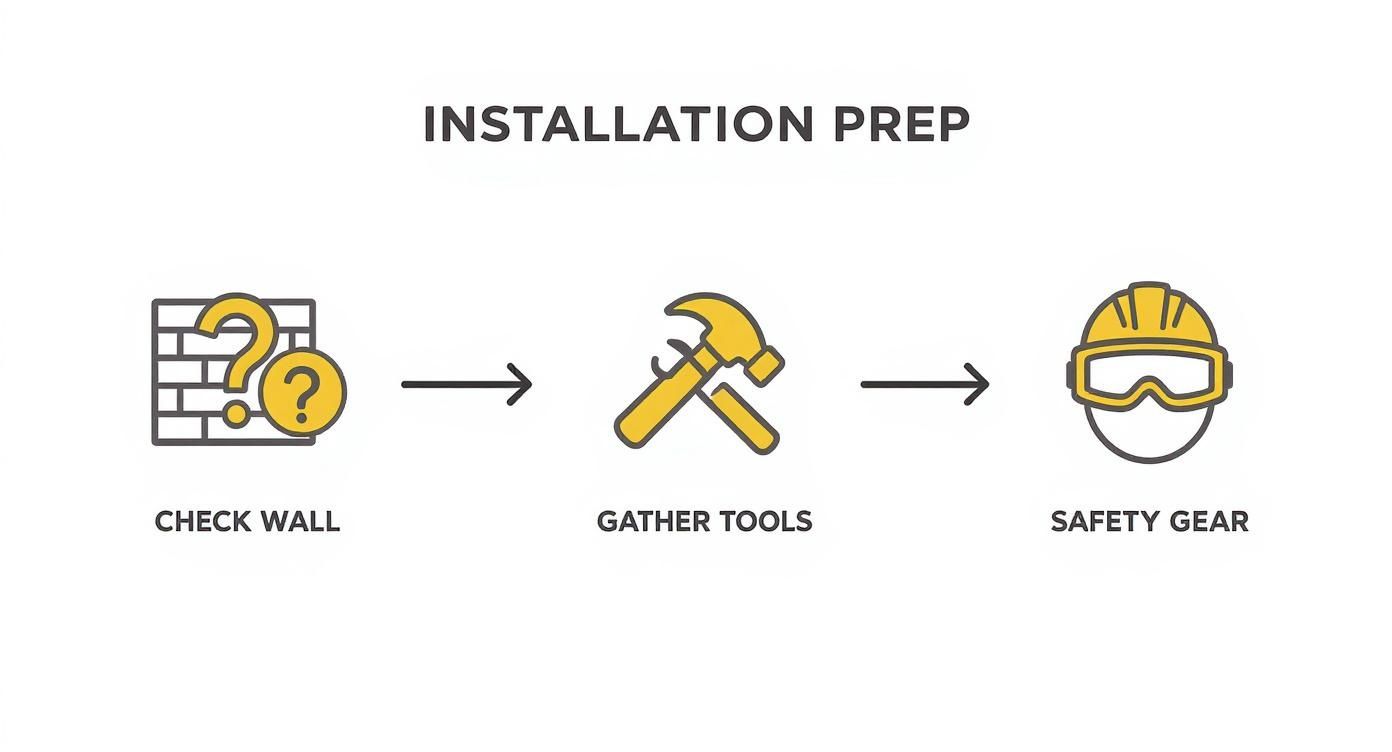
As you can see, checking your wall, grabbing the right tools, and thinking about safety are the foundations of a job well done. Taking these preliminary steps seriously is what separates a solid, reliable rail from a wobbly disaster waiting to happen.
Fixing into Solid Brick or Masonry Walls
Solid walls, like brick or blockwork, are your best friend when it comes to installing a heavy-duty clothes rail. They provide the most robust foundation imaginable, provided you use the right drill bit and wall plugs to create a solid anchor point.
Start by marking your bracket positions with a pencil. Grab a spirit level to make sure they’re perfectly horizontal—eyeballing it is a recipe for a wonky rail. For masonry, you’ll need a specific masonry drill bit. When drilling, apply firm, steady pressure and let the drill do the heavy lifting; forcing it can cause the bit to wander.
Once the hole is drilled to the correct depth, clear out any dust and pop in a suitable wall plug, tapping it until it’s flush with the wall. Now you're ready to securely screw your brackets into place.
A classic mistake is using a wall plug that's too small for the screw. The fit needs to be snug, so it expands and grips the inside of the hole tightly. A loose plug means a weak fixing, which is the last thing you want holding up a rail full of valuable stock or garments.
The need for smart, reliable storage is on the rise, especially as living and retail spaces get smaller. This trend is clear in the garment rail market, which is projected to expand significantly. The global market is expected to grow from $5 billion in 2025 to around $8 billion by 2033, and the UK market is a key part of this expansion.
Securing Rails to Plasterboard Walls
Plasterboard, often called drywall, is a completely different beast. The board itself has very little structural strength, so you can't just screw a bracket into it and hope for the best. It won't hold.
By far, the best approach is to find the vertical wooden studs hidden behind the plasterboard. A stud finder is an inexpensive tool that makes this job easy. Fixing your brackets directly into these studs gives you a rock-solid anchor that can handle some serious weight. Mark the stud locations, align your brackets, and fix them with good-quality wood screws.
But what if the studs aren't where you need your rail to be? In that case, you have to use specialist plasterboard fixings. If you're dealing with plasterboard, knowing the best fixings for plasterboard walls is non-negotiable. Your main options are:
- Toggle Bolts: These clever fixings have spring-loaded 'wings' that open up behind the plasterboard, spreading the load over a much wider area.
- Hollow Wall Anchors: These expand behind the board as you tighten the screw, creating a surprisingly strong grip from within the cavity.
Just remember that even with the best specialist fixings, a plasterboard-only installation will always have a lower weight capacity than one screwed firmly into studs.
For a deeper dive into techniques for specific wall types, you might find our dedicated guide on installing a hanging rail for a wall useful.
Styling and Organising Your New Clothes Rail
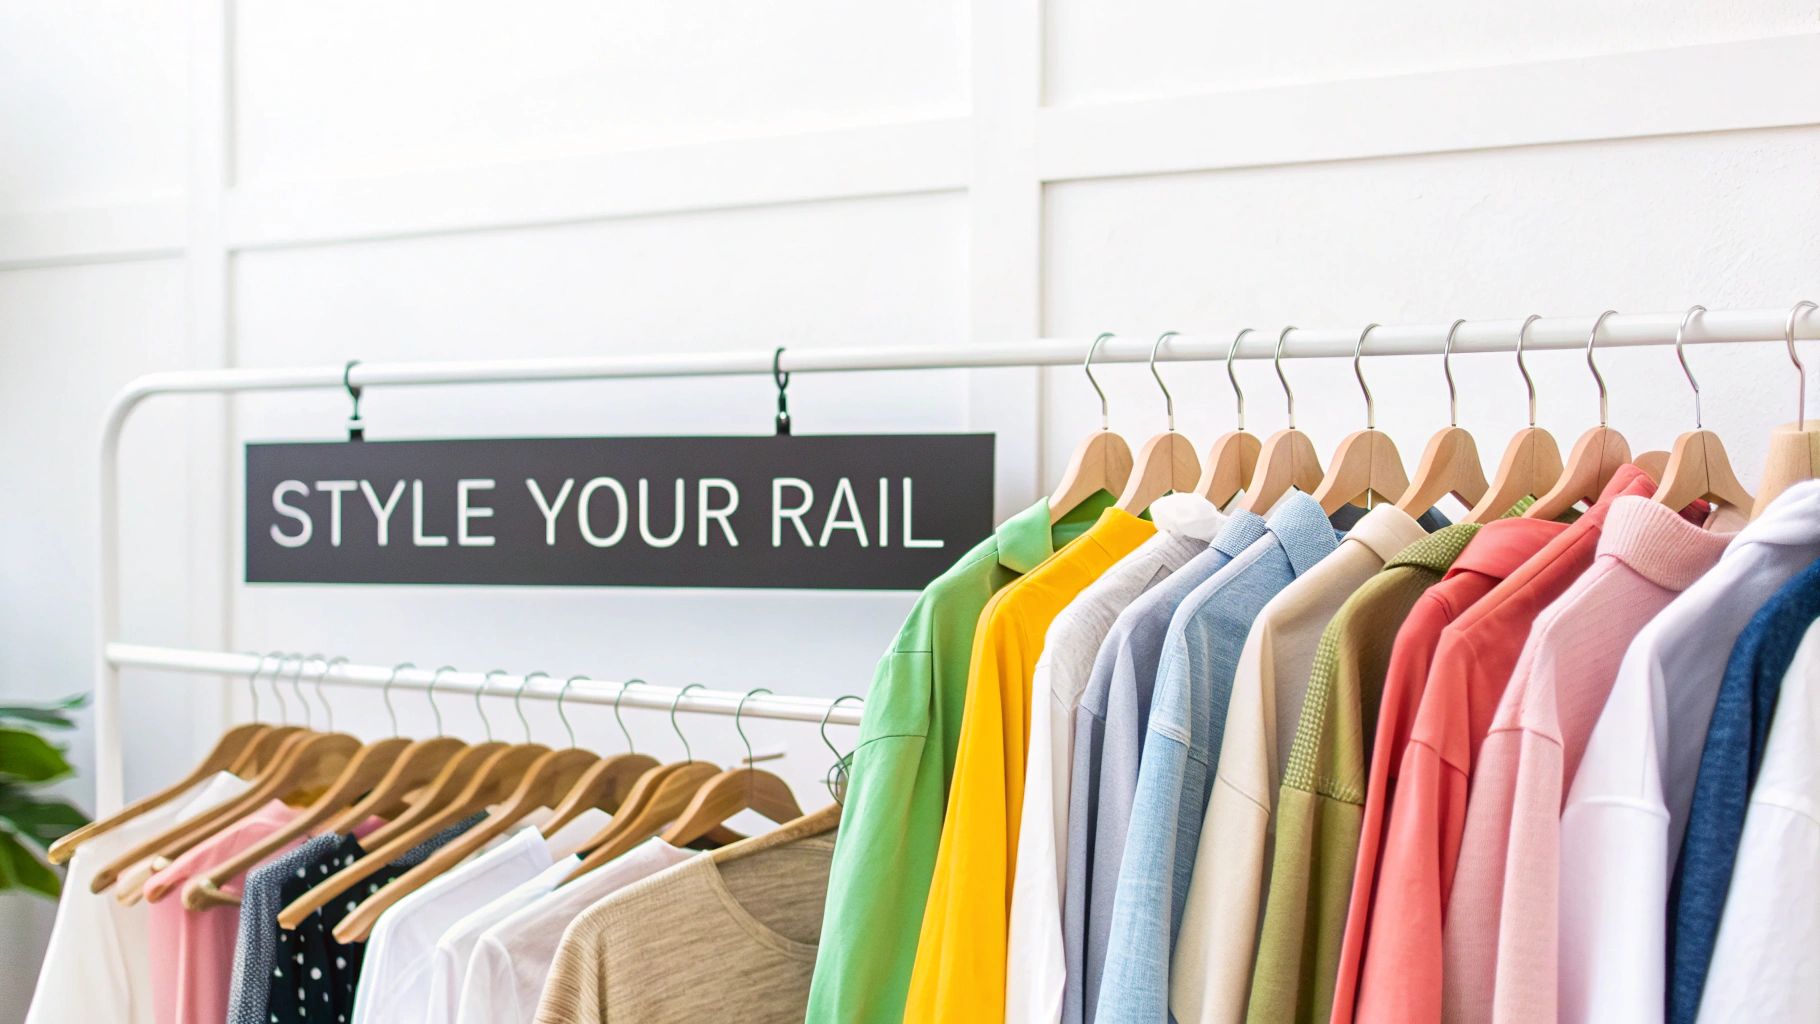
Now that your new clothes rail and brackets are firmly in place, the fun part begins. This is where you get to turn a practical bit of kit into a stunning display, whether it’s for your bedroom, tailoring studio, or shop floor.
How you arrange the items on the rail can make a world of difference. A well-styled rail doesn't just hold clothes; it presents them, making everything look more desirable and much easier to find. The exact approach might change depending on the setting, but the aim is always the same: creating visual harmony and order.
Creating a Boutique Feel at Home
If this rail is for your home, the secret to getting that clean, boutique look is consistency. Even the most jumbled wardrobe can look instantly polished with a few simple tricks.
It all starts with the hangers. Using uniform hangers is single-handedly the most impactful change you can make. Ditching that chaotic mix of plastic, wire, and mismatched wooden hangers for a sleek, matching set—like slimline velvet or minimalist black wood—brings an immediate sense of calm and order.
Next, it's time to organise the clothes themselves:
- Colour-blocking: This is a classic for a reason. Grouping items by colour is incredibly satisfying to look at and makes pulling an outfit together a breeze. Arranging them in a rainbow gradient from light to dark creates a beautiful, intentional display.
- Organise by Type: A more pragmatic approach is to group like with like. Put all your shirts together, then trousers, then dresses. It’s a simple system that just makes sense when you're getting ready in a hurry.
- Face Hangers the Same Way: It sounds minor, but it's one of those professional details that makes everything look neater. Make sure all your hanger hooks are facing inwards, away from you.
Think of your open rail as a curated mini-collection, not just a place for wardrobe overflow. By being selective about what you display and keeping it tidy, you elevate a simple storage solution into a real feature of the room.
Merchandising for Retail and Studios
In a commercial space, your clothes rail is so much more than storage—it's a sales tool. Whether in a boutique or a design studio, the goal is to catch the eye, tell a visual story, and showcase your work in the best possible light.
A few visual merchandising basics can transform a standard rack into a compelling display. I always recommend placing a "hero" piece—a show-stopping coat or a dress in a vibrant colour—at one end of the rail. This acts as a focal point, drawing people in. From there, you can build out a colour story, arranging garments in complementary palettes to guide the customer’s eye smoothly along the collection.
For more in-depth strategies on making the most of your space, our complete guide to clothes rail storage solutions is packed with techniques that will help you perfect your new installation.
Common Questions About Clothes Rail Installation
Even with the best-laid plans, a few nagging questions can pop up when you're about to drill the first hole. Getting these final details right is what separates a wobbly, amateur job from a secure, professional-looking installation that will last for years.
Let's run through some of the most common queries we get asked.
How Far Apart Should Brackets for a Clothes Rail Be?
This is probably the most critical question, and getting it wrong can lead to a sagging rail. As a solid rule of thumb, you should aim to space your clothes rail and brackets no more than 100cm (around 40 inches) apart. For a standard wardrobe at home, this is perfectly adequate.
However, if you're planning to load that rail up with heavy stock—think winter coats, denim, or tailoring samples—you need to be more conservative. In a commercial setting, I'd always recommend bringing the brackets closer together, somewhere in the 60-80cm range. This spreads the load much more evenly and prevents any bowing in the middle.
Don't forget the ends, either. For maximum stability, always make sure the end brackets are positioned within 15cm of the rail's ends.
Can I Install a Clothes Rail on a Plasterboard Wall?
You can, but you have to be smart about it. Plasterboard on its own is notoriously weak, and simply screwing into it is a recipe for disaster. The secret is what you're fixing into.
The gold standard is always to find the timber studs behind the plasterboard. Get yourself a decent stud finder and screw your brackets directly into that solid wood. This gives you a rock-solid fixing that can take a serious amount of weight.
What if the studs aren't where you need them? Your next best bet is to use heavy-duty plasterboard fixings. Things like toggle bolts or hollow wall anchors are designed specifically for this job. They expand behind the board to grip a much larger surface area. Just remember, a fixing into plasterboard alone will never be as strong as one anchored into a stud.
What Is the Best Height to Install a Clothes Rail?
There’s no magic number here; the right height is completely dictated by what you intend to hang. Before you even pick up a drill, hold up your longest garments to get a feel for the space.
Here are a few reliable starting points based on common clothing types:
- Long Garments: For maxi dresses, long coats, and macs, you’ll want to mount the rail at roughly 165-180cm from the floor. This gives everything enough clearance so it’s not dragging on the ground.
- Shorter Garments: If it's mainly for shirts, blouses, or trousers folded over a hanger, a height of 100-120cm from the floor is plenty.
- Double Rail Systems: To really maximise your vertical space, a two-tier system is brilliant. A common setup that works well is placing the top rail at around 200cm and the bottom rail at 100cm, leaving enough drop for standard items on both levels.
At Display Guru, we stock the kind of robust, professional-grade clothes rails and display equipment built for the real world. You can explore our full collection and find the right fit for your project over at https://www.displayguru.co.uk.