


What Is Stay Stitching? A Guide to Perfect Seams
Have you ever noticed how a beautifully sewn garment just seems to hang perfectly? The neckline sits flat, the armholes are smooth, and every curve is crisp and clean. The secret isn't magic; it's often a simple, preparatory step called stay stitching.
Stay stitching is essentially a line of straight stitches sewn through just a single layer of fabric. Its sole job is to stop curved or bias-cut edges from stretching out of shape while you handle and assemble your project. Think of it as an invisible scaffold, holding everything in place so your pattern pieces maintain their original form. It's a small detail that makes a world of difference.
Your First Step to Flawless Garment Construction
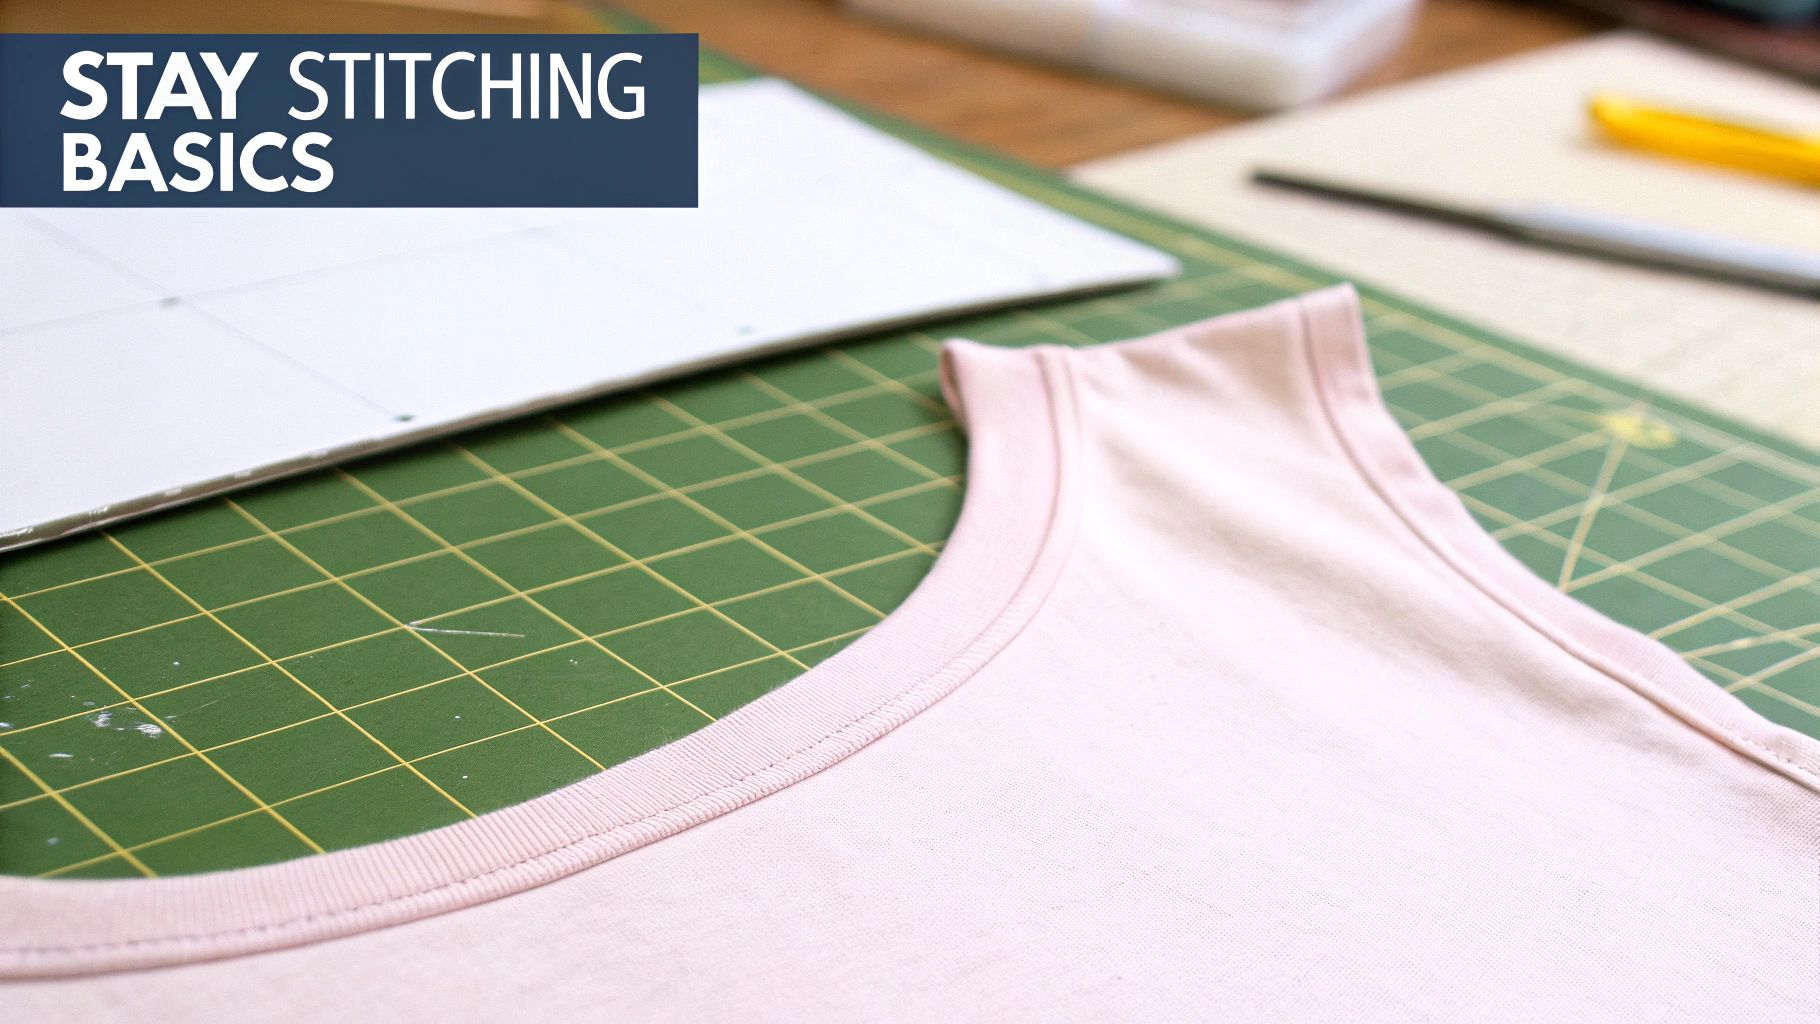
Before you even think about joining two pieces of fabric, there's a vital step that can elevate your sewing from looking 'homemade' to truly professional. This is where stay stitching comes in. It provides stability right where your fabric is most vulnerable—think necklines, armholes, and any edge that isn't cut perfectly straight with the fabric's grain.
Imagine you're building a puzzle. You wouldn't want the edges of the pieces to fray and warp before you fit them together, right? Stay stitching does the same for your fabric. By reinforcing these delicate edges right after cutting, you ensure every piece will fit together precisely as intended later on. Skip this, and you might end up with a gaping neckline or a wonky shoulder seam that no amount of ironing can save.
This crucial but often overlooked technique is the secret to crisp, stable seams and a garment that hangs beautifully, just as the designer intended.
This technique is a cornerstone of quality garment making. For high-stakes projects like wedding dress construction, foundational skills like this are non-negotiable for a perfect finish. Its value is reflected across the entire UK textile industry, which contributed around £9.1 billion in turnover in 2020 by relying on skilled techniques to produce durable, high-quality clothing.
These reinforcing stitches are usually placed just inside the seam allowance, which means they remain completely hidden in the finished garment. If you're new to the concept, you can learn more about this critical area by reading our guide explaining https://www.displayguru.co.uk/blogs/news/what-is-seam-allowance.
Stay Stitching at a Glance
For a quick reference, here’s a simple breakdown of the most important aspects of stay stitching.
| Attribute | Description |
|---|---|
| Purpose | To prevent stretching on curved or bias-cut edges. |
| Placement | Sewn on a single layer of fabric. |
| Location | Just inside the designated seam allowance (e.g., at 1/8" or 3mm). |
| Stitch Length | Typically shorter than a standard seam, around 1.5-2.0mm. |
This table serves as a handy cheat sheet, but the real understanding comes from putting it into practice on your next project.
Where and Why Stay Stitching Is Essential
To really get why stay stitching is so crucial, you need to understand how woven fabric behaves. It’s constructed from threads running in two directions: the lengthwise warp and the crosswise weft. These straight grains are the fabric's backbone—strong, stable, and predictable.
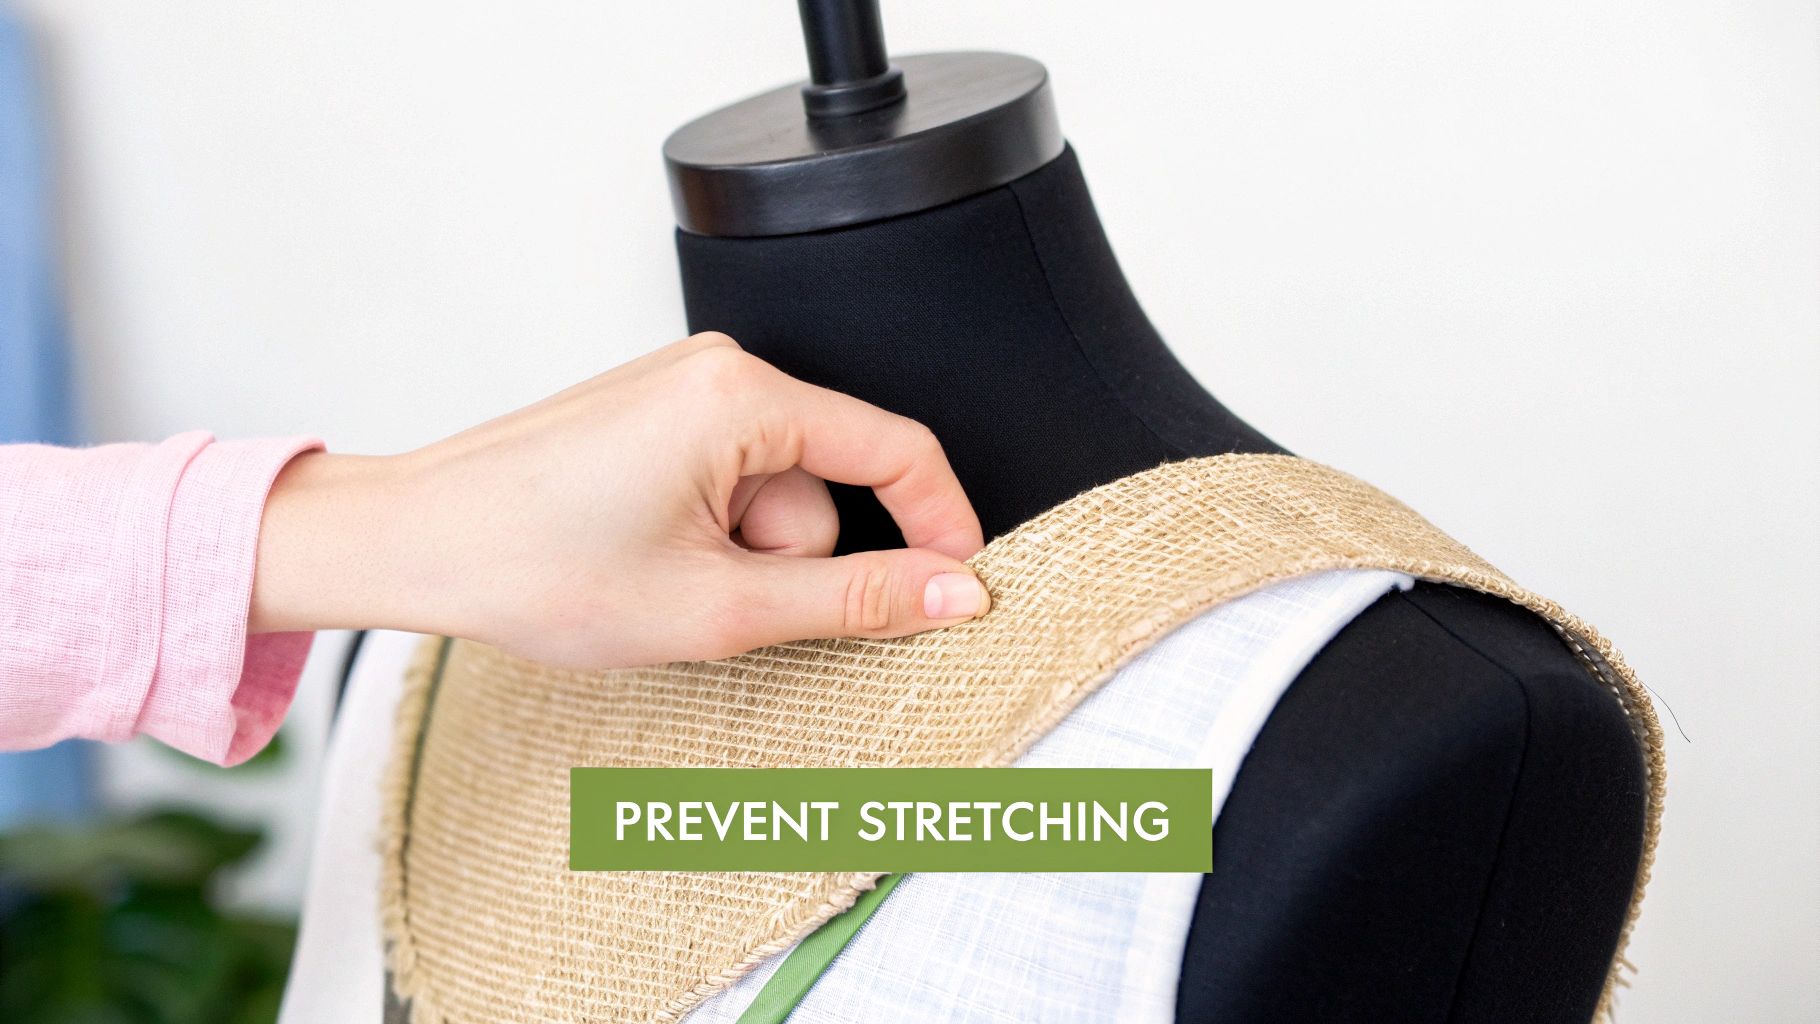
But the moment you cut a curve or a diagonal line, you’re cutting across that stable grid. This is called cutting on the bias, and it exposes the threads at their weakest, most pliable angle. These bias-cut edges are incredibly prone to stretching and distortion with even the slightest bit of handling.
Think of it like a piece of paper. It’s strong when you pull it along its length or width, but it tears easily if you start pulling from a diagonal corner. Cutting fabric on a curve creates that same vulnerability, making an unstable edge that needs a bit of reinforcement. This is precisely why stay stitching is a non-negotiable step for any sewer serious about quality. Skipping it is a recipe for disaster, often leading to gaping necklines, warped armholes, or saggy waistlines that are a real headache to fix later on.
Key Areas That Need Reinforcement
Some parts of a garment are almost always cut on a curve or bias, making them prime candidates for stay stitching. Taking a few moments to add this simple line of stitches will prevent frustrating fit problems and give your finished garment a much more professional look.
Here’s where you should always consider adding it:
- Necklines: V-necks and scoop necks are the biggest culprits. Without stay stitching, they can easily stretch out of shape.
- Armholes: These curves need to hold their shape perfectly to ensure your sleeves fit properly and lie smoothly against the body.
- Curved Waistlines: Common on dresses and skirts, these edges must remain stable to create a flattering fit.
- Pocket Openings: Any diagonal or curved pocket opening will sag and gape without that extra bit of support.
Stay stitching isn't a new-fangled trick; it’s a foundational technique that has been part of quality garment making for decades. The sewing community here in the UK has long championed its importance for maintaining the crisp, intended shape of a pattern. For areas that need even more structure, you might also find our guide on what interfacing is in sewing helpful.
Ultimately, spending a few minutes adding these stitches is an investment that pays off enormously in the final fit and finish of your project.
A Step-by-Step Guide to Perfect Stay Stitching
Alright, now that we’ve covered the what, where, and why of this brilliant little technique, it’s time to get down to the practical side of things. Nailing the perfect stay stitch is actually quite simple once you get the hang of it, and following these steps will help you build that muscle memory for a professional finish every single time.
Think of this as your first line of defence against warped and stretched-out fabric. It's a small action that makes a huge difference, ensuring every pattern piece keeps its proper shape from the cutting mat all the way to the final press.
Preparing Your Machine and Fabric
A little bit of prep work before you start sewing will save you a world of headaches later on. Setting up your machine correctly is the key to a smooth and frustration-free process.
- Set Your Stitch Length: Pop your stitch length down a bit from what you’d use for a normal seam. A setting somewhere between 1.5 mm and 2.0 mm is usually perfect. This creates a nice, strong line of stitches that’s stable but doesn’t add any real bulk to your seam allowance.
- Prepare Your Fabric Piece: It’s best to work with one pattern piece at a time, right after you've cut it out. This minimises how much you handle the fabric, reducing the chance of it stretching before you’ve even had a chance to secure it. Make sure the single layer of fabric is lying flat and smooth.
- Position Your Stitching Line: Your goal here is to stitch just inside the main seam allowance. If you’re working with a standard 1.5 cm (5/8") seam allowance, you’ll want to place your stay stitching about 1.2 cm (1/2") from the raw edge. This clever placement keeps it hidden away and completely invisible on the outside of your finished garment.
Taking a moment to get these initial steps right is just as important as the stitching itself. If you need a refresher on spotting seam allowances on your patterns, our guide on how to read sewing patterns is a great resource.
Mastering Directional Stitching
This is the secret sauce. The direction you sew in is probably the most critical part of getting stay stitching right. The rule is simple: always stitch from a stable, straight edge (like a shoulder) towards the middle of a curve or a less stable point.
The golden rule of stay stitching is to support the fabric, not fight it. Stitching from the outside edge in prevents you from pushing and stretching the very curve you're trying to protect.
Let’s take a V-neckline as an example. You would never stitch from one shoulder, pivot at the 'V', and continue up to the other shoulder in one go. That’s a guaranteed way to stretch out that beautiful sharp point. Instead, you need to break it down:
- Stitch from the right shoulder down to the centre point of the 'V'. Stop and snip your threads.
- Go back to the top of the left shoulder and stitch down to meet your first line of stitching at the 'V'.
This technique, known as directional stitching, makes sure both sides of the neckline are stabilised perfectly without any pulling or distortion. You’d use the exact same logic for a curved neckline or an armhole—stitching from each shoulder seam down towards the centre front or centre back. It’s a small detail that truly makes all the difference.
Choosing the Right Tools and Machine Settings
Getting your stay stitching right often boils down to a few small but crucial details in your setup. The good news is you don’t need any fancy equipment, but getting the settings on your sewing machine just so is the key to a supportive stitch that doesn't add any unwanted bulk.
When it comes to the stitch itself, think delicate yet effective. You're aiming for a shorter stitch length, somewhere in the region of 1.5 mm to 2.0 mm. This creates a nice, firm line of stitching that gives fantastic stability to your fabric edge. A standard, all-purpose thread is all you need for the job.
As you can see, it's a straightforward process: set up your machine, prepare the fabric, and then sew that directional stitch.

The infographic really drives home the point that success starts with the correct machine settings before a needle ever touches the fabric.
Fine-Tuning Your Equipment
Beyond getting the stitch length right, a couple of other tweaks will help you get a really clean finish. First, check that your machine’s tension is properly balanced. You want the stitches to look identical on both the top and bottom of the fabric.
The goal is to create a subtle line of reinforcement that becomes an invisible part of the garment’s structure. Correct tools and settings make this possible.
Finally, always start with a sharp needle that’s appropriate for your fabric. This simple step prevents snags and ensures the needle glides smoothly through the fibres without causing damage—something that's particularly important when working with delicate materials like silk. These practical skills have a long and rich history; needlework has been central to British fashion since the 18th century, with sewing techniques forming the very foundation of garment creation. You can read more about this in our guide on the role of scissors in sewing.
Common Stay Stitching Mistakes and How to Fix Them
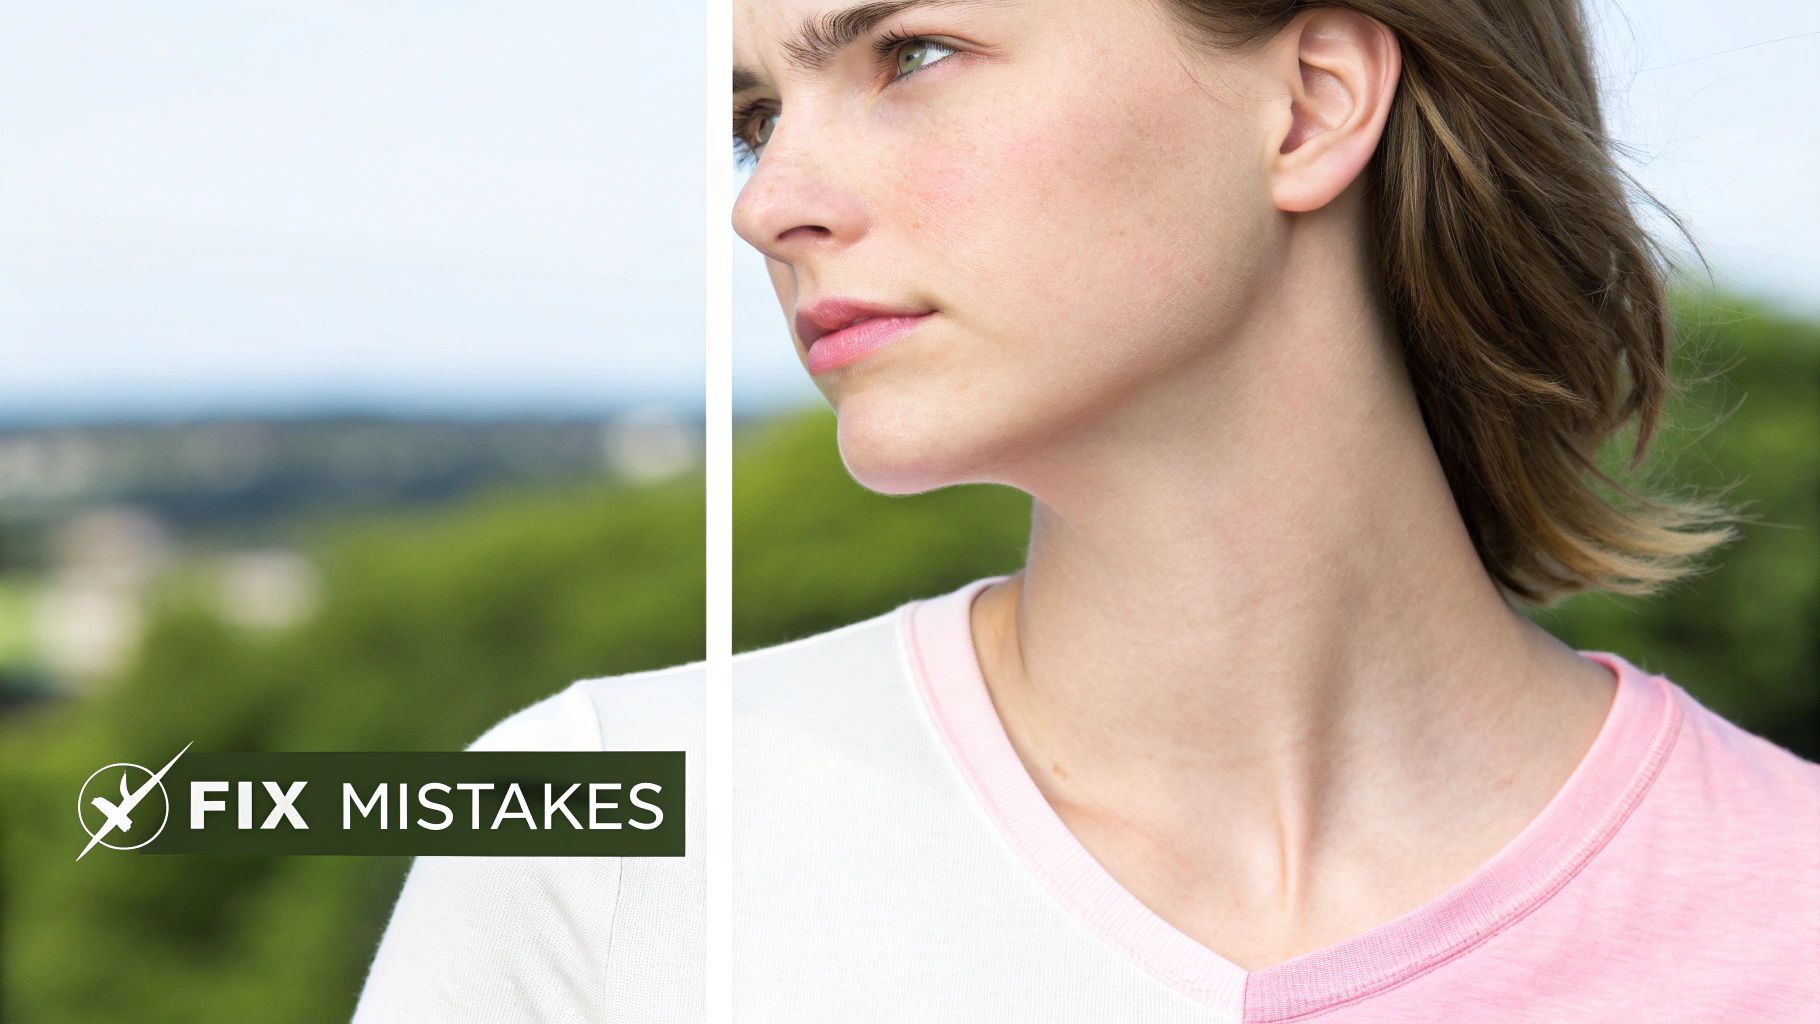
Even with the simplest of sewing techniques, it's easy to make a wrong turn. But when it comes to stay stitching, spotting these common slip-ups is the best way to really understand why the technique is so important in the first place. Think of any mistake not as a failure, but as a lesson in fabric behaviour.
One of the most frequent errors I see is stitching too far from the fabric's raw edge. If your stay stitching creeps beyond the seam allowance, you'll have a rogue line of thread peeking out on your finished garment. Thankfully, the fix is straightforward: grab your seam ripper, carefully unpick the stitches, and simply sew a new line closer to the edge.
Another classic mistake is accidentally stretching the fabric while you’re trying to stop it from stretching. It sounds ironic, but it happens all the time if you pull the material through the machine instead of letting the machine do the work.
Remember, your job is to gently guide the fabric, not to force it. Let the feed dogs take control and do all the heavy lifting.
If you look down and see a wavy, stretched-out edge after you've stitched, it's best to stop. Unpick the seam, let the fabric relax for a bit, and then try again with a much lighter touch.
Fine-Tuning Your Technique
Beyond how you handle the fabric, a couple of simple machine-setting errors can trip you up. Using a stitch length that’s too long is a big one. Your standard 2.5 mm stitch is great for seams, but it's not short and tight enough to give a bias edge the stability it needs.
Forgetting to use directional stitching is another critical misstep, especially on necklines. If you just sew continuously from one shoulder to the other, you're almost guaranteed to stretch out the most delicate part of the curve right at the centre.
Here’s a quick troubleshooting guide to keep on hand:
-
The problem: My stay stitching feels loose and isn't really supporting the fabric.
- The fix: Check your stitch length. You need to shorten it to between 1.5 mm and 2.0 mm to create that firm, stable line of stitches.
-
The problem: The point of my V-neck or the bottom of a scoop neck looks warped.
- The fix: This is a classic sign of incorrect stitch direction. Unpick the stitching and sew it again, this time stitching from each shoulder down to the centre point separately.
Getting these little details right will make a world of difference to your finished garments and give your confidence a real boost. For more advice on building a solid foundation, take a look at our guide to other essential sewing techniques. When you understand not just how to do something, but why you're doing it, you're well on your way to a beautiful, professional finish every time.
Frequently Asked Questions About Stay Stitching
As you start using stay stitching more and more, you'll probably run into a few specific questions. Let's tackle some of the most common ones that come up, so you can feel completely confident in your technique.
Do I Really Need to Stay Stitch Stable Fabrics?
This is a great question, and it shows you're really thinking about how your fabric behaves. For very stable, tightly woven fabrics like a heavy cotton drill or a sturdy canvas, you might get away with skipping it.
But here’s my advice: when in doubt, just do it. A line of stay stitching takes less than a minute to sew and acts as a cheap insurance policy. It prevents any accidental stretching, which can happen even to stable fabrics if you handle them a lot while constructing the rest of the garment.
What Is the Difference Between Stay Stitching and Basting?
It's easy to get these two confused because they both look like simple lines of sewing, but they have completely different jobs. Think of it like this: stay stitching is structural support, while basting is a temporary placeholder.
- Stay stitching is a permanent stitch sewn on a single layer of fabric. Its only job is to stop that one piece from stretching out of shape.
- Basting, on the other hand, is a temporary stitch used to hold two or more layers of fabric together. You use it for things like test fittings or holding a zip in place, and you always remove it later.
Stay stitching adds stability to one piece of fabric. Basting temporarily joins multiple pieces together. They're two different tools for two very different moments in the sewing process.
Should I Remove the Stay Stitching Afterwards?
Definitely not! The stay stitching is meant to be a permanent part of your garment's inner workings. It's sewn just inside the seam allowance, so once you sew your final seam, it gets completely hidden away inside.
By leaving it in, you're giving lasting support to delicate areas like necklines and armholes. This helps them keep their crisp, professional shape through countless wears and washes. Taking it out would undo all your good work.
Can I Stay Stitch by Hand?
Yes, absolutely. If you don't have a sewing machine, or perhaps you're working on a delicate heirloom piece, you can easily stay stitch by hand. A simple, short running stitch does the job beautifully.
Just use a single strand of thread and keep your stitches small and even—around 2mm long is ideal. Make sure you're placing the stitches just inside the seam allowance, exactly where you would with a machine. It takes a little more time, but the result is just as effective at stabilising those vulnerable edges.
At Display Guru, we know that great sewing starts with the right equipment. From adjustable tailor's dummies to get the perfect fit, to sturdy garment rails for your studio, we provide the professional-grade tools that help bring your vision to life. You can explore our full collection over at https://www.displayguru.co.uk today.