


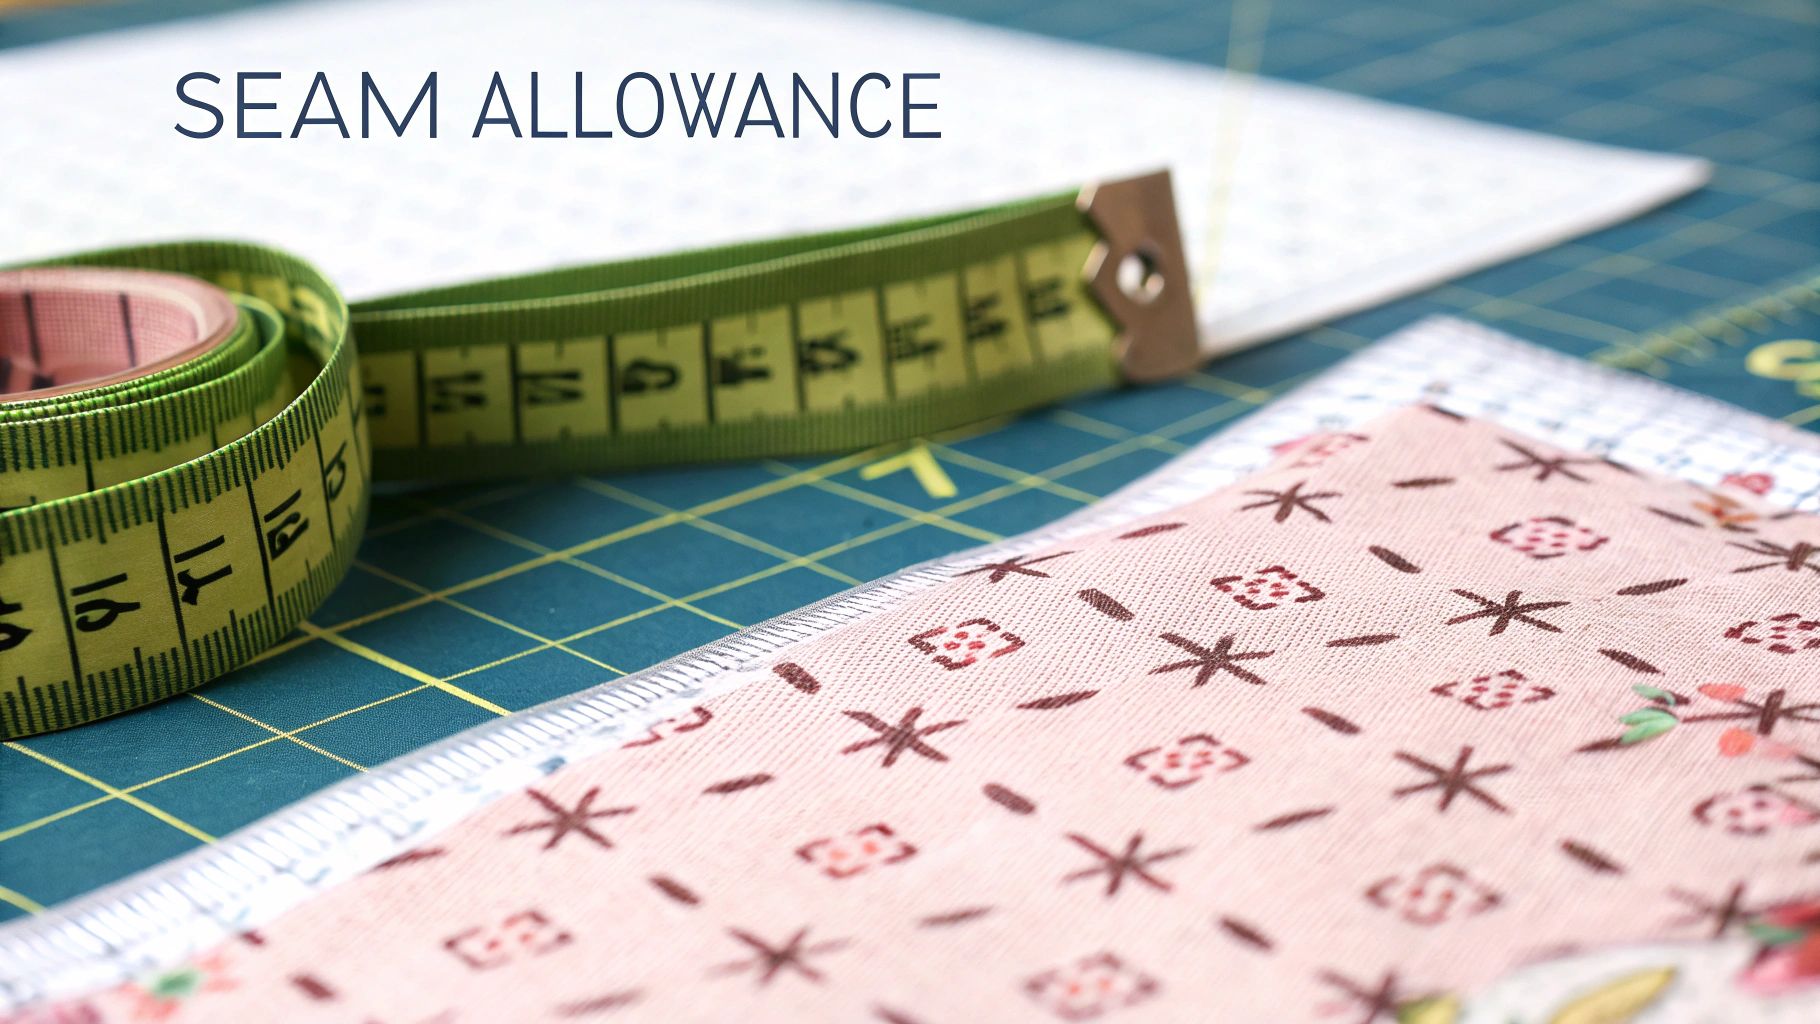
What Is Seam Allowance Your Complete Sewing Guide
Think of the seam allowance as the unseen buffer zone on your fabric pieces. It's the small but crucial area between the raw edge you cut and the line where you'll actually stitch. This little strip of fabric is the unsung hero of garment construction, giving you the necessary space to join pieces together securely.
The Hidden Framework of Every Garment
Imagine you're building a piece of flat-pack furniture. The seam allowance is like the space left for the screws and dowels – you don't see it in the finished product, but without it, the whole thing would just fall apart. In sewing, this margin is the invisible architecture that gives your seams strength and integrity.
When you cut your fabric, you're always cutting a shape that's slightly larger than the finished piece. This extra border is your "construction zone," and it plays a few vital roles:
- It provides strength: This is the fabric your stitches will hold onto, preventing the seam from ripping open when stretched or worn.
- It ensures the right fit: By sewing along the designated stitch line inside this margin, you ensure the finished garment comes out at the correct size.
- It gives you room to finish: It provides the space needed for neatening techniques like overlocking or creating beautiful French seams, which stop the fabric from fraying.
Getting this wrong is a classic source of sewing frustration. If your seam allowance is too narrow, your seams might pull apart. If it's too wide, your finished garment will be too tight. That’s why paying close attention to the allowance specified in your pattern is so important. You can find more tips on this in our guide on how to read sewing patterns.
Seam allowance isn't just leftover fabric; it's the difference between a garment that fits beautifully and one that simply doesn't work. It’s the silent partner to every stitch, setting your project up for success from the inside out.
In the UK garment industry, things are often standardised for consistency and speed. A 1.5 centimetre seam allowance is a common industry benchmark for commercially produced clothing. This measurement strikes a perfect balance between saving fabric and ensuring the seams are robust enough to be sewn on high-speed industrial machines. Mastering this simple concept is a foundational step towards creating professional-quality clothes.
Why Consistent Seams Are Non-Negotiable
Knowing what seam allowance is is one thing, but truly appreciating its role is what separates a homemade project from a handmade masterpiece. That seemingly small border of fabric dictates almost everything about the final garment, which makes consistency a skill you just can't skip. It’s the difference between a custom jacket that hangs perfectly and a high-street top that twists and warps after one wash.
At its heart, a consistent seam allowance ensures three crucial outcomes: an accurate fit, lasting durability, and a professional finish. When every seam is sewn with the same precise allowance, the pattern pieces come together exactly as the designer envisioned. If you wander off course by even a few millimetres on each seam, those small errors quickly add up, altering the final size and leaving you with a garment that's either too tight or frustratingly loose.
The Pillars of Garment Quality
A precise seam allowance does so much more than just nail the fit. It has a direct say in how well the garment holds up over time and how polished it looks from the outside. This precision is built on a few core ideas:
- Structural Strength: The allowance provides the necessary fabric to create a strong seam that can handle stretching, movement, and plenty of trips through the washing machine. A skimpy or uneven allowance creates weak points that are prone to ripping under stress.
- A Clean Finish: To stop fabric from fraying, you need room to work your magic. Finishing methods like overlocking or creating beautiful French seams rely on having a predictable amount of fabric to encase or stitch down.
- Professional Appearance: There's nothing quite like a perfectly sewn seam. When they're even, they lie flat and press beautifully, giving your projects that high-quality look, both inside and out.
Think of your seam allowance as the blueprint for construction. If the foundation is wonky, the whole structure will be unstable. A consistent seam allowance ensures every piece fits together flawlessly, creating a garment that is both beautiful and built to last.
Ultimately, getting this detail right is what will elevate your craft. You can explore many other valuable skills in our guide to essential sewing techniques. By making accuracy a priority, you ensure every project reflects the care and quality you've poured into it.
Decoding Standard Seam Allowance Measurements
While the world of sewing might seem full of arbitrary rules, standard seam allowances are actually quite logical. Most patterns and projects stick to a few common measurements, each with a very specific job to do. Think of them as a shared language that helps ensure everything fits together perfectly, no matter who designed the pattern.
The measurement you’ll see most often, especially on commercial patterns from brands like Simplicity or Butterick, is 1.5 cm (5/8 inch). This has become the industry go-to for a good reason. It’s generous enough to create strong, durable seams for clothing and gives you a little wiggle room for minor fitting adjustments.
Of course, not every project calls for the same approach.
Common Widths for Different Projects
Take quilting, for example. Quilters almost always work with a much narrower 6 mm (1/4 inch) seam allowance. This isn't just a preference; it’s essential for the accuracy needed in patchwork. When you're joining dozens of small fabric pieces, even a tiny bit of extra bulk from a wider seam could completely throw off the final design.
The seam allowance you use has a direct impact on the structure, fit, and final look of your project. A 1.5 cm allowance builds durable garments, while a 6 mm allowance enables the precision that quilting demands.
Your sewing machine is set up to help you get this right. Those little lines etched onto the needle plate aren't just for decoration—they’re your guides. They mark out the most common seam allowance widths, helping you feed your fabric through consistently. Nailing this step is a cornerstone of getting the right fit, which all starts with good measurements. For more on that, take a look at our easy guide on how to take body measurements for clothes.
The image below gives you a clear visual of why this precision is so fundamental to a successful sewing project.
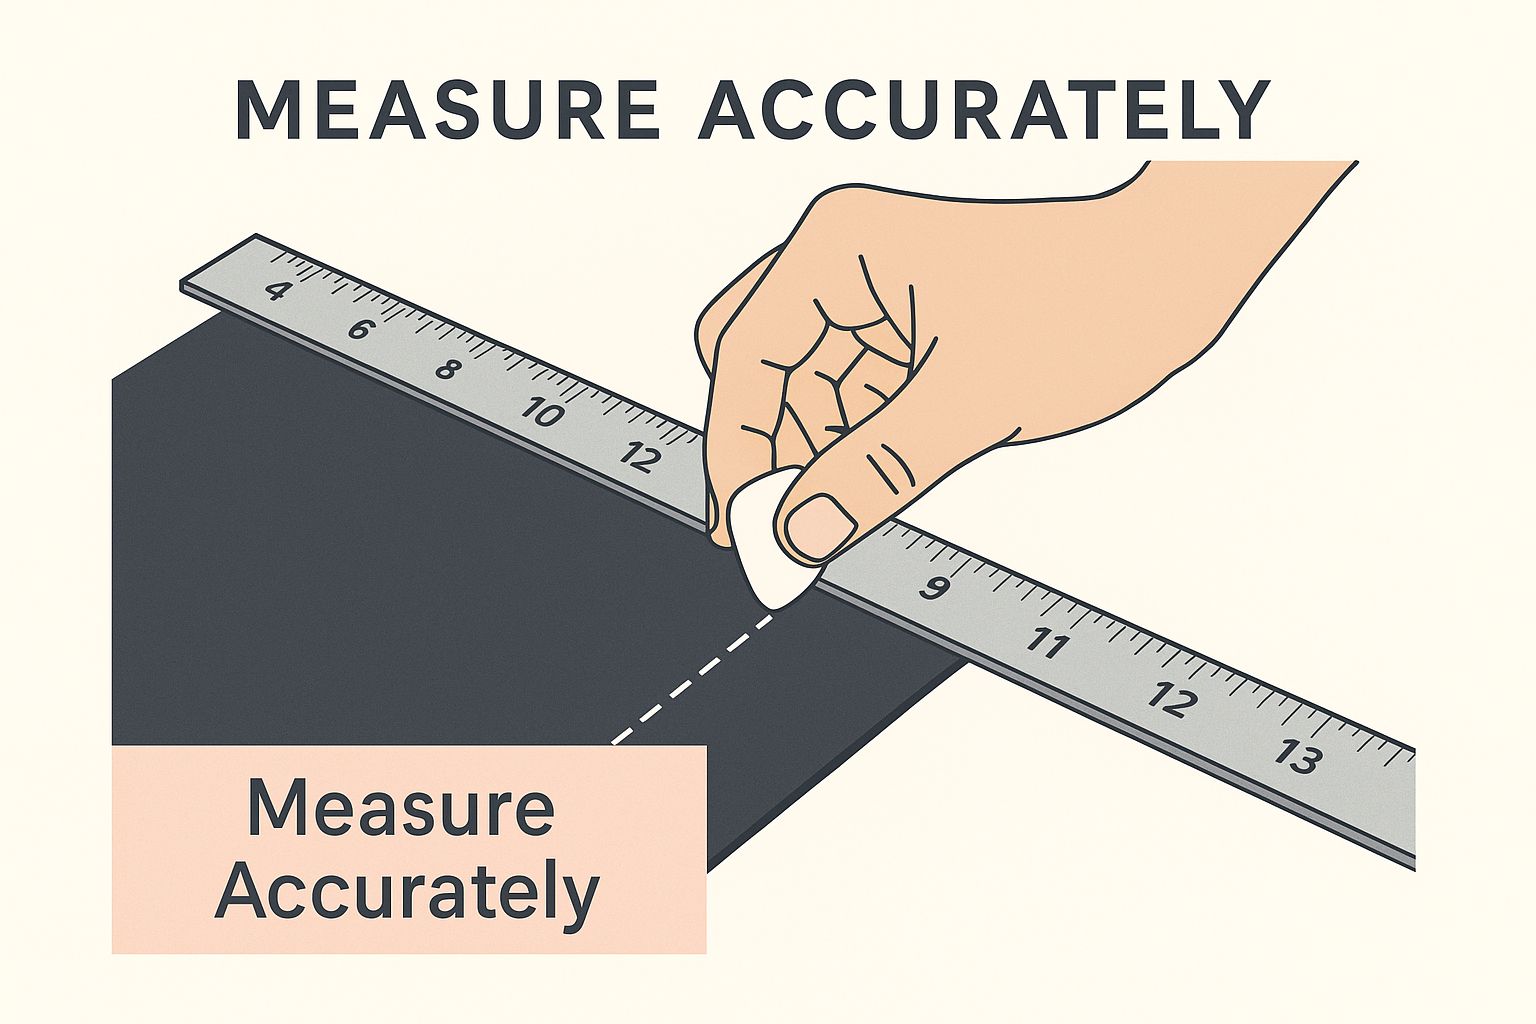
As you can see, accurate measurement is the foundation of any well-made garment, ensuring every piece lines up exactly as the pattern intended.
To make things even clearer, here's a quick reference table showing which seam allowance to use and when.
Common Seam Allowance Measurements and Their Uses
| Measurement (Metric/Imperial) | Common Application | Best For |
|---|---|---|
| 6 mm (1/4 inch) | Quilting, patchwork, doll clothes, miniature projects | Projects requiring extreme precision and minimal bulk in the seams. |
| 1 cm (3/8 inch) | Enclosed seams (e.g., collars, cuffs), facings, lingerie | Areas where a narrower, less bulky seam is needed for a clean finish. |
| 1.5 cm (5/8 inch) | General garment construction (dresses, trousers, shirts) | The industry standard for commercial patterns; allows for fitting. |
| 2.5 cm (1 inch) | Hems, fitting seams on bespoke garments | Areas that may need significant letting out or a deep, weighted hem. |
This table acts as a great starting point, but always remember to double-check your pattern instructions, as they will always provide the definitive measurement for your specific project.
How to Confidently Measure and Mark Your Fabric

This is where the theory ends and the real skill begins. Getting your seam allowance measured and marked correctly is the first true hands-on step to creating a beautiful garment. It’s about turning those numbers on the pattern into precise lines on your fabric, a task that demands the right tools and a steady hand.
Often, the simplest way to keep your seams consistent is to use the guides built right into your sewing machine. That metal plate under the needle isn't just for show; it has lines etched on it with numbers like 1.5 or 5/8, marking out common seam allowance widths. All you have to do is keep the raw edge of your fabric gliding along the correct line as you sew.
But what about when your pattern doesn't include the seam allowance? That's when you need to add it yourself, and accuracy starts long before you even touch the sewing machine.
Essential Marking Tools
Having the right kit makes all the difference. Each tool has its own job, helping you work with both precision and speed.
- Seam Gauge: This little metal ruler with a sliding marker is a game-changer. Just set it to your desired width—say, 1.5 cm—and you can quickly check the distance from the edge as you press your seams or pin your pieces together.
- Clear Gridded Ruler: An absolute non-negotiable for any sewing space. Being able to see the fabric underneath makes it so much easier to draw a perfectly straight and consistent line parallel to your cutting edge.
- Fabric Markers: You have options here, from classic tailor's chalk and chalk wheels to clever disappearing ink pens. The goal is a fine, clear line that won't leave a permanent mark. Just remember to test it on a scrap of your fabric first!
Don't underestimate the value of a great workspace, either. A self-healing mat keeps your ruler from slipping and saves your tabletop from scratches. It’s worth exploring different sewing cutting mats to find one that fits your space and projects.
When to Adjust Your Allowance
While patterns give you a standard to follow, a seasoned sewer knows that rules are sometimes made to be broken. Certain fabrics and designs just work better with a tweaked seam allowance.
Adjusting your seam allowance is a sign of thoughtful sewing. It’s about responding to your fabric's behaviour and the garment's design to create a superior finish, rather than just blindly following instructions.
Take fabrics that fray easily, like linen or a loose-weave cotton. They really benefit from a wider allowance. It gives you that extra bit of material needed for stronger finishes like French seams, which neatly encase the raw edges and stop them from unravelling.
On the other hand, when you’re sewing sharp curves or tight corners, trimming the seam allowance down is the key. This reduces the bulk inside, allowing the seam to lie beautifully flat and smooth once you turn it the right way out. Learning to make these little adjustments is how you truly take control of your sewing.
Seam Allowance and Its Role in Sustainable Sewing
When we think about mindful sewing, our minds often jump to perfect stitches or upcycling old garments. But what if one of the most impactful choices we make happens before we even thread the needle? The seemingly small detail of what seam allowance you use has a huge knock-on effect on fabric consumption, tying your creative hobby directly to the bigger picture of sustainability.
Put simply, a smaller, carefully planned seam allowance means less fabric ends up in the scrap bin. This isn't just a home-sewing tip; it's a fundamental principle in the professional world. Designers and large-scale manufacturers obsessively plan their pattern layouts around specific, and often narrower, seam allowances to get the absolute most out of every roll of fabric. It’s a masterclass in resourcefulness and a key strategy for reducing the industry's environmental footprint.
Reducing Waste at an Industrial Scale
Within the apparel industry, which is a major player in the £35.43 billion UK textile market, sticking to precise seam allowances can cut fabric waste by a staggering 15-20%. This level of optimisation isn't just about being green; it’s a core part of how manufacturers improve their profit margins while moving towards more sustainable production. You can read more about the UK textile market on expertmarketresearch.com.
As home sewists, we can borrow these professional principles to make our own practice more eco-friendly. A little bit of thoughtful planning at the start of a project can dramatically reduce how much fabric you waste over a year.
Sustainability in sewing isn't just about giving old textiles a new life; it's about being intentional with new ones from the very first cut. By optimising your seam allowance, you actively participate in reducing waste, one project at a time.
Here are a few practical ways to minimise those offcuts and make your fabric go further:
- Plan Your Layout: Before you even think about picking up the scissors, play around with your pattern pieces. Try arranging them in different ways on the fabric to find the layout that leaves the least amount of empty space.
- Use Smaller Allowances Where It Makes Sense: For stable, non-fraying fabrics or on seams that won't be under a lot of stress (like internal facings), consider using a narrower 1 cm (3/8 inch) allowance instead of the standard 1.5 cm (5/8 inch).
- Embrace Your Scraps: Even the tiniest offcuts have potential! Keep them for patchwork, making bias binding, testing stitches, or even whipping up some doll's clothes.
By building these small habits into your routine, you can make a real difference to your fabric waste. Staying organised is key, and using a dedicated sewing project planner can help you track your materials and map out your sustainable efforts.
Your Seam Allowance Questions Answered
Once you get your head around the theory, you quickly run into real-world questions. Let's tackle some of the most common queries that come up, so you can sew with a bit more confidence.
Do All Sewing Patterns Include Seam Allowance?
That's a fantastic question, and the answer is a firm no—which is why you must always check! Most commercial paper patterns from the big names like Simplicity or Butterick come with a standard 1.5 cm (5/8 inch) seam allowance built-in.
However, a lot of independent PDF patterns and many European designs expect you to add your own. The pattern instructions are your best friend here, so always read them thoroughly before a single snip is made.
What Happens If My Seam Allowance Is Uneven?
Inconsistent seam allowances are the secret culprit behind so many sewing headaches. When they're all over the place, you get puckered seams, pieces that just won't line up, and a finished garment that doesn't fit right.
Think about it: if your allowance is too wide, the garment will come out too tight. If it's too narrow, it'll be too loose. A simple tool like a magnetic seam guide can be a game-changer for keeping your stitching perfectly straight.
Should I Adjust Seam Allowance for Different Fabrics?
Absolutely. This is where you start to really refine your sewing skills. The fabric you're working with often dictates the best approach.
For fabrics that love to fray, like a slippery chiffon or silk, a wider allowance gives you the extra room needed for a neat, enclosed finish like a French seam. On the other hand, with heavy wools or thick denim, you’ll often want to trim the seam allowance down after stitching. This technique, called grading, gets rid of the bulk and helps the seam lie beautifully flat.
For accurate fittings and truly professional results, having the right tools makes all the difference. At Display Guru, we offer a wide range of tailor's dummies and body forms to support every sewing project. Explore our collection at https://www.displayguru.co.uk.