


What is Interfacing in Sewing? A Complete Guide for Perfect Garments
Ever wondered how professional garments get their crisp collars and perfectly structured cuffs? The secret isn't magic; it's interfacing, a hidden layer of material that adds shape, support, and stability exactly where you need it.
The Secret Ingredient for Professional Sewing
Think of interfacing as the silent framework of a garment. It’s like the foundations of a building – you don't see it, but it provides the essential structure that stops your fabric from stretching out of shape, sagging, or collapsing. This simple addition is often the key to taking a project from looking homemade to beautifully high-quality.
Before diving into the nitty-gritty, it's helpful to see how this fits into the wider world of sewing and knitting. Getting to grips with core materials like interfacing is a fundamental skill that opens up so many creative possibilities.
You'll generally come across two main types of interfacing on your sewing journey:
-
Fusible Interfacing: This is the most common kind. It has a heat-activated adhesive on one side, meaning you can simply iron it directly onto your fabric for a quick and secure bond.
-
Sew-In Interfacing: Just as the name suggests, this version is stitched into the garment, usually caught within the seam allowances. It’s the perfect choice for delicate or heavily textured fabrics that might not react well to heat.
By adding body and strength, interfacing ensures design elements like collars, cuffs, and button bands hold their intended shape. This attention to detail is crucial for achieving a professional finish, whether you are a hobbyist or preparing a garment for display on a specialised mannequin like this one: https://www.displayguru.co.uk/products/display-guru-uk-size-6-8-female-dressmakers-tailors-dummy-mannequin-brown-flower-on-black-torso-bust-with-white-wood-tripod-stand. Mastering its use is essential for creating durable, polished pieces.
How Interfacing Takes Your Garments to the Next Level
Think of interfacing as the secret weapon in your sewing arsenal. It’s not just about adding stiffness; it’s a problem-solver that dramatically lifts the quality and lifespan of your handmade clothes. This hidden layer provides the internal skeleton that turns good sewing into truly great sewing, making sure your finished piece looks polished and professional.
Ever wonder why a shop-bought shirt collar stays sharp wash after wash, while a homemade one might flop? The answer, almost always, is interfacing. It’s the key to preventing those all-too-common frustrations like saggy waistbands, misshapen necklines, and stretched-out buttonholes.
From Flimsy to Fabulous
Interfacing gives lightweight fabrics a more substantial, luxurious feel and adds body exactly where it’s needed. This is the core of what interfacing does—it gives you control and structure. For example, it can:
- Strengthen High-Stress Areas: Think button bands, cuffs, and pocket openings. Interfacing adds reinforcement, preventing tearing and stretching from constant use.
- Define Crisp Edges: Collars, facings, and lapels get that sharp, tailored definition that holds its shape beautifully.
- Support Delicate Fabrics: It stops sheer or fragile materials from warping or stretching out of shape as you sew, making them far easier to handle.
Choosing the right interfacing has a direct impact on how well a garment lasts, which is a big deal for UK consumers who are increasingly looking for durable, long-lasting fashion. In a market where people spent an average of £1,247 on fashion in 2024, that professional finish really matters.
In the end, interfacing is what makes sure your creations look just as good on a person as they do on a female dressmakers tailors dummy. It’s the unseen hero that gives every sewing project a truly professional, long-lasting finish.
Choosing the Right Interfacing for Your Fabric
Think of choosing interfacing like casting a supporting actor in a film. You need something that enhances the star (your fabric) without stealing the show. The goal is to find an interfacing with a similar weight and drape to your main material, ensuring they work together in harmony.
A good rule of thumb is to pick an interfacing that's slightly lighter than your fashion fabric. This adds just the right amount of support and structure without making the area feel bulky or stiff.
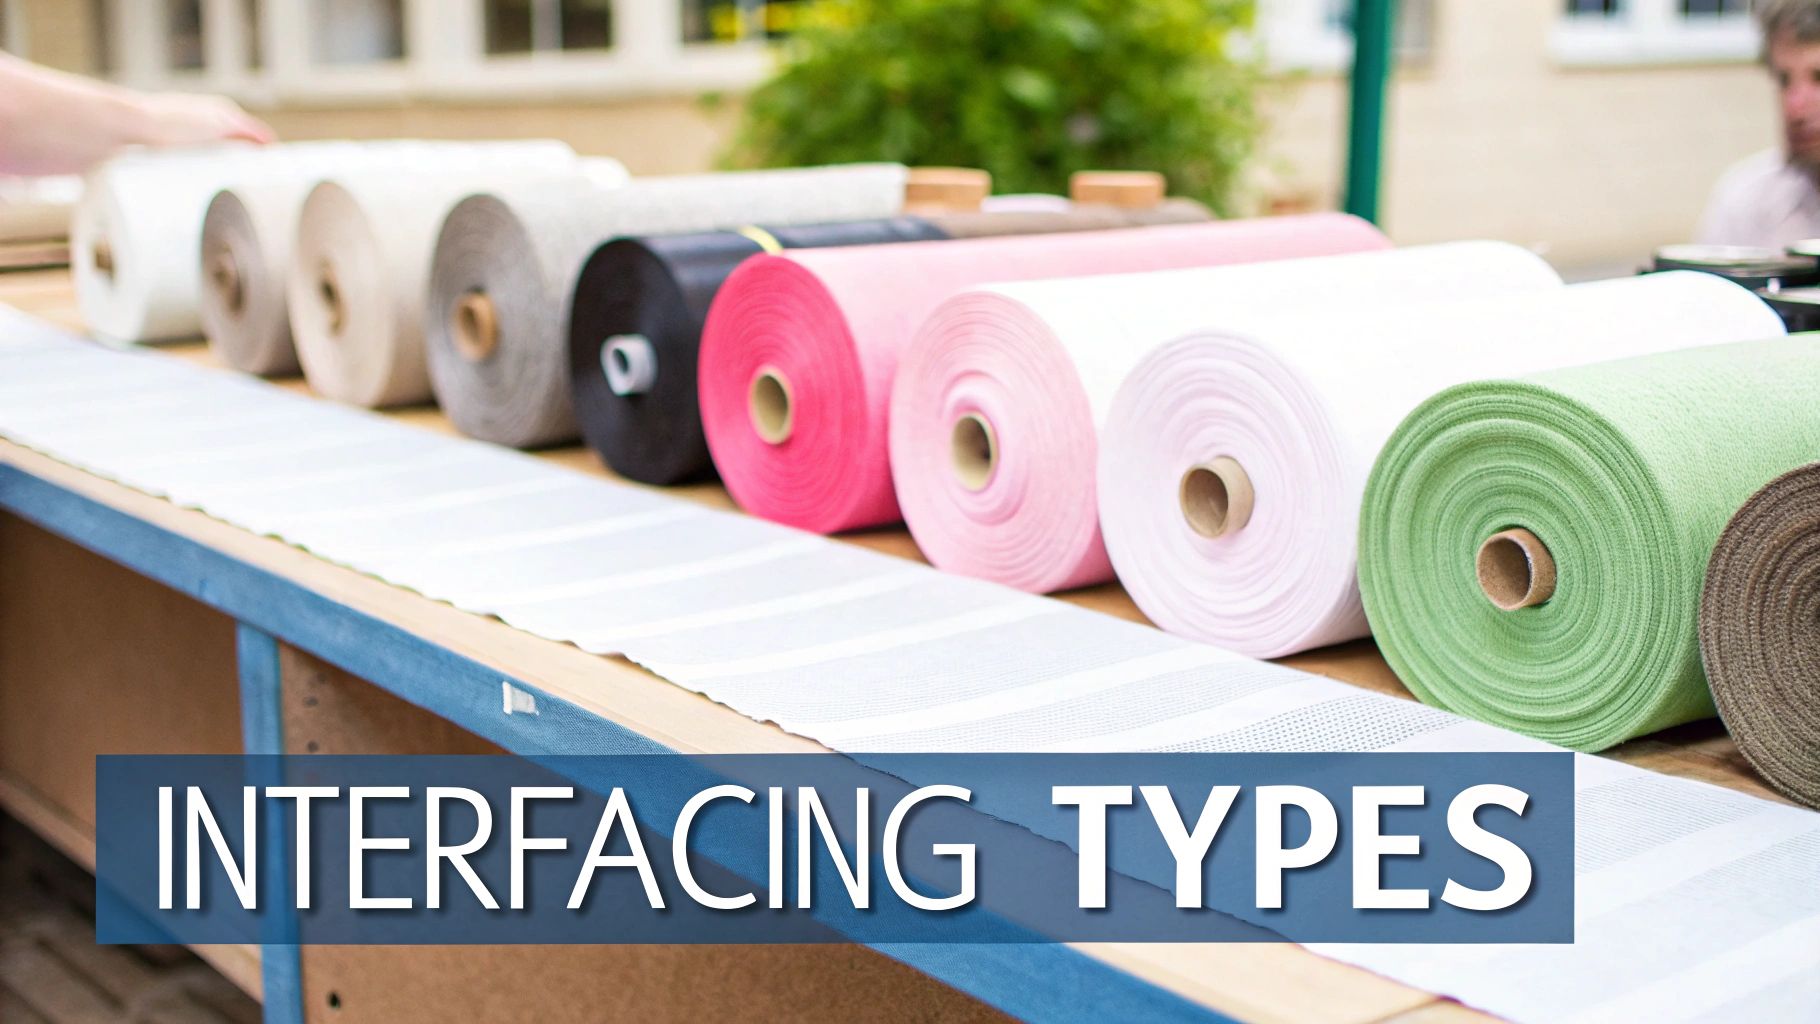
There are three main families of interfacing, each with its own character and purpose. Getting to know them is the first step to making choices you’ll be happy with.
Woven, Non-Woven, and Knit Explained
The way interfacing is constructed is the biggest clue to how it will behave. Each type is engineered to complement specific kinds of fabric, so let's break them down.
-
Woven Interfacing: Just like your cotton or linen fabrics, this type has a distinct grainline. You need to cut it on the same grain as your fabric pieces. This ensures they move together as one, giving a really natural feel and preserving the original drape of the material.
-
Non-Woven Interfacing: This is the reliable all-rounder of the interfacing world. It has no grainline, which means you can cut your pieces in any direction you like – a brilliant way to minimise waste! It's a fantastic choice for beginners and plays nicely with most fabrics.
-
Knit Interfacing: Got a stretch fabric like a jersey or a spandex blend? This is what you need. Knit interfacing has stretch built right in, so it offers support without preventing the fabric from moving and stretching as it was designed to. This is crucial for getting a comfortable fit.
This handy image shows how the weight of your interfacing should relate to the type of fabric you're using.
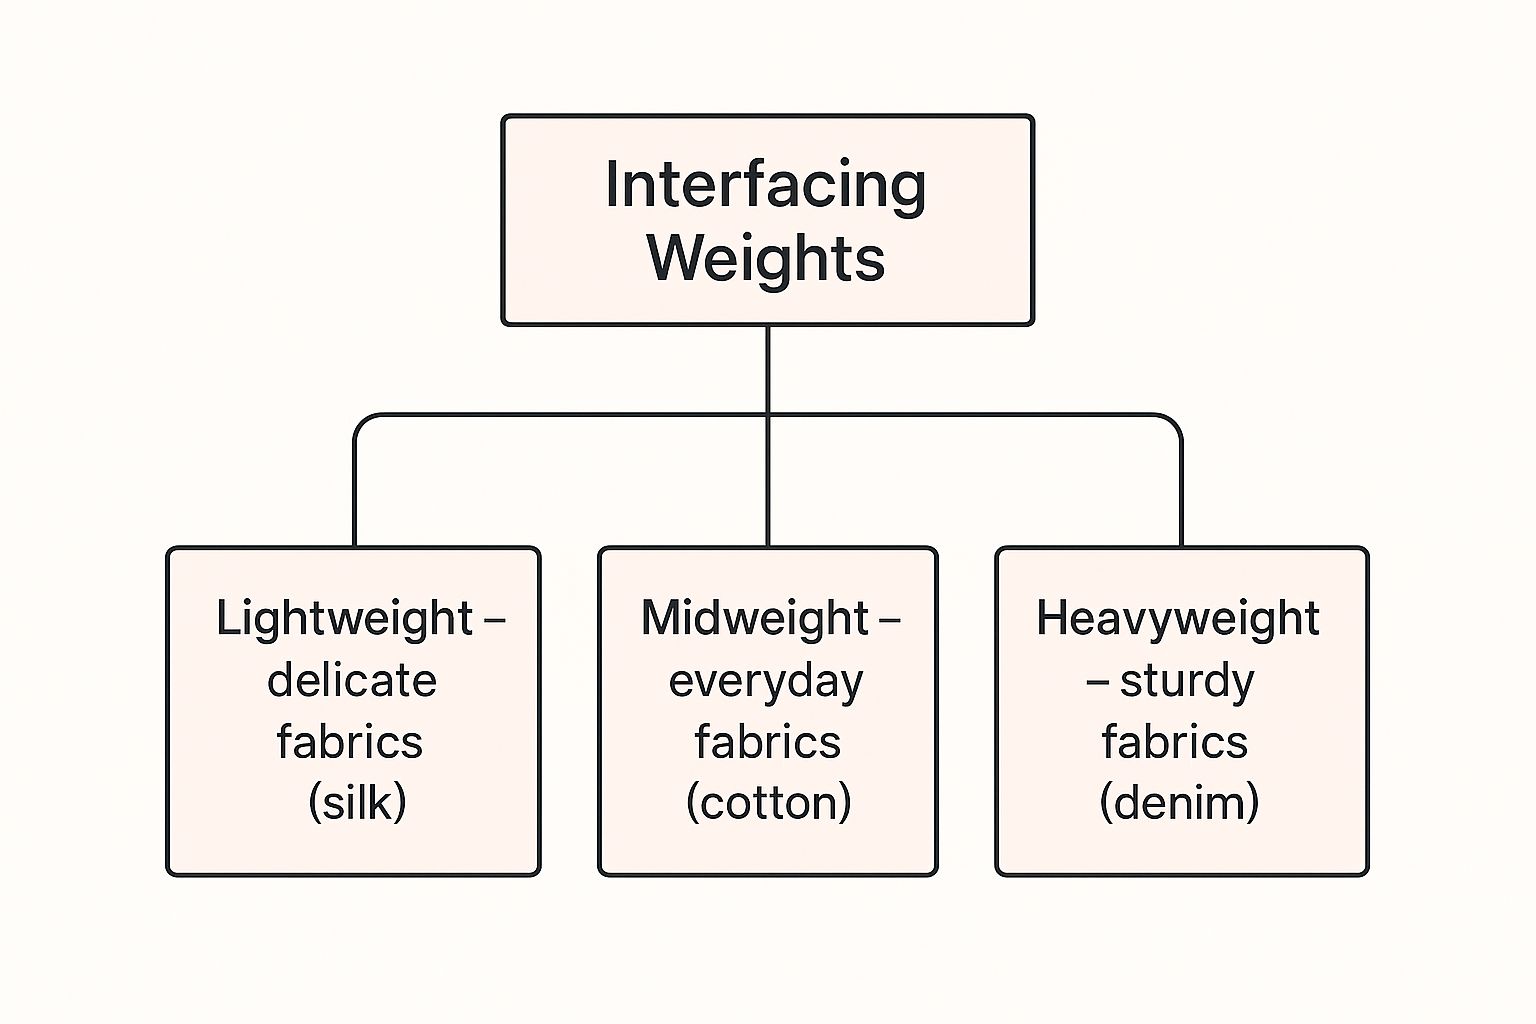
As you can see, lighter interfacings are paired with delicate fabrics, while the heavy-duty stuff is reserved for tougher materials like denim or twill.
The goal is always to enhance the fabric, not overpower it. Choosing an interfacing that respects the original character of your material is fundamental to achieving a professional finish, ensuring the garment looks perfectly constructed when displayed on a female dressmakers dummy.
Interfacing Types at a Glance
Here’s a quick comparison to help you choose the right construction for your fabric and project.
| Interfacing Type | Best For | Key Characteristic | Application Tip |
|---|---|---|---|
| Woven | Tailored garments, natural-fibre fabrics. | Has a grainline, mimics the drape of woven fabric. | Always cut on the same grain as your main fabric piece. |
| Non-Woven | All-purpose use, beginners, odd shapes. | No grainline, stable in all directions. | Can be cut in any direction, making it economical to use. |
| Knit | Jersey, spandex blends, and stretch fabrics. | Stretches with the fabric, providing flexible support. | Apply gently, being careful not to stretch it during fusing. |
This table should give you a great starting point, but remember my number one rule: when in doubt, test it out!
Always fuse or baste a small test piece of interfacing onto a scrap of your fashion fabric. See how it feels, how it drapes, and how it handles being pressed. This one simple step can save you a world of frustration and ensure your final garment has the beautiful structure you envisioned.
Fusible Versus Sew-In Interfacing
When you're standing in the haberdashery, the biggest decision you'll likely face is whether to go for fusible or sew-in interfacing. They each have their place, and knowing when to use which is one of those little secrets that takes your sewing from homemade to handmade.
Fusible interfacing, the kind you iron on, is a brilliant time-saver. It has a layer of heat-activated adhesive on one side that, with a bit of heat and pressure from your iron, bonds directly to your main fabric. It's fast, it’s clean, and it gives a crisp, firm result.
But it’s not a one-size-fits-all solution. That same heat can be a disaster for certain materials, scorching delicate fabrics or melting textures flat.
Understanding Sew-In Interfacing
This is where the more traditional sew-in interfacing comes into its own. As the name suggests, it has no glue. You simply treat it like another layer of fabric, catching it in the seam allowances as you stitch your garment together.
It's the go-to choice for any material that would protest against a hot iron. Think of fabrics like:
- Velvet, velveteen, or anything with a pile
- Anything heavily beaded or decorated with sequins
- Delicate lace or very open-weave fabrics
- Faux fur and some synthetic leathers
Beyond just being heat-safe, sew-in interfacing offers a much softer, more natural drape. Because it isn't glued down, the fabric and interfacing can move a little more independently, preventing that stiff, board-like feeling you sometimes get with fusibles. It takes a bit more patience to apply, but for high-end tailoring, the beautiful, couture finish is absolutely worth it.
A professional finish relies on selecting the right tools for the job. For bespoke creations, the choice between sew-in and fusible interfacing directly impacts the final drape and feel of the garment, a detail that becomes even more apparent when displayed on a high-quality female dressmakers dummy.
Thankfully, both types of interfacing have come a long way. Modern fusibles are far more reliable than they used to be, and the quality of all interfacing has improved to keep pace with the growth of the electric sewing machine market. You can explore more about how technology is shaping textile finishing on ibisworld.com. This means we have better and more accessible options at our fingertips than ever before.
How to Apply Interfacing for a Flawless Finish
Getting the application right is the final piece of the puzzle. It’s what stands between you and a professional-looking garment, free from annoying bubbles or a finish that feels more like cardboard than fabric. Your approach will change depending on whether you’re using a fusible or sew-in type, but both paths start with a little prep work.
Before you even think about picking up your iron or scissors, always pre-wash your main fabric and the interfacing if they're washable. This simple step prevents any mismatched shrinkage down the line, ensuring your beautiful creation doesn't warp after its first wash.
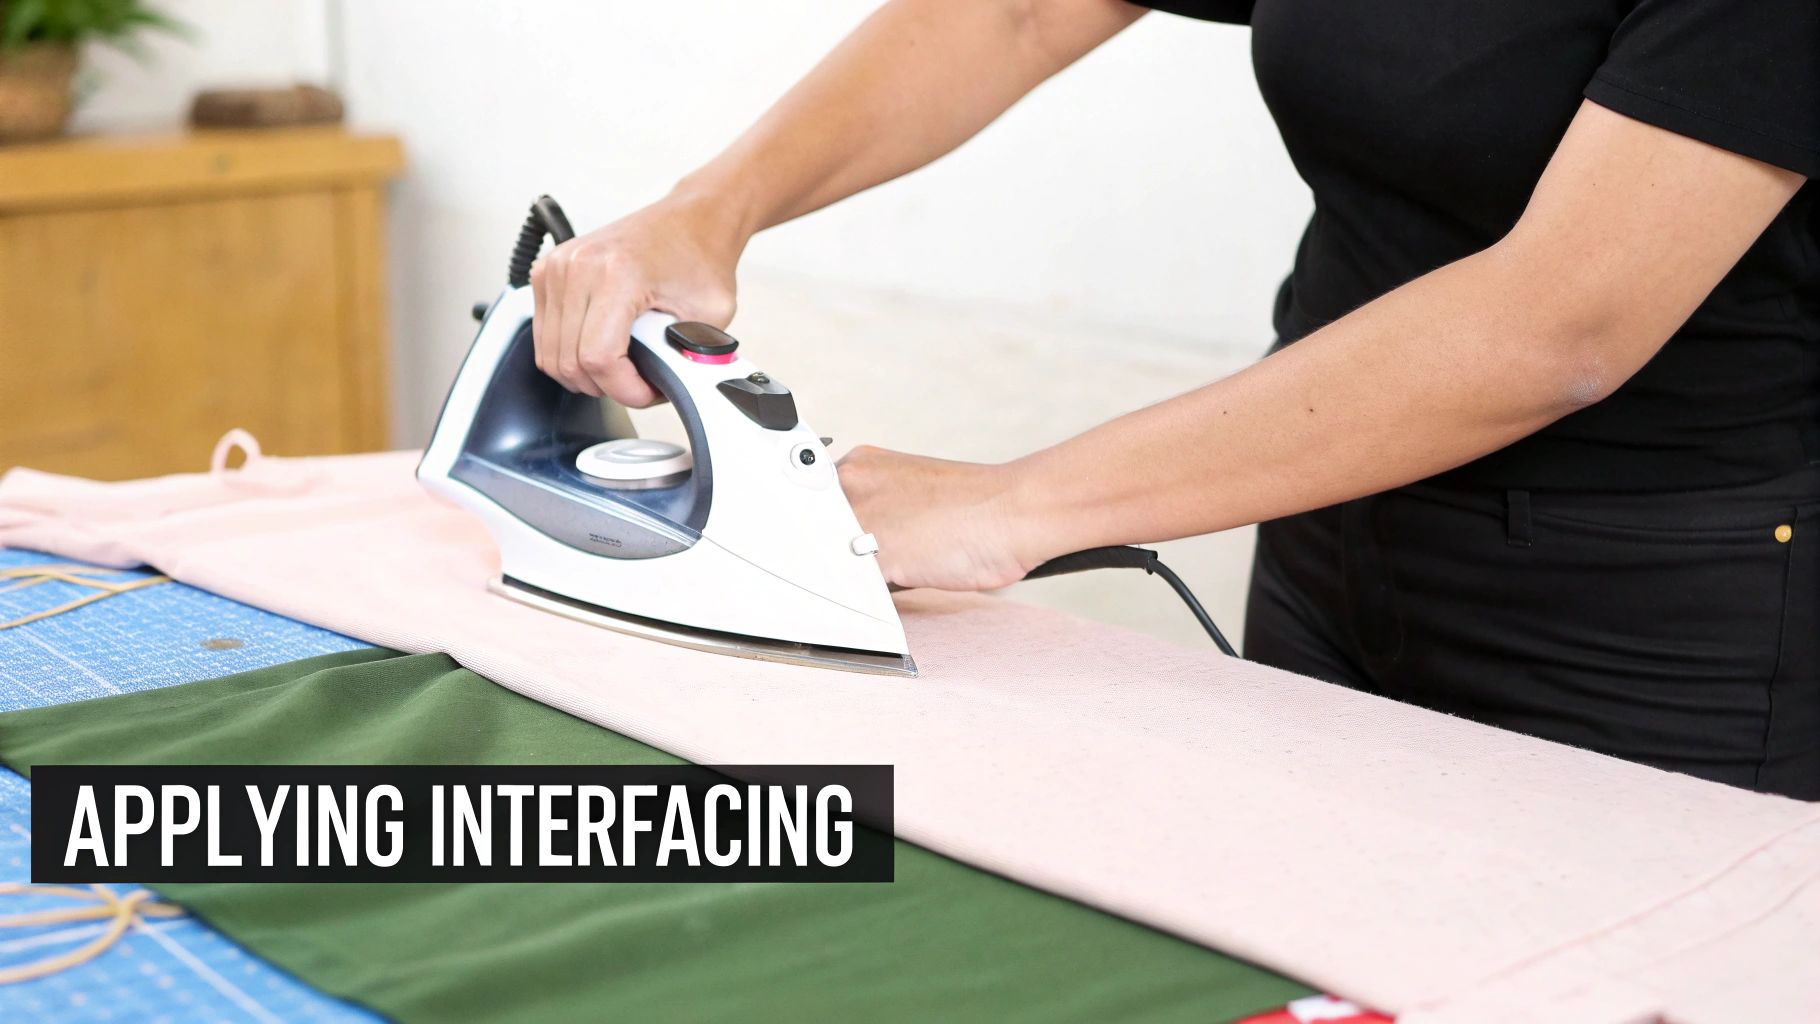
Applying Fusible Interfacing
When you’re working with fusible interfacing, your iron becomes your best friend. But there's a trick to it: you need to press, not iron. If you glide the iron back and forth like you’re doing the laundry, you risk stretching the fabric and smearing the glue, which is the number one cause of those dreaded bubbles.
Here's how to get a strong, smooth bond every time:
- Prepare Your Pieces: Lay your fabric piece on the ironing board with the wrong side facing up. Place the interfacing on top, making sure the adhesive side—which usually feels a bit bumpy or has a sheen—is down against the fabric.
- Use a Press Cloth: Never let your iron touch the interfacing directly. Always cover it with a press cloth (a scrap of plain cotton works perfectly) to protect both your project and your iron from a sticky mess.
- Press and Hold: Set your iron to the heat recommended for your fabric, not the interfacing. Press down firmly on one spot for a good 10-15 seconds. Don't wiggle it! Lift the iron completely, move to an adjacent spot, overlapping slightly, and press again. Keep going until the whole piece is fused.
- Let it Cool: This is crucial. Leave the fused piece flat on the board to cool down completely before you handle it. This gives the adhesive time to fully set and create a permanent bond.
Applying Sew-In Interfacing
If you've opted for sew-in interfacing, you’ll be turning to your sewing machine instead of your iron.
The goal here is to get the fabric and interfacing to act as a single, unified layer. You simply place the sew-in interfacing against the wrong side of your fabric piece and baste them together, sewing a temporary stitch right inside the seam allowance. This tacks everything neatly in place, adding support as you build your garment without the extra stiffness that comes from glue.
Your Top Interfacing Questions Answered
Even when you're following a pattern to the letter, a few questions are bound to pop up as you get to grips with interfacing. Let's tackle some of the most common queries I hear, giving you clear, practical answers so you can get back to your project feeling confident.
So, the big one first: can you just skip the interfacing? While technically you can, it's almost always a decision you'll regret. Think about areas like collars, cuffs, and button bands—they need that hidden structure to look crisp, professional, and hold their shape through countless wears. Quality construction is what sets handmade garments apart, and interfacing is a huge part of that. In fact, the UK's apparel sector, which generated the largest revenue in the sewing materials market in 2024, is built on details like this. You can read more about the UK's £1.9 billion textile market insights on grandviewresearch.com.
Common Troubleshooting Tips
Another common headache is when fusible interfacing bubbles up after you've ironed it on. This almost always comes down to one of two things: either not pressing for long enough, or using a back-and-forth ironing motion instead of a firm, steady press. The fix is simple. Just go back over the area with a press cloth, applying firm, even pressure for a good 10-15 seconds without wiggling the iron. Then, and this is crucial, let it cool completely before you move it.
Here's a golden rule to remember: your interfacing should always be slightly lighter in weight than your main fabric. If your collar ends up feeling stiff and cardboard-like, your interfacing was probably too heavy for the job. Always, always test on a small scrap first to see how it feels and drapes.
But what happens if you make a mistake when cutting? If you've cut the piece too small, it's honestly better to just cut a new one. Trying to patch it will only create lumps and uneven stiffness. If it’s slightly too big, no problem—just carefully trim it down before you fuse or sew it in, making sure it stays neatly inside the seam allowance. Getting these little details right is what makes a finished garment look truly polished, especially when it’s proudly displayed on a UK size 12-14 dressmakers dummy.
At Display Guru, we provide the high-quality dummies and display tools you need to bring your creative visions to life. Explore our full collection at https://www.displayguru.co.uk.