


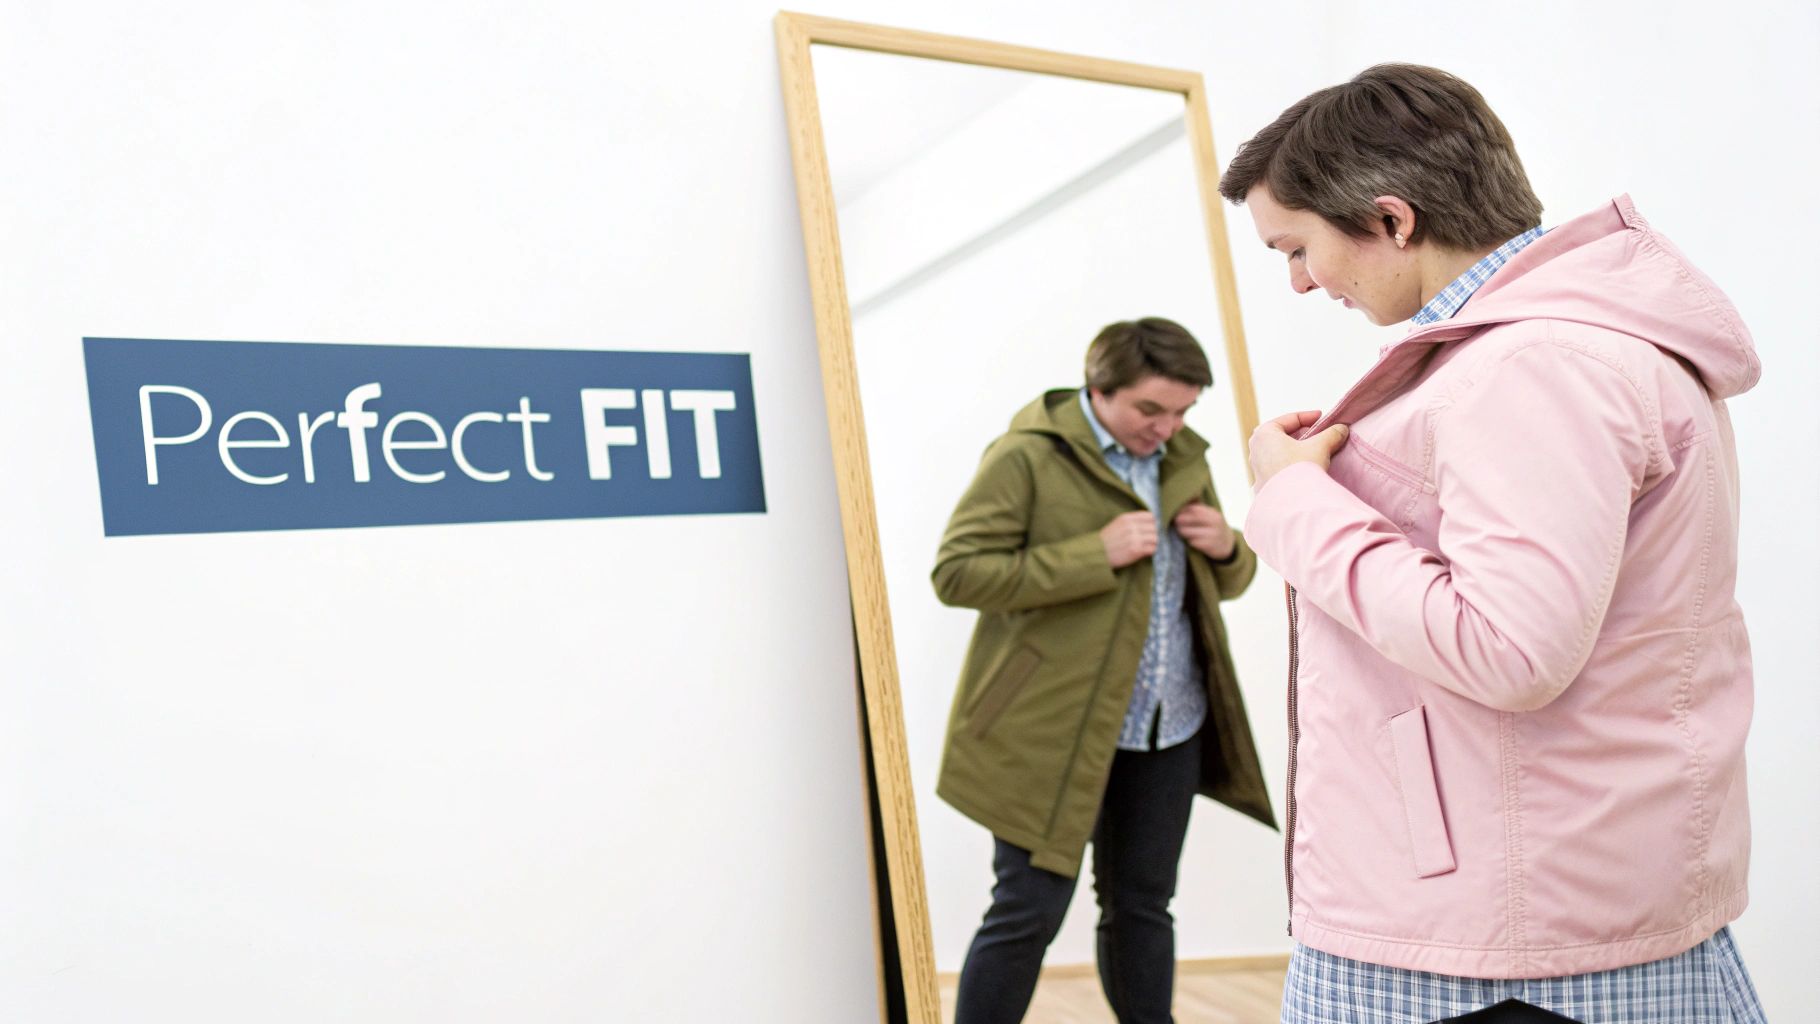
How to Shorten Sleeves for a Perfect Fit
Learning how to shorten sleeves is one of those skills that can completely change how you feel in your clothes. It’s the difference between a garment just fitting and it looking like it was made for you. A well-altered sleeve can sharpen the whole silhouette of a shirt or jacket, giving you that polished, put-together look, whether it’s for a casual t-shirt or a formal blazer.
Let's walk through what you need to know to get that professional finish every time.
Why a Perfect Sleeve Length Matters
It’s easy to overlook, but the length of a sleeve does so much more than just cover your arms. It plays a massive part in the proportions of your entire outfit.
When sleeves are too long, they can swamp your frame and make you look a bit untidy. But get the length right, and you instantly create cleaner lines, which can even improve your posture and show a real eye for detail. It’s a subtle change, but one that makes a huge difference in how professional and sharp you appear.
This is especially true for workwear or more formal pieces where a crisp appearance is everything. Getting the fit right is key for special occasions too. For example, great top styling tips for your family photo shoot often emphasise how a proper fit can transform the final pictures.
The Challenge of Off-the-Rack Sizing
Let’s be honest, finding clothes that fit perfectly straight off the rail is a rare win. The fashion industry doesn't have a universal sizing standard, meaning a 'medium' from one shop can feel completely different to a 'medium' from another. Here in the UK, it’s become second nature for many of us to get clothes altered because of this.
Ever since standard sizing was introduced back in the 1960s, it’s rarely catered to the huge variety of body shapes out there, making alterations a must for lots of people. It’s a problem that hasn’t gone away; you can still find clothes of the same labelled size that vary wildly from brand to brand.
This sizing lottery is exactly why knowing how to alter your own sleeves is so useful. It puts you in control, letting you sidestep those inconsistencies and tailor any garment to your own unique measurements.
Taking Control of Your Wardrobe
Learning to shorten sleeves is not just practical; it's empowering. It can save you a fair bit of time and money on trips to the tailor, and it opens up a world of possibilities for your wardrobe.
With this one skill, you can:
- Customise your clothes for a perfect, flattering fit every time.
- Breathe new life into old favourites or charity shop finds that aren't quite right.
- Boost your confidence by wearing clothes that truly look like they were made for you.
By taking the fit of your clothes into your own hands, you ensure every piece in your wardrobe works for you, not against you. This simple alteration is often the first step towards building a truly personalised and professional-looking collection.
Of course, before you pick up any scissors, getting your measurements spot-on is the most important first step. For a really clear guide on this, have a look at our article on https://www.displayguru.co.uk/blogs/news/how-to-take-body-measurements-for-clothes-easy-guide.
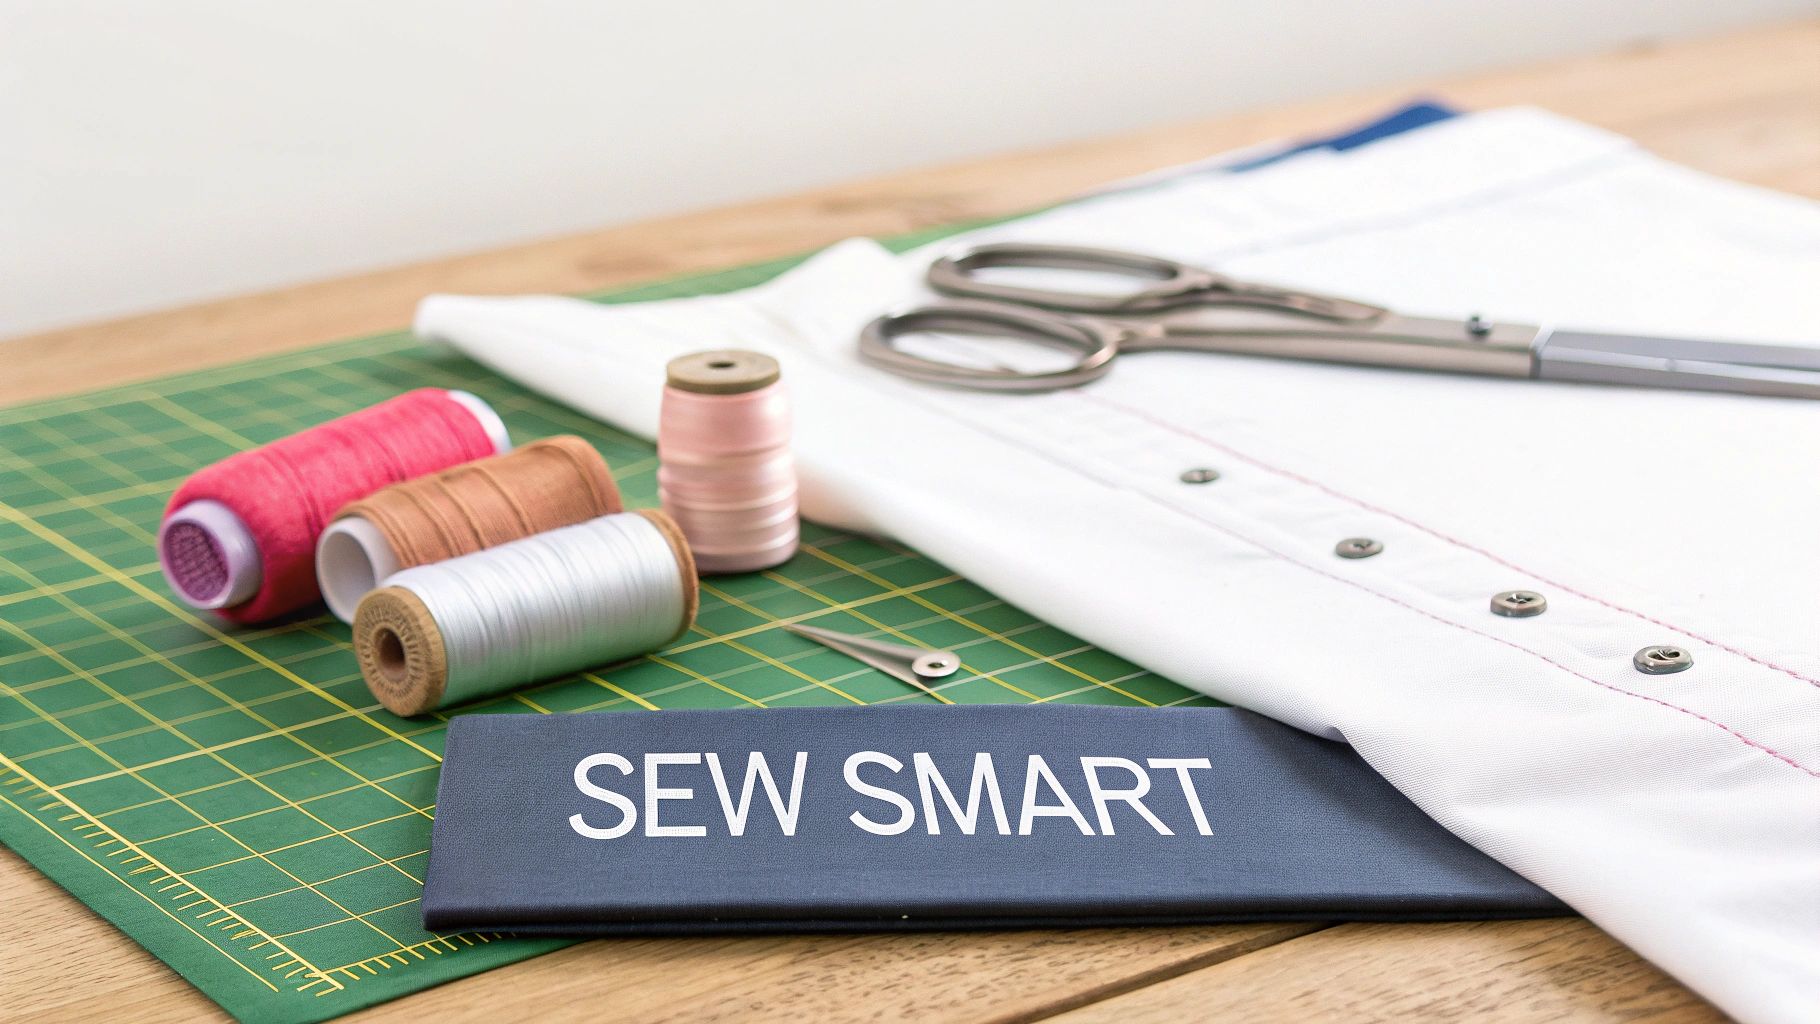
Assembling Your Sleeve Alteration Toolkit
Before you even think about shortening those sleeves, let's talk about setting yourself up for success. Having the right tools on hand is the difference between a frustrating mess and a finish that looks like it came straight from the tailor.
The absolute non-negotiables are a pair of high-quality fabric scissors and a reliable seam ripper. These are the true workhorses of any alteration kit. From there, you'll need a sturdy measuring tape, a good set of straight pins, and thread that perfectly matches your garment.
I've heard seasoned tailors say that a well-organised kit can easily cut alteration time by 30%. It’s not just about speed; it’s about preventing costly mistakes and wasted fabric.
Your Sleeve Alteration Toolkit
Getting your gear together doesn't have to be complicated. Here's a quick breakdown of what you'll need to get started, separating the must-haves from the nice-to-haves that make the job a bit smoother.
| Tool | Purpose | Essential or Optional? |
|---|---|---|
| Fabric scissors | For cutting fabric cleanly and preventing frayed edges. | Essential |
| Seam ripper | To remove the original hem stitches without damaging the fabric. | Essential |
| Measuring tape | For getting precise measurements for the new sleeve length. | Essential |
| Straight pins | To hold your new hem in place securely while you sew. | Essential |
| Thread | For stitching the new hem with a durable, invisible finish. | Essential |
| Tailor’s chalk | To mark your new hemline clearly without leaving a permanent trace. | Optional |
| Sleeve board | Helps you press curved seams, like cuffs, without creating creases. | Optional |
As you can see, the essential list is short and manageable. The optional items, like chalk and a sleeve board, really come into their own as you tackle more complex projects and want to refine your finish.
A Quick Word On Needles And Thread
Choosing the right needle and thread is crucial. A common mistake is using a one-size-fits-all approach, which often leads to skipped stitches or puckered fabric.
As a rule of thumb, use a fine 9mm needle for delicate fabrics like silk, and a heavier 14/90 needle for sturdy materials like denim. For thread, polyester is a great all-rounder for synthetic fabrics, while a cotton-wrapped polyester thread offers the right balance of strength and flexibility for natural fibres.
A well-matched needle and thread combination is your best defence against skipped stitches and fabric puckering.
Expert Tip: Always, always test your needle and thread on a small scrap of the same fabric before you start on the actual sleeve. This five-minute check can save you a world of headache.
Putting It All Into Practice
Let’s imagine you’re shortening the sleeves on a leather jacket. This is where your tool selection really matters. You’d want to swap out standard pins for glass-headed ones that won’t leave permanent marks on the leather. You'd also choose a tough, rust-resistant thread to handle the thicker material.
Here are a few professional habits to get into:
- Always test your stitch tension on a fabric scrap first.
- Use a sleeve board to get a crisp, professional press on curved hems.
- For really sharp creases, press your seams with a tailor’s clapper or ham.
Building Your Kit On A Budget
Great tools don't have to break the bank. You can find excellent, cost-effective scissors that deliver a clean, sharp cut without the premium price tag. Keep an eye out for sales at your local fabric store to assemble all 7 tools (the essentials plus the optional ones) without overspending.
If you're curious about what makes a great pair of scissors, you might be interested in choosing the best sewing scissors in our detailed guide.
With these essentials and a few smart extras, you’ll have everything you need to shorten sleeves with confidence and precision.
Consistent practice with your toolkit is what truly builds skill and speed.
Over time, you'll develop the muscle memory that makes each step feel second nature. Just remember to maintain your tools—sharpen your scissors regularly and replace any bent pins to keep your work accurate and snag-free. Start gathering your kit today, and you'll be well on your way to achieving a professional finish on every project.
Measuring and Preparing for a Flawless Hem
The secret to shortening sleeves so they look like they were custom-made is all in the prep work. A precise measurement is the absolute foundation of the project; rushing this stage is a surefire recipe for wonky hems and a lot of frustration. Before you even think about picking up your scissors, you need to get the length just right.
First things first, put the garment on. This isn't a step you can skip. Wear it with the kind of shoes and other clothes you’d normally pair it with to get a true feel for the fit. Let your arms hang naturally at your sides. The goal is to see how the sleeve falls in a real-world context, not just when it's lying flat on a table.
For most long-sleeved shirts and blouses, a great rule of thumb is for the cuff to hit the break of your wrist—right where your hand begins. For a jacket or blazer, it should sit about a half-inch above that, which allows that perfect sliver of shirt cuff to peek through. If you can, grab a friend to help you pin, or stand in front of a full-length mirror to check the placement yourself.
Finding Your Perfect Length
Once you've settled on the ideal spot, fold the excess fabric up and under to create a temporary cuff at the new length. Secure this fold with a few pins, making sure they run parallel to your new imagined hemline.
Now, it’s time for a test run. Move around a bit. Bend your elbows, reach forward, and lift your arms. Does the sleeve still feel comfortable? Does it ride up too high? It’s far better to discover this now than after you’ve made a permanent cut. Even a tiny adjustment at this stage can make all the difference to the final look and feel.
This process really highlights the core steps for any successful sleeve alteration.
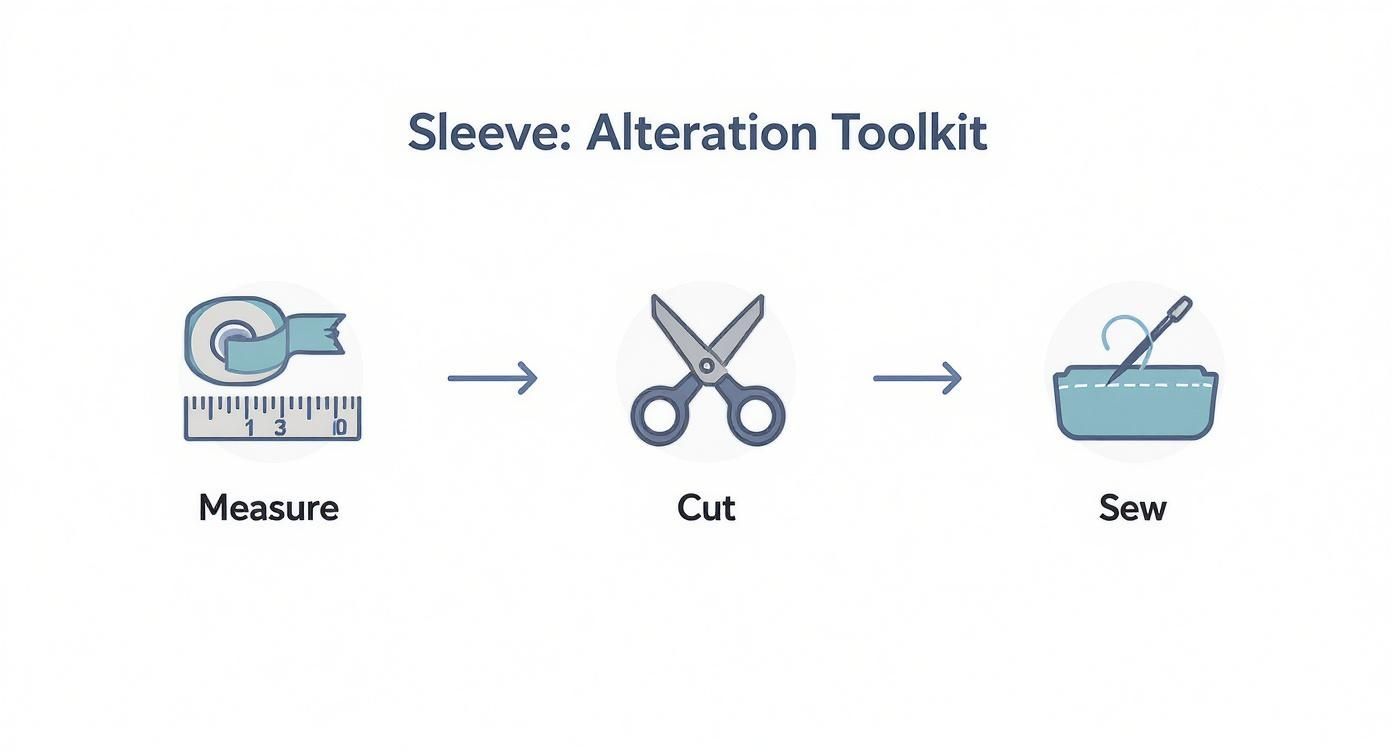
As you can see, the initial measuring and pinning are just as critical as the final sewing.
With the desired length firmly pinned, you can carefully take the garment off. Lay one sleeve flat on your work surface and use a measuring tape and tailor's chalk (or a fabric marker) to draw a crisp, straight line along the folded edge. This line right here is your finished hemline.
Accounting for the Hem Allowance
Hold on, don’t cut along this line just yet! You still need to add a hem allowance. This is the extra fabric that gets folded up inside the sleeve to create a clean, durable edge. The amount you'll need depends entirely on the fabric and the original style of the hem.
- For T-shirts and lightweight knits: A 1-inch allowance is usually plenty.
- For blouses and shirts: I’d recommend aiming for 1.5 inches to accommodate a neat double-fold hem.
- For jackets and coats with heavier fabric: A 2-inch allowance is best, as it provides enough weight for the sleeve to hang correctly.
Measure down from your finished hemline and mark this new line. This is your cutting line. Before you do anything else, double-check your measurements on both sleeves to make sure they're absolutely identical. Consistency is the key to a balanced, professional look. If you're new to this concept, you can learn more about seam allowance in our detailed guide.
Remember the golden rule of tailoring: Measure twice, cut once. An extra minute spent checking your lines can save you from a costly and irreversible mistake.
Unpicking the Original Hem
With your lines clearly marked, it's time to deconstruct the old hem. Grab a seam ripper and carefully snip and remove the original stitches. Go slowly and be patient, especially with delicate fabrics. The last thing you want is to create holes or pulls in the material.
Once all the stitching is out, unfold the original hem completely. You'll almost certainly see a stubborn crease from the old fold. Give this area a good press with an iron set to the right temperature for your fabric. This simple step removes the old crease and gives you a perfectly smooth, flat surface to work with, ensuring your new hem will be wonderfully crisp and straight. This careful preparation truly sets the stage for a flawless sewing process.
Bringing the New Hem to Life
Now that you've measured and cut the excess fabric, it's time to create the new hem. Start by folding the raw edge under to meet the new hemline you marked earlier.
The goal here is a crisp, clean double fold, which not only looks professional but also adds a bit of durability to the sleeve's edge. This is where your iron becomes your best friend; set it to a temperature that's safe for your fabric and get ready to press.
Carefully press the fold into place, working in small sections. This simple act of pressing is what separates a homemade look from a tailored one, as it prevents the fabric from shifting while you stitch.
Nailing the Fold and Press
For the best results, lay the sleeve flat on an ironing board—or even better, a sleeve board if you have one. The rounded surface of a sleeve board is perfect for supporting the sleeve's natural curve, helping you avoid those pesky, unwanted creases elsewhere on the garment.
Before you even touch the iron, it's a good idea to use tailor's chalk to mark your fold lines. This gives you a clear visual guide, taking the guesswork out of the equation and ensuring your folds are perfectly consistent all the way around.
A few tips from experience:
- Measure twice, fold once. A little bit of precision now saves a lot of unpicking later.
- Use a shot of steam from your iron to get a really sharp, defined edge.
- Once pressed, you can use a tailor's clapper or the flat edge of a sleeve board to cool and set the crease firmly.
Pinning and Stitching It All Together
With your hem neatly pressed, it's time to pin it in place. I recommend using fine, glass-headed pins, as they glide through most fabrics without leaving marks and won't melt under the iron.
Place your pins perpendicular to the folded edge, with the heads pointing outwards. This makes them much easier to pull out as you approach them with your sewing machine needle.
For a classic, straightforward finish, a simple straight stitch—done either by hand or machine—is usually all you need. A 2mm stitch length is a great starting point for most common fabrics.
| Stitch Type | Best For | Visibility |
|---|---|---|
| Straight Stitch | Casual garments | Visible, neat |
| Blind Hem | Formal wear | Nearly invisible |
Of course, the best hemming technique really comes down to the garment itself. A sturdy straight stitch is perfect for a pair of denim jeans, but for a suit jacket or a formal blouse, a nearly invisible blind hem is the way to go.
Here's a little pro tip: always backstitch for a couple of stitches at the beginning and end of your seam. This locks the threads in place and stops your hard work from unravelling.
Achieving That Professional Polish
The secret to a hem that doesn't look like a DIY job? Consistency. As you sew, gently guide the fabric with your non-dominant hand to keep your stitches straight and evenly spaced. Maintaining consistent tension on the fabric is what prevents puckering.
If you find the fabric is slipping or being difficult, try placing a small scrap of the same material under the presser foot as a stabiliser. It’s a simple trick, but one that many professional tailors rely on.
Even tension and careful pressing are what will elevate your homemade hem to look like it was done by a professional.
Interestingly, the need for these skills has grown significantly. In the UK apparel market, the shift to mass-produced clothing has made sleeve alterations a common necessity. Before the mid-1700s, every garment was custom-made, so the fit was never an issue. It was the introduction of mass manufacturing and 'vanity sizing' that created the widespread fit problems we see today, driving people to either seek out a tailor or learn these skills themselves. Read the full research about apparel sizing
For an even deeper dive, have a look at our guide on advanced sewing techniques.
Choosing the Right Tools for the Job
Your choice of needle and thread can make or break your final result. You'll want to choose a needle size based on the weight of your fabric. Finer materials like silk or chiffon require smaller, sharper needles to avoid leaving noticeable holes.
On the other hand, if you're working with something heavy like denim, you'll need a tough denim needle that can punch through the fabric without snapping or skipping stitches.
Here's a quick reference:
- Lightweight fabrics (cotton, chiffon): A 70/10 sharp needle is perfect.
- General woven fabrics: An 80/12 universal needle is your go-to.
- Knits and stretch fabrics: A 75/11 ballpoint needle will prevent snags.
- Heavy materials (denim, canvas): A 90/14 or 100/16 denim needle will get the job done.
When it comes to thread, try to match it to both the fabric's colour and type. A good quality polyester thread offers a bit of stretch, making it ideal for knits, while natural fibres like cotton thread are best suited for breathable materials like linen or cotton.
A well-matched needle and thread pairing is the secret ingredient for truly flawless stitching.
Once you've finished sewing, give the new hem one last press with the iron. This helps to settle the stitches into the fabric and adds that final, crisp polish.
Finally, take a moment to trim any loose threads and give your work a quick inspection under a bright light. It’s this attention to detail that makes all the difference.
Common Sleeve Alteration Mistakes to Avoid
Even the most experienced sewers can make a slip-up now and then. When you're learning how to shorten sleeves, understanding the common pitfalls is the quickest route to a professional-looking result. Getting ahead of these frequent errors will not only boost your confidence but also make sure your hard work pays off with a flawless finish.
One of the most common—and frankly, heartbreaking—mistakes is cutting the sleeve fabric too short. The old saying "measure twice, cut once" really is golden advice in sewing. Always take a moment to double-check your measurements after you’ve marked your cutting line but before your scissors get anywhere near the fabric. It's also crucial to factor in the full hem allowance needed for the specific material you're working with.
https://www.youtube.com/embed/CS11zigS7XU
Another issue I see a lot is an uneven or wavy hem. This is usually a sign that the fabric has been stretched during the sewing process, or perhaps the tension on your sewing machine isn't quite right for the job.
To prevent this from happening, make sure you:
- Press your folds crisply with an iron before you even think about sewing.
- Don't be shy with the pins; use plenty to hold the hem securely in place.
- Guide the fabric gently through the machine. You're the navigator, not the engine, so avoid pulling it from behind.
A brilliant little technique called stay stitching can be a real garment-saver here, particularly on any curved or bias-cut edges where the fabric is naturally inclined to stretch out of shape. If you're not familiar with it, our guide on what is stay stitching is a fantastic starting point for mastering this stabilising method.
Overlooking Fabric and Thread Nuances
Choosing the wrong thread is one of those subtle mistakes that can really compromise the whole look and durability of your hem. A thread that’s too thick can create bulky, obvious stitches, while a colour that's just slightly off will stand out for all the wrong reasons.
My best advice? Always take a small scrap of your fabric with you when you're buying thread. Hold a single strand against the material in natural light to see how well it truly blends. In the same vein, using a dull or incorrect type of needle is a recipe for skipped stitches and puckering. A sharp, fresh needle is genuinely one of the most important tools in your kit for achieving a clean finish.
A project’s success often hinges on these small details. Taking a few extra moments to match your thread and change your needle can elevate the final result from looking homemade to professionally tailored.
Finally, it’s worth remembering why these alterations are so common in the first place: clothing sizes have changed dramatically over the decades. For example, back in the 1950s, a woman with a 34-inch bust was considered a UK size 16. Today, that same size typically fits someone with closer to a 39-inch bust. This incredible shift in sizing standards makes skills like knowing how to properly shorten sleeves more valuable than ever.
Your Questions on Shortening Sleeves, Answered
Jumping into your first sleeve alteration can bring up a few tricky questions. I've gathered some of the most common ones I hear to help you tackle those specific challenges and get a finish you can be proud of.
Can I Really Shorten Sleeves Without a Sewing Machine?
You absolutely can. While a sewing machine is quick, hemming by hand is a classic tailoring skill and works perfectly well. The trick is to choose the right hand-sewing needle and a quality thread that complements your fabric.
For a virtually invisible hem on suit trousers or a formal shirt, I always recommend a blind hem stitch. If you're working with tougher fabrics like denim or wool, a sturdy backstitch will give you the strength you need. The secret is patience—keep your stitches small and consistent for a clean, professional edge.
There's a certain satisfaction that comes with hand-sewing. It gives you incredible control and connects you back to the real craft of tailoring. It's a skill well worth developing.
What's the Best Way to Shorten Sleeves on a Lined Jacket?
Tackling a lined jacket is a bit more complex, but it's a great skill-builder. The key is to treat the sleeve and the lining as two separate pieces that just happen to be attached.
First, you'll need to carefully unpick the hem on both the outer sleeve and the lining. Once you've shortened the main sleeve fabric, you'll need to trim the lining so it's slightly shorter—I usually aim for about 1/2 an inch shorter. This stops it from bunching up or peeking out. Hem each layer separately, then reconnect the lining to the outer cuff with a few small, hidden tacking stitches to keep it all sitting perfectly.
How Much Should I Charge to Shorten Sleeves?
Pricing your alteration work depends on a few things: your level of experience, where you're based, and how complicated the garment is. As a general guide, a simple t-shirt sleeve alteration might be priced between £8 and £12.
For a standard shirt with a buttoned cuff, you're looking at something closer to the £15 to £20 mark. A lined blazer or a heavy coat requires much more time and precision, so prices can range from £25 to £40, sometimes more. It’s always smart to have a look at what local tailors are charging to make sure your rates are competitive.
To get all the tools you need for a truly professional finish, from tailor's dummies to sturdy garment rails, explore the full collection at Display Guru. You can build your ideal toolkit by visiting us at https://www.displayguru.co.uk.