


Your Guide to the Tailors Dummy Adjustable for Perfect Fits
An adjustable tailor's dummy is an absolute game-changer for anyone serious about sewing. It's essentially a customisable model of the human torso that lets you dial in specific bust, waist, and hip measurements to match your own body, or that of a client. Think of it as your own personal fitting model, standing patiently while you work your magic to get the perfect fit.
Your Partner in Perfect Garment Creation
Ever tried building something complex without a plan? In dressmaking, that's what it feels like to work without a good form. An adjustable tailor's dummy is the bridge between a flat, 2D paper pattern and the real-world curves of the human body. It takes the guesswork right out of the equation.
Unlike the static mannequins you see in shop windows, this is a tool designed for hands-on work. Its genius lies in its adjustability, which usually involves turning a series of dials or using a key to expand or contract the key sections of the torso. You can fine-tune it until it perfectly mirrors the measurements you need.
This is what makes it such a vital piece of kit. It helps you:
- Achieve a Professional Fit: No more struggling to pin a garment on your own back! You can make precise adjustments on a stable, accurate replica of the body.
- Drape New Designs: It's the perfect canvas for bringing ideas to life. You can drape fabric directly onto the form to see exactly how it will hang and fall before you even think about cutting a pattern.
- Perfect Pattern Alterations: Before you commit to cutting your expensive fabric, you can test any changes to a commercial pattern right there on the dummy, ensuring the finished piece will fit just as you imagined.
A Legacy of Customisation
The idea of a sewing form that adapts to the creator is far from new. Here in the UK, adjustable dummies have a surprisingly long history. As far back as the early 20th century, companies like Birmingham’s Harris and Sheldon Outfitters were crafting expandable dress stands, a huge leap forward from the rigid, single-size forms of the past. This innovation gave tailors the flexibility to adapt to changing fashions—a principle that still empowers dressmakers today.
For an even deeper dive, you can explore more about the history and evolution of adjustable dummies. The ability to customise the form is precisely why an adjustable dummy is often one of the first major investments for anyone passionate about sewing. It's not just a stand; it’s the very foundation of quality garment construction and your secret weapon for avoiding those endless, frustrating fitting sessions.
How to Choose the Right Adjustable Dummy
Picking the right adjustable tailors dummy is probably the most important decision you'll make for your sewing room. Think of it as hiring an assistant; the right one makes every project smoother and more professional, while the wrong one is a source of constant frustration. This guide will help you navigate the different models and sizes to find the perfect match for you.
First things first: you need your measurements. Grab a tape measure and get an accurate reading of your full bust, waist, and hip circumference. With those numbers in hand, there’s one golden rule you absolutely must follow.
Always choose a dummy whose smallest settings are smaller than your actual body measurements. You can always pad a dummy out to match your shape, but you can never shrink it. A dummy that’s too big, even by a little, is pretty much useless.
Understanding the Core Differences in Models
Not all adjustable dummies are the same. Different models come with different features designed for everyone from the weekend hobbyist to the professional dressmaker. The main differences usually come down to the number of adjustment points, the sturdiness of the stand, and the quality of the fabric covering.
A basic model, for instance, might only have a few dials to tweak the main torso measurements. An 8-part dummy, however, gives you much finer control over the neck, bust, waist, and hips, letting you create a far more accurate and nuanced body shape.
This diagram shows just how far we've come from the old, static dress forms to the versatile adjustable dummies we use today.
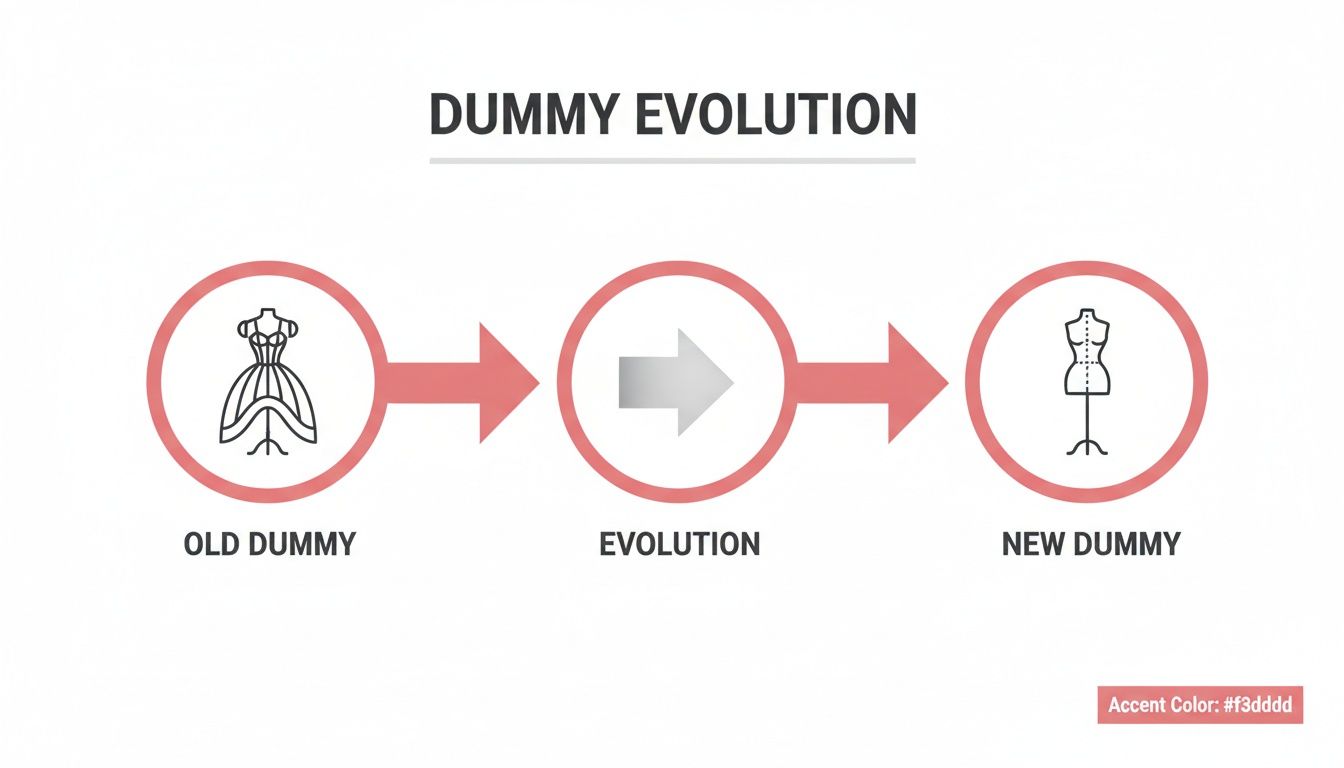
It’s this evolution towards precision and customisation that lets us create clothes that fit real, individual bodies, not just a generic, standardised size.
Key Features to Look For
When you're comparing different dummies, it’s easy to get bogged down in the details. To make it simpler, just focus on the features that will actually make a difference to your sewing.
Here are the most important things to look out for:
- Number of Adjustments: Aim for at least 8 adjustment points, which usually means 12 separate dials. This gives you the flexibility to adjust the bust, waist, and hips independently for a truly customised fit.
- Stand Stability: A wobbly stand is incredibly annoying when you're trying to work. Look for a solid base, whether it’s a tripod or a weighted round one. A metal pole is always going to be more durable than a plastic one.
- Pin-able Surface: This is non-negotiable. The dummy must have a foam-backed fabric cover that you can stick pins into easily. It’s essential for draping, fitting, and making alterations.
- Torso Length Adjustment: If you have a particularly long or short torso, the ability to change the back-waist length is a game-changer for getting the proportions right.
- Hem Marker: A built-in hem marker might seem like a small extra, but it’s a brilliant tool. It saves so much time and hassle, helping you get a perfectly level hem on skirts and dresses every single time.
In the UK, certain brands have earned a reputation for being reliable and precise. Many British sewers swear by Adjustoform's adjustable tailors' dummies, and the Diana range is a particular favourite thanks to its sturdy metal pole and practical stand. These models accommodate bust sizes from 32-50 inches, which is a wider range than many others on the market. Their 8-part bodies allow for specific adjustments to the neck, bust, waist, and hips, which closely mirror UK body metrics. For the UK's 2.5 million hobby sewers, this can reduce the need for garment alterations by up to 25%.
A Quick Comparison of Popular Dummy Models
To give you a clearer picture, let's look at how some of the popular models stack up against each other. This table breaks down the key specifications, making it easier to see which one might be the best fit for your measurements and projects. Getting to grips with these differences is a big part of what we cover in our wider look at the benefits of adjustable dressmakers' dummies.
Comparison of Popular Adjustable Dummy Models
This table compares the key specifications and features of leading adjustable tailors dummy models available in the UK, helping users choose the best option for their specific needs and body measurements.
| Model Name | Size Range (UK Dress Size) | Bust Adjustment Range (cm/in) | Waist Adjustment Range (cm/in) | Hip Adjustment Range (cm/in) | Key Feature |
|---|---|---|---|---|---|
| Diana Model (Adjustoform) | 8-14 (Small), 16-22 (Medium) | 84-104 cm / 33-41 in (S) | 66-84 cm / 26-33 in (S) | 91-112 cm / 36-44 in (S) | Functional design with metal pole |
| Lady Valet Model (Adjustoform) | 10-16 (Small), 16-22 (Medium) | 84-102 cm / 33-40 in (S) | 64-81 cm / 25-32 in (S) | 86-103 cm / 34-40.5 in (S) | Elegant wooden stand, good for display |
| Celine Model (Sew-You) | 6-10 (Petite), 8-14 (Small) | 71-86 cm / 28-34 in (P) | 59-74 cm / 23-29 in (P) | 76-91 cm / 30-36 in (P) | Specifically designed for petite frames |
Ultimately, choosing the right adjustable tailors dummy is an investment in your craft. By taking the time to consider your measurements, the kinds of projects you want to make, and the features that will genuinely help you, you'll find a tool that not only fits your needs now but will continue to be an invaluable partner as your skills grow.
Setting Up Your Dummy for a Perfect Match
There's a special kind of excitement when you unbox a new tailors dummy adjustable, but the real magic begins during setup. This is where you transform a standard form into a bespoke stand-in for a real body, whether it's your own or a client's. Let’s walk through how to get that perfect match, so you can stop guessing and start creating with confidence.
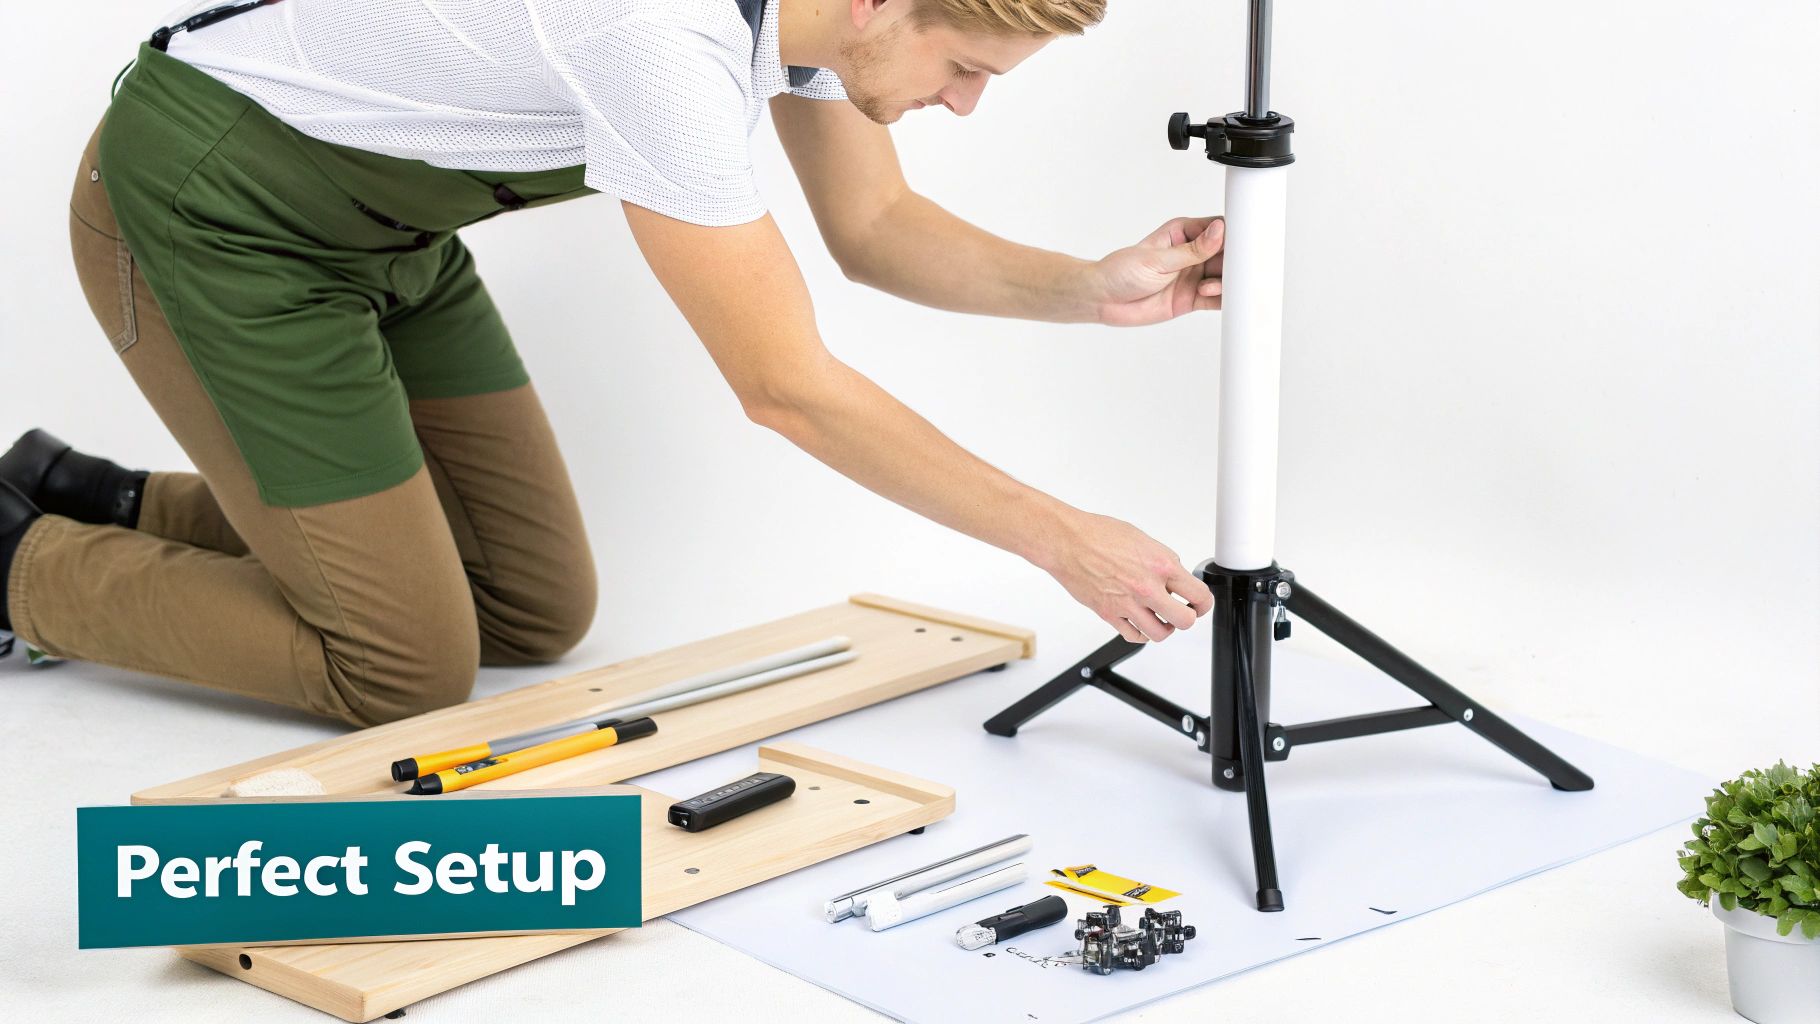
First things first: the stand. A sturdy, stable base is absolutely non-negotiable. Trust me, nothing is more frustrating than a wobbly dummy when you’re trying to pin a delicate fabric or check the line of a seam. Take a moment to tighten every screw and make sure it’s level before you even think about putting the torso on top.
With the torso securely in place, it's time to start adjusting. This is a job for patience and precision, not speed. The secret is to work slowly and symmetrically.
Mastering the Adjustment Dials
Think of the adjustment dials as your sculpting tools. An 8-part dummy will typically have several for the bust, waist, and hips. It's tempting to crank one dial all the way to the final measurement, but don't do it. Instead, you'll want to adjust each dial a little bit at a time, working your way around the dummy to keep the expansion smooth and even.
For instance, if you're increasing the waist, give each of the four waist dials just a few turns, then measure. Keep repeating this process until you hit your target number. This methodical approach is what prevents the dummy's form from warping, ensuring the torso stays balanced and proportional.
Pro Tip: Keep a tape measure in your hand the entire time. Adjust, measure, adjust, measure. This constant feedback is the key to accuracy and stops you from accidentally going too far. A symmetrical expansion is a professional one.
Of course, before you can dial in the measurements, you need to know what they are! If you need a quick refresher on getting them right, our guide on how to take body measurements for clothes offers a clear, step-by-step walkthrough.
Setting the Torso Length and Height
Getting the circumferences right is only half the battle. For a truly accurate fit, the vertical dimensions are just as crucial. Two settings that often get overlooked but make a huge difference are the back-waist length and the overall height.
The back-waist length is the measurement from that prominent bone at the base of your neck down to your natural waistline. Any good adjustable dummy will let you lengthen or shorten this distance. Matching this measurement is what ensures bodices, waistbands, and darts all fall exactly where they should on the final garment.
Here’s how to set it up correctly:
- Measure Yourself First: Stand up straight and have a friend measure from the base of your neck down to your natural waist.
- Adjust the Dummy: Find the torso length mechanism (it’s usually a latch or screw), unlock it, and gently slide the dummy’s back until it matches your measurement.
- Set the Overall Height: Finally, adjust the pole on the stand so that the dummy's shoulders are at the same height as your own. This simple step makes it so much easier to visualise the garment’s true posture and drape.
Once your dummy is calibrated, you’re ready to put these principles into practice. For some great, hands-on advice on creating clothes that fit like a dream, check out this excellent guide to making custom-fitted garments.
A perfectly set up tailors dummy adjustable isn't just a tool; it's a reliable blueprint that helps turn your vision into a beautifully fitting piece of clothing. By taking the time to set it up with care, you're creating the perfect sewing partner.
Creative Ways to Use Your Adjustable Dummy
Once you’ve dialled in the measurements on your tailors dummy adjustable, you’ll discover it’s so much more than a simple stand-in for fittings. Think of it as your silent creative partner, a launchpad for new ideas, and even a professional tool for showcasing your work. Getting the most out of your investment means pushing past the basics.
One of the most exciting techniques is draping, where you design a garment by manipulating fabric directly onto the dummy. Instead of working from a flat pattern, you can pin, fold, and shape the material on the form’s three-dimensional curves. This hands-on approach is incredibly intuitive, letting you see exactly how a fabric will hang and move. It's the secret to crafting one-of-a-kind necklines or elegant, flowing skirts that just wouldn't come to life on paper.
From Alterations to Upcycling
Your dummy is also an absolute game-changer for alterations and pattern testing. Before you even think about cutting into your expensive final fabric, you can pin your pattern pieces or a nearly-finished garment to the form. This gives you a crystal-clear preview of how it will all come together.
You can instantly spot where tweaks are needed:
- Dart Placement: Are the darts pointing to the right place and giving the intended shape?
- Seam Lines: Do the side seams hang perfectly straight, or are they pulling to the front or back?
- Overall Balance: Does the garment sit evenly without any strange twisting or skewing?
This same process makes the dummy a superstar for upcycling. When you’re breathing new life into a vintage piece, you can pin, tuck, and plan your changes right on the form. It helps you map out your vision and make confident cuts, turning something old into a bespoke new garment without any expensive mistakes.
A tailors dummy adjustable becomes a constant, three-dimensional reference that a flat pattern simply can't offer. It encourages a fluid workflow where you can test and refine ideas on the fly.
Beyond the Sewing Room
But the work doesn't stop once the final stitch is in. A well-proportioned dummy is a fantastic tool for photography and display. If you sell your creations online or at markets, presenting them on a form makes them look far more professional. It shows customers exactly how the garment is meant to fit and drape, instantly boosting its perceived value.
This is a trick straight from the pros, who use dummies to prepare entire collections. For any designer, an adjustable dummy is vital for creating pieces that might one day be seen at major presentations or fashion shows.
Finally, if you're a costume designer or cosplayer, an adjustable dummy is practically a necessity. It allows you to build garments for characters with unique proportions or create elaborate fantasy silhouettes. You can craft everything perfectly without needing the actor there for every single fitting, which saves an incredible amount of time and ensures the costume looks brilliant and fits like a glove.
How to Pad Your Dummy for a True Body Double
An adjustable dummy gets you remarkably close to the right measurements, but let's be realistic – our bodies are far more complex than a series of numbers on a dial. We all have unique curves, slopes, and even subtle asymmetries that a standard form can't possibly capture straight out of the box. This is where padding comes in, transforming a useful tool into your genuine body double.
Think of the adjustable dials as creating the skeleton. Padding is what adds the 'flesh', turning a generic mannequin into a precise replica of you or your client. It’s the secret that elevates a garment from a good fit to a truly perfect one.
Identifying Areas for Customisation
Before you start adding a single scrap of material, you need a clear blueprint of what makes your shape unique. The best way to do this is to stand in front of a full-length mirror wearing something close-fitting and compare your own silhouette to that of your dummy.
You'll quickly spot the differences. Common areas that need a bit of extra attention include:
- The Upper Back: Many of us have a rounded upper back or prominent shoulder blades.
- The Bust: You might need to replicate a specific cup size, shape, or bust point (apex) height.
- The Abdomen: This helps to mimic a full or soft stomach accurately.
- The Hips and Derrière: This is where you can add curve to the hips, account for a higher hip shelf, or build out a fuller seat.
- Asymmetries: It's completely normal for one shoulder to be slightly higher or one hip fuller than the other.
Remember, the aim isn't to create some "ideal" figure; it's to create your figure. Every lump, bump, and curve is a vital piece of information that leads to a flawless fit.
Choosing Your Padding Materials
Once you’ve mapped out where you need to build, it's time to choose your materials. You’ve got a few options here, from professional-grade kits to some surprisingly effective DIY solutions.
For a sleek, professional finish, you can find dedicated padding kits with contoured foam pads already shaped for specific body parts. These are brilliant for creating smooth, gradual curves. But don’t feel you have to splash out – you can get fantastic results with everyday materials. Polyester wadding (also known as batting) is a dressmaker's favourite because it’s easy to layer up and sculpt. You can even get creative by repurposing old shoulder pads or a well-fitting (but unwanted) padded bra to build up the bust area.
It's interesting to note how certain brands have shaped dressmaking habits. Thanks to a patent held by Adjustoform UK, 65% of UK professional dressmakers own one of their models, which are known for their precise 13-dial adjustments. While these dials align well with NHS data for the average UK female figure, padding is still the go-to technique for customising beyond those averages. It's even a crucial skill for museum curators needing to accurately recreate historical silhouettes for exhibits.
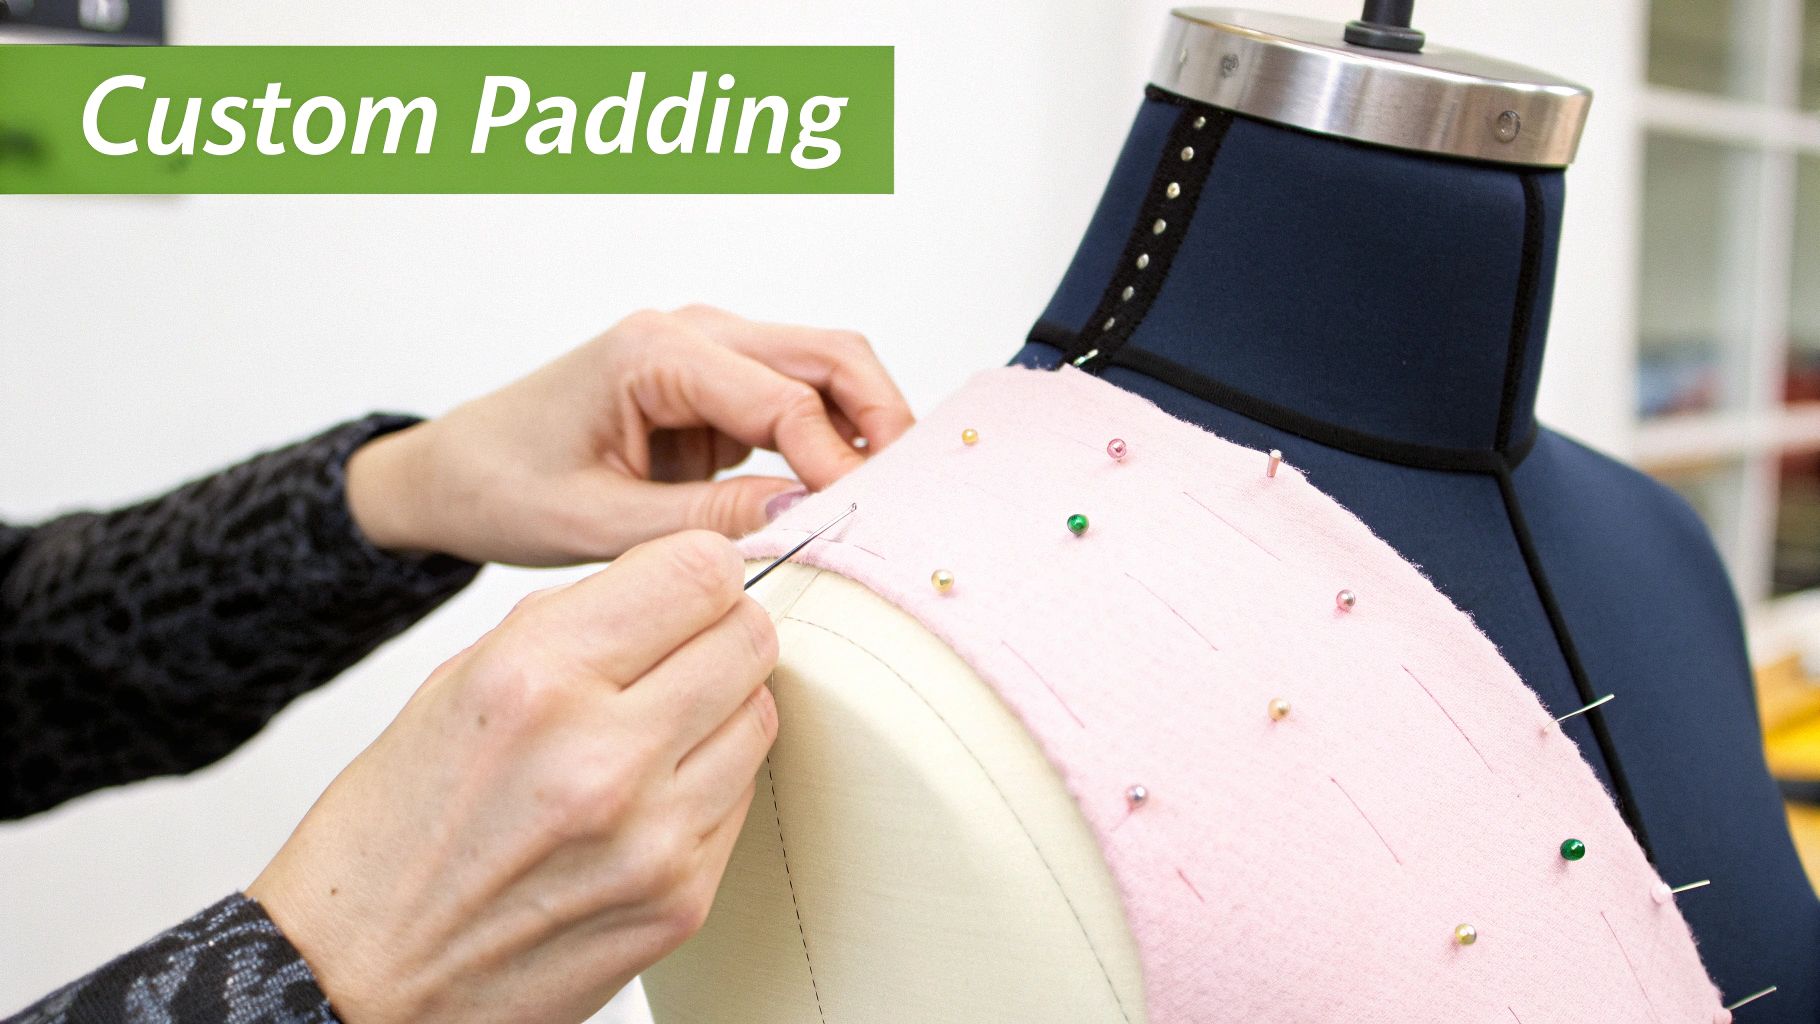
The Final Step: A Custom Cover
After you've carefully pinned and layered all your padding, you need a way to hold it all together and create a smooth, pinnable surface. A custom-fitted cover is the perfect solution.
This sounds more complicated than it is. A stretchy jersey or Lycra fabric is ideal for the job. Simply drape a large piece of the fabric over your padded form, pin it snugly down the back and sides, and then carefully trim away the excess. A few hand-stitches to close the seams, and you'll have a seamless cover that locks your padding in place and gives you the perfect surface for draping and fitting.
We delve deeper into this final step in our comprehensive guide on sewing for your dummy. With this technique, your tailors dummy adjustable truly becomes a second skin.
Caring for Your Dummy to Ensure It Lasts
A quality tailors dummy adjustable is a real investment in your craft, and with just a little bit of care, it’ll be your trusted partner for years and years of projects. Good maintenance isn't complicated; it's just about being consistent.
Think of it like any other precision tool in your sewing room—a bit of upkeep goes a long way. The main areas to focus on are the fabric cover, those all-important adjustment dials, and the stand itself. A little neglect here can lead to stiff dials, a wobbly base, and a generally worn-out look.
Routine Cleaning and Maintenance
The foam-backed nylon cover is fantastic for pinning, but it’s also a magnet for dust and stray threads. The easiest way to keep it looking fresh is a quick once-over with a lint roller or the upholstery brush on your vacuum cleaner. This simple step stops grime from working its way into the fabric.
If you spot a small mark or stain, tackle it with a damp cloth and a drop of mild fabric soap. Gently blot the area—don't scrub—and let it air dry completely. It's best to steer clear of harsh chemicals or soaking the dummy, as excess moisture could harm the inner workings.
To keep the adjustment mechanisms running smoothly:
- Turn the Dials Regularly: Even when your dummy is having a rest, give each dial a few turns every couple of months. This simple action stops them from getting stiff and seizing up.
- Lubricate Sparingly: If a dial does start to feel tight, a tiny spritz of silicone lubricant can work wonders. Be sure to aim it carefully at the internal screw mechanism, keeping it well away from the fabric cover.
Stability and Storage Solutions
A wobbly stand is probably the most common headache, but it’s usually an easy fix. Every so often, take five minutes to check and tighten all the screws at the base and where the pole connects. This prevents that frustrating wobble when you're trying to work. For a deeper dive, you can learn more about optimising your dress form stand for total support.
Proper storage is just as crucial as cleaning. When you're not using your dummy, keep it out of direct sunlight, which can cause the fabric cover to fade and become brittle over time.
Finally, a simple dust cover is a brilliant idea. You can buy one or even sew one yourself from some breathable cotton. It’ll protect your tailors dummy adjustable from dust and airborne grime, keeping it pristine and ready for whenever inspiration strikes next.
Frequently Asked Questions
When you’re investing in a piece of kit as important as a tailors dummy adjustable, it's natural to have a few questions. I've heard them all over the years, so let's tackle some of the most common ones to help you get the most out of your new sewing partner.
Can I Pin Directly into an Adjustable Dummy?
Absolutely. In fact, you're supposed to! Any good-quality adjustable dummy will have a foam-backed fabric cover, usually nylon, designed specifically for this purpose. It's a must-have feature for draping fabric, pinning pattern pieces, or holding a garment in place while you work.
A little tip from experience: try to angle your pins as you insert them, rather than pushing them straight in. This gives you a much better grip and stops you from hitting the hard plastic shell underneath, keeping everything secure while you perfect your design.
What If My Measurements Are Between Two Sizes?
This is probably the most common dilemma people face, and the answer is simple. There's one golden rule here: always choose the smaller size. This is easily the most important piece of advice I can give you when buying an adjustable dummy.
Here’s why: you can always add padding to a smaller dummy to build it up to match your exact measurements and unique curves. But you can never make a dummy smaller than its minimum settings. A dress form that’s too big at its smallest is pretty much useless for your projects.
Think of it this way: choosing the smaller size gives you a blank canvas. You have the freedom to pad and customise, effectively creating a true body double. A dummy that’s too big from the get-go simply won't work.
How Do I Use a Dummy to Fit Trousers?
It’s a fair question, given that most dress forms don't have legs. The secret lies in a clever design feature: an offset pole. Many models allow you to shift the central support pole to one side, which opens up the space between where the legs would be.
This simple adjustment lets you hang trousers or shorts naturally from the waist. You can then check everything from the drape and inseam length to the crotch curve and overall fit, all without the pole getting in the way. For most dressmakers, this is more than enough to get a professional finish on trousers.
What Is an 8-Part Body Dummy?
You'll see this term a lot. "8-part body" simply refers to how many sections the torso is split into, which tells you how adjustable it is. An 8-part tailors dummy adjustable gives you far more control than a basic 4-part model.
These dummies usually have multiple adjustment dials for the bust, waist, and hips, plus an adjustable neck. This design lets you fine-tune the shape with much greater accuracy, making it easier to replicate a real person's body. If you're serious about getting a precise fit, an 8-part dummy is definitely the way to go.
At Display Guru, we've hand-picked a collection of adjustable dummies that we know work well for everyone, from home sewing enthusiasts to professional designers. Have a look at our range and find the perfect partner for your creative projects.
Discover your ideal adjustable dummy at Display Guru.