


A Guide to Adjustable Tailors Dummies
If you’ve ever found yourself struggling to get that perfect, bespoke fit for your sewing projects, you’ll know it’s a real challenge. An adjustable tailor’s dummy is the silent partner that makes all the difference, acting as a precise blueprint of the human body. It’s the key to draping, pinning, and perfecting garments with an accuracy you just can't get by fitting on yourself.
Your Partner in Professional Garment Fitting
An adjustable tailor's dummy is so much more than a static display piece. For anyone serious about sewing, from keen hobbyists to seasoned professionals, it's a dynamic and utterly indispensable tool. It essentially becomes your body double, letting you see a garment from every conceivable angle, check how the fabric hangs, and make precise alterations without the faff of constantly trying it on.
This simple change transforms the entire fitting process. What was once a frustrating solo effort of twisting and turning in front of a mirror becomes a controlled, professional workflow.
The modern adjustable dummy has come a long way. Its roots are firmly planted in the UK's rich tailoring history, especially within London's world-renowned bespoke sector. The earliest dress forms were rigid, non-adjustable models, often carved from wood or shaped from papier-mâché for a single, specific client. It was the post-war boom that really pushed UK manufacturers to innovate, leading to the mechanical, dial-adjusted dummies we know today, designed to cater for a wide range of body shapes and sizes.
Why Every Sewer Needs a Body Double
Think of your dummy as the ultimate fitting assistant. It never gets tired, it holds a pose for as long as you need, and it gives you a consistent, 360-degree view of your work. This becomes absolutely vital for the trickier parts of garment construction.
- Achieving Perfect Symmetry: Let's be honest, pinning sleeves or marking a perfectly even hemline on your own body is a near-impossible task. A dummy guarantees both sides of your garment are balanced.
- Mastering Complex Draping: If you have any interest in pattern making or bespoke tailoring, a dummy is simply non-negotiable. It provides the 3D canvas you need to drape fabric and bring original designs to life.
- Saving Time and Reducing Frustration: The constant cycle of trying on, taking off, adjusting, and trying on again can really slow you down. A dummy streamlines the whole process, letting you pin, tweak, and sew far more efficiently.
In essence, an adjustable dress form bridges the gap between a flat paper pattern and a finished garment that actually fits a three-dimensional body beautifully. It gives you the confidence to take on more ambitious projects and achieve a truly professional finish.
This guide will walk you through everything you need to know about these fantastic tools. We’ll cover how to choose the right model, set it up to be your perfect body double, and use it to take your sewing to the next level.
Getting to Know Your Adjustable Dress Form
To get the most out of your new creative partner, the first step is to really understand its anatomy. Think of an adjustable tailor’s dummy less like a static model and more like a brilliant piece of engineering, designed to become a precise replica of the human form. Let’s take a guided tour of its key components and clever internal mechanics.
At the very heart of the dummy is a network of adjustment dials or keys. These are the control centre for the entire form. When you turn them, you're engaging an internal mechanism—almost like a series of synchronised gears—that expands or contracts the torso panels. This is how you can meticulously set the bust, waist, and hip measurements to match your own.
Each part is designed to work in harmony, creating an accurate silhouette. Once you grasp how these components interact, you’ll transform a simple dress form into a dynamic and genuinely indispensable fitting tool.
This infographic captures the journey from hobbyist sewing to the professional precision that an adjustable dummy makes possible.
The visual flow really shows how these tools are central to elevating garment-making from a simple craft to a precise, professional discipline.
The Core Components Explained
Beyond the dials, a few other features are crucial for getting things right. The torso itself is usually made from a hard plastic shell divided into multiple sections—often eight or twelve—which is what allows for such nuanced adjustments across the body.
This shell is covered with a foam-backed nylon or fabric layer. This covering is absolutely essential, as it provides a pinnable surface. It lets you securely fasten fabric for draping, fitting, and marking. Frankly, without this, the dummy’s usefulness would be severely limited.
Finally, the whole thing is mounted on a stand, which is almost always height-adjustable. This is key for setting the form to your natural height, ensuring hems and proportions are spot on. The stands usually come in two main styles:
- Tripod Base: Offers great stability and is a popular choice for its classic, sturdy look.
- Caster Base: Features wheels, making it easy to move around your studio or sewing room. They can be locked for stability when you're working.
Demystifying the Dials and Adjustments
The adjustment system is what gives adjustable tailors dummies their real power. The best way to think of the dials is like a combination lock for your unique measurements. Each one corresponds to a specific area of the body, and learning to adjust them in the correct sequence is the secret to achieving a truly accurate fit.
Most forms, for instance, have separate dials for the upper bust, full bust, waist, and hips. Many also include a neck adjustment and a back-length adjuster, which is vital for getting torso proportions just right. Of course, learning how to measure yourself properly is the first step; these figures are the blueprint for setting up your form. For more detailed guidance, you can explore our guide on taking accurate mannequin measurements.
The real magic of an adjustable dummy lies in its ability to replicate not just measurements, but actual shape. By carefully manipulating the dials, you can start to mimic specific body contours, creating a far more realistic foundation for your sewing projects than a static form ever could.
These tools have become indispensable in the UK fashion and tailoring industry, a sector valued at over £32 billion in 2023. A typical adjustable dress form in the UK caters for sizes from a UK 8 to 18, with bust measurements from 32-44 inches, a waist of 24-36 inches, and hips from 34-46 inches. This versatility is a huge asset for small businesses and hobbyists, as it cuts down the need for multiple fixed-size forms.
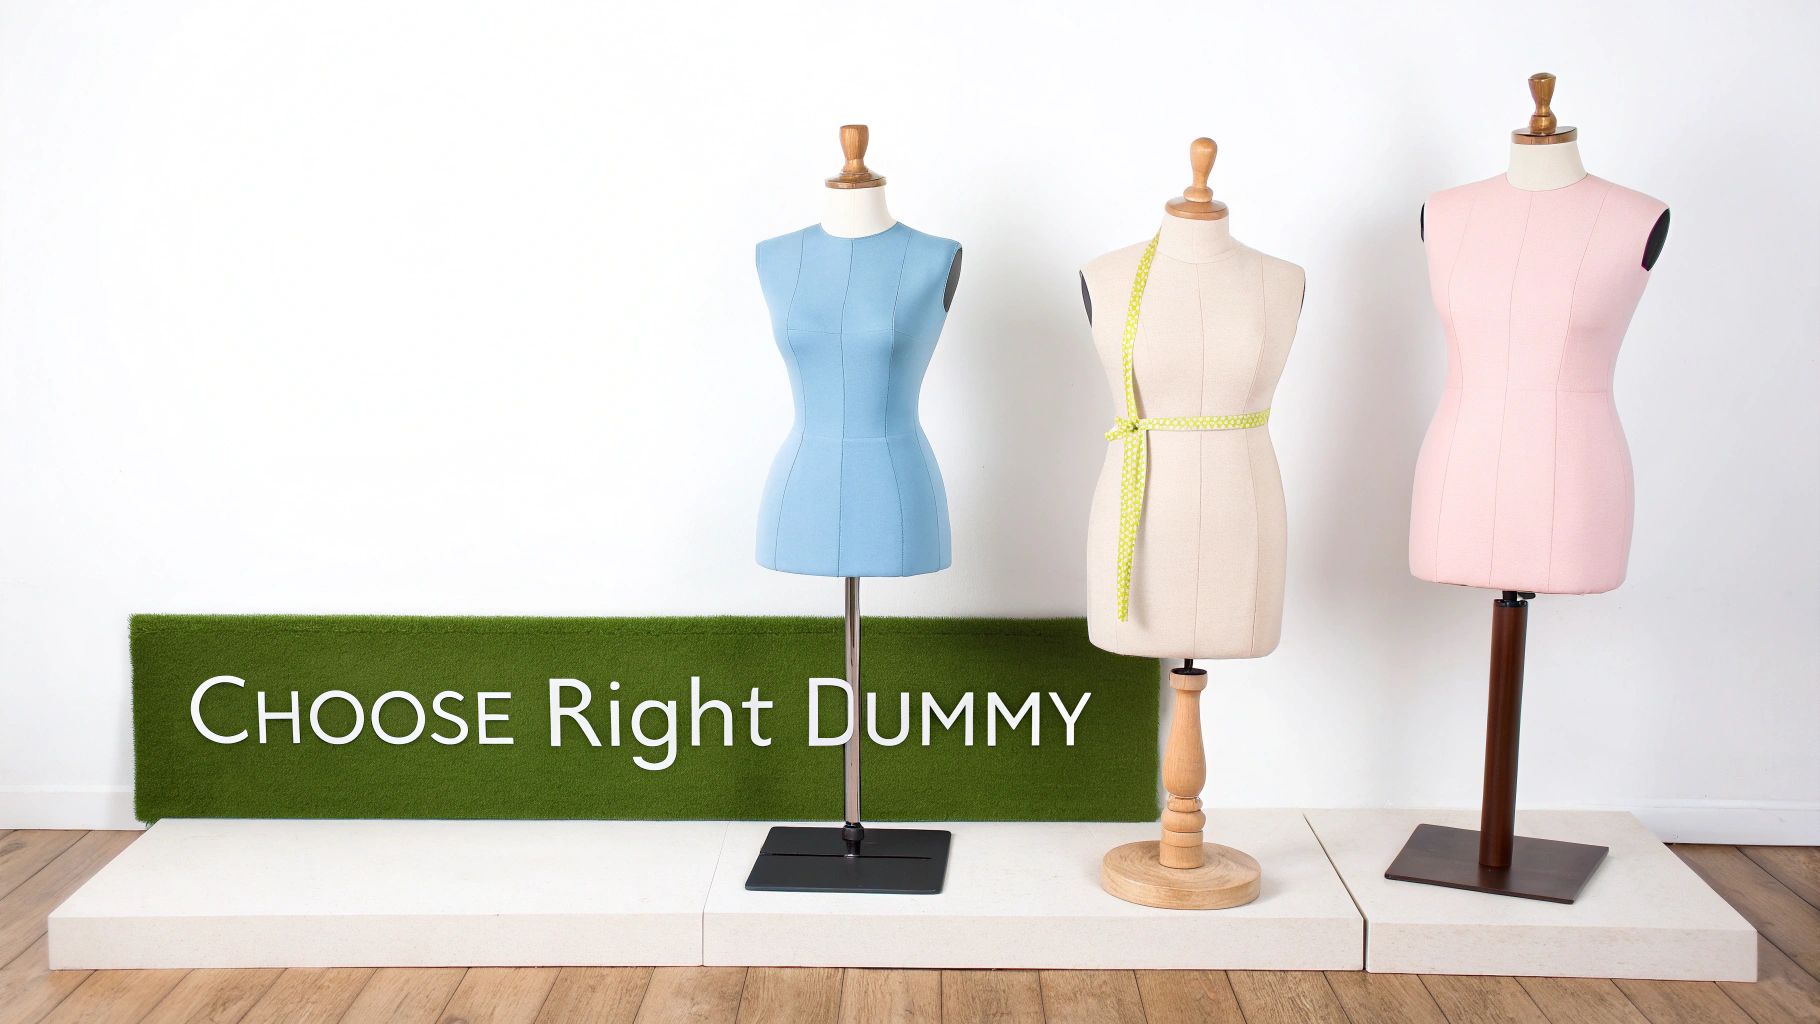
How to Choose the Right Adjustable Tailors Dummy
Navigating the world of adjustable tailor's dummies can feel a bit daunting, but finding the right one is one of the best investments you can make for your craft. It’s the difference between guessing at a fit and knowing you’ve nailed it.
Think of a dress form as your silent sewing partner. You wouldn't hire an assistant who wasn't up to the job, so you shouldn't settle for a dummy that doesn't truly reflect your shape or sewing goals. Here’s a piece of advice that might sound backward at first: always choose a model whose measurement range starts a little smaller than your own. This is the secret sauce. It gives you the wiggle room to add padding, letting you build up the form to perfectly mimic your own unique curves and posture.
Defining Your Primary Needs
Before you even look at a single dial or stand, take a moment to think about what you’ll actually be doing with your dummy. Are you a hobby sewist making clothes just for yourself? Or are you a budding designer creating pieces for a variety of clients? Your answer will point you in the right direction.
- For Personal Fitting: An adjustable model is a must. You'll want one that has at least eight adjustment points so you can accurately set the bust, waist, and hip measurements to match your own.
- For Pattern Drafting and Draping: A stable, sturdy base is non-negotiable. There's nothing worse than a wobbly dummy when you're trying to drape fabric. A foam-backed, fully pinnable surface is also essential for this kind of detailed work.
- For Professional Use or Education: Durability is everything. If it's going to be used day in and day out, invest in a model with a robust stand and high-quality internal mechanisms that can handle constant adjustments.
The real trick is to find a happy medium between adjustability, stability, and the kind of sewing you do most. A dummy that’s fantastic for draping might be overkill for simple alterations, so getting clear on your priorities is the first and most important step.
It’s good to know the lay of the land when it comes to the different types of adjustable tailors dummies available. You can find forms designed for female, male, and children's figures, all built to reflect typical proportions. And if you make a lot of trousers, a bifurcated dummy—one with legs—is an absolute game-changer for getting that tricky inseam and crotch fit just right.
Comparing Key Features
Once you've figured out your "why," it’s time to get into the nitty-gritty of comparing models. The number of adjustment points, the type of stand, and any little extras can make a huge difference in how useful the dummy is to you.
One of the biggest distinctions you'll see is between 8-part and 12-part bodies. An 8-part body gives you four main adjustable sections, which is brilliant for general fitting. But a 12-part body takes it up a notch, offering more nuanced control with extra seams and dials. This is especially useful for fine-tuning the fit around the bust or adjusting the back length.
The stand is another crucial element that really affects how you use the dummy day-to-day.
- Tripod Base: Usually made of wood or metal, these are the classic choice for a reason—they offer fantastic stability.
- Four-Caster Base: These stands have wheels, which is brilliant for moving the dummy around your sewing room. Just make sure the wheels have locks so it stays put when you’re working!
Many models also come with handy extras like a built-in hem marker. This little gadget can save you hours of frustration by helping you mark a perfectly even hemline in minutes. Reading up on the different types of dress forms for sewing can give you a much better feel for which features will be most valuable to you.
It's also interesting to see how sizing has changed over the years. Since the 1970s, the average UK woman's clothing size has increased from a size 12 to around a size 16 or 18. Manufacturers have caught on, and you’ll now find that many adjustable dummies cater to a much broader range of shapes. It’s not uncommon for larger forms to adjust up to a 53-inch bust, easily covering UK sizes 10 to 20+.
Making the Final Decision
To make things a bit clearer, here’s a quick comparison of the features you’ll find across common dummy types. This should help you weigh up what's most important for your sewing projects.
Comparing Adjustable Dummy Features
| Feature | 8-Part Body Dummy | 12-Part Body Dummy | Dummy with Leg Forms |
|---|---|---|---|
| Primary Use | General garment fitting and alterations. | Detailed pattern drafting and couture work. | Specialised for trouser and shorts fitting. |
| Adjustment Level | Good control over bust, waist, and hips. | Excellent, nuanced control over the entire torso. | Excellent for waist, hips, and inseam. |
| Best For | Hobbyists and those making simple garments. | Professionals and advanced sewers needing precision. | Tailors who frequently work on lower-body garments. |
In the end, choosing the right adjustable dummy is all about matching its features to your personal sewing ambitions. If you start with a slightly smaller base size, get clear on what you need it for, and compare the key specs, you’ll be well on your way to finding an indispensable tool for your creative journey.
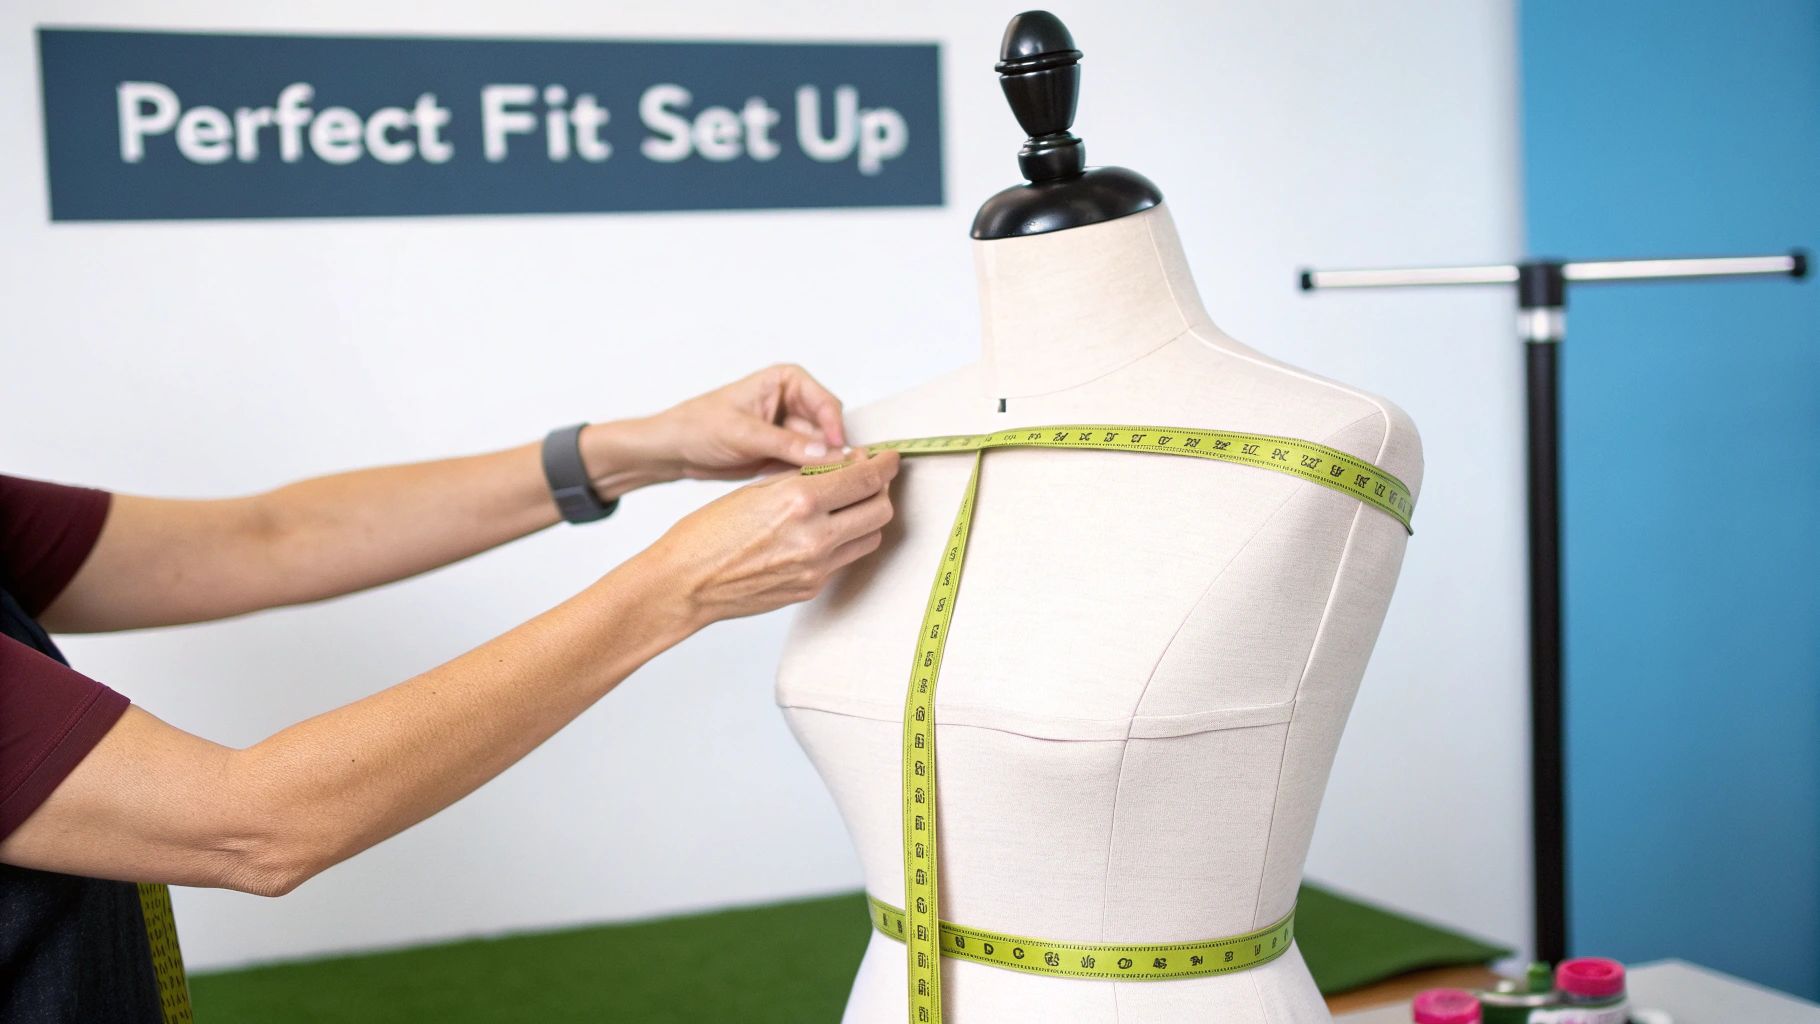
Getting Your Dummy Set Up for a Perfect Fit
That moment you unbox a new adjustable tailor's dummy is always exciting, but the real magic happens during setup. This is where you’ll turn a standard form into a carbon copy of your own body, laying the groundwork for garments that fit like a glove. It pays to be methodical here; spending a bit of time getting it right now will save you countless hours of frustration down the line.
Think of it like tuning a guitar. You wouldn't just start playing it straight out of the case. Each string needs to be adjusted to the right pitch to create harmony. In the same way, your dress form needs every single measurement dialled in perfectly to create a balanced, realistic silhouette.
Taking Accurate Body Measurements
Before you even think about touching the dials, you need a solid set of your own measurements. This is your blueprint. Grab a flexible tape measure and pop on some close-fitting clothes (or just stick to your underwear) to get the most accurate numbers.
If you can, ask a friend to help. It's surprisingly tricky to get accurate readings on your own back or to keep the tape level. Remember to stand naturally—no sucking your stomach in!—and keep the tape measure snug but not so tight that it digs in.
Here are the key measurements you'll need to jot down:
- Neck Circumference: Measure around the very base of your neck.
- Full Bust: Take this measurement around the fullest part of your chest, making sure the tape stays parallel to the floor all the way around.
- Waist: Find your natural waistline, which is usually the narrowest part of your torso, and measure there.
- Hips: Measure around the fullest part of your hips and bottom.
- Back Length: This runs from that prominent bone at the base of your neck straight down to your natural waistline.
Pro Tip: Tie a piece of string or thin elastic around your waist. As you move about, it will naturally settle into your narrowest point, giving you a perfect landmark for your waist and back length measurements.
The Right Order for Adjustments
With your measurements in hand, it's time to transfer them to your adjustable tailors dummy. The sequence you follow here is really important if you want a balanced form. The golden rule is to work systematically from the top down.
This logical approach ensures each adjustment builds correctly on the one before it, preventing the dummy's shape from becoming distorted. For example, if you set the waist before the height, you could easily throw the entire torso's proportions out of whack. A good look at the features of a dressmaking dummy adjustable model will give you a better idea of how all these parts work together.
Here’s the step-by-step process I always follow for a perfect setup:
- Set the Height: Start by adjusting the main stand so the dummy's shoulders match yours. Next, measure from the floor to your own natural waist, then adjust the dummy so its waist sits at the exact same height.
- Adjust the Neck: A quick and easy one. Turn the dial at the top of the neck until it matches your neck measurement.
- Set the Bust: Now, start adjusting the bust dials. The trick is to turn opposing dials (like the front-right and back-left) at the same time. This simple technique keeps the panels expanding evenly and stops the whole form from going off-centre.
- Adjust the Waist: Move down to the waist. Again, turn the dials together in small increments until you hit your target measurement.
- Set the Hips: Finally, use the same technique for the hip dials. As you adjust, keep checking the circumference with your tape measure to make sure you don't overshoot it.
- Fine-Tune the Back Length: If your model has this feature, set the back length last. This is the final piece of the puzzle that makes sure the torso proportion is a perfect match for your body.
By sticking to this specific order, you're making sure the dummy’s volume is distributed just right, giving you a far more accurate body double to work with.
Advanced Customisation and Draping Techniques
Once you’ve dialled in the basic measurements on your adjustable tailors dummy, you’ve essentially built the skeleton. Now for the fun part: adding the ‘flesh’ to capture all the subtle, unique contours that make a body real. This is where we move beyond the dials and into the art of advanced customisation, transforming the generic form into a true body double.
A human body is rarely perfectly symmetrical or smooth. It has unique curves, little hollows, and subtle asymmetries that standard adjustments just can’t replicate. This is where strategic padding becomes your most powerful tool. It lets you mimic everything from a full bust to the curve of a rounded abdomen or the distinct dip of a sway back.
The Art of Strategic Padding
Think of padding as sculpting with foam. The goal is to add volume precisely where it’s needed to mirror the real body’s contours. This step is absolutely crucial because a garment fitted on a generic hourglass will hang completely differently on someone with, say, prominent shoulder blades or a lower bust apex.
There are a few excellent ways to go about padding your dummy, from professional kits to brilliant DIY solutions.
- Professional Padding Kits: These usually come with a set of contoured foam pads designed for specific areas (bust, hips, stomach, etc.) and a stretchy cover to keep it all smooth. They’re a fantastic, efficient way to get a professional finish.
- DIY Padding: For a more budget-friendly approach, shoulder pads and polyester batting will be your best friends. You can layer and shape them to build up areas gradually, securing them with pins or by pulling a close-fitting vest over the dummy.
When you start padding, always put a well-fitting bra on the dummy first, especially if you're matching a larger cup size. Then, methodically build up the layers, frequently checking your work against your reference measurements and photos of the actual figure.
The secret to great padding is subtlety and smoothness. You’re aiming for gentle, realistic curves, not abrupt lumps. A well-padded form should feel firm and look natural, giving you a flawless foundation for fitting.
Once the padding is in place, a custom-fitted cover is the final touch. This is essentially a second skin for your dummy, made from a stretch fabric like jersey. It smooths over all the padding, holds it tightly, and gives you a uniform, pinnable surface to work on. It also stops the padding from shifting or squashing over time. Making this cover is a valuable exercise in itself and can really deepen your understanding of fit.
For a broader look at how different dummies can be used in your creative process, check out this guide on sewing for a dummy, which offers some great context.
Mastering Draping with Style Tape
With your dummy now a perfect replica of the body, it’s time to turn it into a 3D canvas for your designs. This is where draping comes in, and your most important tool for this is style tape (or thin tailor's tape). This narrow, flexible tape allows you to mark crucial design lines and anatomical landmarks directly onto the form, creating a clear blueprint for your patterns.
Think of it as drawing your seam lines in three dimensions. This visual guide is indispensable for checking symmetry, planning out design elements, and drafting patterns straight onto the form.
Before you even touch any fabric, you should mark out the essential landmarks. This creates a balanced grid to work from, ensuring your draped patterns are accurate and well-proportioned from the get-go.
Key Landmarks to Mark with Tape
- Centre Front and Centre Back: These are your main vertical lines, running from the neck right down to the hem. They are the foundation for any symmetrical design.
- Bust, Waist, and Hip Lines: Mark these key horizontal circumferences. Make sure the tape is perfectly parallel to the floor all the way around.
- Princess Seams: These are the vertical lines that run from the mid-shoulder, over the bust apex, and down to the hem. They are essential for achieving a close fit through the torso.
- Armscye: Carefully tape the outline of the armhole, following the natural crease where the arm meets the body.
- Neckline: Mark out the base of the neck to define where a standard crew neck would naturally sit.
Once these landmarks are in place, your adjustable tailors dummy is no longer just a fitting tool. It has become an active partner in the design process. Now you can confidently drape fabric, pin it along your taped lines, and cut away the excess to create a perfectly shaped pattern piece. This technique opens up a world of creative possibility, letting you design bespoke garments with a level of precision that flat pattern cutting alone can't always match.
Looking After Your Adjustable Tailor's Dummy
Think of your adjustable dress form as a long-term partner in your sewing room. It's a significant investment, and like any good tool, a bit of regular care will ensure it stays reliable for years and years. Proper maintenance isn't just about keeping it clean; it's about protecting its moving parts so your adjustments stay smooth and the entire form remains stable for every project you throw at it.
A little upkeep goes a long way in preventing small annoyances from turning into major headaches down the line. You'll be surprised how these simple habits can extend the life and accuracy of your dummy, protecting your investment and keeping your sewing process frustration-free.
Keeping Your Dummy in Top Condition
Looking after your adjustable dummy is really quite simple. A consistent routine is all it takes to keep the dials turning smoothly and the surface in perfect condition for pinning. Just a few small tasks, done every so often, will make a huge difference to its performance and how long it lasts.
Here are the key things to focus on:
-
Cleaning the Cover: Dust, stray threads, and fabric fibres will inevitably build up. The easiest way to get rid of them is with a quick once-over using a lint roller or the soft brush attachment on your vacuum cleaner. If you spot a small mark, try dabbing it with a damp cloth and a tiny bit of mild soap, but always test it on a hidden spot first to be safe.
-
Lubricating the Dials: If you find a dial is getting stiff or tricky to turn, the internal mechanism probably needs a little attention. A quick spray of a silicone-based lubricant on the gears is usually all it takes to get things moving smoothly again. Be sure to avoid oil-based products, as they can easily seep out and stain the fabric cover.
A well-maintained dummy is a reliable partner. You wouldn't neglect your sewing machine, so why your dress form? A few moments of care ensure it remains an accurate and dependable tool for creating beautifully fitted garments.
Troubleshooting Common Issues
Even with the best care, you might run into a small problem, like a wobbly stand or a dial that just won't budge. Don't panic – these issues are almost always an easy fix.
If the stand feels unstable, the first thing to check is that all the screws and connections are tightened properly; a loose screw is the most common culprit for a wobble. It’s also wise to store your dummy out of direct sunlight, which will stop the fabric from fading and prevent the plastic parts from becoming brittle over time.
Frequently Asked Questions
Even with the best instructions, you’re bound to have a few questions when getting to grips with an adjustable tailor's dummy. Here are some of the most common queries we hear, with practical answers to help you get the most from your new sewing partner.
Think of it as a quick troubleshooting guide. These are the little details that make a huge difference, turning a good fit into a perfect one.
Which Size Adjustable Dummy Should I Buy?
This is probably the most common question, and the answer is surprisingly simple. If your measurements sit somewhere between two sizes, always go for the smaller one.
It might feel a bit backwards, but it’s all about flexibility. You can easily add padding to a smaller form to build it up to your exact contours – a little extra here for the bust, a bit there for the tummy. But you can't shrink a dummy that’s too big at its smallest setting. Starting smaller gives you the room you need to create a truly bespoke fit.
Can I Use an Adjustable Dummy for Making Trousers?
Yes, you absolutely can, but you need to be aware of its limitations. A standard dummy is brilliant for getting the fit right around the waist, hips, and the top of the thighs. What it can't do, of course, is show you how the fabric will hang down a full leg.
For serious trouser making, a bifurcated dummy – one with actual legs – is the gold standard. If that's not an option, use your standard dummy to nail the fit on the top half, then switch to fitting the trousers on yourself to perfect the inseam, crotch curve, and overall drape.
How Can I Make My Adjustable Dummy More Stable?
A wobbly dummy is a real nuisance, especially when you’re working with heavy fabrics that can throw it off balance. Thankfully, it's usually an easy fix.
Here’s a quick stability checklist:
- Tighten Everything Up: Start by checking every single screw on the stand and where the pole connects to the body. More often than not, a loose connection is the culprit.
- Widen the Stance: If you have a tripod stand, spread the legs out as far as they’ll go. A wider base is a more stable base.
- Weigh It Down: For bigger projects, don't be afraid to add some weight. Small sandbags or any other heavy, flat objects placed across the legs of the stand will anchor it securely and stop it from tipping.
At Display Guru, we're passionate about providing the high-quality, dependable tools that professionals and hobbyists need. Our range of adjustable and fixed-size dummies offers the precision and stability required to bring your designs to life. Discover the perfect addition to your sewing room by exploring our collection at https://www.displayguru.co.uk.