


Sewing Project Planner: Organize & Finish Your Creations
A sewing project planner is so much more than a simple notebook. Think of it as your command centre, a dedicated system that turns those brilliant ideas swirling in your head into beautiful, finished garments—without the usual chaos. It’s where you can track everything from your first sketch and fabric swatches to your budget and deadlines, giving your creativity the structure it needs to truly flourish.
Why a Planner Is Your Best Sewing Tool
Long before you hear the familiar hum of your sewing machine, the most important work has already begun. A solid, well-thought-out plan is often what separates a project that comes together beautifully from one that joins the dreaded pile of unfinished objects. It’s your personal roadmap, guiding you from that first spark of inspiration right through to the final, satisfying press of the seams. For many of us, a planner is what finally transforms a hobby that can feel messy and frustrating into a calm, controlled, and deeply rewarding creative practice.
We’ve all been there. You fall in love with a gorgeous piece of fabric, buy it with a specific project in mind, and then… it sits in your stash for years. Or you get halfway through making a dress, only to realise you completely forgot to buy a matching zip. A sewing project planner is designed to put a stop to exactly these kinds of headaches by giving you one central place to document every last detail.
Tame Your Stash and Stop Wasting Fabric
A planner gives you a crystal-clear picture of the materials you already have versus what you actually need to buy. By logging your fabric inventory and notions, you’ll avoid buying duplicates and feel inspired to finally use the beautiful things you’ve collected. This is more relevant than ever, as the passion for sewing continues to sweep across the UK. With the UK sewing machine market revenue hitting approximately USD 116.7 million and still projected to grow, it’s obvious that more and more people are investing seriously in their craft. This renewed interest makes organised material management a non-negotiable for the modern sewist.
A planner doesn't just organise your projects; it organises your thoughts. It creates a space where you can make decisions confidently, from choosing the right interfacing to estimating how long it will really take to set in that sleeve.
From Overwhelming to Achievable
Let’s be honest, big and ambitious projects can feel completely daunting. A planner is your secret weapon for breaking them down into small, manageable steps. Instead of a to-do list that just says, "make a winter coat," you get a series of achievable tasks that feel much less intimidating:
- Trace and cut pattern pieces
- Interface front panels and collar
- Assemble the main body
- Construct and attach sleeves
- Sew the lining
This methodical approach helps build momentum and makes the entire journey far more enjoyable. It also allows you to realistically estimate your timings, so you can fit sewing into your life instead of feeling like it’s taking over. This kind of organisation is the cornerstone of a functional and inspiring workspace. For more tips on this, check out our guide on setting up your ideal sewing room.
Designing a Planner That Works for You
A good sewing planner isn't one you find; it's one you create. The best system is always one designed around your specific sewing habits and quirks, not the other way around. Think about it: what information do you always wish you had handy midway through a project? That's your starting point.
Your planner should feel like an extension of your sewing room—a place to capture everything from that spark of an idea to the final press of a seam. It's more than a to-do list; it’s a complete project record. Whether you’re a fan of a chunky physical binder, a sleek digital template, or a simple notebook, it’s the sections you include that will make it truly work for you.
Core Components for Your Planner
To keep things organised, I’ve found it helps to structure a planner to mirror the natural flow of a sewing project. I give each new garment its own set of worksheets. It keeps everything neat and easy to find later.
Start with what I call a Project Overview Page. This is your project’s home base. It's where you'll want to include:
- A space for a sketch or a clipped picture from the pattern envelope.
- The pattern details: name, number, and the company that made it.
- Who the garment is for and their crucial measurements.
Next, a dedicated Measurement Tracker is an absolute game-changer. It stops you from having to re-measure yourself or your family members every single time. This is also the perfect spot to jot down any go-to pattern adjustments you frequently make, like lengthening a bodice by 2cm or your standard full bust adjustment.
I see so many people treat their planners like a rigid set of rules they must follow. My advice? Think of it as a living document. It's a space to record not just what you did, but what you learned. Make a note that a certain brand’s sizing runs large or that a beautiful viscose frayed like crazy. These are the details that make you a better sewist.
Visualising Your Materials
One of the most powerful parts of a planner is having a system to track your materials before you even think about laying out the fabric. Honestly, this is where the real organisation happens and where you can save yourself a world of frustration.
This is a great example of how to lay everything out so you can see at a glance what you have and what you still need.
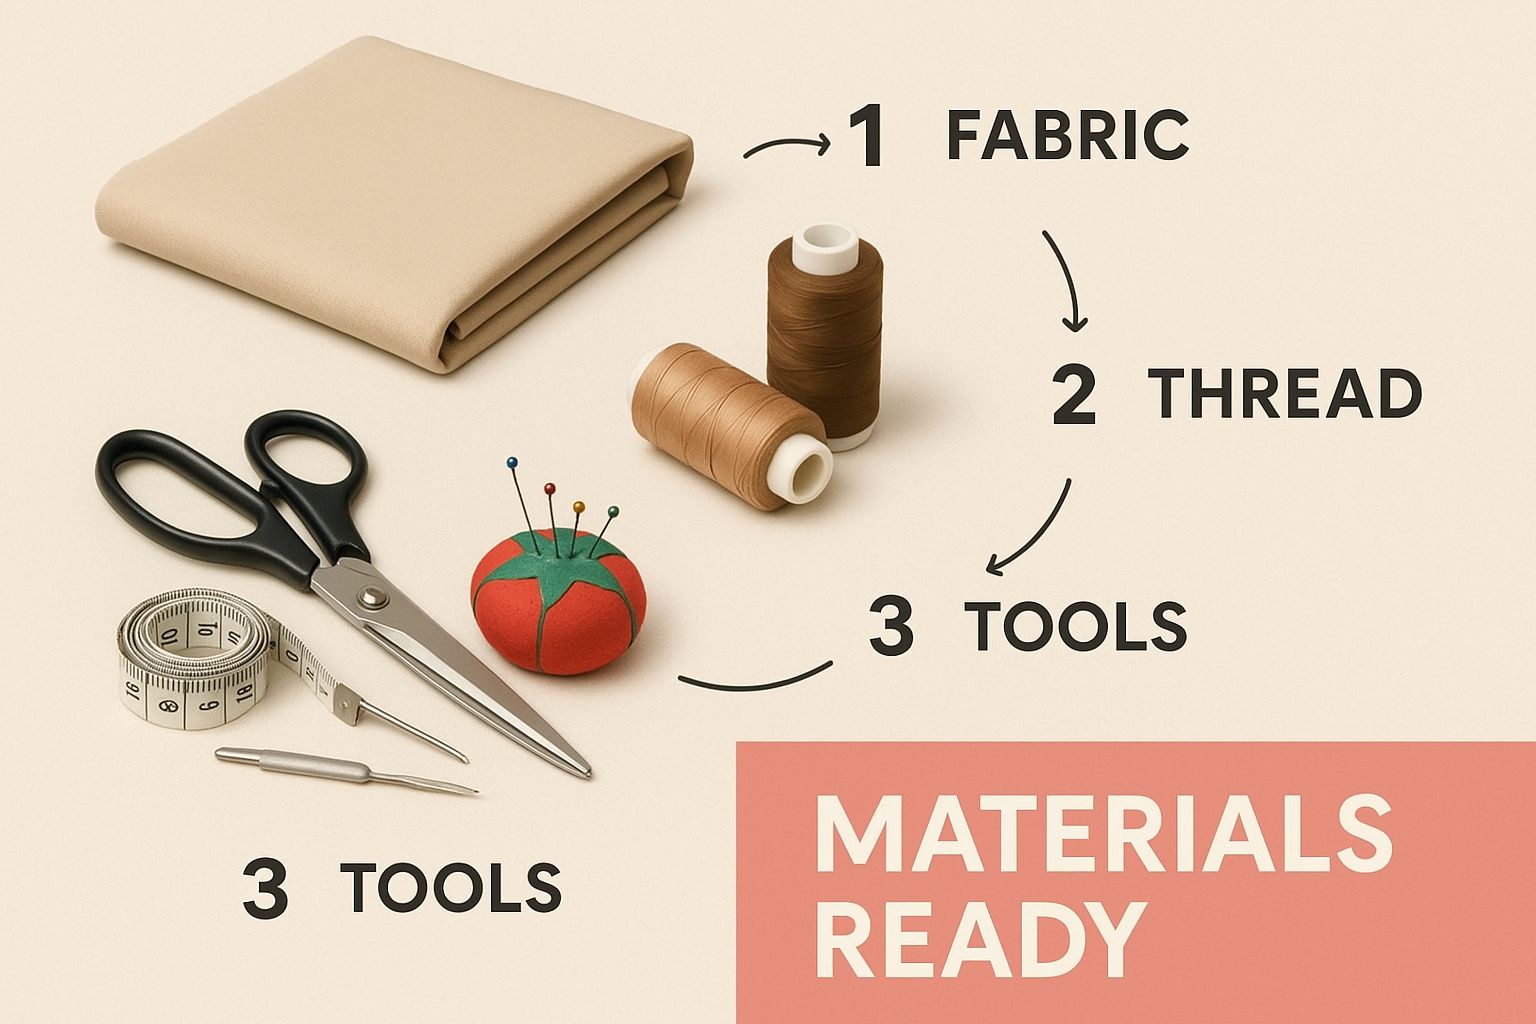
A quick visual check like this can prevent those dreaded last-minute dashes to the haberdashery for a matching zip.
To make this work, your planner needs dedicated pages for a Fabric Swatch Inventory and a Notions Checklist. For your fabric pages, I highly recommend stapling a small swatch and noting down its fibre content, width, and—critically—whether you've pre-washed it.
For your notions, simply list everything the pattern calls for—zips, buttons, thread, interfacing—and tick each item off as you gather it. This bit of prep work is what separates a chaotic project from a smooth one, letting you move seamlessly from planning to the fun part: the actual sewing.
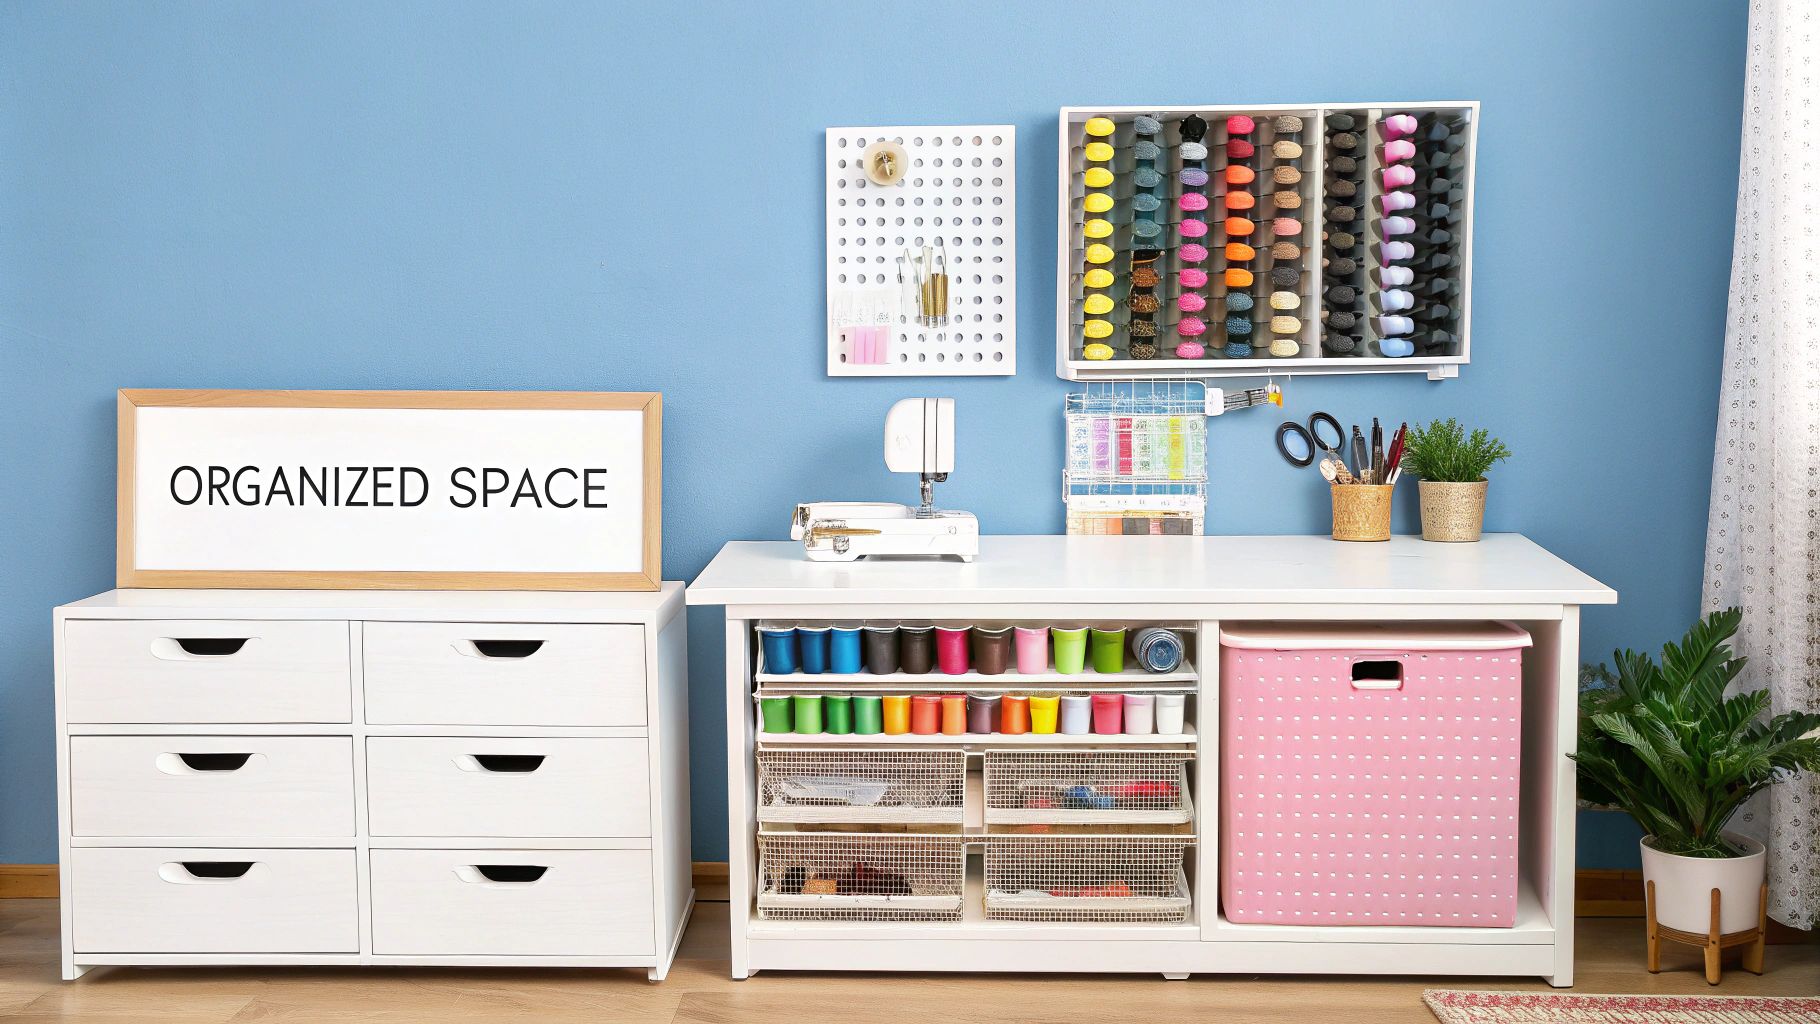
Mastering Your Fabric and Notions Stash
We’ve all been there. Your fabric stash is overflowing, a beautiful but chaotic mix that feels both inspiring and completely paralysing. Turning that collection into a functional library is a game-changer, and your sewing project planner is the perfect place to start. A well-organised stash isn't just about being tidy; it’s about making your creative process smoother and more intentional.
Instead of staring down a mountain of mystery fabrics, a proper inventory lets you "shop your stash" with purpose. You'll know instantly if you have the right material for that new pattern you're eyeing, which stops impulse buys and helps you finally use the gorgeous fabrics you already fell in love with. It's a simple system that saves both time and money.
Building Your Fabric Inventory
The secret to a genuinely useful inventory is detail. "Blue cotton" just won't cut it when you're planning. For each piece of fabric, you'll want to create an entry in your planner—whether it's a spreadsheet or a physical notebook—and capture the details that matter.
- Fibre Content: Is it 100% cotton, a delicate viscose blend, or a structured wool tweed? This tells you everything about how to handle it, from cutting and sewing to the final press.
- Fabric Width: Make a note if it's a standard 115cm or a wider 150cm. This is crucial for calculating your layout and seeing if you have enough for a specific pattern.
- Length: This is the most critical bit. Record the exact length in metres.
- Pre-washed Status: A simple "yes" or "no" here can save you from the heartbreak of a garment shrinking after all your hard work.
Here’s a tip I swear by: attach a small 2cm x 2cm swatch right onto the page in your physical planner. It gives you an instant, tangible feel for the fabric's true colour, drape, and texture without you having to dig the entire piece out of a storage box.
Organising Your Notions and Supplies
Don't let your organisation stop with fabric. Your inventory should absolutely include your notions—all those zips, buttons, threads, and interfacings. Let's be honest, a disorganised notion collection is the number one cause of those frustrating, last-minute trips to the haberdashery.
Dedicating a section of your planner to a running list of these supplies makes all the difference. The demand for these materials is soaring, too. In the UK garment sector, small and medium businesses recently saw an average sales growth of 128% in a single quarter, while their purchase orders from suppliers jumped by 123%. That’s a huge demand for the very fabrics and accessories you’re sorting through! You can read more about the growth in UK garment supply chains.
By linking specific fabrics and notions to project ideas in your planner, you start building a 'kit' before you even cut a thread. A simple note like, "that green floral linen for the summer dress pattern" connects your resources directly to your creative goals.
This system creates a powerful feedback loop: your planner helps organise your materials, and in turn, your organised materials make your planner an even more effective tool. If you're ready to take your physical storage to the next level, our article on sewing room storage ideas has some brilliant solutions for keeping everything perfectly in its place.
Building Time for Sewing Into Your Week
It’s one thing to have a beautifully organised sewing planner, but it’s another thing entirely to actually find the time to sew. For many of us, this is the biggest hurdle. The secret is to start treating your sewing time with the same respect you'd give any other important appointment, and your planner is the perfect tool to make that happen.
Instead of staring at a massive project on your to-do list like "make a trench coat" – which can feel completely overwhelming – your planner helps you break it down. Think of it as creating a series of smaller, more manageable 'sewing sprints' that you can realistically slot into your week.
Breaking Down Your Project
At its core, any large garment is just a collection of small steps. That complex coat, for example, can be broken down into individual tasks that are much easier to tackle, even when you only have an hour or so.
- Task 1: Trace the main body pattern pieces.
- Task 2: Cut the main fabric for the coat body.
- Task 3: Apply interfacing to the front facings and collar.
- Task 4: Sew the shoulder and side seams.
Each of these steps might only take 30-60 minutes. Suddenly, that intimidating project becomes a sequence of satisfying little wins. This approach helps prevent burnout and keeps your creative momentum alive and well.
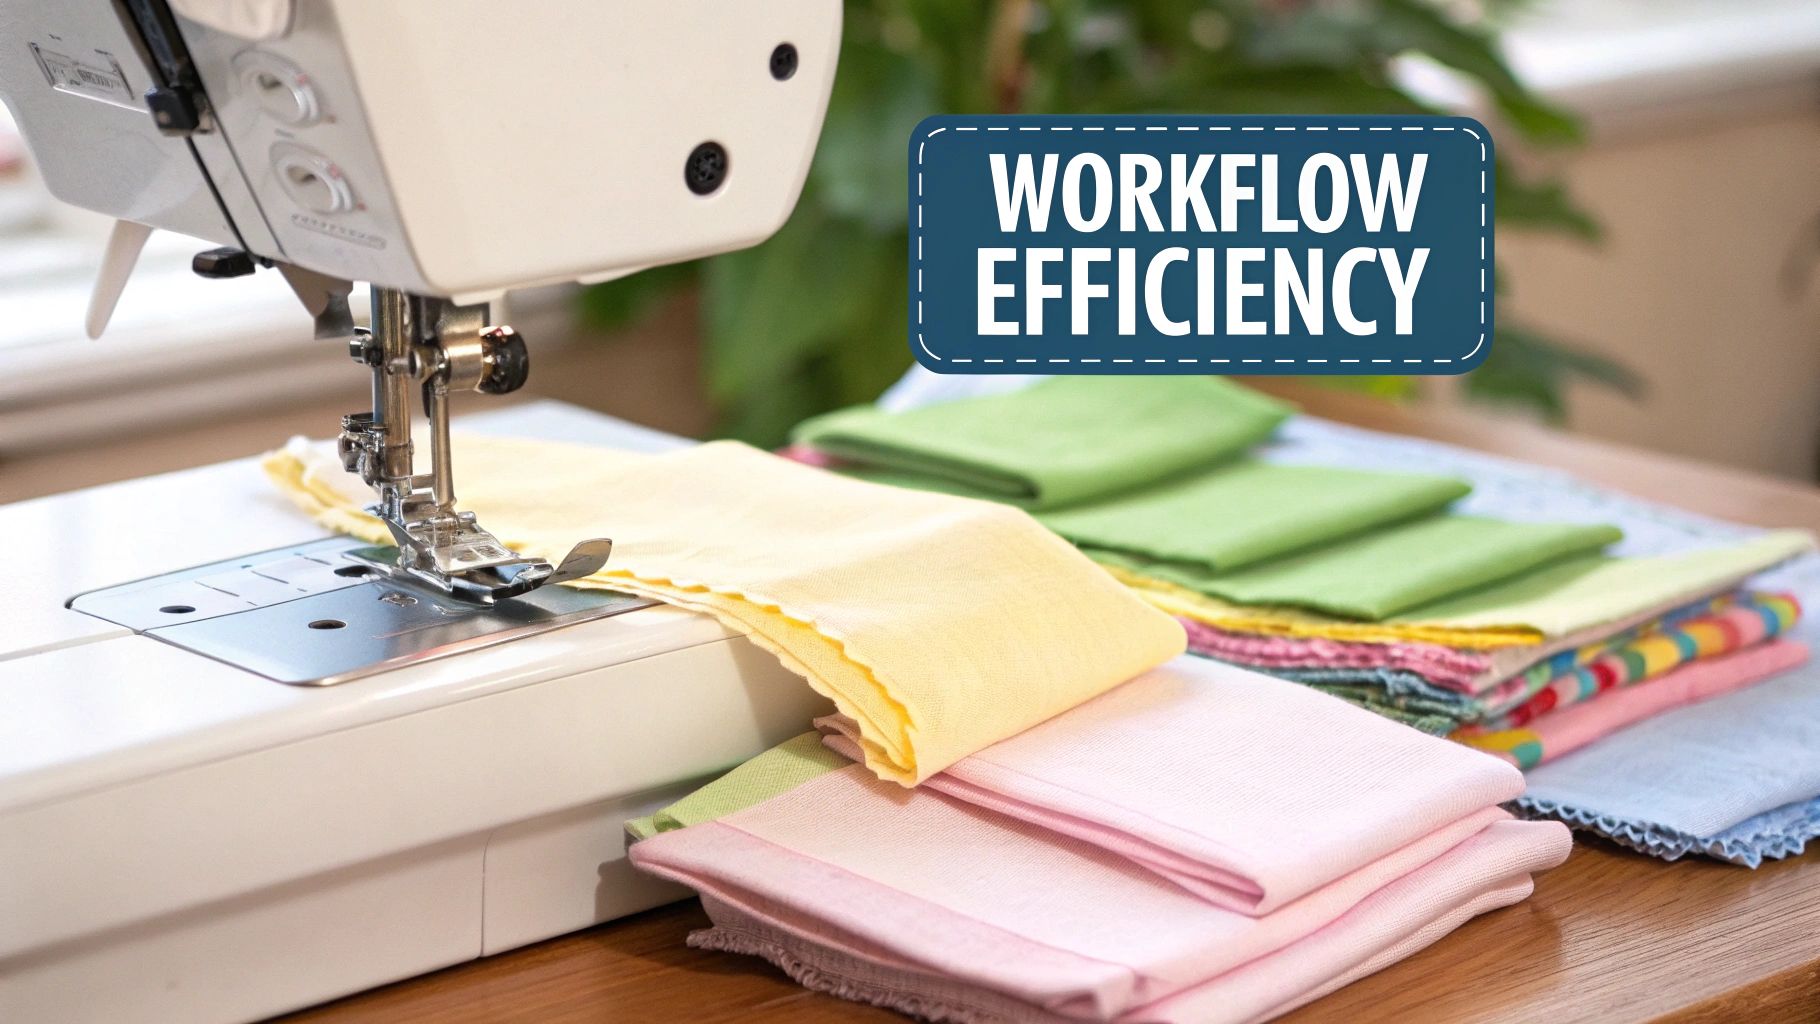
Of course, having a dedicated space where you can quickly jump into these tasks makes all the difference. If you're looking to create a more efficient workflow, our guide on choosing the perfect sewing and cutting table has some great ideas.
Estimating Time Honestly
Let's be real: one of the biggest mistakes we make is underestimating how long sewing tasks actually take. We have to be honest with ourselves. If you know deep down that setting in a sleeve always takes you a solid hour, schedule an hour. Don't try to convince yourself you’ll magically do it in 20 minutes this time.
Your planner is the ideal place to get a handle on this. Once you finish a task, make a quick note of how long it really took. Over time, you’ll build up a personal and incredibly accurate library of your own time estimates. This data is gold for future planning, helping you create schedules that are realistic, not just wishful thinking.
Setting a deadline shouldn't feel like a punishment. It's a tool for focus. A realistic deadline, built from honestly estimated tasks, provides a gentle push forward. It transforms a vague "someday" project into a tangible goal you can actively work towards this month.
Ultimately, your sewing project planner becomes far more than just a record of fabrics and patterns; it evolves into a time management system designed specifically for your craft. By breaking down your projects and scheduling these small sewing sprints, you weave your passion into the fabric of your daily life. It’s how sewing shifts from a hobby you struggle to find time for into a consistent, fulfilling practice. You'll not only finish more projects, but you'll enjoy the process a whole lot more.
How to Budget and Source Materials Wisely
We all know how quickly sewing can go from a joyful hobby to a surprisingly expensive one. A well-thought-out sewing project planner is your best friend for keeping those costs under control, making sure your creative outlet doesn't become a financial headache. It helps you shift from just guessing at costs to making truly informed decisions.
The idea is straightforward: treat each project like it has its own mini-budget. When you dedicate a page in your planner to tracking the cost of patterns, fabric, and every little notion, you get a crystal-clear financial picture. This lets you compare what you thought you’d spend against what you actually spent, giving you a much better handle on where your money goes.
Creating a Simple Project Budget
Before you even think about heading to the shops or browsing online, get a simple table drawn up in your planner. You need to list every single thing you'll need, from the main fabric right down to the last button and the specific thread colour. Beside each item, have a column for your estimated cost and another for the actual cost once you've bought it.
It's a simple habit that makes a world of difference. For instance, you might budget £30 for three metres of linen but then stumble upon a gorgeous alternative on sale for just £22. On the flip side, you might completely forget to factor in a speciality £8 zip. Do this for a few projects, and you'll get incredibly good at estimating your costs upfront.
This kind of careful budgeting is more important than ever. The UK textile market, valued at around USD 35.43 billion and still growing, directly impacts fabric prices and what’s available. A detailed planner helps you navigate these market shifts and make smarter purchases.
Sample Project Budget Breakdown
Here’s a practical example of how you could set up your project budget page for, say, making a new dress. This simple grid helps you see exactly where your money is going and identify any surprise expenses.
| Item | Estimated Cost (£) | Actual Cost (£) | Notes/Supplier |
|---|---|---|---|
| Dress Pattern | 15.00 | 15.00 | indie pattern online |
| 3m Viscose Fabric | 36.00 | 31.50 | Found in local shop's sale |
| Matching Thread | 2.50 | 2.50 | Haberdashery |
| Interfacing | 3.00 | 4.50 | Needed more than I thought |
| 6 Buttons | 6.00 | 6.00 | |
| Total | £62.50 | £59.50 | Came in under budget! |
Keeping a running tally like this takes the guesswork out of your spending and shows you exactly how you’re tracking against your plan.
Tracking your spending isn't about restricting your creativity; it's about empowering it. When you know precisely where your budget stands, you can make savvy decisions, like splurging on high-quality fabric for one project because you saved money on another.
Sourcing Materials Affordably in the UK
With a clear budget in hand, you can start sourcing your materials strategically. An organised approach is absolutely essential for making your money and materials go further. If your sewing space could use a bit of a tidy-up to support this, our guide on sewing room organization has some great ideas.
Here are a few tried-and-tested ways to find quality materials without breaking the bank:
- Shop Your Stash First: This is my number one rule. Before you even think of buying new, check the inventory you’ve hopefully logged in your planner. You might just have the perfect fabric or exactly the right buttons tucked away, saving you a trip and some cash.
- Visit Local Fabric Shops and Markets: Never underestimate the power of a good rummage. Independent shops are brilliant for finding unique end-of-roll bargains you simply won't see online. Plus, getting to know the owners often means you're the first to hear about upcoming sales.
- Explore Online Remnant Stores: Many UK-based online shops specialise in selling high-quality designer remnants for a fraction of their original price. They are an absolute goldmine for smaller projects or for adding a luxurious accent to a garment.
By combining a detailed budget with these smart sourcing tactics, you gain complete control over your project's finances. This methodical approach means you can keep creating beautiful things without the looming stress of unexpected bills.
Common Questions About Sewing Planners Answered
Starting any new system, especially for something as personal as sewing, always brings up a few questions. Finding a rhythm with a project planner that truly works for you is the most important part. Let's tackle some of the common sticking points I see people run into, so you can move past any initial hesitation and get the most out of your new organisational tool.
Is a Digital or Physical Planner Better?
This is the big one, isn't it? The honest answer is that the best planner is whichever one you’ll actually use. There’s no right or wrong here, just what fits into your life and your creative process.
If you love the feel of pen on paper, a physical planner—like a dedicated binder or a lovely notebook—is hard to beat. I find them brilliant for attaching real fabric swatches, which gives you a true sense of a project’s texture and colour palette that you just can't get from a screen. It ends up becoming a beautiful scrapbook of everything you've made.
On the other hand, a digital planner is fantastic if you're always on the go. Using an app like Trello or even a simple spreadsheet means all your plans are right there on your phone. They are easily searchable, can be backed up, and are perfect for linking directly to online patterns or video tutorials. Many experienced sewists I know actually use a hybrid approach: digital for the big picture, like tracking their entire stash, and a physical notebook for the nitty-gritty details of a current project.
A planner’s true power comes from how you use it to adapt. Think of it as a flexible guide, not a rigid rulebook. If your sewing plans change, the planner holds all the details so you can pause and return to a project months later without missing a beat.
How Do I Start Without Feeling Overwhelmed?
The idea of cataloguing an entire fabric stash, especially one that's been growing for years, can feel completely paralysing. The secret is to start small. Please don't try to do it all at once; that’s a guaranteed recipe for losing motivation before you even begin.
A great first step is to simply log new fabrics as you buy them. This builds the habit without the pressure of tackling your existing collection.
When you feel ready to face your current stash, try one of these manageable approaches:
- The Timed Dash: Set a timer for just 15 minutes and see how much you can get through. You’ll be surprised.
- The Colour Sort: Focus on just one colour or fabric type per sewing session. Maybe do all your blue fabrics today and tackle the linens next week.
- The Project-by-Project: Only catalogue the fabric and notions for the specific project you're about to start.
Before you know it, your inventory will grow naturally without that initial overwhelming effort. Of course, having accurate body measurements is just as crucial as tracking your materials. If you need a refresher, our easy guide on how to take body measurements for clothes will help ensure every garment you plan has the perfect foundation right from the start.
At Display Guru, we know that the right tools are essential for bringing your craft to life. Our professional-grade tailor's dummies and body forms provide the perfect canvas for your carefully planned projects, helping you achieve a flawless fit every single time. Explore our collection at https://www.displayguru.co.uk.