


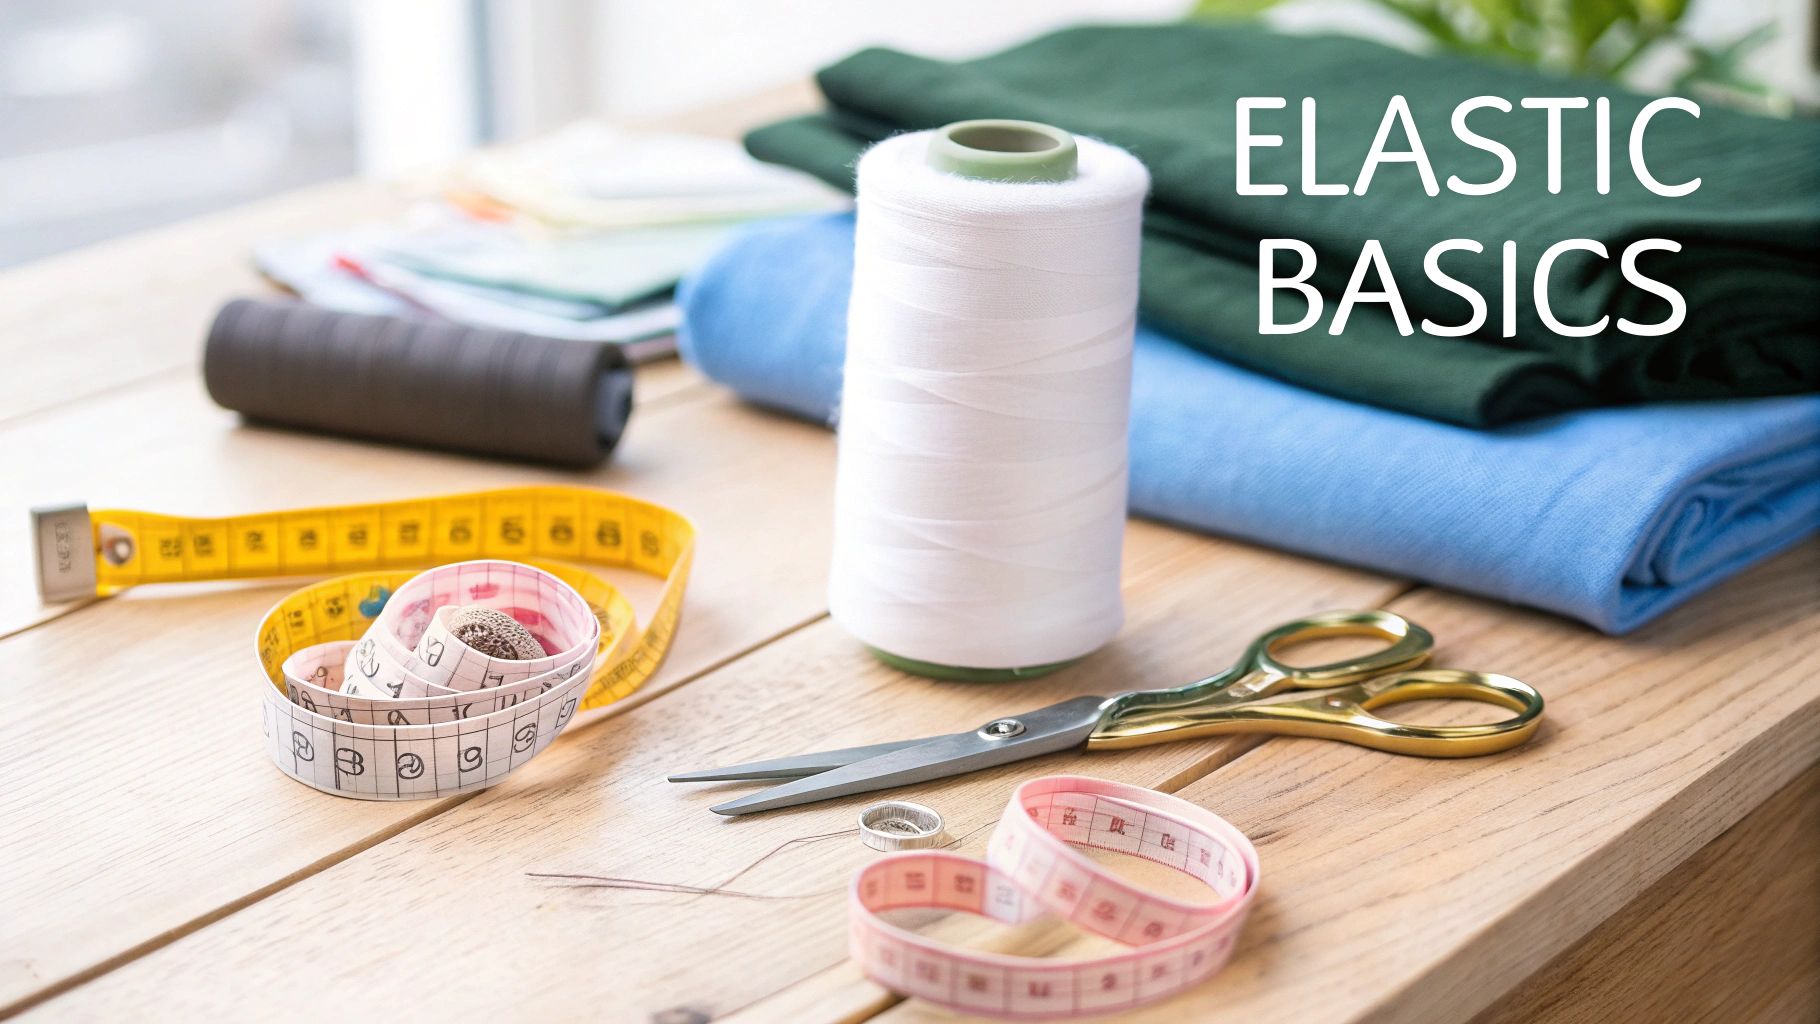
A Sewer's Guide to Elastic for Sewing
When you get it right, the perfect elastic for sewing is the secret ingredient that gives your garment a professional finish and a truly comfortable fit. It's the unseen architecture providing shape, structure, and stretch to everything from sturdy waistbands to the most delicate of cuffs.
Why The Right Elastic Changes Everything
Think of elastic as the unsung hero of your handmade clothes. It's what allows a garment to move with your body, providing a gentle, secure hug rather than a restrictive grip. But choose the wrong one, and you could end up with a droopy waistband after a single wash or a cuff that gives up completely.
The right choice, on the other hand, is what elevates a project from looking merely 'homemade' to having that polished, high-quality feel. This is something that really resonates here in the UK, where discerning makers and buyers place a huge emphasis on quality materials. The numbers back this up, too; in 2023, UK clothing retail revenue hit an estimated £64.5 billion, boosted by a 7% jump in sales. You can find more insights into the UK apparel market from Statista.
Choosing the perfect elastic for sewing isn't just a technical detail; it's a decision that directly impacts the comfort, durability, and overall success of your finished garment.
To make that winning choice, you need to get to know the main players in the world of elastic. Each type has its own personality and is cut out for very different jobs.
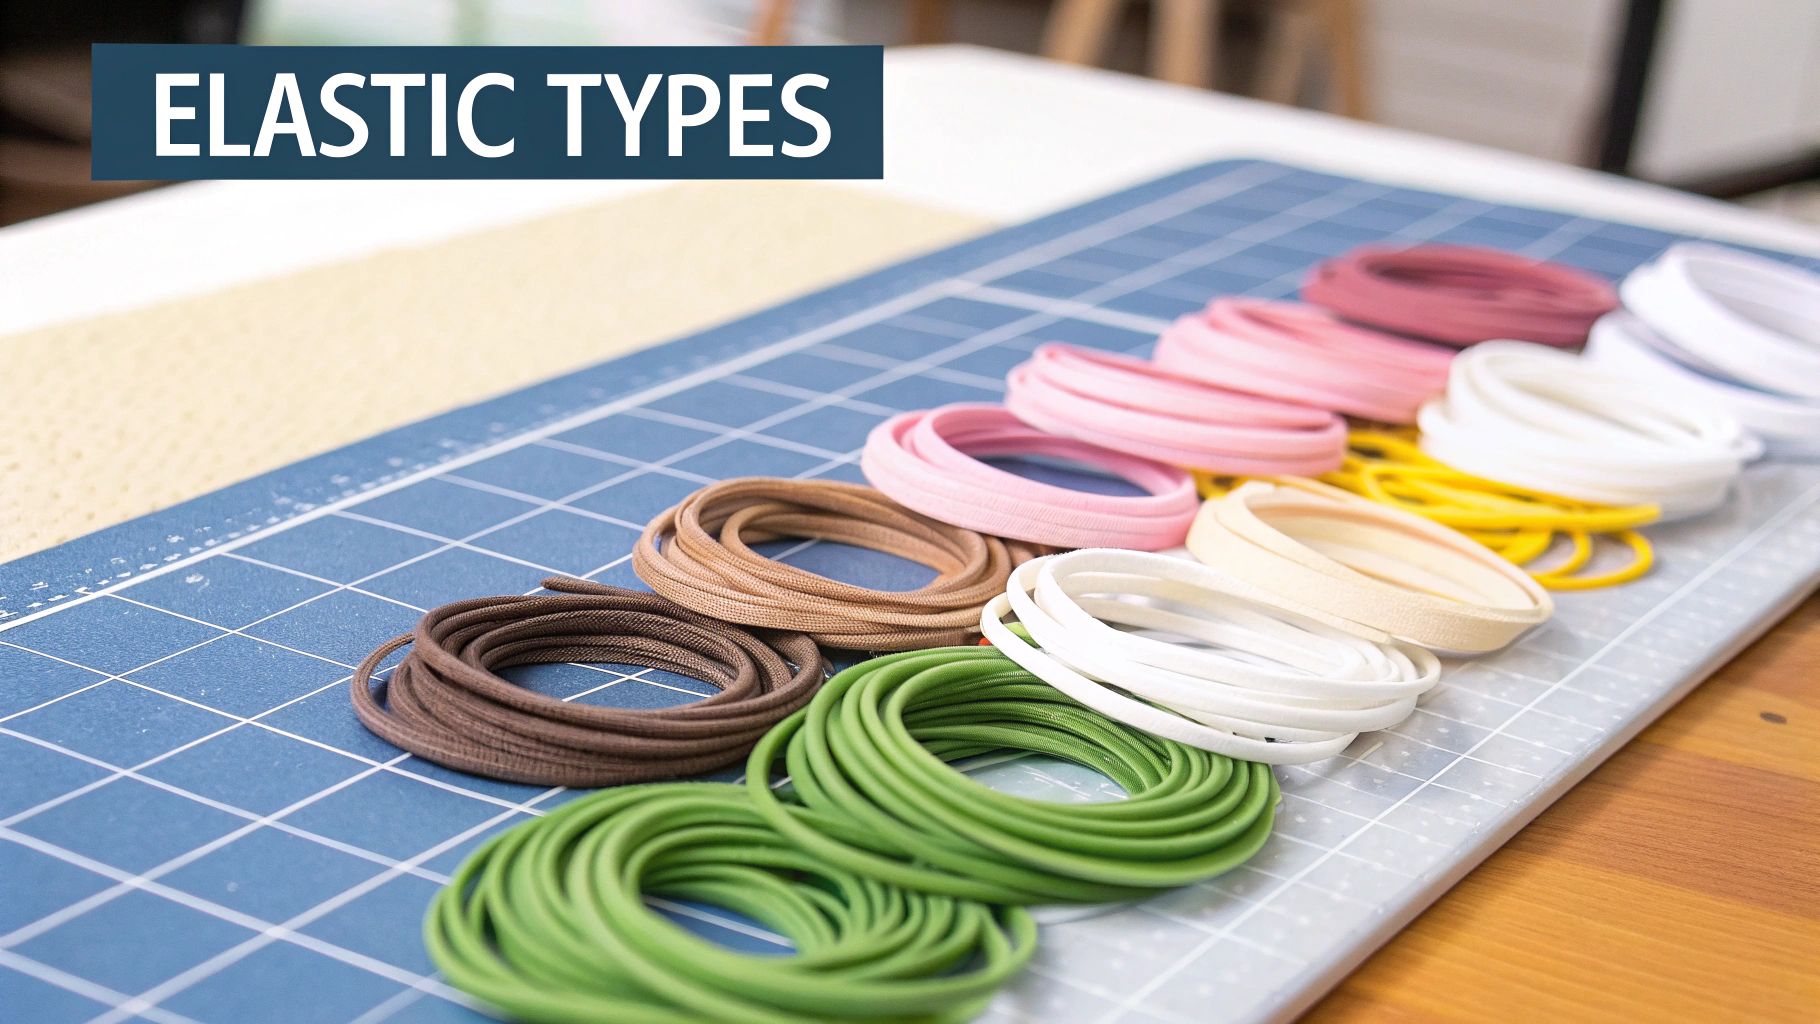
The Core Types of Sewing Elastic
-
Braided Elastic: You'll notice this one gets narrower when you stretch it. Because of this, it's best kept inside a casing where it can do its job without being seen.
-
Knitted Elastic: This is your soft, versatile option. It keeps its width when stretched, which makes it a great choice for projects where it might touch the skin.
-
Woven Elastic: Often called 'non-roll' elastic, this is the strongest and firmest of the bunch. It holds its shape beautifully even when you stitch right through it, making it ideal for exposed waistbands.
Getting your head around these fundamental differences is the first real step towards mastering your sewing and getting that perfect finish every time.
A Practical Comparison of Sewing Elastics
Walking into a haberdashery and seeing a wall of elastic for sewing can feel a bit overwhelming. But really, it all comes down to understanding the three main players: braided, knitted, and woven. Each one is made differently, giving it a unique personality and a specific job to do in your sewing room.
Getting this choice right is just as crucial as picking your fabric or knowing what is interfacing in sewing. The right elastic ensures your garment stretches, gathers, and fits exactly as you imagined.
Braided Elastic: The Casing Specialist
You can spot braided elastic a mile off by the parallel ribs running down its length. Its defining feature? It gets narrower when you stretch it out.
This little quirk means it’s not the best candidate for stitching through directly, as your stitches can end up uneven. But it’s precisely this quality that makes it a dream for threading through casings. Think pyjama bottoms or simple elastic-waist skirts—it just glides right through the fabric channel.
Knitted Elastic: The Soft All-Rounder
If there’s one elastic that’s a true crowd-pleaser, it’s knitted elastic. It’s wonderfully soft against the skin, which is why you’ll often find it in children’s clothes, delicate lingerie, and comfy loungewear.
The best part? It holds its width perfectly even when stretched. This means you can sew straight through it without worrying about it distorting or bunching up. That stability makes it a go-to for any project where the elastic is stitched directly onto the fabric, like the waistband of a pair of leggings.
The chart below gives you a quick visual on what widths work best for different parts of a garment.
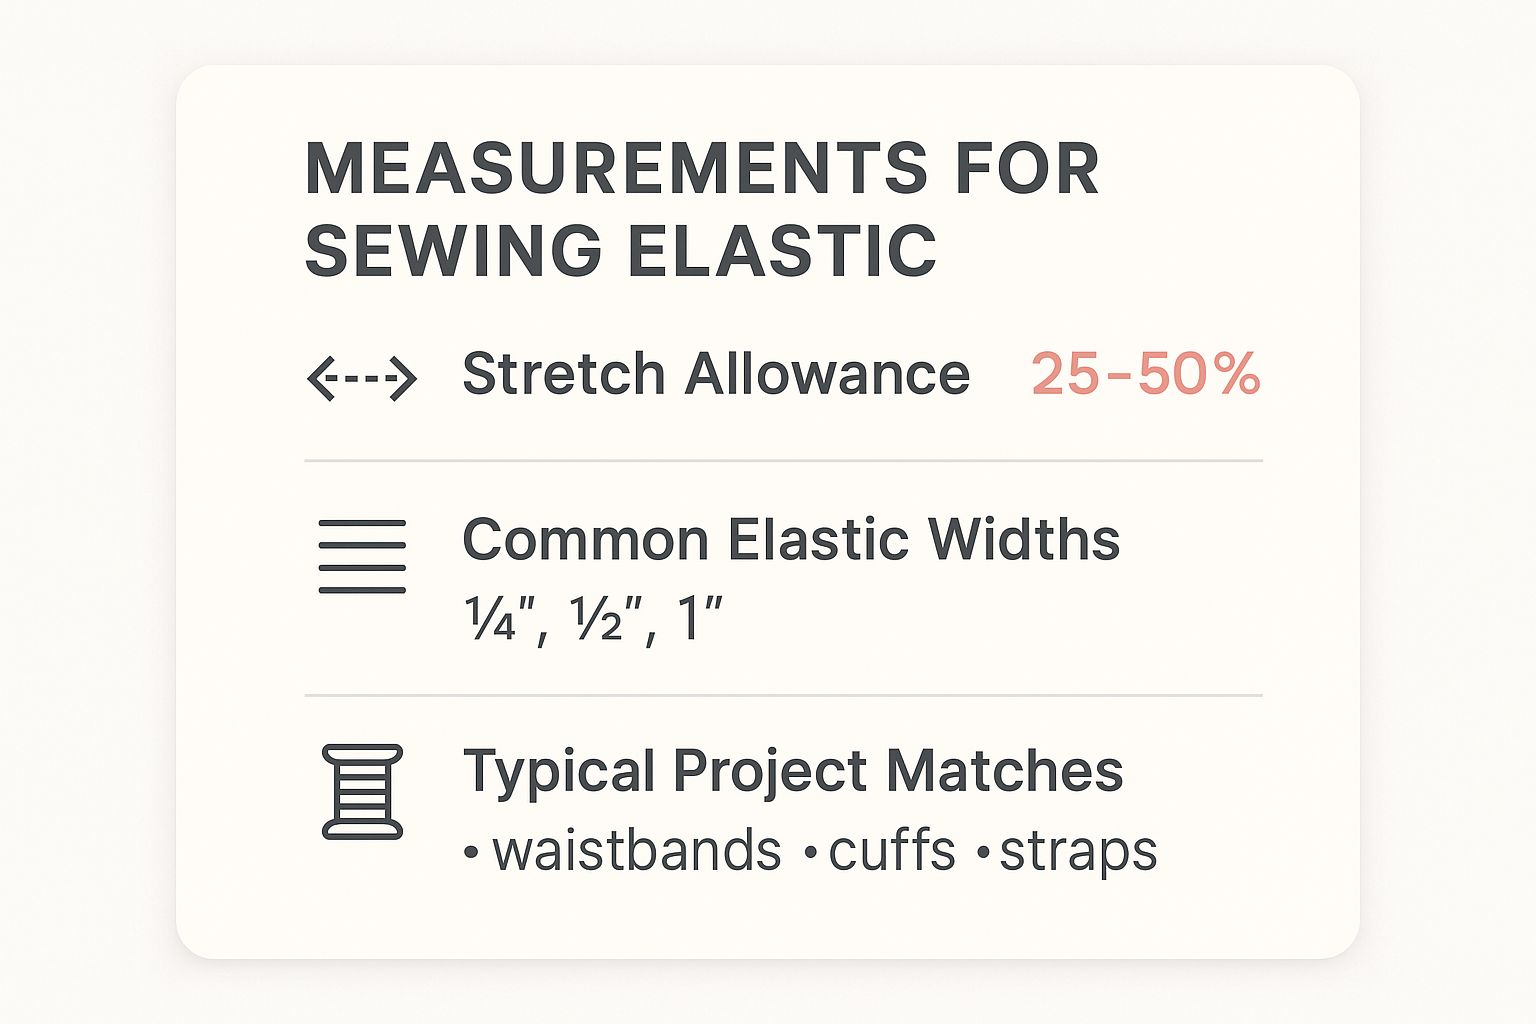
It’s a handy reference for matching the right size elastic to everything from skinny straps to sturdy waistbands.
Woven Elastic: The Sturdy Powerhouse
When you need an elastic that means business, you reach for woven. It’s often called ‘non-roll’ elastic for a good reason—it’s the firmest and most resilient of the lot.
Its strong, cross-woven construction means it stands up to serious tension without losing its shape or width. This makes it the undisputed champion for heavy-duty applications like exposed waistbands on trousers, outerwear, and any project where you absolutely cannot have the elastic twisting or buckling inside its casing.
A Quick Tip: Woven elastic has some serious muscle, so it pairs best with medium to heavyweight fabrics. If you try to use it with a delicate silk or a lightweight cotton, its strength can easily overwhelm the fabric and cause puckering.
Choosing Your Elastic: A Quick Guide
To make things even simpler, here's a quick side-by-side look at the most common sewing elastics to help you pick the right one at a glance.
| Elastic Type | Key Characteristic | Best For | Avoid For |
|---|---|---|---|
| Braided | Narrows when stretched | Threading through casings (e.g., pyjamas) | Stitching directly onto fabric |
| Knitted | Soft; maintains width when stretched | Directly sewn applications (e.g., leggings) | Projects needing very firm support |
| Woven | Very firm; does not narrow or roll | Heavy-duty uses (e.g., outerwear, trousers) | Lightweight or delicate fabrics |
| Clear | Transparent and lightweight | Stabilising seams and necklines | Gathering or providing strong stretch |
This table should help you make a confident choice next time you're stocking up on supplies for a project.
Finally, there’s one more type worth knowing about: clear elastic. This isn't your typical gathering elastic. Instead, think of this transparent tape as a stabiliser. You can stitch it into the shoulder seams of jersey tops to stop them from stretching out of shape over time or use it to subtly reinforce the neckline on a delicate blouse. It’s all about providing invisible support.
How to Select the Perfect Elastic
Knowing the different types of elastic is one thing, but actually choosing the right one for your project is where the real skill comes in. Think of it as a puzzle: you need to consider the fabric's weight, how the garment will be used, and how comfortable it needs to be. All the pieces have to fit.
Of course, getting the measurements right is the first step to a great fit. If you're not sure where to start, our guide on how to take body measurements for clothes is a fantastic resource for getting that initial accuracy.
A floaty, lightweight fabric like a cotton lawn or viscose needs a gentle touch. If you pair it with a stiff, heavy-duty woven elastic, the fabric will pucker and bunch up, completely ruining the garment's beautiful drape. For fabrics like these, a soft knitted elastic is the ideal choice, giving just enough stretch without being a bully.
On the other hand, if you're working with something tough like denim or corduroy for a pair of trousers or a sturdy jacket, you need an elastic that can hold its own. A strong, robust woven elastic is what you're looking for here. It has the strength to prevent the waistband from rolling over or losing its shape, even after countless wears and washes.
Matching Elastic to its Purpose
The fabric is only half the story; you also have to think about what the finished item will be doing. Let's look at a few real-world examples:
- Children’s Leggings: Comfort is everything here. You’ll want a soft, flexible knitted elastic that won’t dig into a child’s skin. It’s also great because it doesn’t tend to roll, making it perfect for applying directly to the fabric.
- Swimwear: This is a special case. You need an elastic that can handle chlorine, salt water, and sun. Specialised swimwear elastic is built for exactly this, offering fantastic stretch and recovery to ensure everything stays put, lap after lap.
- Lingerie: For delicate garments, fold-over elastic (FOE) is a brilliant solution. It gives you a soft, decorative finish while neatly binding the raw fabric edges, and it feels lovely against the skin.
This idea of choosing high-quality, long-lasting components is gaining traction everywhere. As people in the UK become more interested in sustainable textiles, there’s a growing appreciation for materials that add comfort and longevity, particularly in sportswear and technical clothing.
The golden rule? Always consider stretch recovery. This is simply the elastic’s ability to snap back to its original length after you stretch it. Poor recovery is the culprit behind saggy waistbands and garments that lose their shape way too soon.
Taking the time to weigh up these factors means you’ll choose an elastic that not only does its job perfectly but also elevates the quality and lifespan of your handmade clothes.
Mastering Essential Sewing Techniques
Once you’ve selected the right elastic for sewing, it's time to put it to work. How you apply elastic is a fundamental skill that truly shapes the final fit and finish of a garment. Don't be discouraged if it seems tricky at first; with a couple of solid techniques under your belt, you'll be getting professional-looking results in no time.
One of the most common approaches is to create a casing. Think of it as a little fabric tunnel that you guide the elastic through. This method gives a beautifully clean finish, as the elastic is completely hidden from sight, making it ideal for things like pyjama waistbands or simple gathered skirts.
Pro Tip: When threading elastic through a casing, attach a safety pin to one end. This simple trick gives you something solid to grip and manoeuvre through the fabric channel, which makes the whole process faster and helps stop the elastic from getting frustratingly twisted inside.
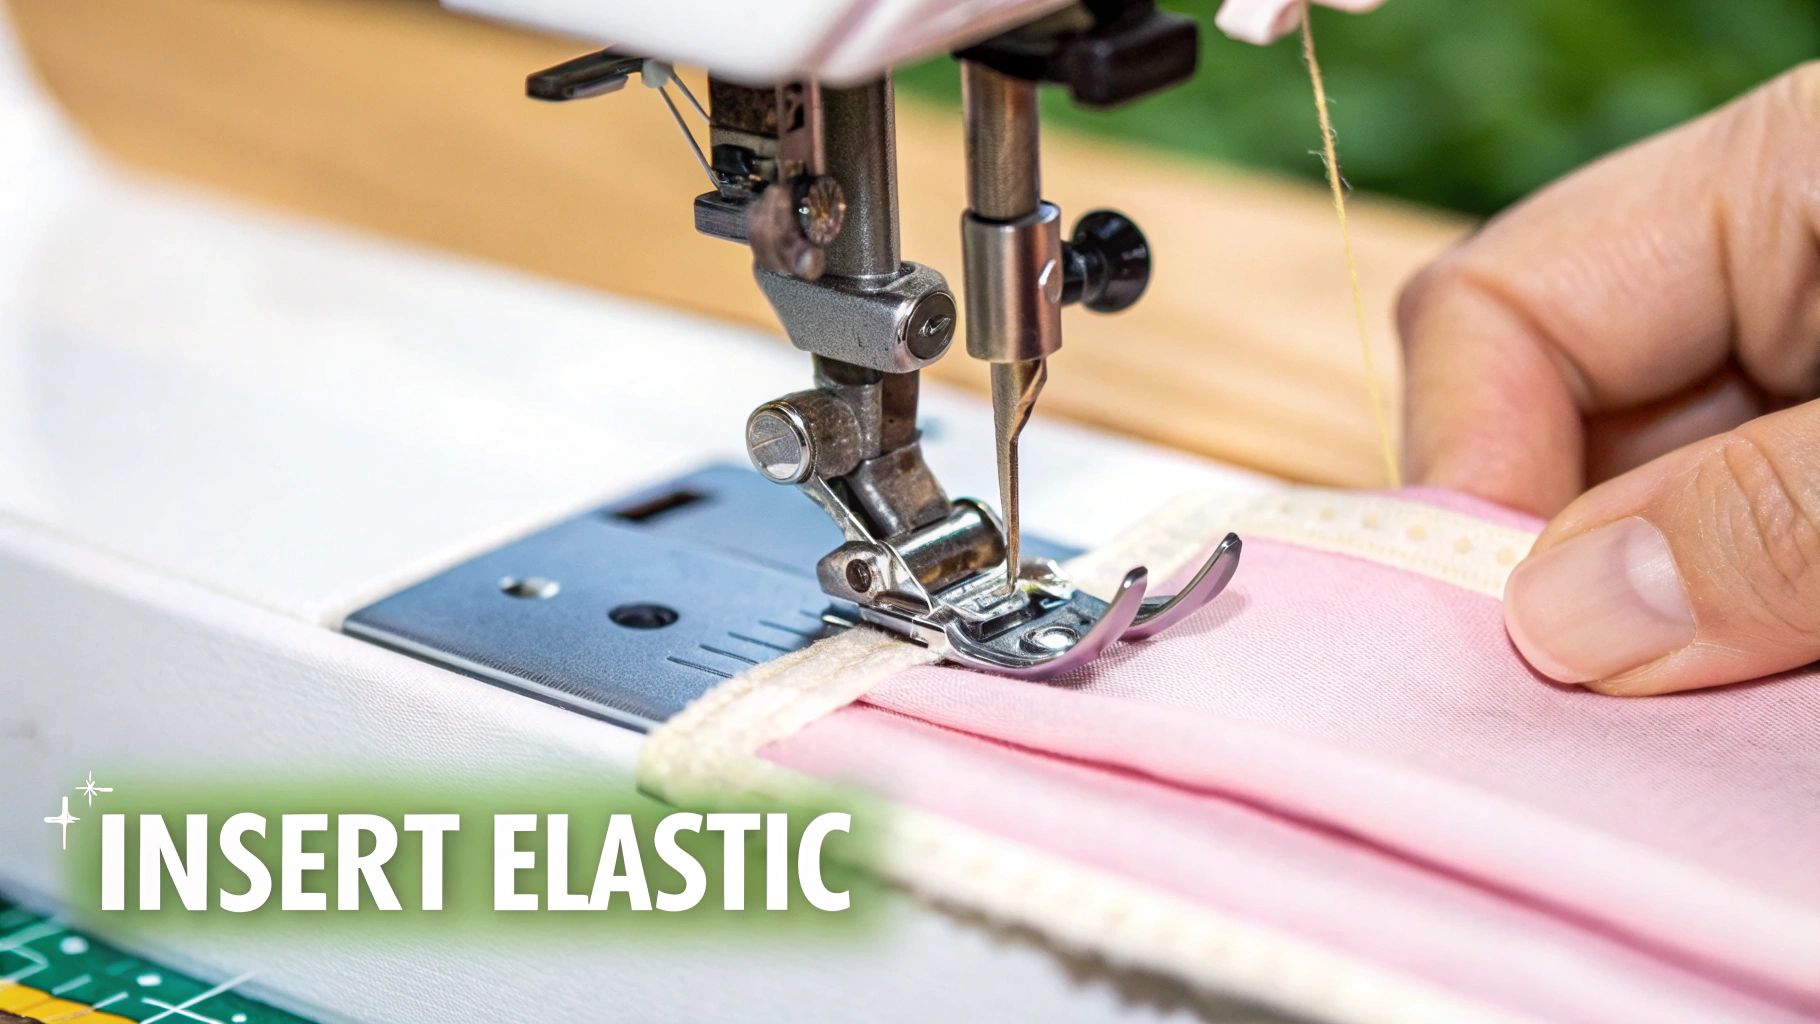
Stitching Elastic Directly to Fabric
Another go-to technique is to stitch the elastic straight onto the fabric. This is the method you’ll often see on leggings, sportswear, and any project where a separate casing would add too much bulk. For this, a zig-zag stitch is your best friend because it can stretch and flex right along with the elastic.
The key here is to stretch the elastic as you sew, but not the fabric. You need to hold the elastic taut so it matches the length of the fabric you’re attaching it to, then gently guide both layers through the machine.
- Needle Choice: Always opt for a ballpoint or stretch needle. These needles have a rounded tip that separates the fabric fibres instead of piercing them, which prevents skipped stitches and tiny holes in your knits.
- Machine Settings: A standard zig-zag stitch usually does the job perfectly. For a strong yet flexible seam, a stitch width of 3.0 mm and a length of 3.0-4.0 mm is a great starting point.
- Troubleshooting: If you notice the fabric puckering or creating a "tunnel" effect, your machine's upper tension is likely too tight. Try lowering it a little for a much smoother result.
These practical methods are just the start. If you’re ready to dive deeper, you can explore a whole host of other sewing techniques to broaden your skills.
As your confidence grows, you might even think about turning your hobby into a small business. Learning about the best ecommerce platforms for handmade goods could be a fantastic next step on your creative journey. By mastering these sewing applications, you can ensure your creations are not only beautiful but also comfortable and built to last.
Sustainable Choices in Sewing Elastic
As people who sew, we know that every material choice we make has a ripple effect. The standard elastic for sewing we often reach for is usually petroleum-based, made from synthetics like polyester and spandex. While they certainly get the job done, these materials contribute to microplastic pollution and are a real headache to recycle, especially when sewn into natural fabrics.
The good news is that the world of haberdashery is catching up. A new wave of eco-friendly elastics is now available, giving us more thoughtful alternatives for our sewing projects.
Exploring Eco-Friendly Alternatives
These greener options manage to deliver the performance we need without the environmental baggage. The two most common types you'll come across are:
- Organic Cotton & Natural Rubber: This is a fantastic, completely plastic-free combination. The resulting elastic is soft, breathable, and biodegradable, making it a brilliant choice for everything from kids' clothes to comfortable waistbands.
- Recycled Materials: Some clever manufacturers are now producing elastics from recycled polyester. This helps keep plastic waste out of landfills and lessens the need to create new synthetic materials from scratch.
The move towards sustainability is more than just a passing trend; it's a real shift in how we think about making things. Opting for a biodegradable elastic is a small but meaningful step towards reducing a garment's environmental impact at the end of its life.
With fashion consumption on the rise, there's a growing need for all garment components to be more sustainable. This means elastics are under pressure to become more recyclable or biodegradable to fit into the UK's circular economy ambitions. You can find out more about the future of UK textile recycling on Grandview Research.
Making these conscious choices is one part of the puzzle; keeping your supplies organised is another. For tips on how to mindfully manage your materials, have a look at our guide on creative ideas for the storage for fabrics.
Common Questions About Sewing Elastic
Even the most seasoned sewist can get tripped up by elastic from time to time. Let's tackle some of those common sticking points and clear up the confusion, so you can get a polished, professional finish every single time.
Why Does My Elastic Seam Look Wavy?
That dreaded wavy, "lettuce-edge" seam is almost always a sign of overstretching. It happens when either the fabric or the elastic for sewing gets pulled too much as it goes under the needle.
The trick is to gently guide the material, not force it. If you're stitching the elastic directly to the fabric, your focus should be on stretching only the elastic to fit the fabric's length—let the fabric itself feed through naturally. A walking foot can be a huge help here, as it pulls both layers through evenly. And don't forget to check your settings; you'll need a stretch or zig-zag stitch to give the seam the flexibility it needs.
A classic rookie error is cutting the elastic too short from the get-go. This forces you to stretch it too aggressively, which strains the fabric and creates those waves. It's always better to start with a little extra length and trim it down later.
Which Elastic Should I Use Inside a Casing?
For threading through a channel or casing, braided elastic is a very popular choice. It has a handy little quirk: it narrows when stretched, making it much easier to feed through the fabric tube. The downside? It can sometimes roll or twist within the casing.
Knitted elastic is a fantastic, soft alternative. It doesn't narrow quite as much, but it's brilliant at resisting twisting. This makes it a go-to for waistbands in things like pyjamas or kids' clothes, where comfort and reliability are key. Woven elastic, on the other hand, is usually too firm and is better suited for being stitched directly onto heavier fabrics.
How Do I Cut the Right Length of Elastic?
A great rule of thumb is to measure the area (your waist, for example) and then cut the elastic to 80-90% of that measurement. For something that needs to be extra snug, like activewear, you might go even shorter.
Before you make the final cut, always wrap the elastic around your body to test the fit. It should feel secure, but never uncomfortably tight. Finally, remember to add about 1 inch (2.5 cm) for an overlap to join the ends. You'll often find specific guidance on this when you learn how to read sewing patterns, which can take the guesswork out of it.
At Display Guru, we know that a perfect fit is everything. Our range of tailor's dummies and body forms gives you the ideal foundation to bring your creative projects to life, ensuring every garment looks flawless. Explore our collection at https://www.displayguru.co.uk and find the perfect partner for your sewing room.