


How to Line a Jacket for a Flawless Finish
Lining a jacket is one of those steps that truly elevates a handmade garment from simply ‘made’ to professionally finished. It's the secret ingredient that adds comfort, structure, and a touch of luxury. The basic idea is to create a separate 'inner jacket' from a lighter fabric, which you then sew into the main shell.
Choosing The Right Fabric For Your Jacket Lining
The secret to a jacket that feels as good as it looks lies in the lining. This goes far beyond just picking a complementary colour. You need to think about the fabric's weight, how it drapes, and its properties, matching them to your outer shell for a result that hangs beautifully and moves with you. The wrong choice can be a disaster – think static cling, unnecessary bulk, or a lining that fights against the main fabric every step of the way.
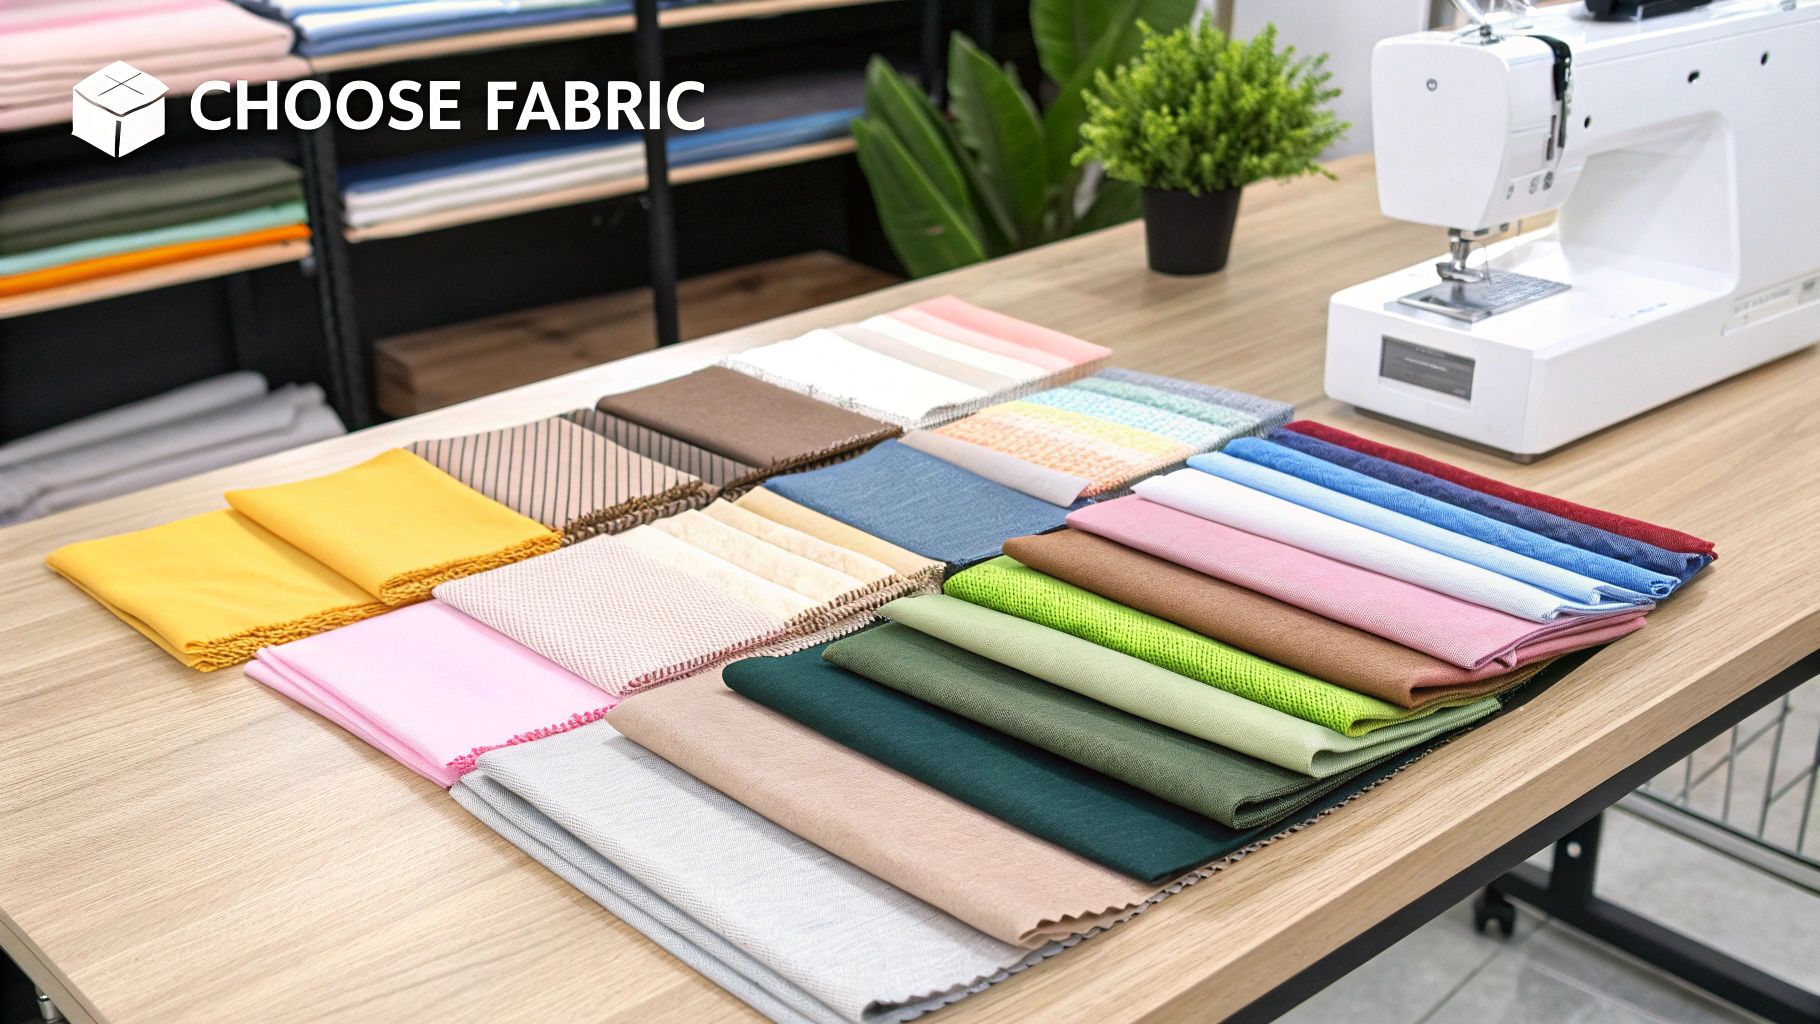
For a classic wool coat, for instance, my go-to is nearly always a silky, breathable lining like Bemberg rayon, also known as cupro. It just glides over whatever you're wearing underneath and feels fantastic. But for a more casual cotton or denim jacket, you could opt for a soft cotton lawn or even a cosy brushed flannel to add a bit of warmth without needing that slick feel of formalwear.
Matching Fabric to Function
Your goal here is to complement, not compete with, the outer fabric. A lightweight summer blazer needs a lining that won't weigh it down, making something like a silk charmeuse or a good quality polyester crepe de chine a perfect choice. On the other hand, a heavy winter coat really benefits from a lining that provides an extra layer of insulation.
It's clear that consumers are looking for quality construction in their clothing. In fact, the global market for lining fabric is projected to grow by around 5% annually, hitting an estimated value of $23 billion by 2033. This really shows a shift towards appreciating well-made garments.
My personal rule of thumb is this: the lining should always be lighter in weight than the main fabric. This is crucial for ensuring the jacket hangs correctly and the lining doesn't pull or distort its shape.
Lining Fabric Comparison Guide
To help you decide, here’s a quick rundown of some common lining fabrics. Think of it as a cheat sheet for your next project.
| Fabric Type | Key Characteristics | Best For | Considerations |
|---|---|---|---|
| Bemberg Rayon (Cupro) | Silky, breathable, anti-static, durable. | High-end coats, suits, and blazers. | More expensive than synthetics. |
| Polyester/Acetate | Inexpensive, durable, wide colour range. | Everyday jackets, budget-friendly projects. | Not very breathable; can feel clammy. |
| Silk Charmeuse | Luxuriously soft, lightweight, breathable. | Special occasion wear, blazers, light coats. | Can be delicate, expensive, and slippery to sew. |
| Cotton Lawn/Voile | Soft, breathable, easy to sew. | Casual jackets, summer blazers, children's wear. | Can wrinkle and doesn't have a slippery feel. |
| Flannel | Warm, soft, adds insulation. | Winter coats, casual work jackets. | Adds bulk, so account for it in the fit. |
Ultimately, the best lining is one that enhances the feel and function of your jacket. Take a moment to consider how you'll wear it, and you can't go wrong.
Of course, before you even think about cutting your beautiful lining fabric, you need spot-on measurements. If you're a bit unsure, our easy guide on how to take body measurements for clothes will walk you through it. A perfectly fitting lining starts with a well-measured foundation.
Preparing Your Pattern and Cutting the Lining
Now that you've got your fabric, we move onto the prep work. This is where the magic really starts, and paying close attention to detail now will make all the difference to the final garment. Getting your pattern just right and cutting accurately, especially with those slinky lining fabrics, is what elevates a homemade jacket to something that looks professionally tailored.
You can't just trace your original jacket pattern and call it a day. A couple of small but crucial tweaks are needed for the lining.
The most important one is to add a centre-back ease pleat. This is a small fold, usually about an inch deep, that you add only to the centre-back piece of your lining pattern. It gives you that vital bit of extra room across the shoulders, so you don't feel a restrictive pull every time you reach for something. It’s a small detail that makes a huge difference in comfort and ensures the outer jacket hangs beautifully.
Taming Tricky Fabrics
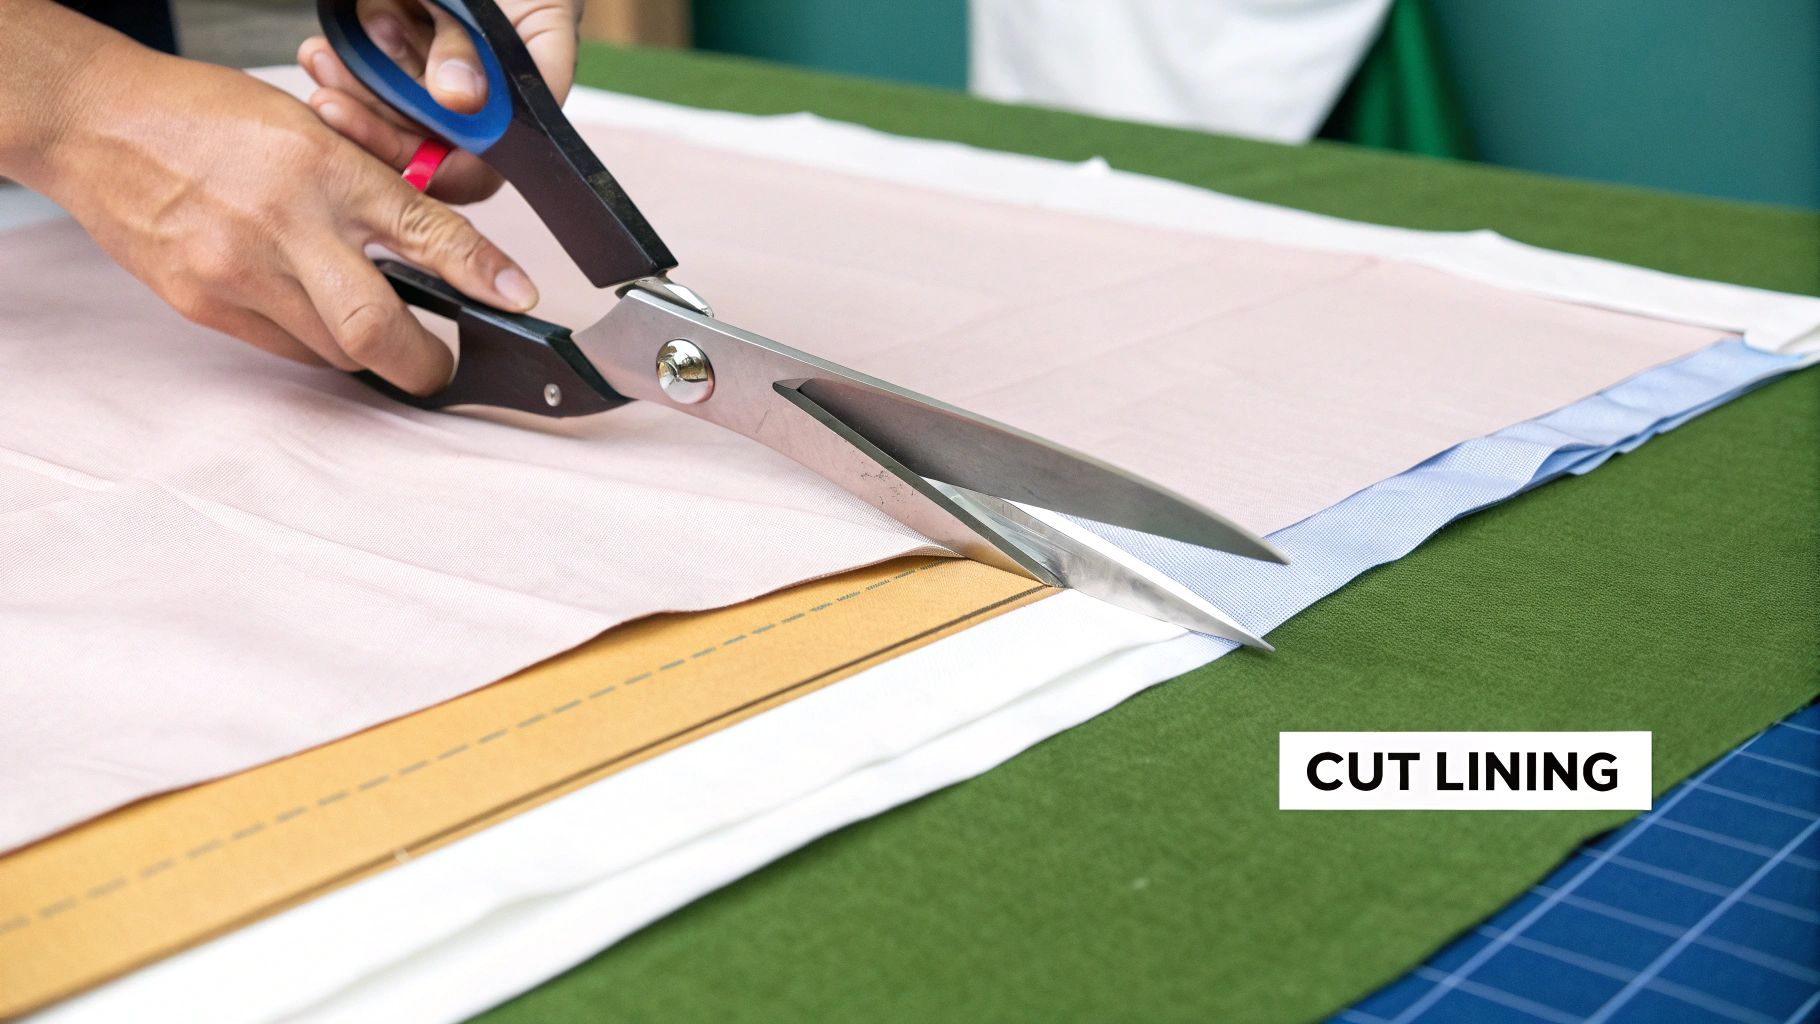
Let's be honest, slippery fabrics like Bemberg or silk can be a nightmare to cut. My best piece of advice? Put the scissors down and pick up a rotary cutter and a self-healing mat. This is a game-changer. The cutter holds the fabric in place as it slices, preventing it from shifting and giving you a perfectly clean edge every time.
If you're working with something especially slinky, I have another trick. Lay a sheet of tissue paper on your cutting surface first, then place your fabric on top before adding the pattern pieces. The tissue paper adds just enough friction to stop the material from sliding all over the place.
Don’t forget to pre-wash and press your lining fabric before you even think about cutting. So many lining materials, especially natural ones like rayon, are prone to shrinking. Getting that out of the way first saves you from any nasty surprises with the fit later on.
This quick visual guide breaks down the core steps for getting your fabric ready.
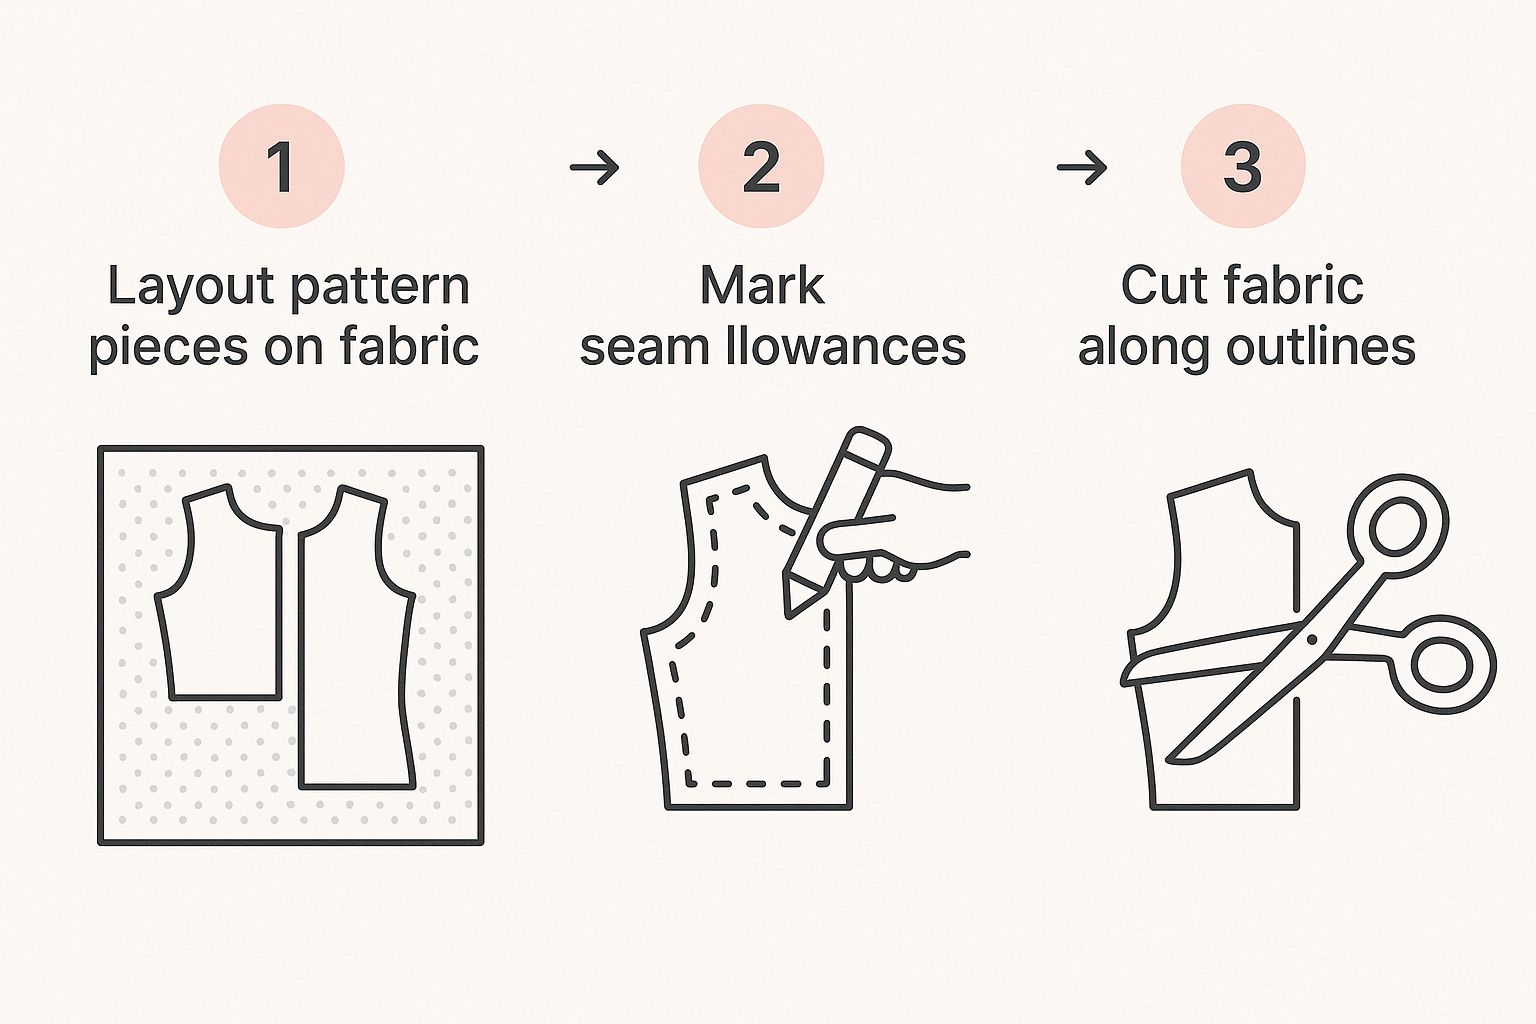
As you can see, the process moves logically from a careful layout to marking, and then to the final cut. Taking your time here really does pay dividends when you start sewing. For bigger projects, I find that using a sewing project planner is a lifesaver for keeping track of all the moving parts, from pattern notes to fabric details.
Assembling the Main Lining Shell
Now that your pieces are cut, it’s time to start building. Think of this stage as creating a lightweight replica of your jacket's outer shell. The construction is quite similar, but there are a few key differences and techniques specific to linings that ensure a perfect, comfortable fit inside the final garment.
Grab your main body pieces and, following your pattern guide, sew them together at the shoulder and side seams. A non-negotiable step here is to press every single seam open as you complete it. This might feel tedious, but it’s what makes the difference between a bulky, lumpy lining and one that lies perfectly flat and smooth inside your jacket.
Putting Together the Sleeves and Facings
With the body sorted, you can move on to the sleeves. Sew the underarm seam for each sleeve and, just as before, press these seams open.
Setting in sleeves can feel intimidating, but the trick is to take your time. Use plenty of pins, carefully matching the notches on the sleeve cap to the corresponding points on the armhole. You'll need to ease the fabric gently as you go to prevent any puckering for a clean, professional finish.
It's this kind of quality construction that people are looking for. In fact, UK garment suppliers saw a huge 128% sales surge in late 2024, highlighting a real consumer appetite for well-made, durable clothing. You can learn about the growth in UK garment manufacturing on just-style.com and see how this trend is shaping the industry.
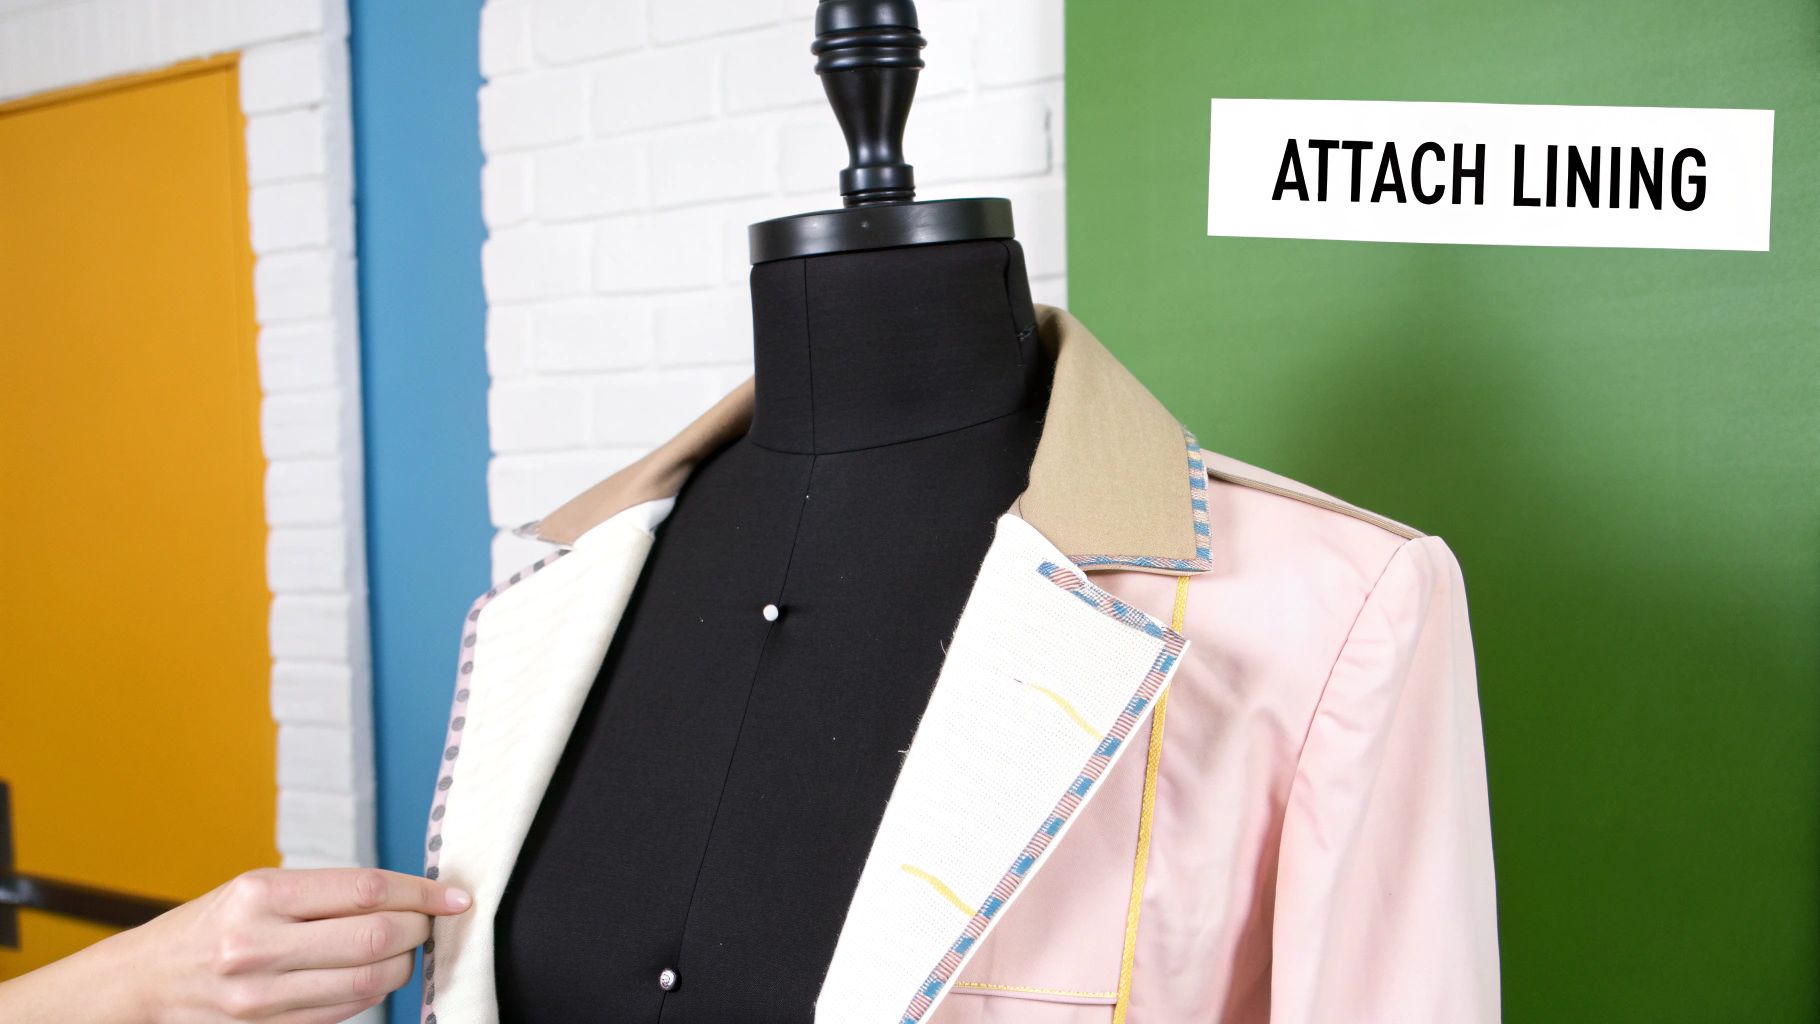
If your jacket pattern includes a separate facing, now is the moment to attach it to the front edges of your lining. This piece is what creates that beautiful, clean edge where the outer fabric turns to the inside.
Here’s an insider tip for getting that truly high-end finish: understitch the facing. Once you've sewn the facing to the lining, press the seam allowance towards the facing. Then, stitch through the facing and the seam allowance only, about 2mm from the original seam line. This tiny step is a game-changer; it forces the seam to roll neatly to the inside, guaranteeing your lining stays hidden.
Final Checks Before You Move On
Give your completed lining shell one last good press. You should now have what looks like a complete, albeit very lightweight, version of your jacket. Before you get to the exciting part of joining it to the outer shell, do a quick quality check:
- Seams: Check that all seams are pressed open and lying completely flat.
- Sleeves: Are they set in smoothly? Look closely for any small puckers or gathers.
- Pleat: If you have a centre-back ease pleat, make sure it’s basted shut at the top and bottom. This will keep it securely in place for the next stage.
Once you’re satisfied with the lining shell, you’re ready to bring it all together and join it to the jacket.
Bringing It All Together: Attaching the Lining
This is the moment of truth, where your outer jacket and the carefully constructed lining become one. It might seem daunting, but we're going to use a brilliant industry method called ‘bagging out’ the lining. This technique is a game-changer because it lets you do most of the heavy lifting on your machine, leaving you with a flawless, professional finish and minimal hand sewing.
The magic of bagging out is simple in principle. You place the lining and the jacket right sides together, stitch around the key edges, and then turn the whole thing right-side out through a small gap. It feels a bit like a magic trick the first time you do it, but it’s a trusted method for achieving that clean, high-end look.
Aligning and Sewing the Edges
First things first, lay your main jacket out flat with the right side facing up. Next, lay your completed lining on top, with its right side facing down. Essentially, you're making a sandwich with the two 'good' sides of the fabric facing each other.
Now, let's get pinning. The key to a smooth, twist-free result is to match up the major structural points before pinning the rest.
- Start by matching the shoulder seams of the lining to the shoulder seams of the jacket.
- Next, align the side seams perfectly.
- Finally, pin the centre back of the lining's neckline to the centre back of the jacket's neckline.
Once these anchor points are in place, you can confidently pin around the entire outer edge. You’ll be pinning the lining to the jacket's front facings, all the way around the neckline, and along the full length of the bottom hem. For now, leave the sleeve cuffs completely free.
With everything secured, sew this perimeter seam. Take your time, especially around the curves of the neckline, to ensure a smooth line. You've now created a 'bag' containing your jacket. If you want to brush up on other core skills, our guide on 10 essential sewing techniques is a great place to start.
A Quick Pro Tip: Before turning anything, remember to clip your curves and trim your corners. Snipping into the seam allowance on concave curves (like the neckline) and trimming the bulk from sharp corners will make all the difference, helping the seams lie perfectly flat and crisp.
The Turning Point and Sleeves
Here comes the most satisfying step. Find the opening you left in the side seam of the lining and gently start pulling the jacket through it. As you pull, the garment will turn itself right-side out, and you'll see the lining fall neatly into place inside the shell. It's a wonderful moment!
To finish the sleeves, you’ll work with the jacket still inside-out. Pull both the lining sleeve and the main fabric sleeve out through the armhole. Now, place the cuff of the lining against the cuff of the main sleeve, ensuring their right sides are together. It's crucial to match the underarm seams and check that neither sleeve has become twisted. Pin them together and sew around the cuff. Do the same for the other sleeve, pull them back through the right way, and your lining is almost done.
Adding Professional Finishing Touches
This is where the real magic happens. The difference between a jacket that looks homemade and one that looks truly professional is all in the finishing. These final steps are what will make you proud to wear your creation for years to come.
First things first, let's close that gap in the lining seam you used for turning the jacket. Your best friend here is a slip stitch (sometimes called a ladder stitch). It’s practically invisible when done right. Just grab a matching thread and take tiny, precise stitches, catching only a few threads from each folded edge. The result? A closure so neat, no one will ever know it was there.
Anchoring and Pressing
Now, let's talk about anchoring. To stop the lining from misbehaving—riding up or peeking out from the bottom—we need to tack it in place. A fantastic little couture trick is to create small thread chains that connect the lining hem to the jacket hem, right at the side seams. It’s a simple detail that makes a world of difference to how the jacket hangs and feels. You can do the same thing at the sleeve cuffs, too.
Finally, it’s time for a thorough, final press. Don't skip this! A good press sets all your hard work in stone. Always use a pressing cloth to protect your fabric, and really focus on getting those crisp, sharp edges along the facings, collar, and hem.
A well-pressed garment speaks volumes about the care that went into it. It’s the final mark of quality that really elevates your work. Having the right tools and a well-organised space can make all the difference, so have a look at our guide on sewing room organization for some helpful tips.
It's these high-quality finishing touches that really make garments stand out in the UK fashion market. With online sales of textiles and clothing predicted to grow by 4.6% in 2025 to around £21.01 billion, beautifully made jackets are a significant part of that picture. You can discover more about UK fashion ecommerce on emarketer.com.
Common Questions About Lining a Jacket
As you get into the swing of lining a jacket, a few questions always seem to come up. It's completely normal, especially when you're aiming for that crisp, professional finish. Let's tackle some of the most common challenges head-on so your whole project runs more smoothly.
One of the first things people ask is whether they can just use the main jacket pattern pieces for the lining. The short answer is yes, you absolutely can, but you'll need to make a couple of crucial tweaks first. While you’ll use the main body and sleeve pieces, you must add a pleat at the centre-back for ease of movement. You'll also need to make the lining a touch shorter at the hems so it never peeks out from under the main fabric.
Handling Tricky Fabric and Fit Issues
Slippery, slinky lining fabrics can feel like they have a mind of their own, but with the right approach, you can tame them. A little patience and the right tools go a long way here.
- Precision Cutting: Ditch the scissors for a moment. A sharp rotary cutter and a self-healing mat will give you far more control and stop the fabric from shifting and sliding as you cut.
- Secure Pinning: Don't be shy with your pins! Use plenty of fine, sharp ones that won't leave permanent holes or snag delicate materials like silk or Bemberg.
- Machine Foot: A walking foot is your best friend when sewing slippery fabrics. It grips and feeds both the top and bottom layers through the machine at the same rate, which is a game-changer for preventing puckering.
Nailing the fit is just as important. If you’re still getting comfortable with pattern adjustments, our guide on how to read sewing patterns without confusion is a great place to start.
The real secret to stopping a lining from pulling is to build in 'wearing ease'. This just means the lining needs to be slightly bigger than the jacket shell in a few key places. That centre-back pleat is non-negotiable, and you should also allow a little extra length at the hem before you attach it. This creates a subtle 'blouse' effect inside, giving the main fabric room to drape properly.
At Display Guru, we provide the high-quality tailor's dummies and body forms you need to perfect the fit of every garment you create. Explore our professional range at https://www.displayguru.co.uk.