


Top Sewing Room Organization Tips for a Clutter-Free Space
An organised sewing room is so much more than just a tidy space. It's about creating a personalised workflow, a creative sanctuary where everything has its place, letting you move from one task to the next without a second thought. It's about designing a space that feels intuitive, so your creativity can flow completely uninterrupted.
Crafting Your Perfect Sewing Workflow
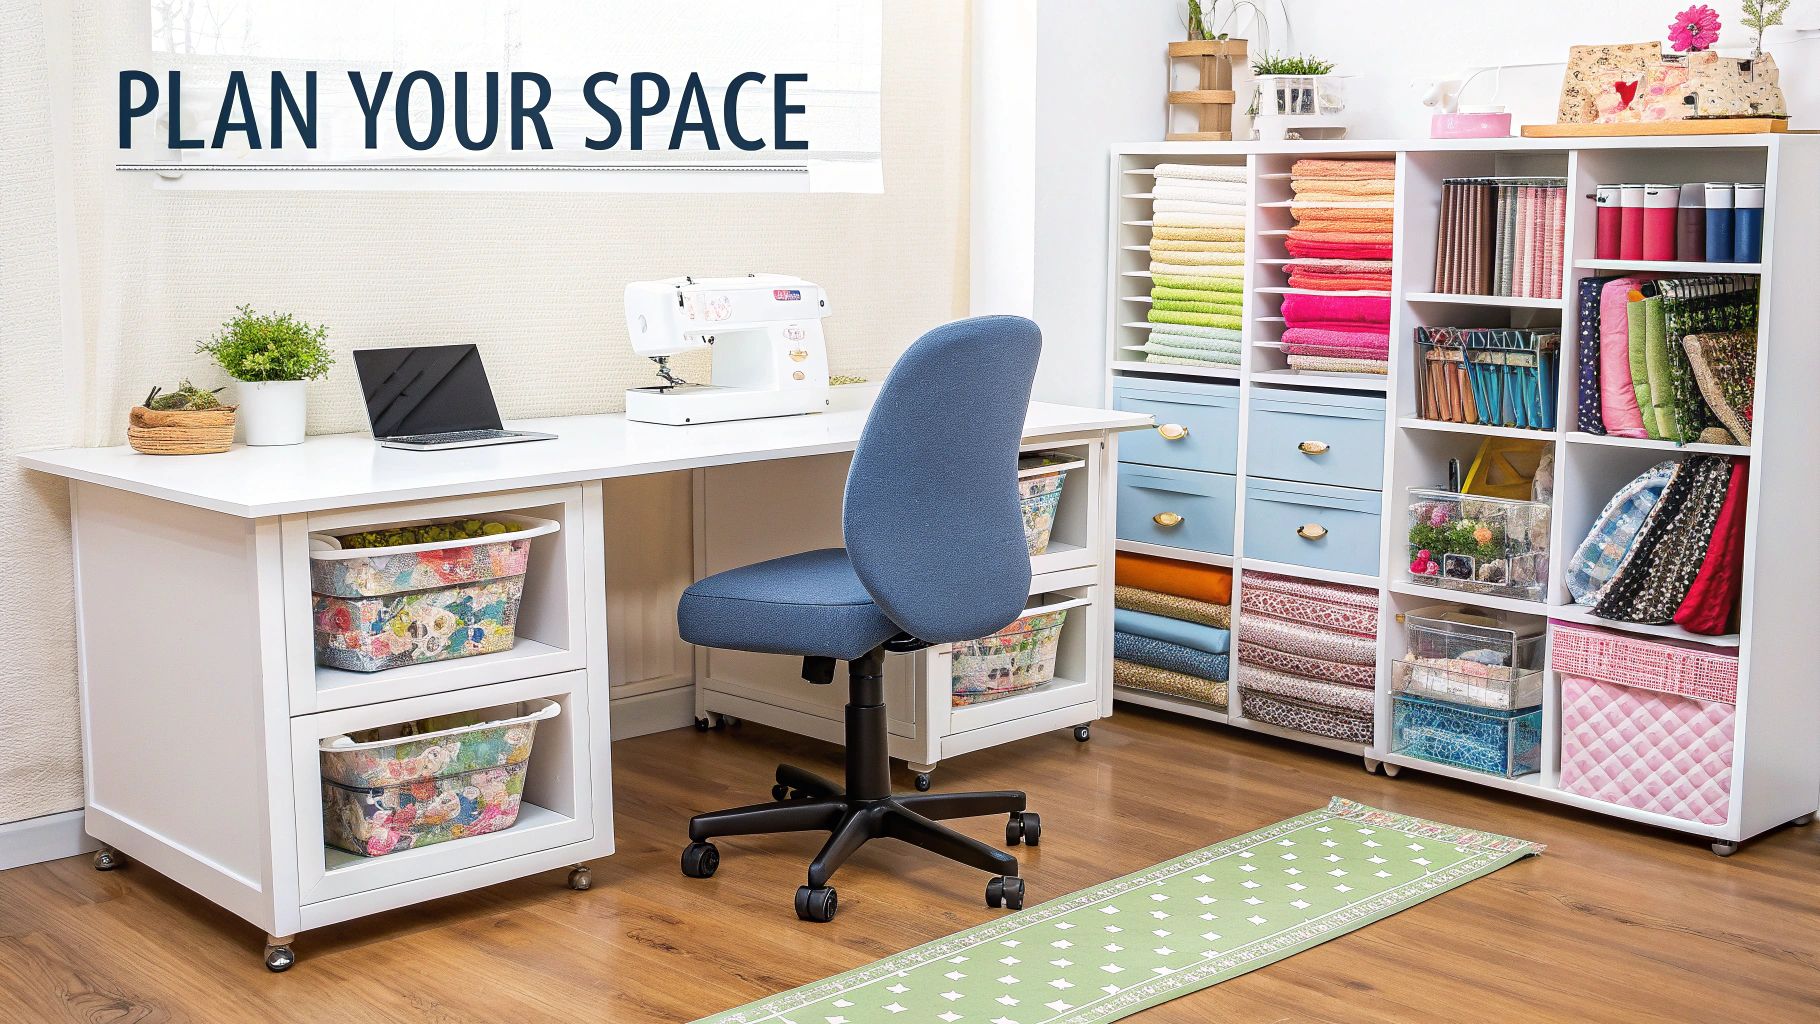
Picture this: you glide from your cutting table to your sewing machine, then over to the ironing board, all in a smooth, logical sequence. This isn't just a daydream for those with sprawling studio spaces; it's entirely achievable with a bit of thoughtful planning. The secret lies in what many of us in the craft community call the 'zone method'—dedicating specific areas to your core sewing tasks.
This strategy is a game-changer, especially in many UK homes where a dedicated sewing room is a bit of a luxury. Often, our creative corner has to pull double duty. It's interesting to note that a well-organised sewing space is used for sewing nearly 89% of the time, with the remaining 11% often serving other purposes, like a makeshift dining spot. This reality underscores the need for a system that’s not only efficient for sewing but also easy to clear away. You can find some brilliant insights on how UK sewists juggle these multifunctional spaces over at Diary of a Quilter.
Take an Honest Look at Your Current Setup
Before diving in and rearranging everything, take a moment to really observe how you work now. When you start a new project, where do you instinctively reach for your scissors? Where do those fabric scraps and half-finished projects inevitably pile up?
These little frustrations are your biggest clues. Maybe your rotary cutter lives on the other side of the room from your cutting mat, or your most-used thread colours are always lost at the bottom of a deep drawer. Pinpointing these small, daily workflow hiccups is the first real step towards creating a space that feels like it’s working with you, not against you.
A truly functional sewing space isn't about having the most equipment; it's about having the right equipment in the right place at the right time. Your goal is to eliminate friction between an idea and its execution.
The Groundwork for an Organised Workflow
A successful workflow really starts with one fundamental thing: knowing what you have and how often you actually use it. This initial sorting phase is your chance to reclaim your space and pave the way for a much more intuitive layout.
This simple visual breaks down the process to get you started on your decluttering journey: categorise your items, rate how often you use them, and then be decisive about what to remove.
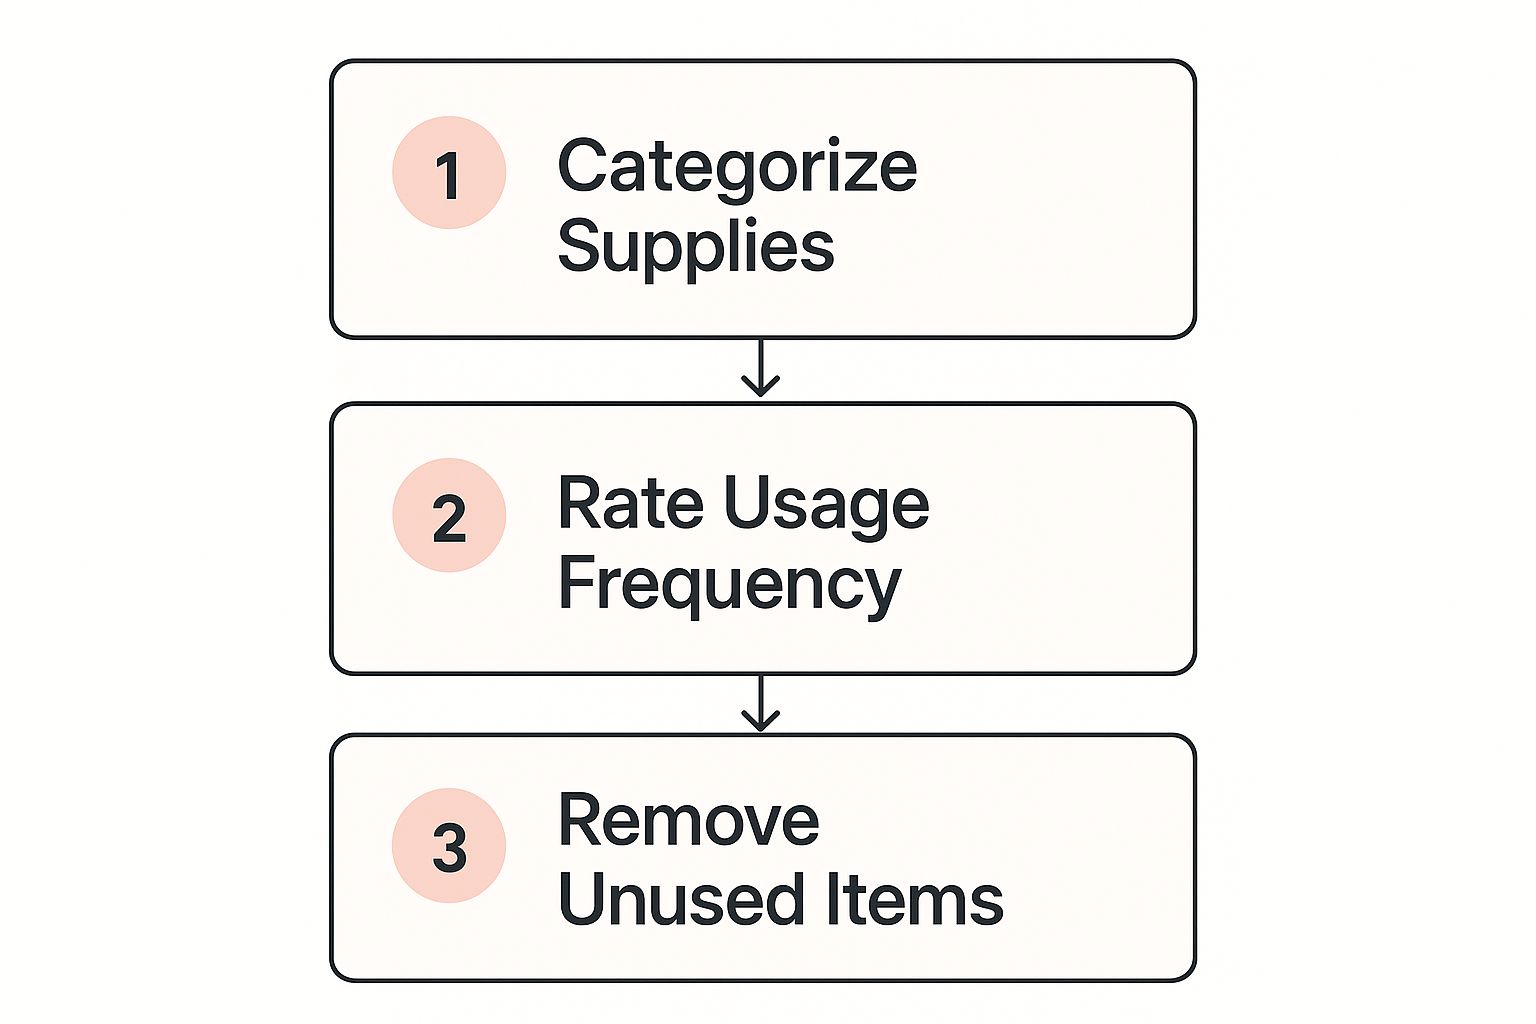
It’s a process that forces you to be honest with yourself about which supplies are truly essential to your craft and which are just taking up precious real estate.
Defining Your Core Work Zones
At its heart, the 'zone method' is about simplifying your space into a few key areas. When you group related tasks and tools together, you cut down on wasted movement and dramatically boost your efficiency. Think of it as creating a series of mini-workstations.
Here's a quick blueprint to get you started on setting up your primary work zones. Think of it as a guide to ensure your most essential tools are exactly where you need them, when you need them.
Your Sewing Room Zone Blueprint
| Zone | Primary Function | Essential Tools and Storage |
|---|---|---|
| Cutting Zone | Preparing and cutting fabric pieces accurately. | A large, clear surface. House your cutting mats, rotary cutters, rulers, and fabric weights here. |
| Sewing Zone | The main construction area for stitching projects. | Your sewing machine(s), of course! Keep thread, bobbins, snips, and seam rippers within arm's reach. |
| Pressing Zone | Pressing seams and finishing garments for a professional look. | Your ironing board and iron should live here, always ready to go. Don't forget pressing cloths and tools like a tailor's ham. |
By establishing these three core zones—Cutting, Sewing, and Pressing—you create a natural, logical flow. Everything you need for a specific stage of your project is grouped together, making the entire process smoother and far more enjoyable.
Getting Started: The Strategic Clear-Out
Before you even think about new shelves or pretty storage bins, the first, most crucial step is to simplify what you already have. A truly organised sewing room isn't born from buying more containers; it starts with a thoughtful, and sometimes tough, decluttering session. Getting this clear-out right makes every other step feel easier and far more effective. It's about creating a space where everything you see has a purpose.
The aim here is to go beyond a simple tidy-up. You're building a system for lasting order. It's a popular approach, too—about 65% of UK sewists now rely on a practical sorting method to get their supplies under control. This isn't just about keeping things neat; it’s a more sustainable way of working, ensuring materials don't go to waste. You can find more great ideas from fellow creatives on how they manage their spaces over at A Quilting Life.
Mastering the Four-Box Method
To get started, grab four large boxes or simply mark out four distinct piles on the floor. Give each one a clear label—this will be your North Star as you work through every drawer, shelf, and hidden corner. This process isn't a race; it's about being intentional with your decisions.
Here are your four categories:
- Keep: This is the non-negotiable pile. It’s for the tools you use all the time, the fabrics you genuinely love, and anything essential for your current projects.
- Repurpose: This is the "potential" box. Think of old textiles that could become practice muslins, or a pretty jar that's perfect for holding buttons.
- Donate/Sell: Be honest. Good-quality fabric you'll never use, patterns that aren't your style anymore, and duplicate tools belong here. They might not serve you, but they could be exactly what another maker is looking for.
- Discard: This one’s for the lost causes—dried-up pens, hopelessly tangled threads, and scraps of fabric so small they’re unusable.
Remember, the goal isn't an empty room. It's a room filled with intention. A decluttered space isn't barren; it's brimming with creative potential.
How to Make Those Tough Decisions
Sorting through a lifetime of supplies requires a bit of honest self-reflection. As you pick up each item, ask yourself a few direct questions. When did I last use this? Do I have a specific project in mind for it? Does it even match my creative style anymore?
We all have that "someday" pile—things we keep for imaginary future projects. It's a common hurdle. But if a piece of fabric has been sitting in a drawer for over two years with no concrete plan, it might be time to let it go. Freeing it from your stash frees up both physical and mental space, allowing you to focus on the projects that excite you now.
Once your "Donate/Sell" box is full, you've got options. For high-value items like designer fabrics or specialty tools, platforms like eBay or Facebook Marketplace work well. For everything else, consider donating. In the UK, many local quilting guilds, schools, and brilliant charities like ScrapstoresUK are always grateful for craft supplies. You can be sure your pre-loved materials will go to a great home and help someone else's creativity flourish.
If you're planning to sell or pass on fabrics to friends, you'll need a way to keep them neat and presentable. This is where a portable clothing rack can be surprisingly useful. You can drape larger cuts of fabric or hang finished garments, keeping them wrinkle-free and off the floor while you find them a new home. It’s a simple trick to maintain the order you've just worked so hard to achieve.
Smart Storage for Fabric and Notions
 Now that you have a clean slate, it's time to put in place storage that actually works for you, not against you. A truly effective sewing room system makes everything visible and easy to grab, putting a permanent end to those frustrating searches for a specific spool of thread or that last bit of interfacing. This is where your freshly decluttered space really begins to shine.
Good storage is what transforms chaos into a curated collection. It isn’t just about tidying things away; it’s about creating a personal system that lets you find what you need in seconds, keeping your creative flow uninterrupted.
Taming the Fabric Stash
Your fabric is the heart of your collection, but let's be honest—it can also be the biggest source of mess. The first big decision is whether to store it folded or rolled. Both methods have their pros and cons, and the best choice really comes down to your space and the kinds of fabric you work with.
- Folding Fabric: This is a brilliant space-saver, especially if you have deep shelves or drawers to work with. For a really professional, shop-like look, try wrapping your fabric around comic book boards or pieces of sturdy card. This creates neat little 'mini-bolts' that you can line up vertically like books, making it easy to see every single print at a glance.
- Rolling Fabric: For more delicate materials like velvet or silk, rolling is much gentler and prevents stubborn creases. You can tuck rolled fabrics into cubby units, baskets, or drawers, organising them by colour or material. The only downside is that this method can take up a bit more room.
Whichever approach you take, consistency is your best friend. Sticking to one method creates a sense of visual calm and makes it much easier to see what you have.
The best storage system isn't always the most complicated. It's the one that makes things quick to find and even quicker to put away. That way, you spend more time creating and less time tidying.
Clever Solutions for Notions
Ah, notions—the small but essential bits and pieces that bring every project to life. They are notoriously tricky to keep in order. Because they're so small, they get lost easily, but with a bit of creative thinking, you can turn them into a beautifully organised asset. The key is making everything visible.
You don't have to stick to traditional sewing boxes. Some of the best storage hacks can be found in completely different departments:
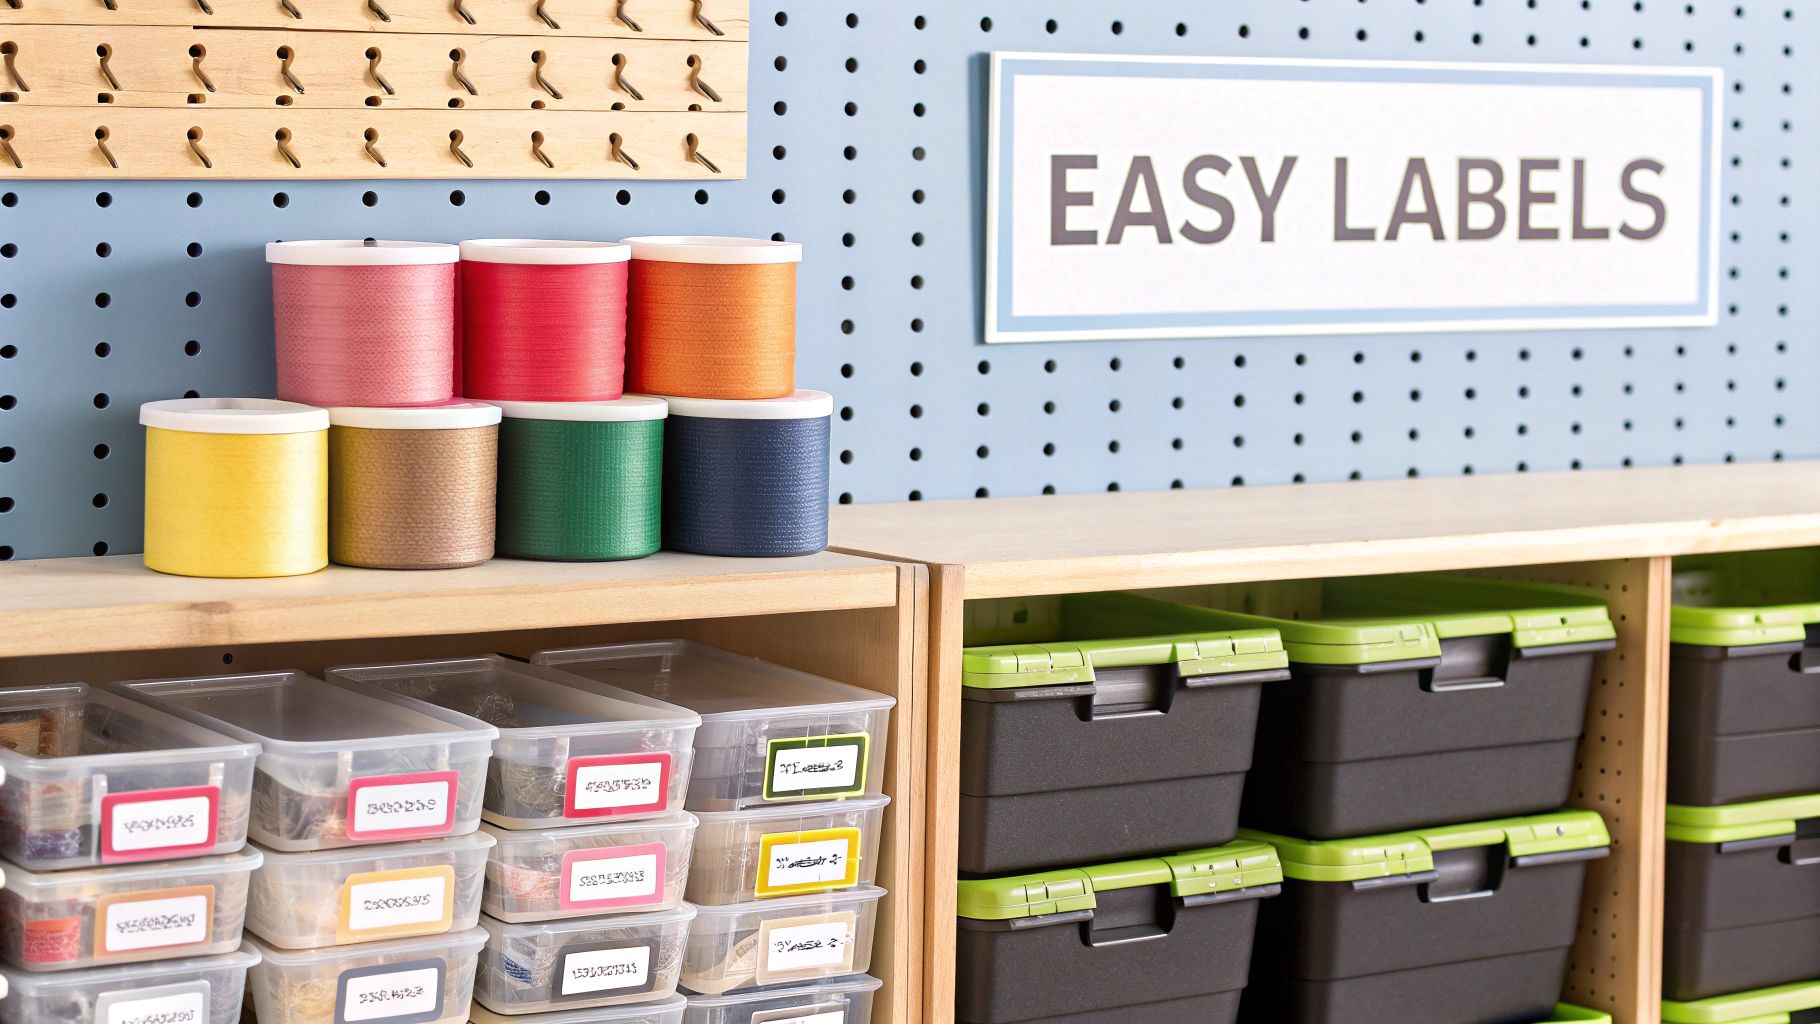
- Clear Containers: Repurpose clear food containers or spice jars for buttons, snaps, and beads. Seeing the contents instantly means you don't have to open a dozen different boxes to find what you're looking for.
- Office Organisers: A simple desk file sorter is perfect for keeping sewing patterns and rulers stood up and orderly. Those small drawer units meant for office supplies are also fantastic for separating machine feet, bobbins, and needles.
- Magnetic Strips: A magnetic knife strip from the kitchen is a game-changer for storing metal tools like scissors, seam rippers, and snips. Just mount it on the wall near your sewing machine for immediate access.
For an even deeper dive into organising your creative space, we've put together a wealth of inspiration in our guide to sewing room storage ideas.
Thinking Vertically with Wall Storage
When floor and desk space is at a premium—a familiar challenge in many UK homes—the only way to go is up. Your walls hold so much untapped potential for storage that can also look great.
A wall-mounted thread rack is a classic example. It doesn't just keep your spools neat and untangled; it turns your colourful thread collection into a piece of art. In the same way, a pegboard system is unbelievably versatile. With a few hooks, small shelves, and baskets, you can hold everything from scissors and rotary cutters to small rulers and marking tools, keeping your main work surfaces clear for the important stuff.
By thinking vertically, your most-used items are always in sight and within easy reach, which makes your entire sewing process smoother. Moving key supplies onto the walls reclaims precious desk and floor space, making the whole room feel bigger and far more functional.
Using Mannequins and Rails to Elevate Your Space
 If you're ready to transform your sewing corner from a hobby space into a proper design studio, it's time to bring in the pros. By that, I mean a couple of key pieces of equipment that do more than just look the part: mannequins and clothing rails. These aren’t just for storage; they are strategic investments that bring a whole new level of efficiency and clarity to your creative process.
Think about it. A dress form is so much more than a dummy for fitting. It's your three-dimensional sketchbook, letting you see creations come to life in real-time. This is where you can drape fabric, test out an idea on the fly, or pin pattern pieces together before sewing to truly understand how a garment will hang. Crucially, it gets your project off the cutting table, freeing up that vital workspace.
The Mannequin as a Creative Partner
I like to think of my mannequin as a silent assistant, always there to hold a project exactly where I need it. Instead of laying pieces flat and trying to guess how they’ll connect, you can pin them directly onto the form. This is an absolute game-changer for complex projects like coats or dresses, where seeing how the seams interact is essential. It’s also brilliant for making sure patterns and stripes line up perfectly before you’ve committed with a single stitch.
Of course, not all mannequins are created equal. Getting the most from this tool means finding the right one for your specific needs. To help you navigate the options, our guide on choosing the right adjustable mannequin for sewing breaks down exactly what to look for.
A mannequin gives your project a physical presence. Having it in the room is a constant visual reminder that keeps you motivated. I often solve design problems just by glancing over at it while moving around the space, rather than only when I’m stuck at the machine.
And let’s not forget, a mannequin is a beautiful way to show off your finished masterpieces. That dress you poured your heart into deserves better than being folded away in a drawer. Displaying it is a source of pride and provides fantastic inspiration for what’s next.
Organising with Clothing Rails
Just as a mannequin elevates your design work, a simple clothing rail brings a powerful organisational system into your sewing room. It’s an incredibly versatile tool that adapts to your workflow at every stage.
Here are just a few ways I use rails to revolutionise my space:
- Project Queuing: I dedicate a section of my rail to upcoming makes. I hang the pattern, fabric, and any key notions together in a garment bag. My entire project pipeline is there at a glance, so I can grab the next one and get started without a half-hour search.
- Finished Garment Care: This is the most obvious use, but it's vital. Hanging your finished clothes prevents wrinkles and keeps them pristine, whether they're for you or a client. It’s a simple act that honours the hours of work you’ve invested.
- A Smart Fabric Storage Solution: Got large cuts of precious fabric you daren’t fold? Silks, velvets, and heavy coating fabrics are best draped over padded hangers on a rail. This prevents those deep-set creases that can be impossible to remove.
By bringing these professional tools into your sewing room, you're doing more than just tidying up. You're building a more sophisticated and efficient creative environment. Your space starts to look and feel like a serious studio, which naturally encourages a more focused and productive approach to your craft.
Right, you’ve done the hard work. You’ve decluttered, mapped out your workflow, and got your storage sorted. But keeping a sewing room organised isn’t a one-and-done job. It's a living, breathing part of the creative process that keeps your space working for you, not against you.
The real win is building simple habits that stop the clutter from sneaking back in. This isn’t about adding more chores to your plate. It’s about weaving tiny, manageable routines into your sewing sessions so tidiness just… happens. A well-kept space doesn't just look good; it clears your head, freeing you up to focus on the joy of making.
The Five-Minute End-of-Day Tidy
Here’s a game-changer: the 'end-of-day tidy'. The idea is simple. Before you leave your sewing space, spend just five minutes putting things back where they belong. It’s a small price to pay for a huge reward.
Think about walking back into your room tomorrow. Your cutting mat is clear, fabrics are folded, and your tools are waiting patiently. It’s like a gift from your past self. You can dive straight into a new project with excitement, instead of facing an hour-long tidy-up first.
What does a quick reset involve?
- Tackle the Threads: Pop the spools and bobbins you’ve been using back in their holder.
- Clear the Decks: Fold fabric remnants, return scissors and rotary cutters to their spot, and clear off your cutting mat.
- A Quick Sweep: A brisk sweep of the floor catches all those pesky stray threads and fabric dust, keeping everything feeling fresh.
This little ritual stops a small mess from turning into a chaotic one.
Building Habits That Actually Stick
Beyond the daily reset, a few key principles will help your sewing room stay in a state of happy order. These aren't rigid rules, but gentle guides to manage the natural ebb and flow of a busy creative space. Get these right, and your sewing room will practically organise itself.
One of the best is the 'one in, one out' policy, particularly for fabric. It's a lifesaver for anyone with a fabric stash that threatens to take over. Every time a new piece of fabric comes through the door, an old one has to go – either into a project, sold, or donated. It encourages you to be more mindful about what you buy and stops your collection from outgrowing your storage. It's a brilliant bit of self-discipline that makes sure your stash is filled only with fabrics you genuinely love and intend to use.
A well-organised space is a living space. It adapts and changes with your projects and passions. The goal isn't sterile perfection but functional harmony, where your environment actively supports your creativity.
Your Monthly Maintenance Check-Up
To keep everything ticking over nicely, pencil in a quick monthly check-up. This isn't a deep clean, just a 30-minute blitz to reset your space and nip any disorganisation in the bud.
Think of it as an MOT for your sewing room. During this little session, you can:
- Sort the Scraps: Have a quick sort through your scrap bin. Keep what’s genuinely useful and toss the rest.
- Review Your Projects: Check in on your works-in-progress. Is there a project you can finally finish? Or maybe one you’ve fallen out of love with that could be packed away or repurposed?
- Wipe Everything Down: Give your machine, cutting table, and shelves a quick clean.
- Check Your Stock: Make a quick note of any notions or supplies you’re running low on, like machine needles or your go-to thread colour.
By making these simple, low-effort routines part of your process, organising your sewing room stops being a dreaded chore. It becomes a seamless part of your creative life. Your workspace will be a place that consistently inspires you, letting you focus on what you love most: bringing your incredible ideas to life.
Common Questions on Sewing Room Organisation
Even with the most meticulous plan, a few tricky questions always seem to pop up when you get down to the nitty-gritty of organising a sewing room. Trust me, you're not the first person to wonder about these details. Let’s tackle some of the most common hurdles sewists face with some practical, real-world advice.
What Is the Best Way to Organise Sewing Patterns?
Sewing patterns, with their flimsy paper and odd-sized packets, can go from a neat stack to a chaotic pile in no time. The real trick to managing them is creating a system that’s as much about finding them as it is about storing them.
If you work with traditional paper patterns, think like a librarian. Storing them vertically is a game-changer. I’ve found that magazine files, small filing boxes, or even a dedicated drawer are perfect for this. You can sort them by garment type (dresses, tops, trousers), designer, or whatever makes sense to you. This simple shift stops them from slumping and lets you flick through your collection with ease.
PDF patterns are a two-part puzzle: the digital file and the printed copy. On your computer, set up a clear folder system – something like Sewing Patterns > By Designer > Skirts keeps everything tidy. For the physical printouts, I recommend storing the assembled sheets in large A4 or A3 envelopes. My best tip? Tape a little image of the finished design onto the front. It saves you from having to unfold several patterns just to remember which one is which.
How Should I Store My Fabric Scraps?
That growing pile of fabric scraps can be a source of guilt, but it’s really a treasure trove waiting to be discovered. To unlock its potential, you first need an honest system.
My advice is to start by sorting your scraps by size. It's a simple but surprisingly effective first step.
- Large Remnants: Any piece big enough for a small project (like a tote bag or cushion cover) can simply be folded and kept with your main fabric stash.
- Medium Scraps: These are golden for patchwork, quilting, or small accessories. I swear by clear bins sorted by colour. Seeing your colour palette at a glance is everything—it prompts you to actually use them.
- Tiny Slivers: It’s time to be ruthless. The smallest offcuts can be collected for stuffing pincushions or small toys. But if that’s not your kind of crafting, it is absolutely okay to let them go.
This approach gives every piece of fabric a home and a purpose, transforming your scrap pile from a problem into a palette.
The main goal of scrap fabric organisation is simple: Access. A system that lets you see and use what you have is the only one that will stick. If it's hidden, it might as well not be there.
What Are the Best Space-Saving Hacks for a Small Sewing Area?
When you’re working in a tight corner, every single centimetre is prime real estate. The secret to making a small sewing room work is to think vertically and choose items that do more than one job.
First, reclaim your work surfaces by going vertical. Get things up on the walls. Shelves are brilliant for fabric and books, but a simple pegboard is the true hero of small-space storage. With a few hooks and pots, it can hold your scissors, rotary cutters, rulers, and thread—all within reach but neatly out of your way.
Next, choose furniture that pulls its weight. Think about a drop-leaf table that can be your sewing machine base one minute and a larger cutting table the next. An ottoman with built-in storage is another great find; it’s a seat and a hiding spot for works-in-progress all in one.
Finally, get disciplined with your workflow. I try to keep only the tools and fabrics for my current project out on the desk. Everything else gets put away in its labelled home. This one habit alone can make a tiny space feel focused and surprisingly spacious.
How Can I Organise My Thread to See All the Colours?
Nothing kills the creative buzz faster than digging through a tangled box for the right shade of thread. The answer, every time, is visual storage that lets you see your entire collection in a single glance.
Wall-mounted thread racks are the gold standard for good reason. They put every spool on display, turning your collection into a kind of functional art. You can spot the perfect colour instantly without rummaging through anything.
If wall space is at a premium, the next best option is a set of shallow, clear containers. Look for boxes with built-in dividers designed for spools. These can be tucked into a drawer but still give you that full overview as soon as you open it.
And please, don't forget the bobbins! Save yourself from a tangled nightmare by using dedicated bobbin rings or small cases that keep them paired up with their matching thread spool. It’s a tiny piece of organisation that pays off in a huge way.
A well-organised sewing room is the foundation for a more joyful and productive creative practice. To get that professional studio feeling at home, have a look at the range of mannequins, rails, and storage solutions from Display Guru. Our tools are designed to give you the clarity and function you need to bring your vision to life. Find your perfect fit at https://www.displayguru.co.uk.