


How to Hem Pants by Hand for a Perfect Finish
Before you even think about threading a needle, let's talk tools. Getting a professional finish on a hand-sewn hem isn't just about technique; it's about having the right gear on hand. The right equipment makes the entire process smoother, far more accurate, and ensures your hard work lasts.
Gathering Your Tools for a Professional Hem
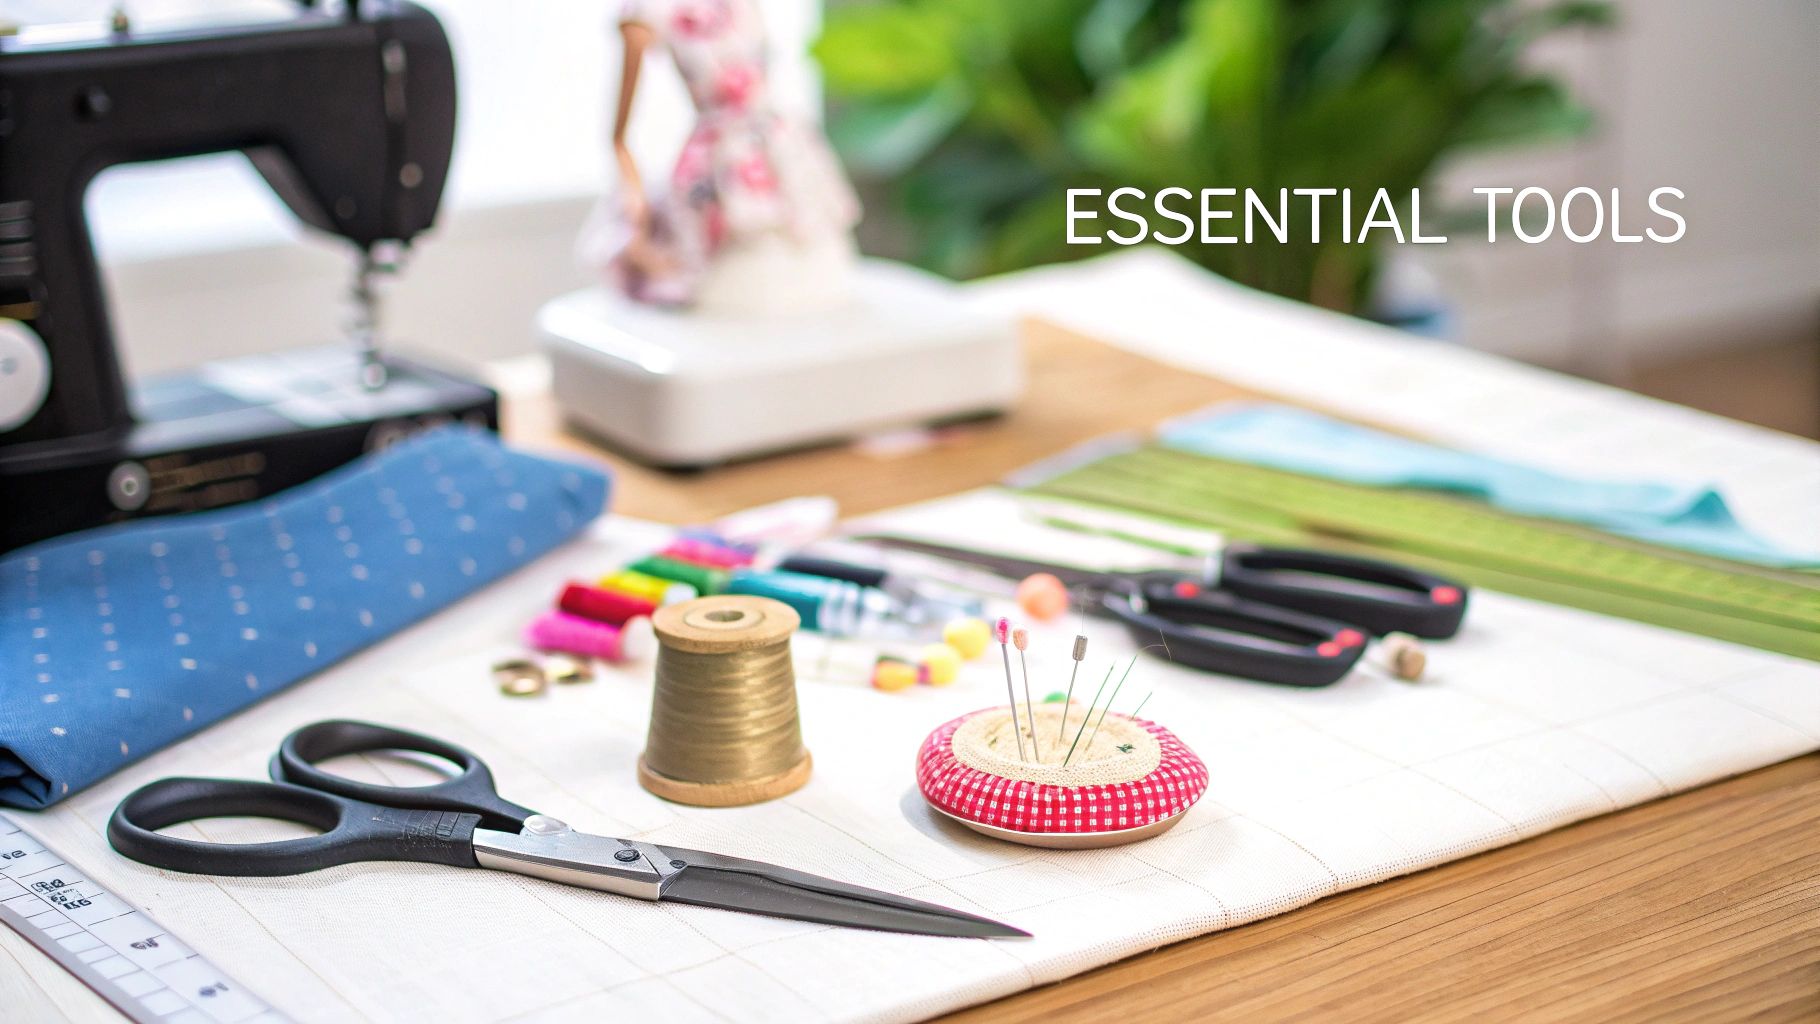
It’s tempting to grab the kitchen scissors and any old thread, but I can tell you from experience, that's a recipe for disaster. You’ll end up with a wonky hem, frayed fabric, and a lot of frustration. A properly kitted-out sewing box is the foundation of any good alteration.
To make things simple, here's a quick rundown of what you'll need.
Your Hand Hemming Toolkit
| Tool | Primary Use | Pro Tip |
|---|---|---|
| Needles | Hand stitching the hem | Use a fine needle for silks and a sturdier one for denim. A sharp needle is non-negotiable. |
| Thread | Securing the hem | Match the fabric colour. If you're stuck between two shades, always go slightly darker for an invisible finish. |
| Fabric Scissors | Cutting fabric cleanly | Dedicate a pair of sharp shears just for fabric. Using them on paper will dull them instantly. |
| Thimble | Pushing the needle | Protects your finger and gives you better leverage, especially on tough fabrics like corduroy or wool. |
| Tailor's Chalk | Marking the hemline | Creates a clear, temporary line that brushes or washes off easily. No permanent marks! |
| Measuring Tape | Measuring the length | A flexible tape is essential for getting the initial measurement right while the trousers are being worn. |
| Seam Gauge | Ensuring even hem depth | This little sliding ruler is my secret weapon for a perfectly consistent hem allowance all the way around. |
Having these essentials ready to go means you can focus on the sewing itself without any interruptions.
A Few Words on Marking and Measuring
Precision is the name of the game in hemming. This is where your measuring tape and marking tools really shine. A seam gauge, in particular, is brilliant for checking that your hem allowance is perfectly uniform before you start stitching.
My Golden Rule: Always test your marking tool on a hidden spot first, like inside the seam allowance. You need to be 100% sure it will disappear without a trace. The last thing you want is a faint blue line on a pair of cream linen trousers.
For those of you who do alterations regularly, investing in a tailor's dummy is a game-changer. It gives you a stable, human-shaped form to work on, which is invaluable for checking how the fabric hangs and ensuring the hem is perfectly level. If you're looking to build out your kit, you can find a whole range of professional supplies for sewing and crafting to get you started.
Finding the Perfect Length and Marking Your Hem
Getting the length right is the absolute cornerstone of a good hem. Honestly, if you rush this part, the rest of the job will be a struggle, and you'll never be quite happy with the result. So, before you even think about threading a needle, let's nail down the measurement.
First things first: you absolutely must try the trousers on with the shoes you’ll most often wear them with. The difference between a pair of brogues and your weekend trainers can easily be an inch or more, and that changes everything.
Achieving the Perfect 'Break'
With the right shoes on, stand naturally in front of a full-length mirror. Don't stand to attention or slouch; just adopt your normal posture to see how the fabric really falls.
What you're looking for is the 'break'—that slight fold of fabric that rests on top of your shoe. It's a subtle detail, but it makes all the difference.
- No Break: Here, the hem just kisses the top of the shoe. It’s a sharp, modern look that works brilliantly with slim-fit trousers.
- Slight Break: This is the classic choice. A single, gentle fold that looks polished and timeless on almost any pair of dress trousers or chinos.
- Full Break: A much deeper, more noticeable crease. You tend to see this more traditional style on classic, wider-leg trousers.
It’s always easier if you can get a friend to help you pin the new hemline. If you're on your own, bend carefully at the knees (not the waist) and fold the fabric up to where it feels right. Use sewing pins or tailor’s chalk to mark this new fold line, keeping the pins parallel to the floor.
From Marking to Trimming
Once marked, take the trousers off and lay them out on a flat surface. This is where you double-check your work. Grab a tape measure or seam gauge and confirm that your pinned line is perfectly even all the way around each leg. A few extra seconds here can save you from a wobbly, homemade-looking finish. Getting these initial measurements right is key; for a deeper dive, check out our guide on how to take body measurements for clothes.
Now it's time to figure out your hem allowance—the bit of fabric you'll fold under and stitch. For most trousers, an allowance of 1.5 to 2 inches below your marked fold line is about right. Measure this down from your pinned line and draw a new 'cut line' with your chalk.
Take a deep breath and a pair of sharp fabric scissors, and cut carefully along this second line. A clean, decisive snip will prevent fraying and make the next steps much smoother.
Pro Tip: Don't bin that strip of fabric you just cut off! It's the perfect scrap to test your thread colour and stitch tension on. This way, you can be sure everything looks right before you commit to the actual trousers.
The final prep step is to fold the raw edge up to meet your original pinned line and give it a good press with a steam iron. This sets a really crisp crease that acts as a perfect guide for your needle, making it so much easier to keep your stitches straight and professional. It’s skills like these that are increasingly sought after, especially as the UK’s apparel market is forecasted to hit a revenue of £68.7 billion by 2025.
Choosing the Right Hand Hemming Stitch
The stitch you choose is so much more than just the thread holding your hem in place. It really defines the finished look—its durability, how it moves with the fabric, and whether it’s seen or unseen. Getting a professional finish when hemming trousers by hand all comes down to picking the right stitch for the right fabric. A chunky, obvious stitch would look jarring on a pair of fine wool trousers, just as a delicate, invisible one would likely give way on a pair of sturdy jeans.
This is where your skill and judgement really come into play. Selecting the right technique ensures the hem not only looks clean and professional but also functions correctly, whether that means stretching with a knit fabric or lying perfectly flat on a tailored suit.
This simple flowchart lays out the core decisions you'll need to make before you even thread a needle, walking you through from the initial measurement to the final press.
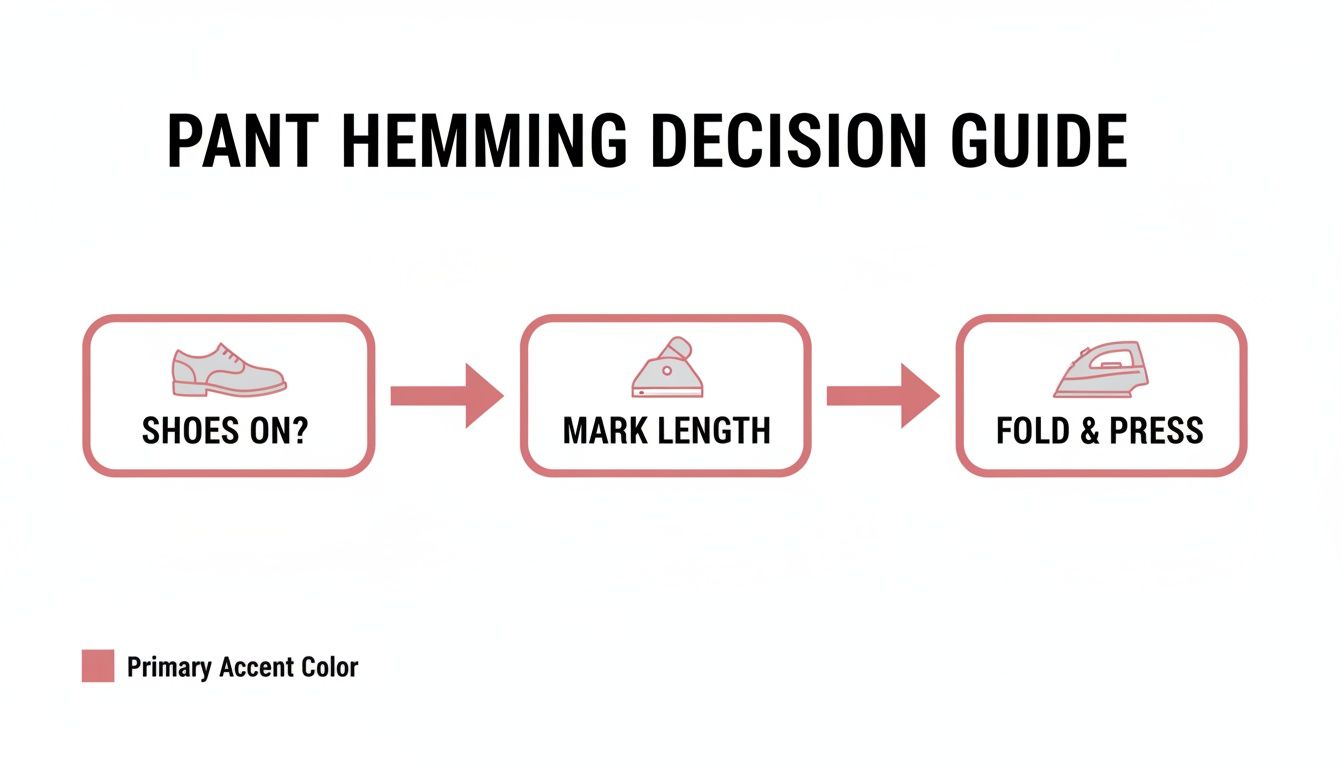
As you can see, the foundational steps—like wearing the right shoes when marking the length and pressing a crisp fold—are non-negotiable, no matter which stitch you end up choosing.
The Nearly Invisible Slip Stitch
When you need a hem that essentially disappears, the slip stitch is your go-to. It’s also known as a blind hem stitch and is the undisputed champion for formal wear, dress trousers, and skirts made from fine woven fabrics like wool, linen, or cotton twill.
The real magic of the slip stitch is how little of the thread shows on the right side of the garment. You work entirely from the inside, picking up just one or two threads from the trouser fabric before slipping your needle discreetly through the folded edge of the hem.
- How it works: Your needle travels inside the folded hem for about a quarter of an inch at a time.
- The stitch: You then bring the needle out to catch a tiny, almost imperceptible piece of the outer fabric.
- The result: A secure hem with stitches that are practically invisible from the outside.
For instance, professional tailors almost always use a slip stitch for formal trousers. This resurgence in traditional skills ties into the 128% sales surge for UK garment SMEs in Q3 2024, which is fuelling optimism for 2025 as artisans meet a rising demand for bespoke alterations. It's part of a broader trend within the UK's textiles manufacturing industry, which now has a stabilised market value of $43 million in 2024.
The Flexible Catch Stitch for Knits
Working with jersey, knits, or any fabric that has a bit of stretch? The catch stitch, sometimes called a herringbone stitch, will be your best friend. Where other stitches might pop and snap when the fabric is pulled, the criss-cross pattern of the catch stitch is designed to move and flex right along with it.
A Pro Tip: The catch stitch is sewn from left to right, but the needle always points from right to left. This is what creates that distinctive 'X' pattern on the inside of the hem and gives the seam its mechanical stretch.
This stitch is perfect for anything from yoga pants and comfortable jersey trousers to even wool blends with a bit of give. It gives you the durability you need without restricting the fabric's natural drape and movement—preventing that awful moment when you bend down and hear a thread snap. You can explore this and other foundational sewing techniques in our detailed guide.
The Simple and Sturdy Whip Stitch
For more casual garments or thicker fabrics where a completely invisible finish isn't the main goal, the whip stitch is a fantastic, reliable choice. It’s quick to master and creates a strong, durable hem.
To create it, you simply pass the needle over the raw edge of the hem allowance, which forms a series of neat diagonal stitches. It's an excellent option for finishing the hems on pyjama bottoms, casual cotton trousers, or even for securing the lining on a jacket. While it’s certainly more visible than a slip stitch, a neatly executed whip stitch looks tidy and intentional.
Mimicking Denim with a Felled Seam
If you want to hem jeans by hand properly, you need to mimic the classic, ultra-durable flat-felled seam you see on every store-bought pair. It’s a bit more involved, but the result is an incredibly robust finish that can withstand years of wear and tear.
The technique involves folding the hem twice to completely encase the raw edge, creating a thick, sturdy cuff. You then secure it with a strong backstitch using a heavy-duty thread, often in that iconic contrasting gold or copper colour. The key to making it look authentic is keeping your stitches small, straight, and perfectly even.
How to Adapt Your Hemming for Different Fabrics
The secret to a truly flawless hand-sewn hem isn't just about picking the right stitch. It’s about how you read the fabric and adapt your entire approach to suit it. After all, hemming a pair of floaty silk trousers is a world away from tackling rugged denim. Using the wrong technique can leave you with puckering, a bulky ridge, or a hem that gives up after a few wears.Think of the fabric as your guide. Its weight, weave, and how it drapes will tell you everything you need to know about the best needle, thread, and stitch for the job. By tailoring your method to the material, you ensure the finished result looks like it was done by a professional and hangs just right.
Working with Lightweight Fabrics
Delicate materials like silk, chiffon, and fine rayon demand a very light touch. They snag easily and can be weighed down by a heavy hem, completely ruining their natural, elegant movement. The goal here is a finish that's almost weightless and completely invisible.
For these floaty fabrics, your toolkit should include:
- A fine, sharp needle: A size 9 or 10 will glide through the delicate fibres without leaving a trace.
- Silk or fine cotton thread: These threads have a beautiful lustre that blends in seamlessly and, crucially, won’t add any bulk.
- A rolled hem: This is your best bet. It involves rolling the raw edge under twice, very tightly, and securing it with tiny, discreet slip stitches. This neatly encases the edge to stop it from fraying without creating a heavy fold.
When you get to the ironing board, remember to use a low heat setting and always place a press cloth between the iron and the fabric. This will protect those delicate fibres from scorching or developing an unsightly shine.
Handling Medium-Weight Materials
This category covers all your everyday workhorses: fabrics like cotton twill, linen, and most suiting materials. They're generally stable and much more forgiving, which makes them perfect for honing your hand-hemming skills if you're just starting out.
With these materials, you've got a lot more flexibility. The blind hem stitch is my go-to for a clean, professional finish on everything from chinos to formal trousers. A standard all-purpose polyester thread that matches the fabric colour and a regular size 8 needle will do the trick perfectly.
Pressing with plenty of steam is your best friend here. It helps set a really crisp, durable crease that will hold its shape beautifully, even after repeated washing and wearing.
A key tip for medium-weight fabrics that fray, like linen, is to neaten the raw edge first. A quick overcasting stitch before you fold the hem up adds a surprising amount of durability and stops it from unravelling over time.
Taming Heavy and Bulky Fabrics
Heavy-duty fabrics like denim, corduroy, and thick wool need a completely different, more robust approach. The two main challenges here are managing the sheer bulk of the folded hem and making sure your stitches are strong enough to handle the extra strain these garments usually go through.
Start by choosing a heavy-duty thread and a sturdy needle specifically designed for denim or upholstery. Instead of a deep double fold, which would create a stiff, awkward ridge, a single fold often works much better.
To stop that raw edge from unravelling, you can secure it with a catch stitch, which also has the added benefit of offering a bit of flex. For really bulky materials where you need extra stability, it's worth looking into what interfacing in sewing can do to help support and structure the hem area.
Finishing and Pressing for a Store-Bought Look
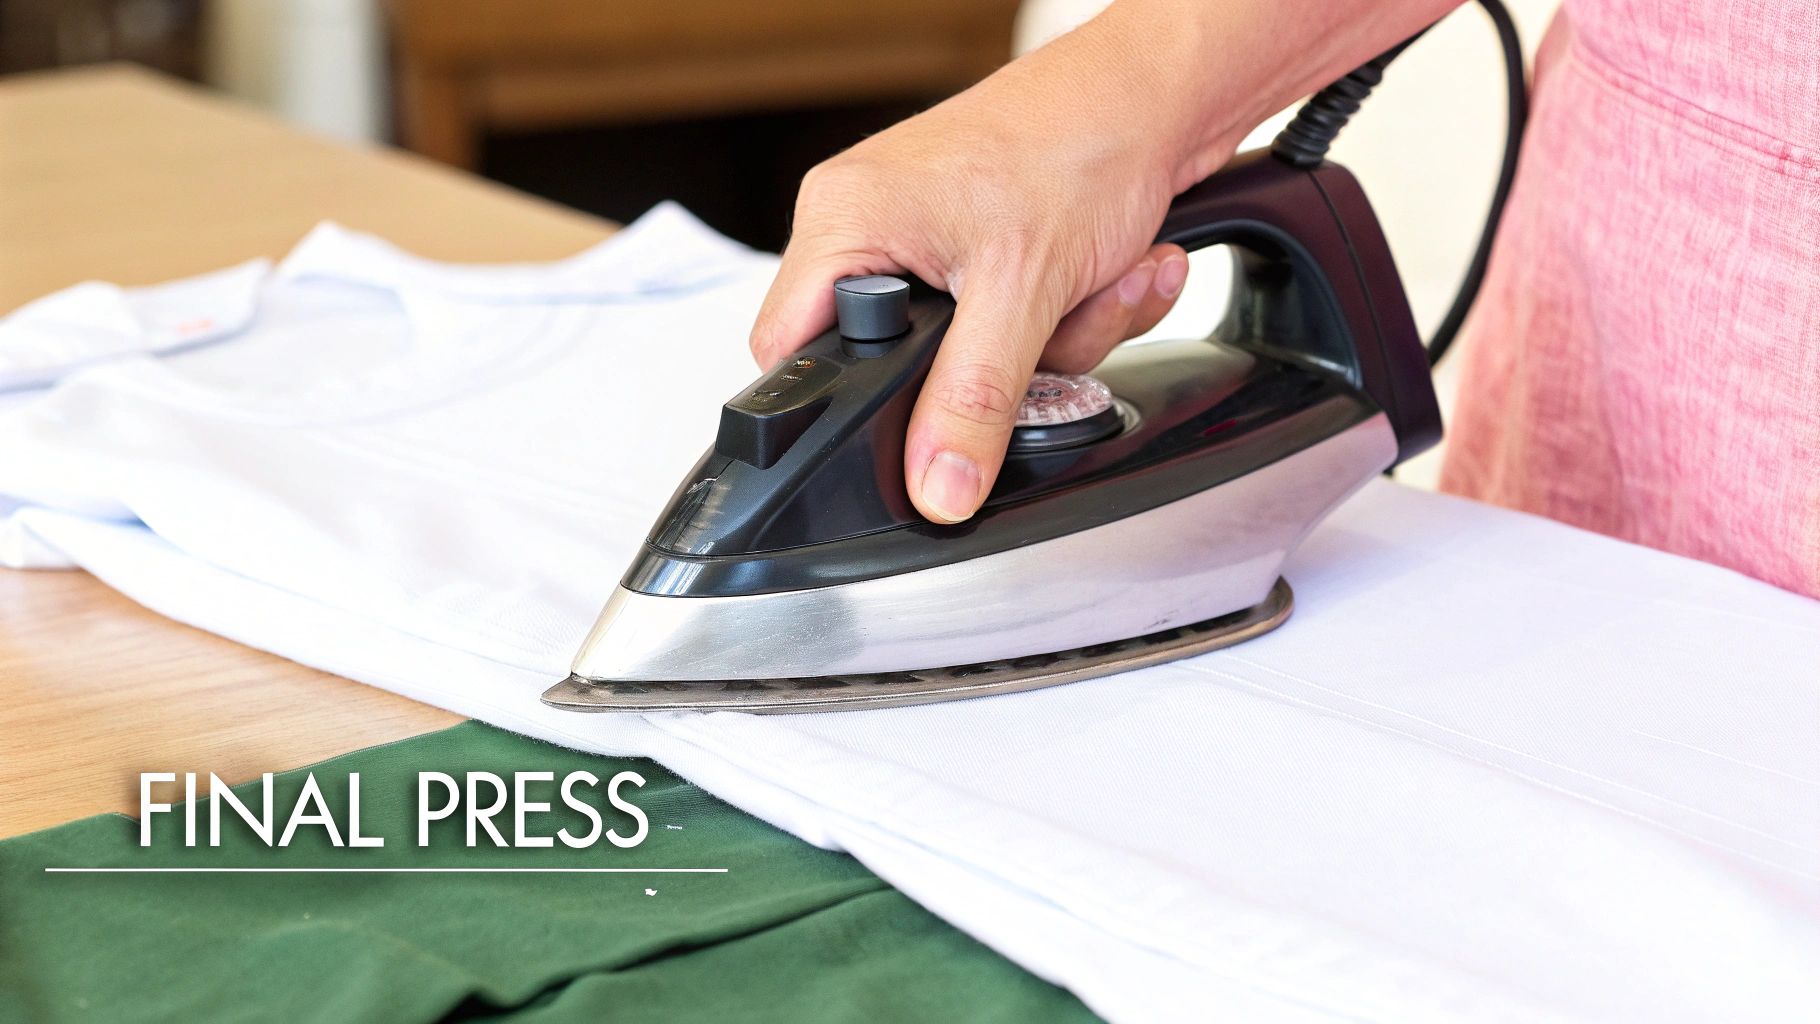
You’ve done the hard work with the needle and thread, but don't put your tools away just yet. The final press is what truly elevates your handiwork from a simple alteration to something that looks like it came straight off the rack. This step is non-negotiable; it helps the stitches settle into the fabric and creates that sharp, permanent crease that defines a professional hem.
Why You Press, Not Iron
People often use the words "ironing" and "pressing" interchangeably, but in the world of tailoring, they mean very different things. Ironing is a sliding, back-and-forth motion that can pull your new stitches, stretch the fabric, and warp the grain line you've worked so hard to maintain.
Pressing, on the other hand, is a deliberate up-and-down movement. You place the iron on the hem, give it a shot of steam, hold for a moment, and then lift it completely before moving to the next spot. This technique sets your work perfectly without any risk of distortion.
The Essential Press Cloth
Always, always use a press cloth, especially when working with delicate fabrics like wool, silk, or synthetics. You don't need anything fancy; a scrap piece of undyed cotton muslin works perfectly, though you can also buy specialised Teflon sheets.
Key Takeaway: Think of a press cloth as a shield. It prevents that awful shiny finish that direct heat can leave on certain materials. It also helps to distribute the steam and heat more evenly for a flawless result without damaging the fibres.
Before you even think about plugging in the iron, you'll need to carefully take out any basting stitches. Grab your seam ripper and gently snip and pull them out, being careful not to catch the main fabric of the trousers.
It’s this attention to detail that marks out genuine craftsmanship. Here in the UK, it’s worth remembering that manual hemming still makes up 30% of all garment finishing tasks, so these skills are highly valued. In fact, following a massive 128% sales surge in Q3 2024, UK garment suppliers are now forecasting strong growth for 2025, which really highlights the demand for expert alteration services. You can read more about this impressive growth on just-style.com.
With the basting threads gone, give the hem one last look over. Snip any stray threads and double-check that everything looks perfectly even. Now you're ready to press, working your way around each trouser leg until the finish is crisp, clean, and utterly professional.
Answering Your Top Hand Hemming Questions
Even the most detailed guide can't cover every little question that pops up when you're in the middle of a project. Getting stuck is a totally normal part of learning, so I've gathered some of the most common queries I hear from people tackling hand hemming for the first time.
What’s the Best Thread for Hand Hemming?
The golden rule is to match your thread to your fabric—not just in colour, but in fibre too. For most natural fabrics like cotton, wool, or linen, a good quality all-purpose polyester thread works brilliantly. It has the strength and a little bit of give that you need. If you're working with something more delicate like silk, it's worth investing in a matching silk thread to avoid any strain or marks on the fabric.
When you're up against tough denim, you'll want to switch to a heavy-duty thread made for the job. Here's a pro tip for colour matching: if you can't find an exact match, always go for a shade that's slightly darker than your fabric. A darker thread will disappear into the shadows of the seam, whereas a lighter one will stand out.
How Can I Stop My Hem from Puckering?
Puckering is the bane of many a sewer's existence, but it’s almost always down to one thing: pulling your stitches too tight. The goal is to create a relaxed, even tension. As you pull the needle through, just guide the thread until it's snug, but don't give it that final yank.
A finer needle can also make a world of difference, as it glides through the fabric more easily.
My go-to trick for a pucker-free finish is to baste the hem first. A few long, loose stitches will hold everything perfectly in place. This lets you focus solely on keeping your permanent stitches neat and even, without worrying about the fabric shifting under your hands.
Can I Actually Hem Stretchy Fabrics by Hand?
You absolutely can! The key is using a stitch that has as much give as the fabric itself. For this, the catch stitch (sometimes called the herringbone stitch) is your best friend. Its clever criss-cross structure is designed to stretch and move, preventing those dreaded snapped threads when the garment is worn.
When sewing knits, it’s also a good idea to use a ballpoint needle. Unlike a sharp needle that pierces the fibres, a ballpoint slides between them, which helps prevent snags and ladders. And remember, keep those stitches loose to allow the fabric to drape and stretch as it was meant to.
How Long Should This Take Me?
Honestly, this varies hugely based on your experience, the fabric you're working with, and the stitch you choose. If you're just starting out, expect to spend anywhere from 45 to 60 minutes on a straightforward pair of cotton trousers. Don't rush it! A seasoned sewer might zip through the same job in 20-30 minutes, but they've had years of practice. Understanding the fundamentals, like learning what seam allowance is, can also help streamline your preparation.
The most important thing is to focus on quality, not speed. Building these foundational sewing abilities is incredibly satisfying. For those keen to continue learning, you can explore more practical skills to build your confidence.
At Display Guru, we're here to supply the professional-grade tools that make all the difference. From fully adjustable tailor's dummies to the sturdiest garment rails for your workspace, our products are designed to support your craft. Take a look at our collection at https://www.displayguru.co.uk and set yourself up for success.