




Sewing Machine Table Extension: How to Choose and Fit
You're halfway across a quilt top, the bulk is sliding off the left side of the machine, and your left hand is doing more lifting than guiding. Every seam pulls slightly, you stop to haul the fabric back onto the bed, and the stitch line wobbles where you restarted. That's not a technique problem. It's a support problem, and a properly fitted sewing machine table extension solves it before your hands have to compensate.
Why Your Sewing Machine Needs a Table Extension
A quilter working on a large piece knows the pattern well. The quilt sandwich feeds cleanly for a few inches, then its weight drops over the edge of the machine bed and drags the work sideways. Curtain makers and dressmakers cutting long seams get the same effect, with fabric bunching in front of the foot and sagging behind it.
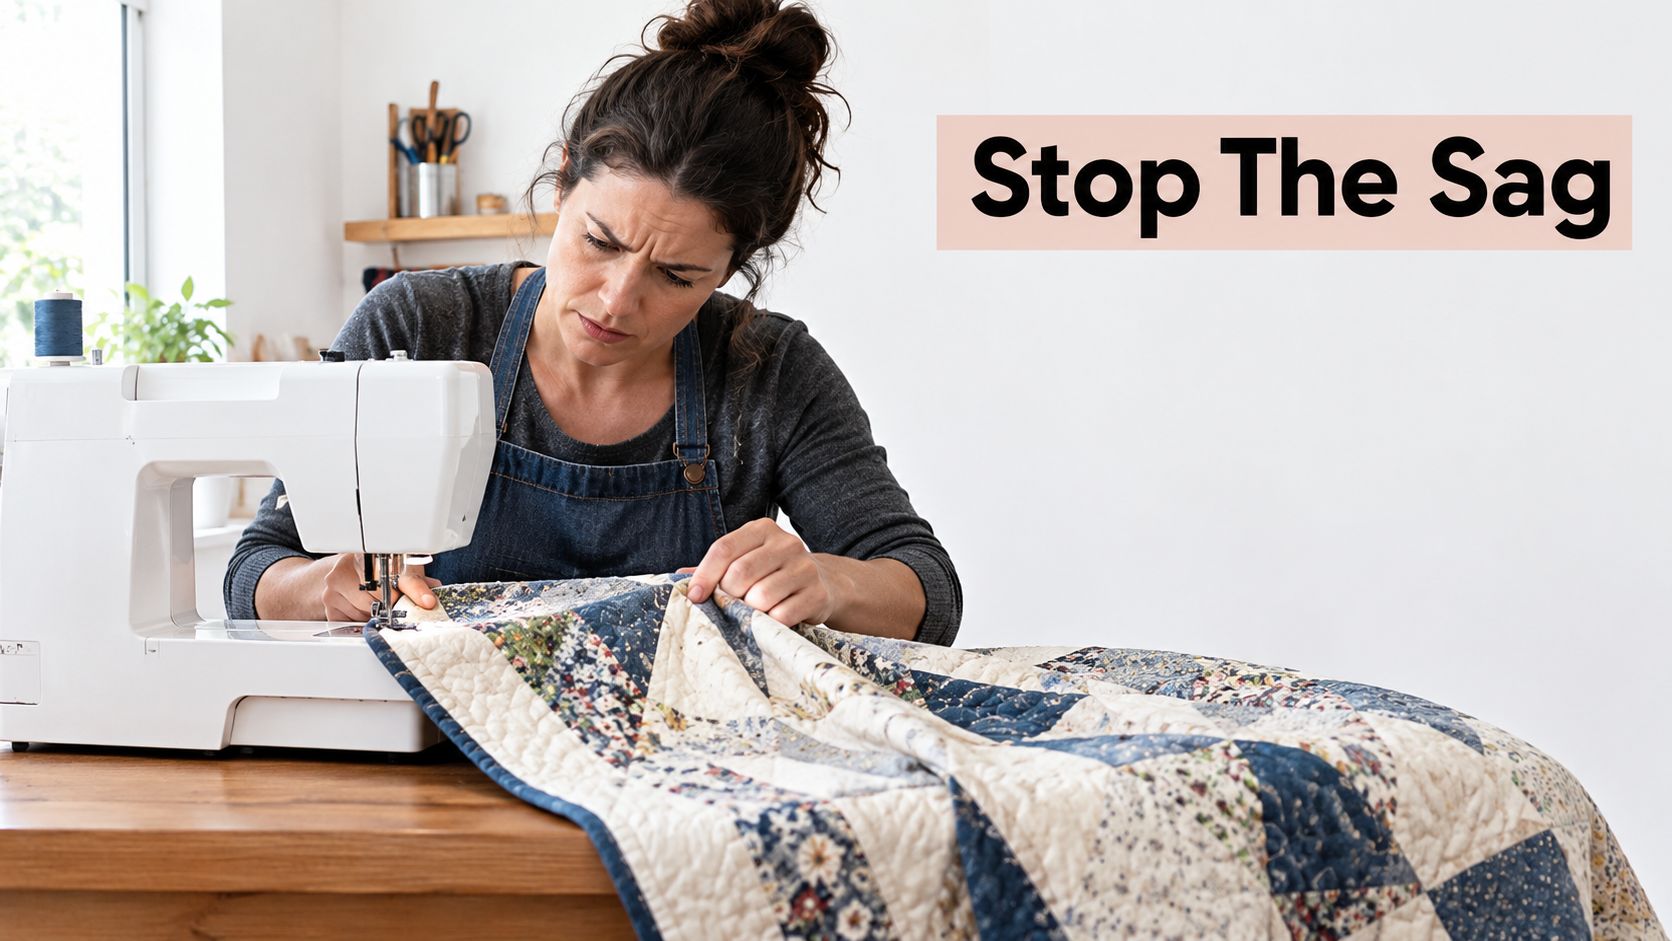
An extension doesn't add features to the machine. It extends the level surface around the needle, so fabric stays flat, feeds under its own weight in a controlled way, and doesn't pull against the feed dogs. Your hands stay close to the needle where they can guide rather than support, and long seams run straighter because nothing is tugging the work off line.
An old principle, not a modern gadget
This isn't a recent accessory trend. In 1790, London cabinetmaker Thomas Saint received British patent GB 1,764 for a sewing machine concept that already included a horizontal cloth-supporting table, establishing the principle that fabric needed a stable, level surface around the needle for controlled stitching, as the British Library history of sewing machine invention records. Saint's machine wasn't commercially practical, but the table idea endured because the physics haven't changed.
British makers kept refining that support through the Victorian period, treating table construction as an engineering problem involving stability and machine integration rather than cabinet decoration. A modern detachable extension is a refinement of that same structural feature, sized for a domestic machine instead of built into furniture.
If you're lifting fabric with one hand while you sew, the machine bed is too small for the job. The extension should do the lifting.
The practical gains show up quickly. Stitch quality improves because the fabric isn't being dragged. Free motion work gets easier because you can move the piece in any direction without it catching on a bed edge. Your shoulders drop because you stop hunching over a pile of material in your lap. Getting the wider layout right matters as much as the extension itself, which is why a deliberate sewing room setup pays off before you buy anything.
None of that helps if the extension doesn't fit your machine properly. A platform that's a few millimetres too high, or cut for a different bed shape, creates more snagging than it prevents.
How to Check Compatibility Before You Buy
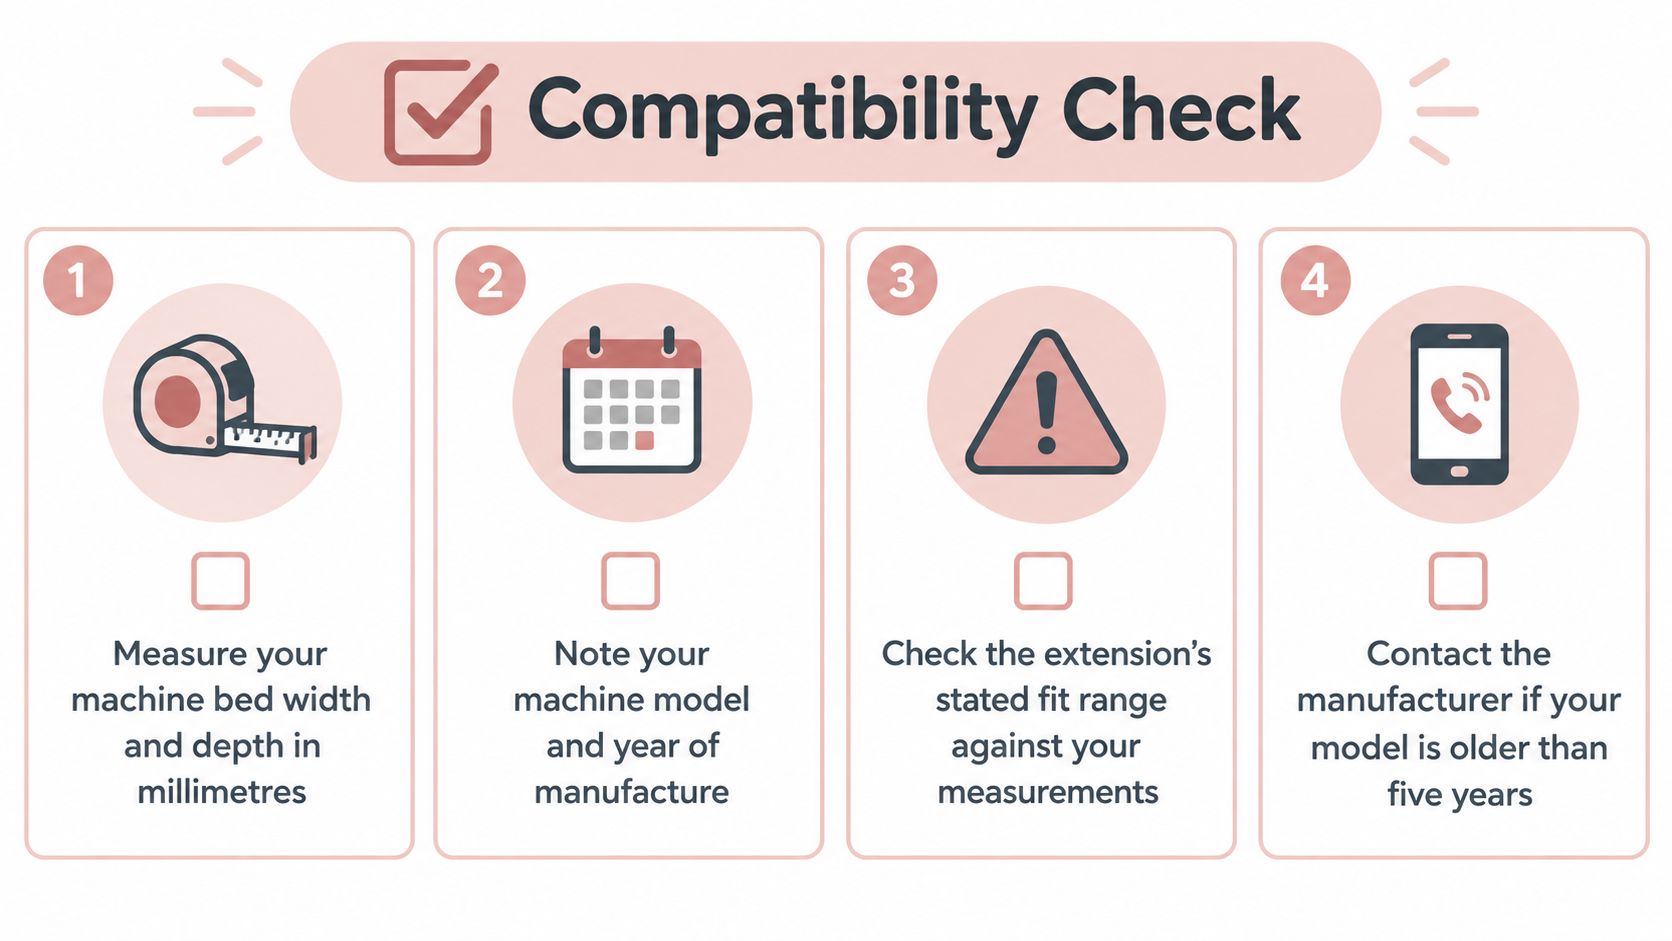
The word universal on a listing is where most buyers go wrong. Compatibility isn't a universal fit problem. It's a measurement and model-year problem, and assuming otherwise is how people end up with a platform that rocks, blocks the free arm, or leaves a lip that catches every seam allowance.
UK listings show that extension tables can differ by only a few centimetres, with examples including 39 × 25.5 cm, 39 × 22.5 cm and made-to-measure platforms of 56 × 30 cm, while some tables fit computerised models but not mechanically similar machines, and one UK supplier warns that pre-2016 Singer Heavy Duty machines require modification to fit a newer table, as the Singer Machines extension table listing for Heavy Duty models makes clear. A few centimetres sounds trivial until the cut-out sits in the wrong place.
What to record before you order
Build a simple worksheet for your machine and keep it with the manual. You'll use it for every accessory purchase, not just this one.
- Brand and exact model number: Read it off the rating plate, not the box. Suffixes matter.
- Year of manufacture: Model-year changes alter bed castings and lug positions.
- Bed length and width: Measure the flat bed in millimetres with the accessory box removed.
- Free arm conversion: Note how the bed converts and whether the extension must clear it.
- Needle position: Measure from the needle to the left and rear bed edges.
- Presser foot clearance and table thickness: Confirm nothing fouls the foot lift or knee lift.
- Locating lugs: Record whether your machine uses front or rear lugs, and their spacing.
Adjustable legs deserve a specific warning. They level height, and that's all they do. They can't correct an incorrectly shaped cut-out, shift a lug position, or unblock a free arm. If the cut-out geometry is wrong, no amount of leg adjustment fixes it.
Watching a fitting done properly is worth a few minutes before you measure your own machine.
When the listing doesn't name your model
Stop and ask. Contact the manufacturer or retailer with your worksheet rather than gambling on a generic table. This matters more than sellers admit, and it applies whether you're choosing a clip-on platform or planning a dedicated sewing machine with cabinet arrangement where the machine sits flush in furniture.
Format choice affects compatibility too. If you're weighing portability against a permanent set-up, it helps to compare folding vs. drop-in tables before committing, because a drop-in arrangement locks you to one cut-out while a folding platform can move between machines if the geometry allows. Neither format rescues a wrong measurement.
Practical rule: If a seller can't confirm fit against your exact model number and year, treat the answer as no.
I keep a steel rule and a set of callipers by the machine for exactly this reason. Guessing from a product photo has never once saved time.
Measuring Your Machine and Workspace
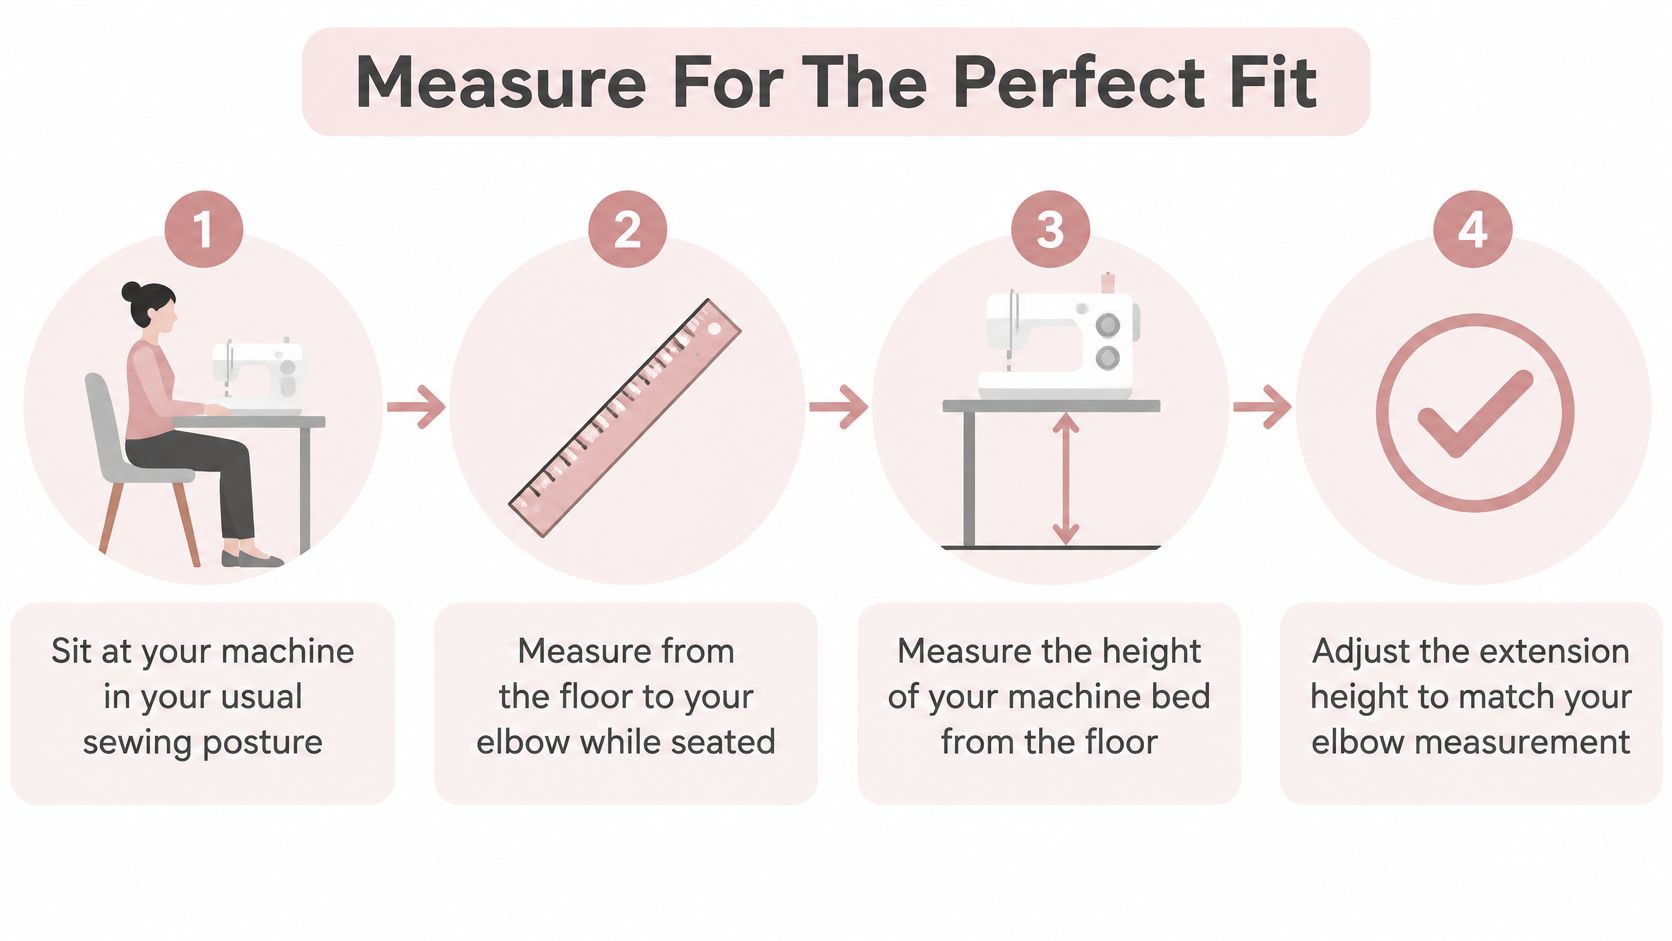
Forget fixed universal heights. Use a task-based fit-and-test method instead, because the right height for a tall quilter on a high chair is wrong for a shorter dressmaker at a dining table. You're fitting three things together. The operator, the machine, and the room.
The UK Health and Safety Executive position is that workstation dimensions should reflect both the task and the user's height and build, and its sewing guidance expects seating that permits good posture and ease of movement, as set out in HSE guidance on sewing machine workstations. That same guidance gives useful room benchmarks. Leave at least 800 mm from the machine centre to the end of a bench where the machine is at the end of a run, and allow a 500 mm overlap where benches are arranged back-to-back.
The measuring sequence
Sit at the machine in your usual chair, feet flat, in the posture you sew in. Measure the machine bed height from the table surface, then note your seated elbow height relative to that bed. The extension should bring the work surface level with the bed without forcing your shoulders upward or your head into excessive flexion to see the needle.
Next, measure needle position and extension depth. You need support to the left and behind the needle for large work, but depth in front of the machine pushes you away from the controls. Mark the proposed footprint on your table with masking tape and sit with it for a few minutes before ordering. If you share the surface with cutting work, check the footprint against your sewing and cutting table layout so the extension doesn't eat the space your rotary mat needs.
What good numbers look like in practice
- Flush at the bed: Run a fingernail across the junction. It shouldn't catch in either direction.
- Rigid under side load: Press down and sideways at the far corner. Noticeable sag means fabric will drag.
- Elbows near the body: If your elbows drift out or your shoulders rise, the surface is too high or too deep.
- Knee room preserved: Check clearance for a knee lift and for your legs to shift position freely.
Record every figure, even the ones that feel obvious. When you later change chairs or machines, those numbers tell you instantly what needs adjusting instead of starting from memory. A notebook page per machine is enough. Date it, because chairs and tables change over time in most workrooms.
Installing and Stabilising Your Extension
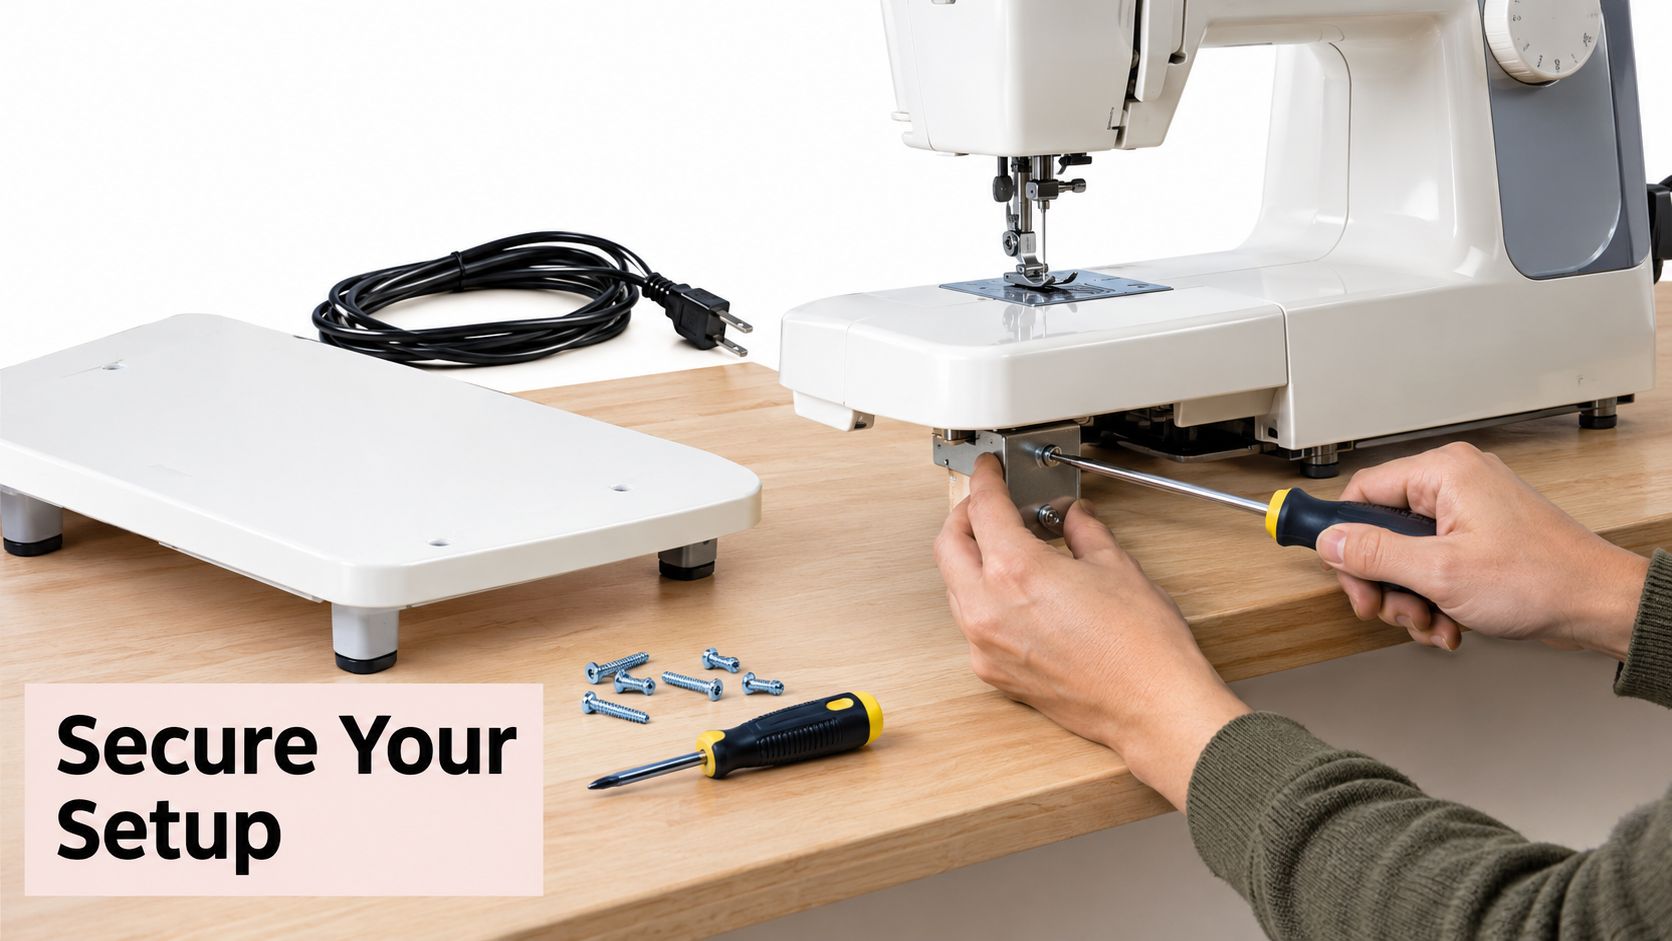
Start with the machine switched off and unplugged. That applies before fitting, drilling, or adjusting anything, every time. Clear the table, check it's level and stable on the floor, and only then bring the extension to the machine.
Position the platform so its cut-out seats fully against the machine bed, then work around the junction with your fingertips. A raised lip at the machine-to-extension junction is the single most common fault I see, and it snags fabric on every pass. Adjust leg height in small increments, alternating sides, until the transition feels flush and the platform doesn't rock when you press each corner in turn.
Support it properly or don't fit it
An unsupported cantilever will flex under a quilt's weight no matter how rigid it feels empty. Legs should sit near the outer edges, fully on the table surface, with lockable adjustment tightened once level. The finished platform must not be able to shift the machine, creep sideways during sewing, or conceal any control, including the emergency power switch.
The most consequential pitfalls are relying on a loose removable board, using trailing flexes near feet or needles, and placing the extension on an unstable or sloping table, an operating-manual warning specifically associated with potential machine falls and injury, consistent with HSE advice on electrical equipment safety. A loose board that slides mid-seam can pull the machine with it. That's an injury risk, not an inconvenience.
Cables, light, and access
- Cable routing: Run flexes behind the machine, away from the floor, feet, and moving fabric.
- Lighting: Position task lighting so it stays available when the motor is off for threading and unpicking.
- Handwheel access: Turn it through a full rotation to confirm nothing obstructs it.
- Needle guard and controls: Verify guards refit correctly and every dial and lever remains reachable.
- Knee clearance: Sit and operate the knee lift if fitted. Reposition legs that block it.
If your machine shares space with a cutting table for sewing, resist the temptation to bridge the extension across two surfaces at slightly different heights. It will rock, and rocking works fasteners loose. One stable surface, properly levelled, beats a bigger improvised arrangement every time.
Finish by loading the platform with the heaviest fabric bundle you normally handle and pressing at the corners again. Flex that only appears under load is still flex. Sort the support now rather than mid-project.
Choosing the Right Size for Your Needs
Bigger isn't automatically better, and most buying advice falls down here. Added depth supports large work, but it also increases reach distance, can push the needle further from your eyes, and may force you to lean over the platform to reach controls behind it. A surface that helps a quilt can hinder a cuff.
Match size to the work you do most. Quilters and curtain makers benefit from generous support to the left and rear of the needle. Garment makers doing frequent free arm work often prefer a smaller platform they can remove quickly without dismantling the machine set-up. In a compact home studio, a smaller, stable extension frequently outperforms a large one that dominates the table and still rocks at the corners.
Fit the user, not just the project
Chair height, your reach, and the available room all change what works. Adjustable legs help you create a flush transition without rocking, but they don't shrink a platform that's too deep for your arms. Sit with a taped outline of the size you're considering and mimic threading, changing a foot, and reaching the handwheel before you spend anything.
- Left-handed users: Check that support extends where you guide fabric, not only where right-handed layouts assume.
- Wheelchair and seated users: Confirm knee clearance, approach angle, and that legs don't block footrests or the pedal.
- Reduced mobility: Favour lighter platforms you can fit and remove without lifting the machine.
- Knee lift users: Measure lift travel with the extension in place, not before fitting it.
The audience making these decisions is broad. Business Gateway's 2025 UK sewing market report says 17% of surveyed adults participated in textile activities such as sewing or knitting, while over a third of under-35s took part in three or more arts-and-crafts activities during the previous 12 months, according to Business Gateway's UK sewing market report. That range of ages, bodies, and room sizes is exactly why one recommended size can't suit everyone.
If space is your binding constraint, plan the whole corner before choosing, using small sewing space ideas to keep storage and work surface in balance. Display Guru also publishes guidance on sewing tables with drop-leaf extensions that enlarge the work surface and fold away for storage, which is one route worth considering alongside a clip-on platform. Choose the format you'll genuinely set up each session. An extension that lives in a cupboard supports nothing.
Safety Checks and Maintenance Routine
Treat the extension as part of the machine workstation, not as furniture. Before first use, run a short risk assessment covering needle contact, entanglement, sharp edges on the platform, machine instability, cable routing, and access to isolation controls. Write it down, even briefly. A home workroom benefits from the same discipline as a professional one.
HSE expectations for electrical equipment are straightforward. It should be suitable for the job, maintained, correctly supplied, and used by people who know what they're doing, with RCD protection recommended where beneficial. Your machine should run from a UK three-pin plug and fuse, and unplugging when not in use is a sound habit that also protects electronics from surges. Check plugs and sockets for scorching, arcing sounds, or overheating, and stop using anything that shows those signs.
A routine that takes minutes
- Each session: Confirm the platform is seated, legs are locked, and cables are clear of feet and fabric.
- Weekly: Inspect guards, needles, and the surrounding work area, and check fasteners for loosening.
- After any move: Re-level the extension and recheck the bed junction before sewing.
- On record: Note inspection dates so problems can be traced to a change.
Commissioning a new set-up
Load-test the extension with the maximum fabric bundle you expect to handle. Run the machine at low speed, then at normal speed, watching for vibration, fastener loosening, and fabric snagging at the junction. Verify that the needle guard and handwheel remain accessible throughout, and that you can reach the power switch instantly without leaning across the platform.
A platform that vibrates at normal speed is telling you something. Believe it and fix the support rather than sewing slower forever.
Maintenance is mostly cleaning and inspection. Wipe the surface so fabric slides freely, check edges for nicks that could catch delicate cloth, and confirm leg threads still turn smoothly. Lint and thread offcuts work their way under platforms, so lift the extension periodically and clear what has collected. Store it flat where it won't warp or get knocked, because a bowed platform will never sit flush again.
If children or visitors use the room, unplug the machine and lower the needle when you leave it. The extension makes the machine look like a workbench, and people lean on workbenches.
Final Fit-and-Test Checklist
Everything comes together in one test. Run a 10 to 15 minute test seam using the heaviest and widest material you normally handle, not a scrap of calico. Use your usual chair, lighting, and pedal position so the test reflects real sewing.
- Feed: Fabric passes the junction without catching, in both directions.
- Posture: Elbows stay near your body and shoulders stay down throughout.
- Stability: No vibration, rocking, deflection, or fastener movement under load.
- Access: Handwheel, needle guard, knee lift, and power switch all remain reachable.
- Safety: Cables clear, platform seated, inspection date recorded.
Accept the set-up on documented fit, stability, and risk-assessment checks, not on how it felt during a quick trial. If any item fails, adjust and retest rather than sewing around the problem. Repeat the same checklist whenever you change machine, chair, or room, and you'll get a rigid, level surface that keeps you in control of the fabric every time.
Whether you're fitting out a workroom, staging garments for clients, or organising a home sewing studio, Display Guru supplies tailor dummies, garment rails, and display equipment that help you fit, adjust, and present finished pieces with confidence. Browse the range at Display Guru to find the forms and storage that suit the way you sew.