



Childrens Sewing Box
It's wet, the kitchen table is clear, and your child asks if you can make something together. You open a drawer of tangled thread, adult scissors and loose pins, then hesitate. A good children's sewing box solves that hesitation. It's not a smaller version of your kit. It's a supervised set of tools, chosen for your child's hands and stage, that lets you start safely and finish with something they're proud of.
Why a Children's Sewing Box Matters More Than It Looks
That Saturday morning question has a long history behind it. In Britain, needlework was once treated as core education and practical preparation for adult life, not as an optional rainy day activity. Children learned to sew because households needed clothes made, marked and mended, and because those skills could lead to paid work.
The scale surprises many parents. The British Schools Museum record of Hitchin Girls' British School in 1821 listed 72 pupils who had all studied needlework, while only one third had studied any form of arithmetic. By the following year, that school had earned money from selling pupils' needlework. Sewing sat at the centre of the timetable because adults saw it as useful, disciplined and employable.
From Samplers to Child Sized Tools
Children practised on samplers, small embroidered pieces that showed stitching, marking and mending. Those pieces also taught letters and numbers, and they gave a child something concrete to show a future employer. The University of Cambridge account of a Fitzwilliam Museum exhibition notes that girls as young as six began sewing lessons in Bristol orphan houses, within a wider network of church and benefactor schools for children from poor backgrounds.
Purpose made equipment for children came later, including a child's chain stitch sewing machine first introduced in the early twentieth century. That progression matters for you now. You're not buying a novelty. You're choosing how your child enters a practical tradition, one small project at a time.
When a child threads a needle and repairs something they own, they're learning that objects can be cared for and kept, not simply replaced.
That history also explains why safety deserves serious thought. Past generations taught sewing in structured settings with rules and supervision. A modern box should do the same at home, in a form that suits a kitchen table and a short attention span. The pleasure is real, but so is the responsibility that comes with real tools.
What a Children's Sewing Box Actually Is
Think of a children's sewing box as a junior workshop bench in miniature. A bench gives each tool a place, keeps sharp edges controlled and creates a routine for starting and tidying away. Your child's box should do exactly that, while also holding the materials for the next project.
This infographic shows the three jobs the box has to do at once.
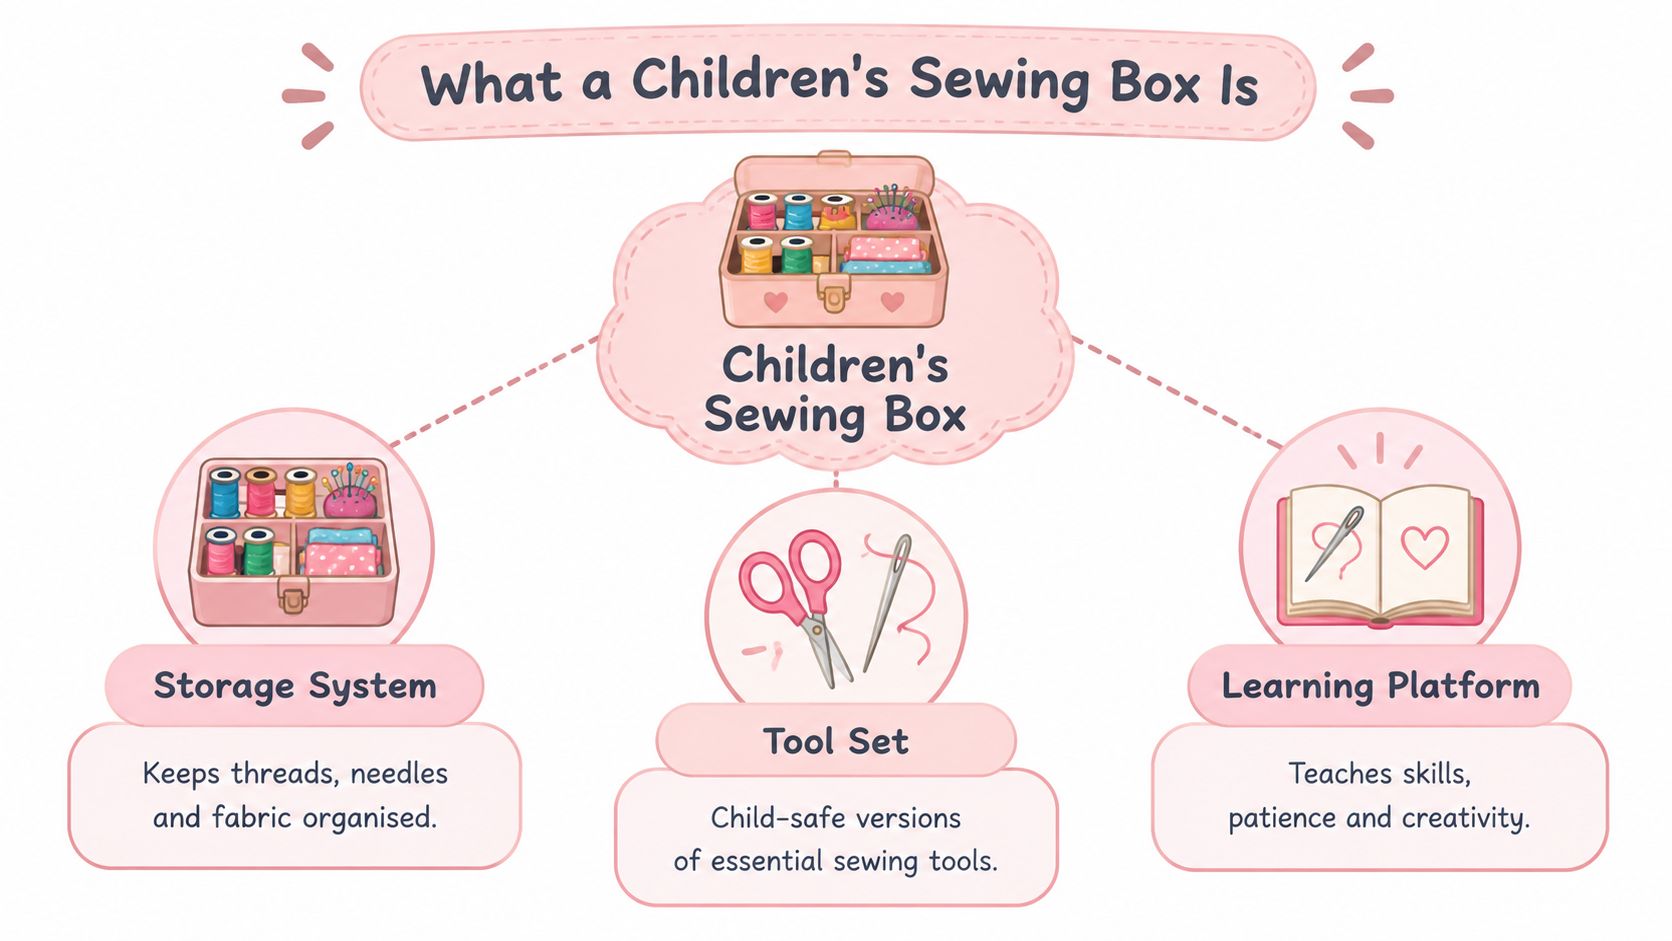
Three Jobs in One Box
- Storage system: Compartments keep fabric scraps, thread and templates separate, so unfinished work stays together between sessions.
- Tool set: Needles or lacing tools, scissors, a pincushion or closed container, and simple notions are selected for small hands.
- Learning platform: Pre cut pieces, marked stitch lines and a small ruler turn each session into practice you can repeat.
A general craft kit usually leans towards paper, glue and paint. An adult sewing box assumes the user can judge sharp tools without help. A children's version sits between those extremes. It introduces genuine sewing actions, but it controls access to the parts that need an adult nearby.
Why Organisation Teaches Behaviour
The design detail to look for is separation. Sharp tools belong in a secured inner compartment, with pins and needles in a lidded container or closed pincushion, away from fabric and thread. That physical separation stops loose metal migrating into play areas and makes a missing needle obvious when you pack away.
Good habits grow from that layout. UK guidance reflected in the Scouts travel sewing kit product information sits within a wider approach that treats needles, pins and scissors as items needing supervision. In class, I teach children to point scissors downwards, return needles straight away and tell an adult immediately if something drops. A box with a defined home for every tool reinforces those behaviours without constant nagging, because the empty slot does the reminding for you.
Age-Appropriate Features by Stage
A single printed age on packaging rarely tells the whole story. Two children of the same age can differ widely in hand strength, focus and impulse control. Match the contents to what your child can do reliably, not just once on a good day.
Children's Sewing Box Features by Age Stage
| Age stage | Recommended components | Supervision level | Key safety features |
|---|---|---|---|
| Under three | Lacing cards, large felt shapes, thick cord with stiff ends | Constant adult led play | No needles, no small detachable parts |
| Early primary | Plastic blunt needle, pre punched felt, large thread, big buttons for sorting | Adult beside the child | Needle free storage, short thread lengths |
| Late primary | Tapestry needle, blunt tip scissors, safety pins, buttons and snaps | Adult in the room, checking in | Lidded pincushion, tools counted in and out |
| Early teen | Sharper hand needles, small scissors, embroidery thread, simple patterns | Adult available, agreed rules | Secured inner tray, clear accident routine |
The move from plastic to metal needles is the biggest milestone. Metal isn't forbidden, and older children often sew better with it because it slides through fabric cleanly. The question is whether your child can follow the storing rule every time, even when they're excited or tired. If they can't yet, stay with blunt tools a little longer. Confidence built slowly lasts longer than confidence borrowed from equipment they're not ready to manage.
Attention span matters too. Younger beginners do well with pre punched holes because they can concentrate on the in and out rhythm without fighting the fabric. Older children can measure, pin and cut, but each added step raises the supervision load for you. Add one new responsibility at a time and watch how they handle tidying up, which tells you more than their stitching speed.
If you're comparing starter options, these first sewing kits guidance notes can help you frame what a first purchase should include. For families who'd like guided practice outside home, checking kids sewing workshop details can also show how instructors group tools and projects by readiness. Use both as prompts for questions, then judge your own child.
Safety Standards Every Parent Should Check
The word children's on a label doesn't make every part safe for every child. In Great Britain, sewing kits intended for play fall under the Toys (Safety) Regulations 2011, which require hazards, risk reduction instructions and warnings to be clear, legible and in English. Read those warnings as the starting point for your own check, not as a guarantee that you can step away.
The checklist below highlights the hazards parents most often overlook.
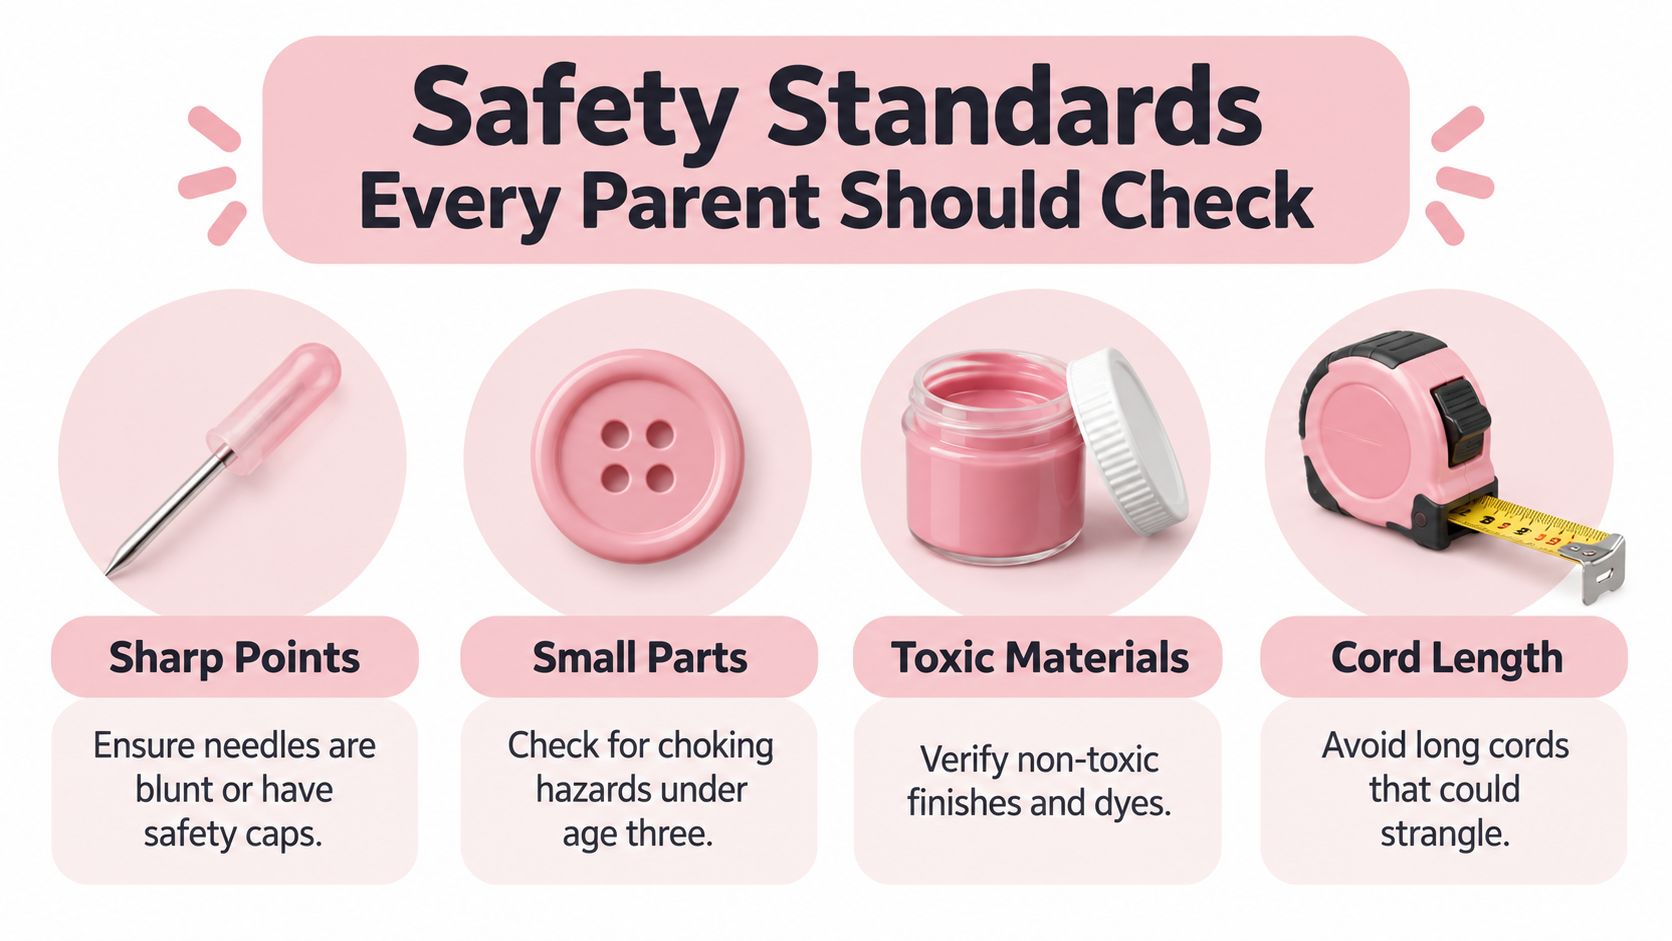
Four Hazards to Check Yourself
- Small detachable parts: Buttons, beads and loose fastenings create choking risks, especially for younger siblings who join in.
- Sharp points: Needles and pins need caps, blunt ends where suitable, or storage your child can't tip open accidentally.
- Sharp edges: Scissor blades and metal notions should feel smooth, with handles sized so small hands don't slip. If your child is left handed, this guide to left handed children's scissors explains why blade orientation matters for control.
- Long threads and cords: Trailing lengths tangle around fingers and pull work off the table, so cut shorter lengths and rethread often.
The Finished Item Can Create New Risks
A kit can look sensible while the finished toy doesn't. Loose buttons work free, stuffing escapes through wide stitches and long threads trail from seams. Before a younger child plays with a finished piece, tug every fastening, check seams and trim ends. If it will be cuddled by a toddler, choose embroidered features instead of buttons.
Supervision tiers: Decide in advance what's independent, what's adult assisted and what's adult only. Cutting thick felt, for example, can stay adult only while stitching becomes independent.
That tier system prevents the common muddle where a child is trusted with everything because they handled one tool well. Write the tiers on a card inside the lid if other adults supervise. Everyone then follows the same rules, and your child isn't negotiating different boundaries with each grandparent or babysitter.
Essential Contents and What Each One Teaches
Judge contents by the skill each item builds. A box can look full yet teach very little if it's mostly decorations. The core tools earn their place because they support transferable operations your child will reuse on every project.
Skills Before Shopping Lists
Threading develops fine motor control and patience. A large eye needle and slightly stiff thread make early success more likely, and colour coded thread helps children spot tangles. Running stitch teaches even length and gentle tension. Marked lines on felt let your child see whether stitches drift, which makes correction kind and specific.
Backstitch adds strength where a seam will be pulled. Children grasp its purpose quickly when they compare a floppy running stitch seam with a firmer backstitched one. Knotting teaches finishing discipline. Work that isn't secured unravels, and that small disappointment, handled supportively, teaches care better than a lecture.
Measuring, Fastening and Repairing
A small ruler or seam gauge introduces seam allowance control, which is really early measurement and precision. Tailor's chalk or a washable marker lets children plan before they cut. Buttons and snaps teach spatial planning because the fastening must meet its partner accurately. If you'd like worked examples of these techniques, the sewing techniques overview gives you language you can borrow when demonstrating.
Basic repair ties it all together. Sewing a button back onto pyjamas shows your child why sewing exists. Clothes can be mended and kept in use.
Some items can wait. A thimble helps some older children push needles through thicker layers, but many beginners find it awkward. A seam ripper is useful in adult hands, yet it's rarely a first purchase for a child. Embroidery thread adds colour and texture later. Start with needles suited to the stage, pins only when justified, blunt tip scissors, thread, fabric scraps, templates and a safe pincushion or container. Add tools when a project needs them.
How to Choose the Right Box
Turn the earlier criteria into questions you can ask in a shop or check in a product listing. You're looking for a box that makes safe behaviour easy. If safe storage requires effort every time, it won't happen when you're rushing to clear the table for tea.
This selection guide summarises the checks that matter most.
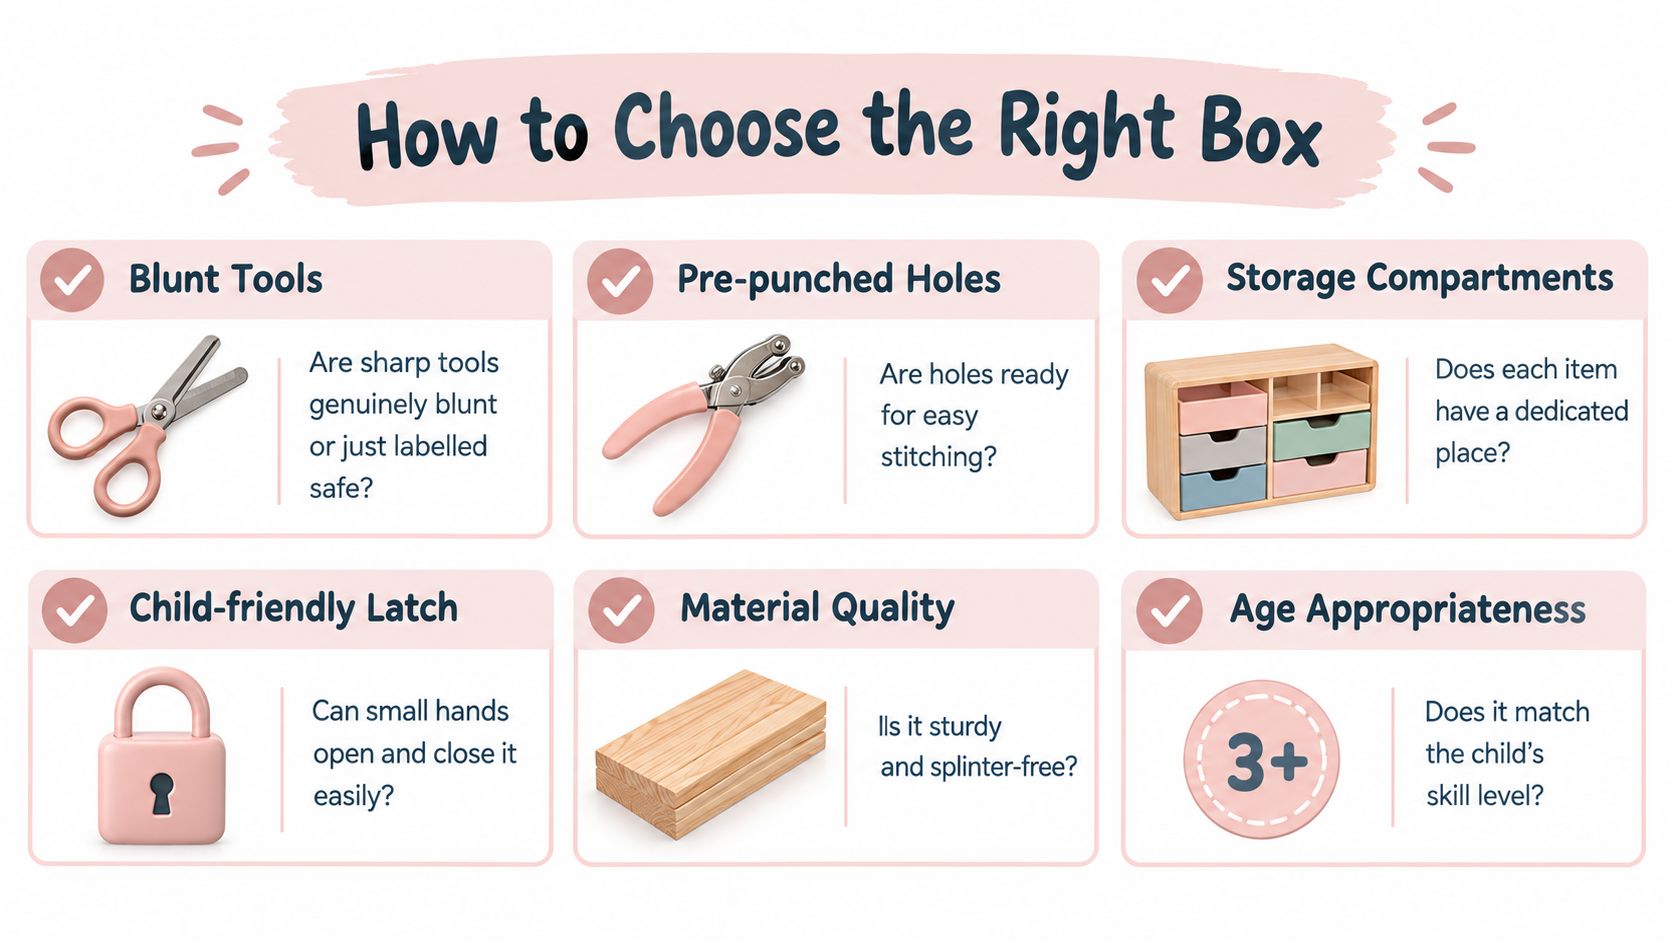
Six Checks Before You Buy
- Blunt tools: Does safety mean a rounded point you can feel, or is it only a word on the packet?
- Pre punched starter pieces: Can your child begin stitching without an adult cutting and piercing everything first?
- Segregated storage: Are sharp items physically separate from thread and fabric, ideally in a lidded inner tray?
- Replacement materials: Can you buy more felt, thread and templates, or does interest end when the first projects are used up?
- Honest labelling: Does it state age suitability, sharp part warnings and the need for supervision in plain English?
- A closing ritual: Does the latch work for small hands while still keeping contents contained when the box is carried?
Listings vary more than parents expect. One UK listing for a Natural History Museum children's activity sewing product illustrates the wider pattern described in product comparisons, where a safety needle kit can be marketed from age three while a fuller kit is aimed at age eight and above. Neither label tells you about storage, replacement pieces or which parts need you beside your child. That's why your six checks matter more than the badge.
Material quality counts too. A sturdy, splinter free box survives being opened weekly, and smooth compartments won't snag thread. Avoid flimsy trays that tip needles into the main section. If you can't see how sharps are stored from the photographs or description, ask the retailer directly. A clear answer is a good sign. Vagueness is information too, and it's a reason to choose a different box.
Starter Projects That Make the Box Worth Owning
Short projects get finished, and finished projects get repeated. That's important because school textiles time is limited. Research from the Textiles Skills Centre reported in Unravelling the Fabric of Textiles Education found primary pupils receive roughly 30 hours across six years, about five hours annually on average. Home sessions of 20 to 30 minutes can therefore add meaningful practice without turning sewing into homework.
A Simple Four Project Sequence
- Felt bookmark: Use pre punched holes and running stitch around the edge. It teaches rhythm, starting and finishing.
- Small felt creature: Sew two matching shapes with backstitch, leave a gap, add stuffing with adult help, then close the seam.
- Button on patch: Practise button attachment and a snap fastener on scrap fabric before risking a favourite garment.
- Real repair: Reattach a loose button to pyjamas or a school cardigan, with you checking security at the end.
Keep unfinished work in a labelled envelope inside the box so thread doesn't tangle and pattern pieces stay together. That small habit protects motivation, because your child can restart quickly next time. If you want simple shapes to adapt, these beginner sewing patterns can give you templates to scale down for felt. A box earns its shelf space by being opened weekly, not by impressing everyone once and then gathering dust.
Bringing the Wider Textile World Into Reach
A child who can thread a needle, sew an even line and replace a button has a foundation for garment making, alterations and textile display later on. Those adult skills stop looking mysterious.
This photograph shows the calm, focused choosing that a well stocked box encourages.
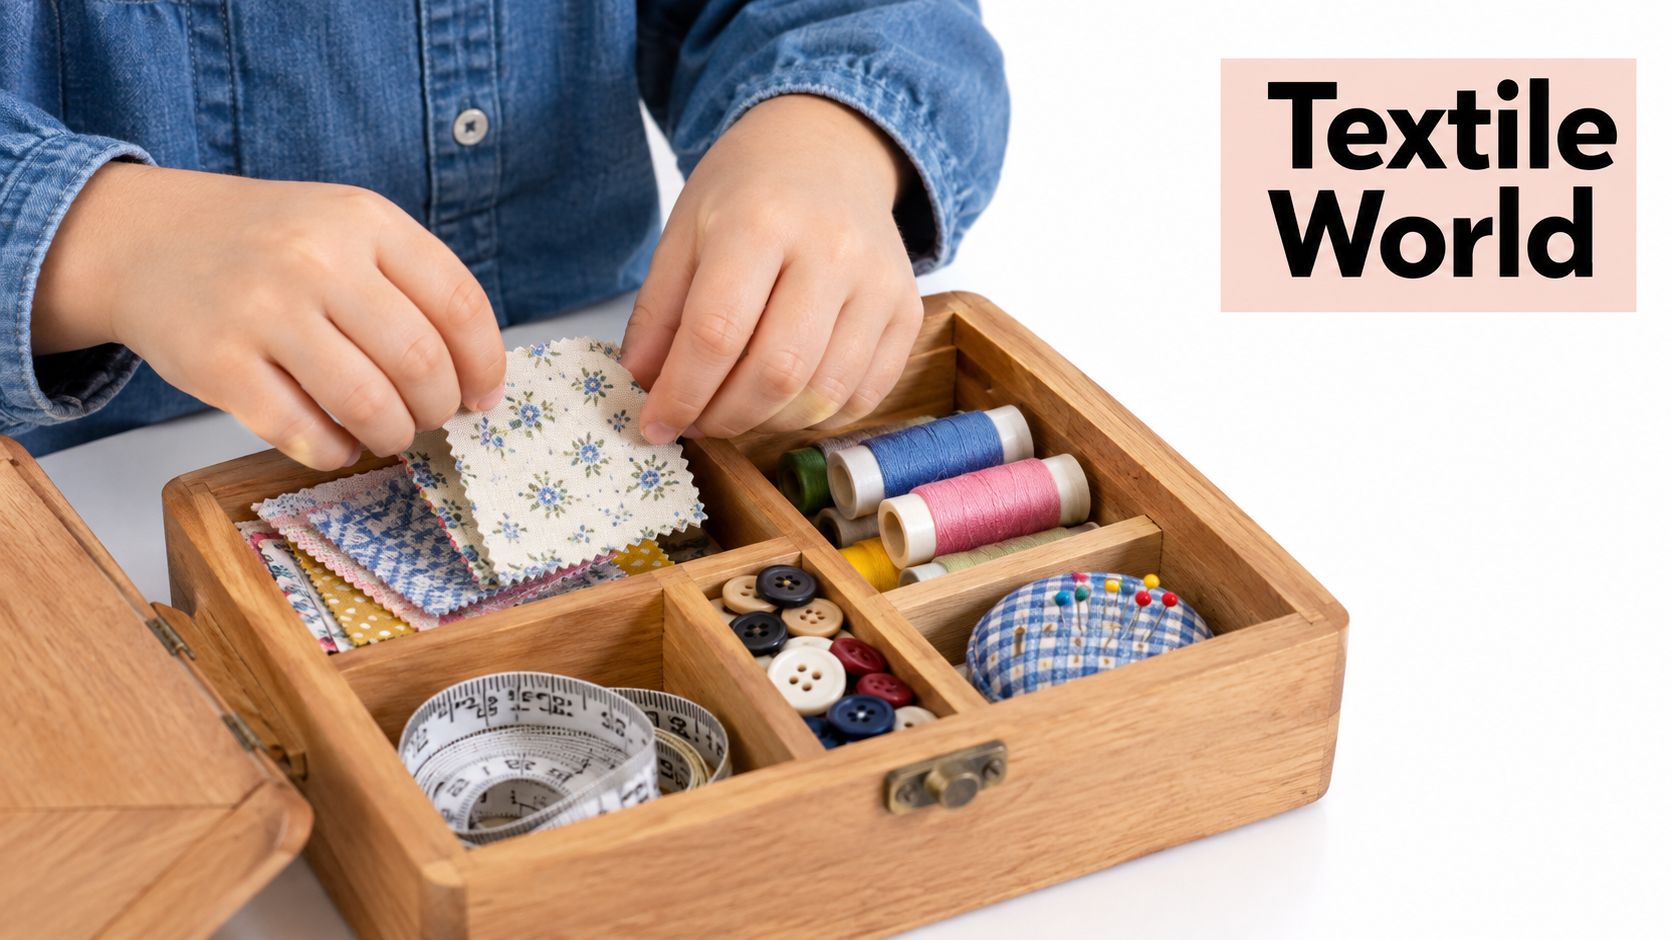
Store the box in one fixed place and protect short, regular sessions. As fabric choices grow, this guide to fabric for crafts can help you pick scraps that small hands can manage. The video below offers a useful visual prompt for setting up calmly together.
As your child's sewing grows from felt bookmarks to garments that need fitting and finishing, Display Guru supplies tailor dummies, body forms, garment rails and display tools for home sewing studios, schools, retailers and professional makers. Visit to explore child and adult forms, sturdy rails and practical storage that help you organise projects, check fit and present finished work beautifully.