


Your Guide to Craft Storage Drawer Organization
A cluttered workspace can kill your creativity before you even start. But the right craft storage drawer system can do more than just tidy up—it can transform that chaos into a genuinely inspiring sanctuary. The goal isn't just to put things away, but to build a smart, functional system that actually works with your creative process, making sure every tool and supply has its own logical, easy-to-reach home.
Conquering Your Craft Clutter for Good
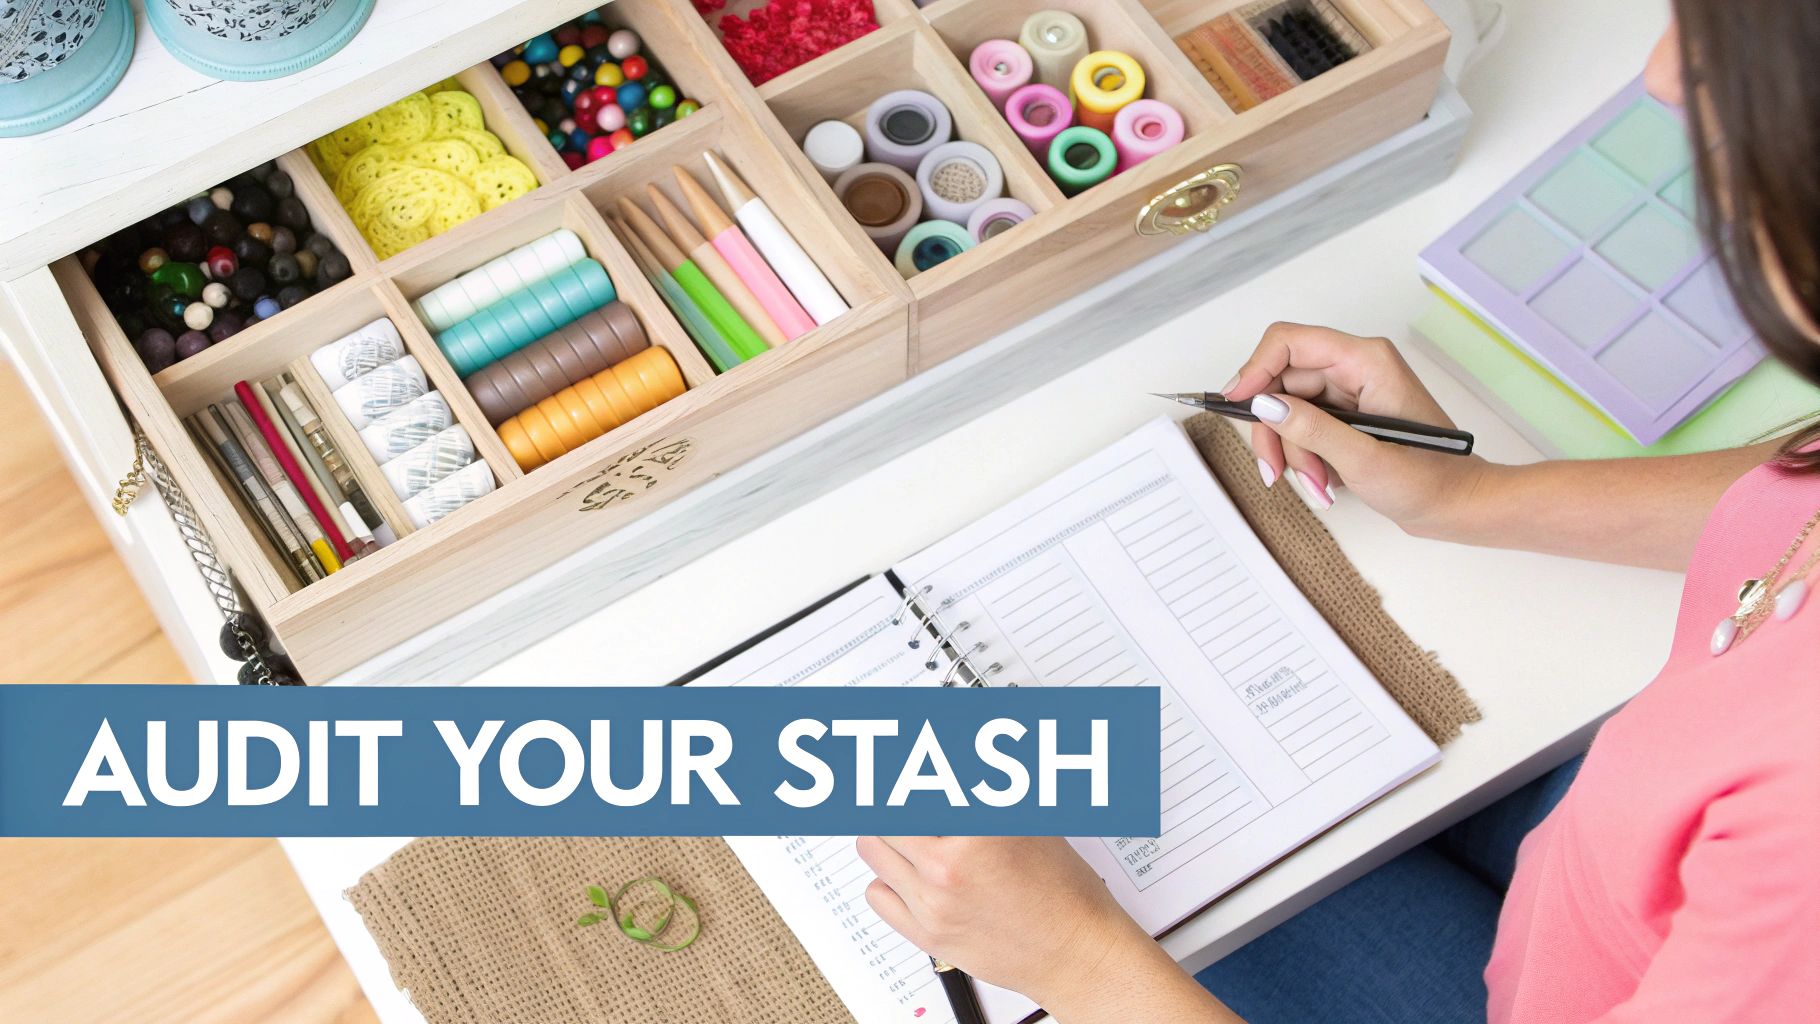
Before you even think about buying a single container or drawer unit, you need to do a proper audit of everything you own. I know it’s the bit everyone wants to skip, but this initial assessment is what makes or breaks an organisation system. It’s what saves you from endless frustration later on by giving you a realistic picture of what you have versus what you actually use.
The Honest Supply Audit
Right, it’s time to pull everything out. Yes, everything.
Start grouping similar items together. Put all your adhesives in one pile, every cutting tool in another, beads with beads, yarns with yarns—you get the idea. Seeing it all laid out like this can be a bit of a shock, but it’s incredibly clarifying. You’ll spot duplicates you forgot you had and realise you own far too much of one thing and not enough of another.
Once everything is grouped, it’s time to get a bit ruthless. For each item, ask yourself:
- When did I last use this? If it’s been gathering dust for over a year and doesn't hold any sentimental value, it’s probably time for it to go.
- Do I have a specific project in mind for this? And be honest. Vague "I might use it one day" plans don't count.
- Does this fit my current creative style? We all evolve. It's okay to let go of supplies from a hobby you’re no longer passionate about.
Remember, this isn't just about throwing things away. It’s about carefully curating a collection of materials that genuinely inspire you. For specialised spaces, like a sewing room, this focused approach is absolutely crucial. If you're tackling threads and fabrics, our guide to sewing room organization has some great, specific advice.
By taking the time to audit your supplies first, you ensure that every craft storage drawer you purchase serves a distinct purpose. You'll be eliminating clutter, not just re-organising it.
Why This Step Matters More Than You Think
Skipping the audit is the number one mistake people make, and it's why so many organisation systems fail. You end up with beautifully labelled drawers, but they’re still filled with things you never actually touch.
With the boom in home crafting across the UK, more and more people are facing this exact challenge. It's no surprise that the market for storage solutions is growing. The global craft drawer organiser market was valued at $1.2 billion in 2024 and is expected to hit $2.08 billion by 2033. This shows just how many of us are looking for a better way to manage our creative spaces.
Your goal is to build a system that supports your active projects and favourite materials, not one that just archives old supplies.
Choosing Your Drawer Organisation System
Once you’ve taken stock of your supplies, it’s time for the fun part: picking the right tools to create a truly functional craft storage drawer system. This is where we move past simply tossing things into plastic bins and start thinking strategically about what works for your materials, your space, and your creative process. What a jewellery maker needs is worlds away from a knitter's ideal setup.
The heart of the decision really boils down to the dividers you choose. Their material and design will make or break your system. Shallow, compartmentalised trays, for instance, are brilliant for tiny items like beads or findings. On the other hand, bulky yarn skeins or fabric remnants are much happier in deep, open-sided containers.
Exploring Divider Materials and Types
The material your organiser is made from affects everything from durability and look to how flexible it is. Bamboo and wood offer a lovely, warm aesthetic but tend to be heavier and a bit pricier. Plastic is a workhorse—lightweight, a breeze to clean, and often modular—but it can sometimes lack that premium feel. For a fantastic budget-friendly option, don't overlook DIY foam core; you can cut it to create perfectly customised slots for specific tools.
To get started, let's look at the three main types of drawer dividers you’ll come across:
- Modular Systems: Think of these as a puzzle. They’re made up of individual bins and trays in various sizes that you can arrange and rearrange to create a custom layout. They offer brilliant flexibility.
- Adjustable Dividers: These are usually long strips with slots that let you build a grid. You can easily shift the dividers to make compartments bigger or smaller as your collection evolves.
- Fixed Organisers: These are one-piece trays with pre-moulded compartments. While you can't customise them, they're excellent for standard-sized items like pens, markers, or bobbins, offering a simple, ready-to-go solution.
I’ve found that the best approach is often a hybrid one. Try using a fixed organiser for your most-used standard tools, then dedicate another drawer to a modular system for your ever-changing stash of embellishments.
To help you decide, here’s a quick comparison of the most common materials.
Craft Drawer Divider Material Comparison
| Material | Pros | Cons | Best For |
|---|---|---|---|
| Plastic | Lightweight, affordable, easy to clean, often modular and stackable. | Can feel less durable; might not suit all aesthetics. | Beads, buttons, glitter, threads, and small, messy supplies. |
| Bamboo/Wood | Aesthetically pleasing, durable, feels premium. | Heavier, more expensive, can be prone to moisture damage. | High-end tools, scissors, paintbrushes, and display-worthy items. |
| Acrylic | Clear design makes it easy to see contents, modern look, durable. | Can scratch easily, often more expensive than standard plastic. | Makeup, pens, markers, and any small items you need to identify quickly. |
| Foam Core (DIY) | Fully customisable, extremely lightweight, very inexpensive. | Not as durable, susceptible to wear and tear. | Uniquely shaped tools, delicate items, and creating a perfect custom fit. |
Ultimately, the best material is the one that fits your specific needs and budget.
Real-World Scenarios and Solutions
Let’s put this into practice. A sewing enthusiast might use shallow, fixed trays for their bobbins, needles, and pins. For larger tools like scissors and rotary cutters, a modular system with longer rectangular bins would be a perfect fit. When it comes to something specific like a https://www.displayguru.co.uk/blogs/news/sewing-organizer-box, the same principles apply—group similar items and pick containers that match their unique shapes.
This drive for better organisation isn't just a niche interest. The arts and crafts market in the UK is booming, part of a global industry valued at over $43 billion in 2023. This incredible growth fuels the demand for smart storage that can handle an expanding collection of supplies. It's clear that a lot of us are looking for these kinds of solutions.
The real key is to match the system to your craft. A painter might need deep, individual sections to stand paint tubes upright, while a scrapbooker will get more use out of long, flat compartments for paper and stickers. Don’t feel pressured to buy a single, uniform system for every drawer. To dive deeper into various systems designed to streamline your creative space, have a look at these smart craft storage solutions. Mixing and matching is often the most practical and wallet-friendly way to create a truly bespoke craft storage drawer setup that works beautifully for you.
Putting Your Organisation Plan into Action
You’ve taken stock of your supplies and picked out the perfect organisers. Now for the really satisfying part: bringing that plan to life and creating a system that actually works for you. This is more than just cramming things into drawers; it’s about giving every single item a logical, intuitive home so your creativity can flow freely.
Before you start filling those drawers, do one final sort. It might feel like an extra step, but trust me, it’s worth it. Get all your glues and tapes in one pile, all your cutting tools in another, and so on. This final check ensures you’ve allocated the right amount of space in your craft storage drawer for each category before anything gets put away permanently.
Establishing Creative Zones
Start thinking of your drawers not as separate boxes, but as interconnected zones designed around how you work. The tools you reach for constantly—your favourite scissors, seam rippers, or that trusty glue gun—belong in the top drawers, right at your fingertips. Things you use less frequently can go in the lower drawers.
A card-maker, for example, might have one drawer dedicated entirely to embellishments, with small dividers separating sequins, gems, and buttons. The drawer right below it could house all the ink pads and stamps, arranged by colour. This zoning method means you aren't rummaging through three different drawers just to complete one part of your project.
Following a clear process is what makes the difference between a temporary tidy-up and a lasting system.
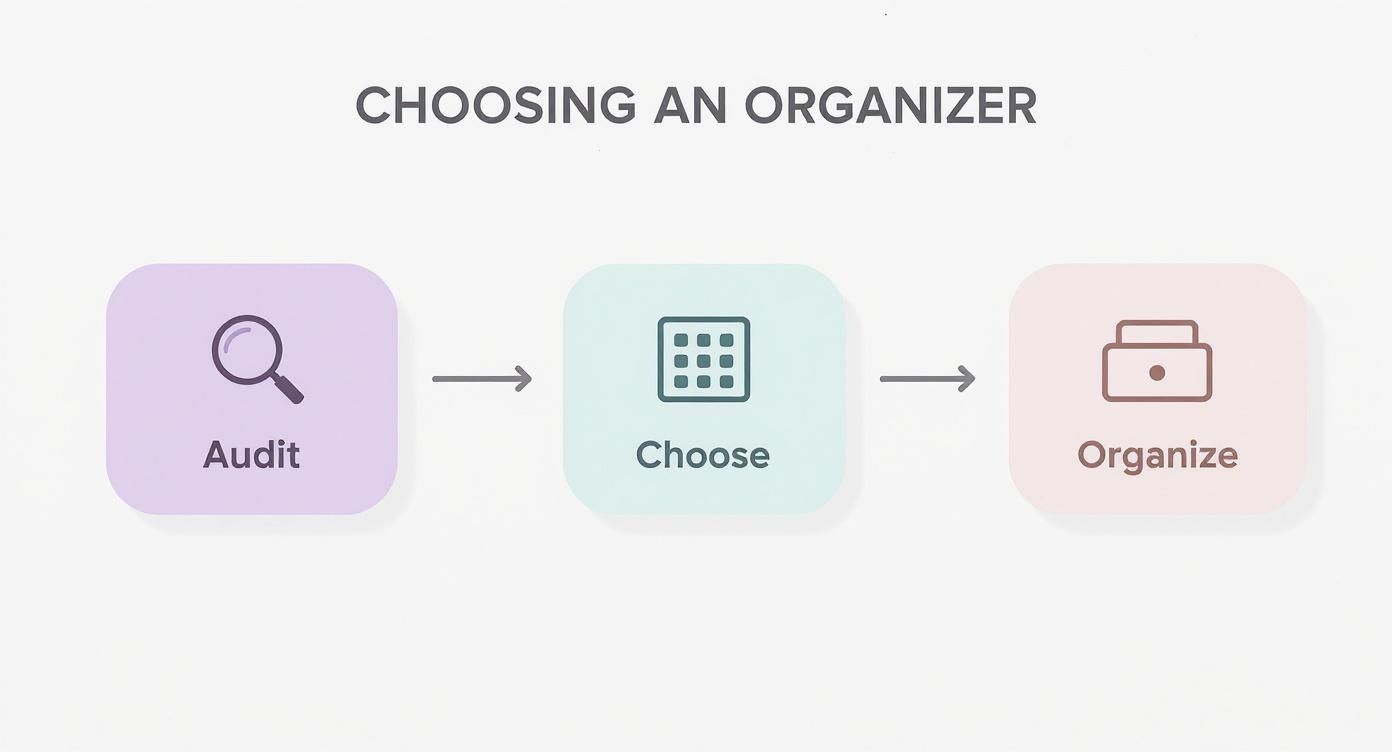
As you can see, the path to clarity is sequential: Audit, Choose, and then Organise. I've seen it time and again—people who jump straight to organising without the prep work often end up with a system that falls apart within weeks.
Practical Layout Strategies
How you arrange things inside the drawer is just as important as which drawer you choose. The main goals here are visibility and easy access. If you can't see it, you won't use it.
Here are a few layout tricks I’ve picked up over the years:
- File, Don't Pile: For flat items like stencils, sticker sheets, or even fabric scraps, use upright dividers to file them vertically. This stops them from becoming a buried, crumpled mess at the bottom of a drawer.
- Group Like with Like: Take your categories one step further. Inside your "pens" drawer, for instance, keep your markers together and your fine-liners in a separate section. This micro-organising makes grabbing the exact tool you need second nature.
- Create Project 'Kits': If you often tackle the same kind of project, why not build a mini-kit? A quilter could have a small tray holding their rotary cutter, a small ruler, and marking pens, all ready to be grabbed in one go.
The best organisation systems feel completely natural. You shouldn't have to pause and think about where something lives. If you find yourself constantly hunting for a particular item, it's a clear sign that its 'zone' isn't working and needs a rethink.
Remember, this is your space, built for your workflow. Don't be afraid to live with it for a week and then shuffle things around. To see how these principles work on a larger scale, you can explore different storage units for crafts for broader inspiration. Ultimately, the goal is a setup that gets out of your way, making your creative time more joyful and much more productive.
Smart Solutions for Different Craft Spaces
Where you create has a massive impact on how you organise. A dedicated studio offers the freedom of a permanent setup, while a corner of the living room requires something a bit more subtle. The secret to getting it right is to match your craft storage drawer solution to the unique demands of your space.
A truly great system should feel like it belongs, whether that means it’s hiding in plain sight or acting as the command centre for a professional workflow.
For the Shared Living Space Crafter
When your craft corner doubles as your dining room, looks and portability are everything. You'll want solutions that appear to be intentional pieces of furniture but are actually hardworking storage hubs on the inside. My advice? Look for units with solid fronts that hide the creative chaos.
Rolling carts or drawer units on castors are a game-changer here. They can be wheeled out of sight when you have company or tucked neatly into a cupboard when you've finished for the day.
- Discreet Drawers: Look for units that blend with your current furniture, like a sleek white cabinet or a chest with a warm wood finish.
- Go Vertical: Tall, narrow drawer towers are fantastic. They don’t take up much floor space but give you stacks of room to work with.
- Multi-Functional Furniture: Think about an ottoman with hidden storage or a coffee table with deep drawers—perfect for stashing a project mid-flow.
If you’re after something truly unique and want to keep an eye on the budget, why not learn how to upcycle old furniture? You can create a piece that perfectly fits your space and style.
The Dedicated Sewing Studio
In a space that’s all yours, efficiency is the main goal. Your craft storage drawer system should be built around the way you work, keeping the tools you use most often right at your fingertips to keep you in the zone. This is the place for open-front drawers or clear containers because everything has a permanent, logical home.
I find it helps to group drawers by task. Have one just for cutting tools, another for threads and bobbins, and a separate one for interfacing and zips. This creates a really intuitive system that helps you work so much faster. For more in-depth strategies, our guide on small sewing space ideas has some brilliant tips.
A well-organised studio means less time searching and more time creating. Your layout should follow the natural progression of your projects, from fabric preparation to the final stitch.
Retail Backrooms and Small Businesses
For sellers and small business owners, your craft storage drawers are more than just for supplies—they’re for your inventory. Durability and the ability to expand are absolutely critical. You'll need robust metal or heavy-duty plastic units that can handle constant daily use.
A clear, non-negotiable labelling system is essential here for tracking stock levels, product variations, and all the little component parts. Modular, stackable drawers are also a fantastic investment, as they allow your storage to grow right alongside your business. The push for smart storage isn't just for crafters; it’s a major trend in compact homes. In the UK, this demand overlaps with the children’s furniture market, where the UK holds over 25% of the European market share, a need driven by ever-shrinking urban living spaces.
Keeping Your Craft Drawers Organised for the Long Haul
Let's be honest, the real win isn't just getting your drawers sorted—it's keeping them that way. We've all seen a perfectly organised craft storage drawer descend into total chaos after a single busy week. The trick is to build a few simple habits that protect the time and effort you've already put in, making sure your creative space stays a place of inspiration, not stress.
The cornerstone of any lasting system is giving everything a proper home. If an item doesn't have a designated spot, it’s destined to become clutter. A clear, consistent labelling system is your best defence. It doesn’t have to be fancy; simple and legible is always the most effective.
The Power of Labels and Resets
Think of a good labelling system as the roadmap for your supplies. When you’re deep in a project, you need to grab what you need and put it back without breaking your creative flow. That’s what stops those little piles from taking over your work surface.
Here are a few labelling strategies that actually work:
- Simple Text Labels: A basic label maker is an organiser's best friend. Use it to clearly mark the front of each drawer or the edge of an internal divider. No guesswork needed.
- Colour-Coding: This is a fantastic visual shortcut. You could assign blue dots for all adhesives, red for cutting tools, and so on. It makes finding entire categories of items incredibly fast.
- Photo Labels: For those drawers packed with lots of different small, fiddly items, taping a quick photo of the contents to the front can be a total game-changer.
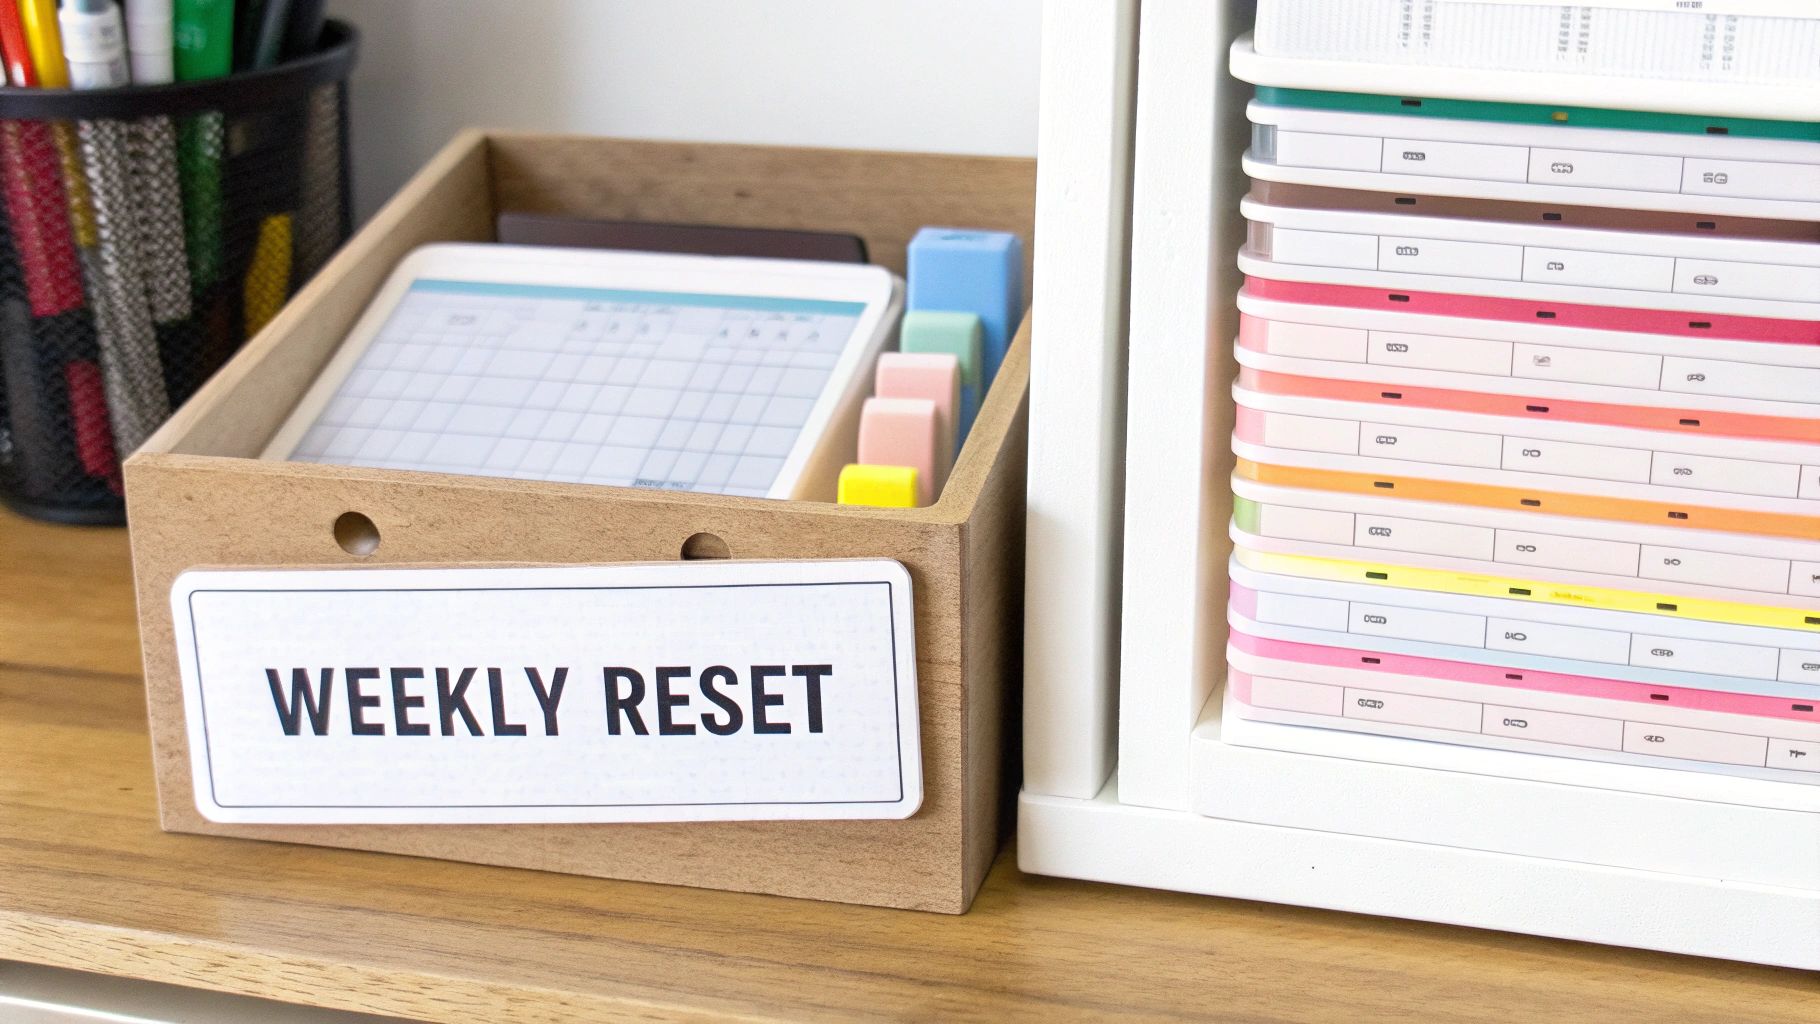
My secret to maintaining order? The weekly reset. I dedicate just five or ten minutes every Friday afternoon to putting stray items back in their labelled homes. It's a tiny habit that prevents small messes from snowballing into a weekend-long tidying project.
Managing New Supplies
A fresh delivery of craft supplies is always exciting, but it's also the biggest threat to your beautifully organised system. To stop your drawers from overflowing, try adopting a 'one-in, one-out' rule. Before you add that new skein of yarn or tube of paint, take a moment to see if there's an old, dried-up, or unused item you can finally let go of.
This forces you to be more intentional with your purchases and keeps your collection curated and genuinely useful. If you find you're consistently running out of space, versatile containers can be a great way to manage the overflow. You can learn more about this in our guide on the benefits of plastic stacking storage boxes, which are a brilliant complement to any drawer system.
Ultimately, building these simple maintenance habits into your routine is what transforms a one-off tidy-up into a permanently functional and inspiring creative workspace.
Your Craft Organisation Questions Answered
Even after the most careful planning, you can still end up with a few tricky spots in your craft room. When it comes to setting up craft storage drawers, I've found a few questions pop up more than any others. Let’s tackle them head-on with some practical, real-world advice.
What About All the Tiny Bits and Bobs?
We all have them: the beads, sequins, glitter pots, and tiny jewellery findings that seem to have a life of their own. They get mixed up, spill, and can turn a tidy drawer into a chaotic mess in no time. The secret isn't a bigger drawer, but smarter, smaller compartments inside it.
For these minuscule items, think micro-organising.
- Shallow, lidded trays are a fantastic choice. They keep everything contained, and the clear tops mean you can see what’s inside without having to open a dozen little pots.
- Small, clear containers—even repurposed tic-tac boxes—are brilliant for separating different colours of seed beads or sequins.
- Don't underestimate labelled zip-top bags. Stood upright in a small bin within your drawer, this is a surprisingly effective and very budget-friendly way to keep things sorted.
This approach stops tiny treasures from getting jumbled, saving you that familiar frustration of digging for a specific clasp or bead halfway through a project.
How Can I Customise and Maximise My Drawer Space?
What happens when your drawers are too deep, or you just can't find a ready-made organiser that fits your odd-shaped tools? This is where you can get a little creative. A bit of DIY can make a world of difference without costing a fortune.
With deep drawers, the challenge is always the wasted vertical space. You don't want to just pile things on top of each other, creating a black hole at the bottom.
My go-to solution for any deep craft storage drawer is to think in layers. I use stackable trays or containers to create a second, removable tier. You can also stand tall, narrow bins up inside to 'file' things like fabric fat quarters or paper pads, keeping everything visible and easy to grab.
Making your own custom dividers is easier than you think, too. All you need is some sturdy cardboard or foam core board. Simply measure the inside of your drawer, cut strips to size, and notch them to interlock into a grid. This is a game-changer because you can create perfectly sized slots for absolutely anything, from your collection of paint tubes to those extra-long knitting needles. It’s how you get a truly bespoke setup that works for you.
Ready to build a workspace that truly sparks your creativity? Explore the professional-grade storage and display solutions from Display Guru to create a system that will last for years. Find your perfect fit at https://www.displayguru.co.uk.