


Master Your Dressmaking Dummy Adjustable Skills
If you’re serious about sewing, an adjustable dressmaking dummy is less of a luxury and more of an essential partner. It's the one tool that truly bridges the gap between a flat, two-dimensional pattern and a garment that fits a real, three-dimensional body beautifully. Think of it as your patient body double, ready for you to drape, pin, and tweak with a level of precision you just can't get when trying to fit clothes on yourself.
Why a Dress Form Is Your Secret Sewing Weapon
I see many sewists put off buying a dress form, thinking it’s a non-essential expense. But once you have one, you realise its true power lies in completely changing how you approach fitting. Gone are the days of twisting yourself into a pretzel trying to pin a hem or adjust a tricky shoulder seam in the mirror.
A dummy gives you a stable, 360-degree view of your work-in-progress. This takes the guesswork out of the equation, saving you from the frustration and endless unpicking that comes with a poor fit.
Imagine you're tailoring a structured blazer. Getting the fit right across the shoulders and back is notoriously difficult on your own. With a dummy dialled into your exact measurements, you can instantly see how the fabric hangs. You can spot any pulling or bunching and make precise, confident adjustments right there and then. It transforms a frustrating solo mission into a controlled, professional process.
More Than Just a Stand-in
An adjustable dress form isn't just a static placeholder for your body; it’s a creative tool that opens up a world of new possibilities.
- Nail Your Proportions: You can clearly see how design elements like pockets, collars, and hemlines actually look on a body shape.
- Master Draping: It’s your ticket to experimenting with new designs directly on the form, a core skill for creating truly bespoke clothing.
- Guarantee Symmetry: Finally, you can ensure darts, seams, and other details are perfectly mirrored on both sides of your garment.
The rising interest in custom-fit clothing has had a huge impact on the mannequin market, which was recently valued at around USD 1.87 billion globally. Here in the UK, with our thriving fashion and tailoring scene, adjustable dummies are becoming indispensable.
From Frustration to Flawless Finishes
Think about the last time you tackled a complex garment from scratch. For anyone embarking on a new project, like the one detailed in this guide on making your own hoodie from scratch, you’ll know that precise construction is everything. This is where the dress form shines—it holds the fabric perfectly still, letting you focus on perfecting every single seam.
A dress form doesn’t just replicate your size; it captures your posture and unique shape. It helps you solve fitting puzzles long before you even touch the sewing machine pedal. It’s the secret to elevating your homemade garments into truly bespoke creations.
How to Choose the Right Adjustable Dummy
Choosing the right adjustable dressmaking dummy can feel overwhelming, but it's one of the most important investments you'll make for your sewing room. Think of it as your silent partner, a stand-in for your own body that makes fitting a breeze. To get it right, you need to look past the price tag and really think about what you plan to create.
What kind of garments do you love to make? Are you all about structured, tailored jackets, or do you find yourself drawn to floaty dresses and evening wear? Your answer is the key to finding the perfect match. For precision tailoring, you’ll want a dummy with plenty of adjustment points—often 12 or more—to really capture those subtle curves and contours.
This is what a perfect partnership between seamstress and dummy looks like. A well-adjusted form is the foundation for confident, accurate work.
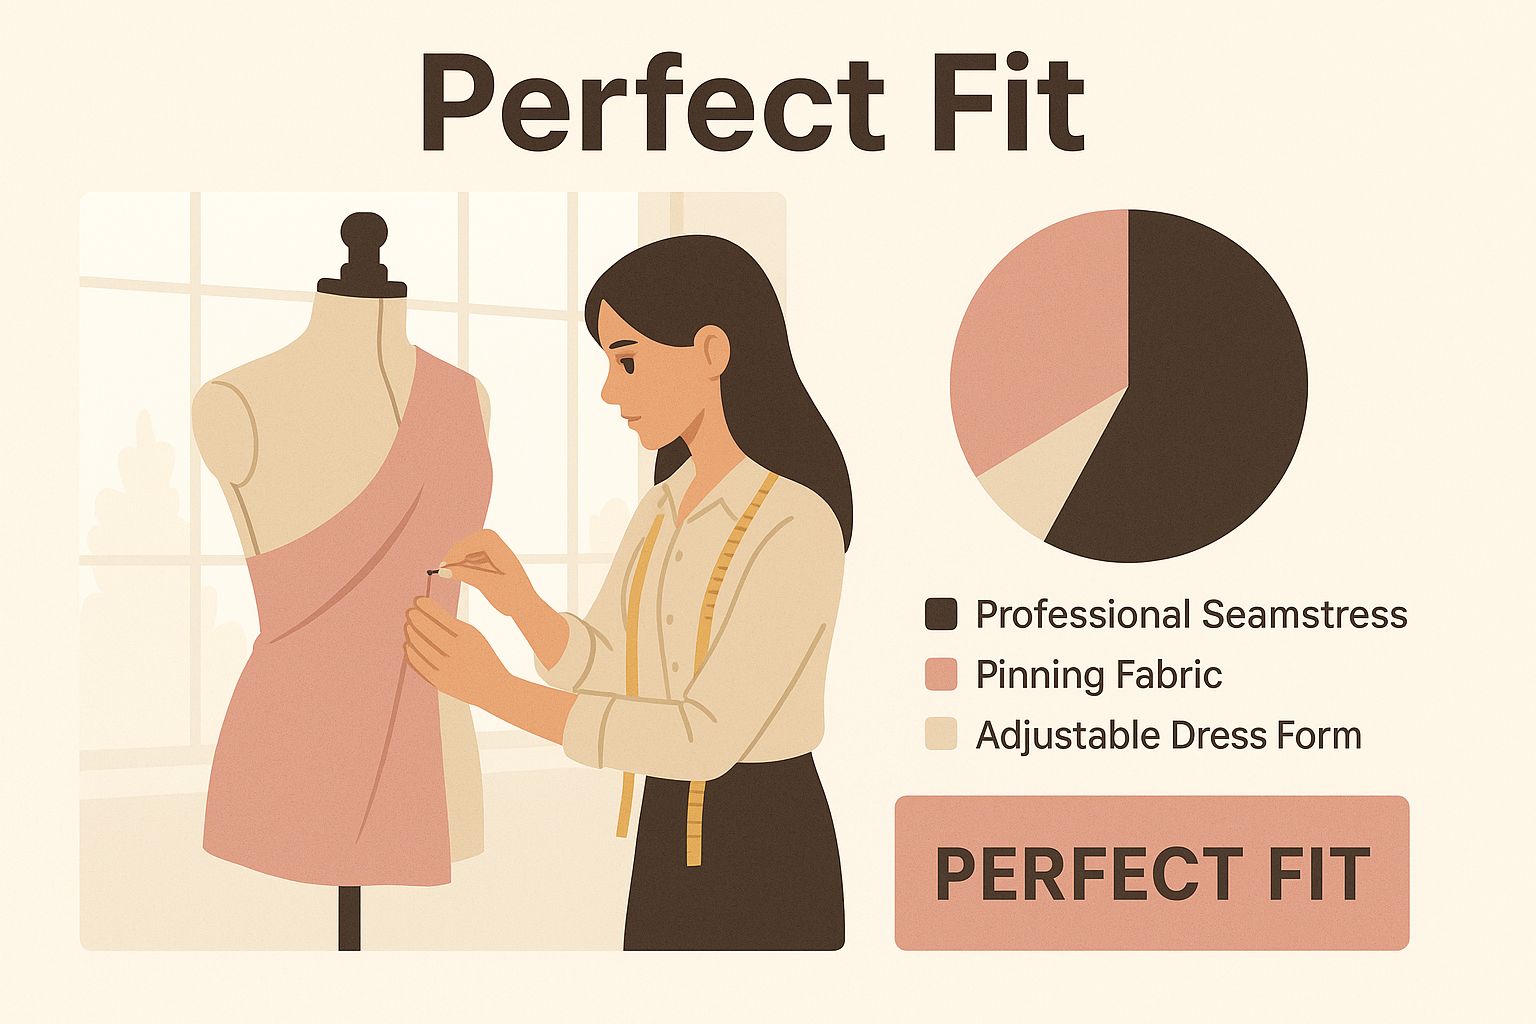
As you can see, a stable, accurately adjusted form gives you the freedom to drape and pin without hesitation, which is really the heart of professional dressmaking.
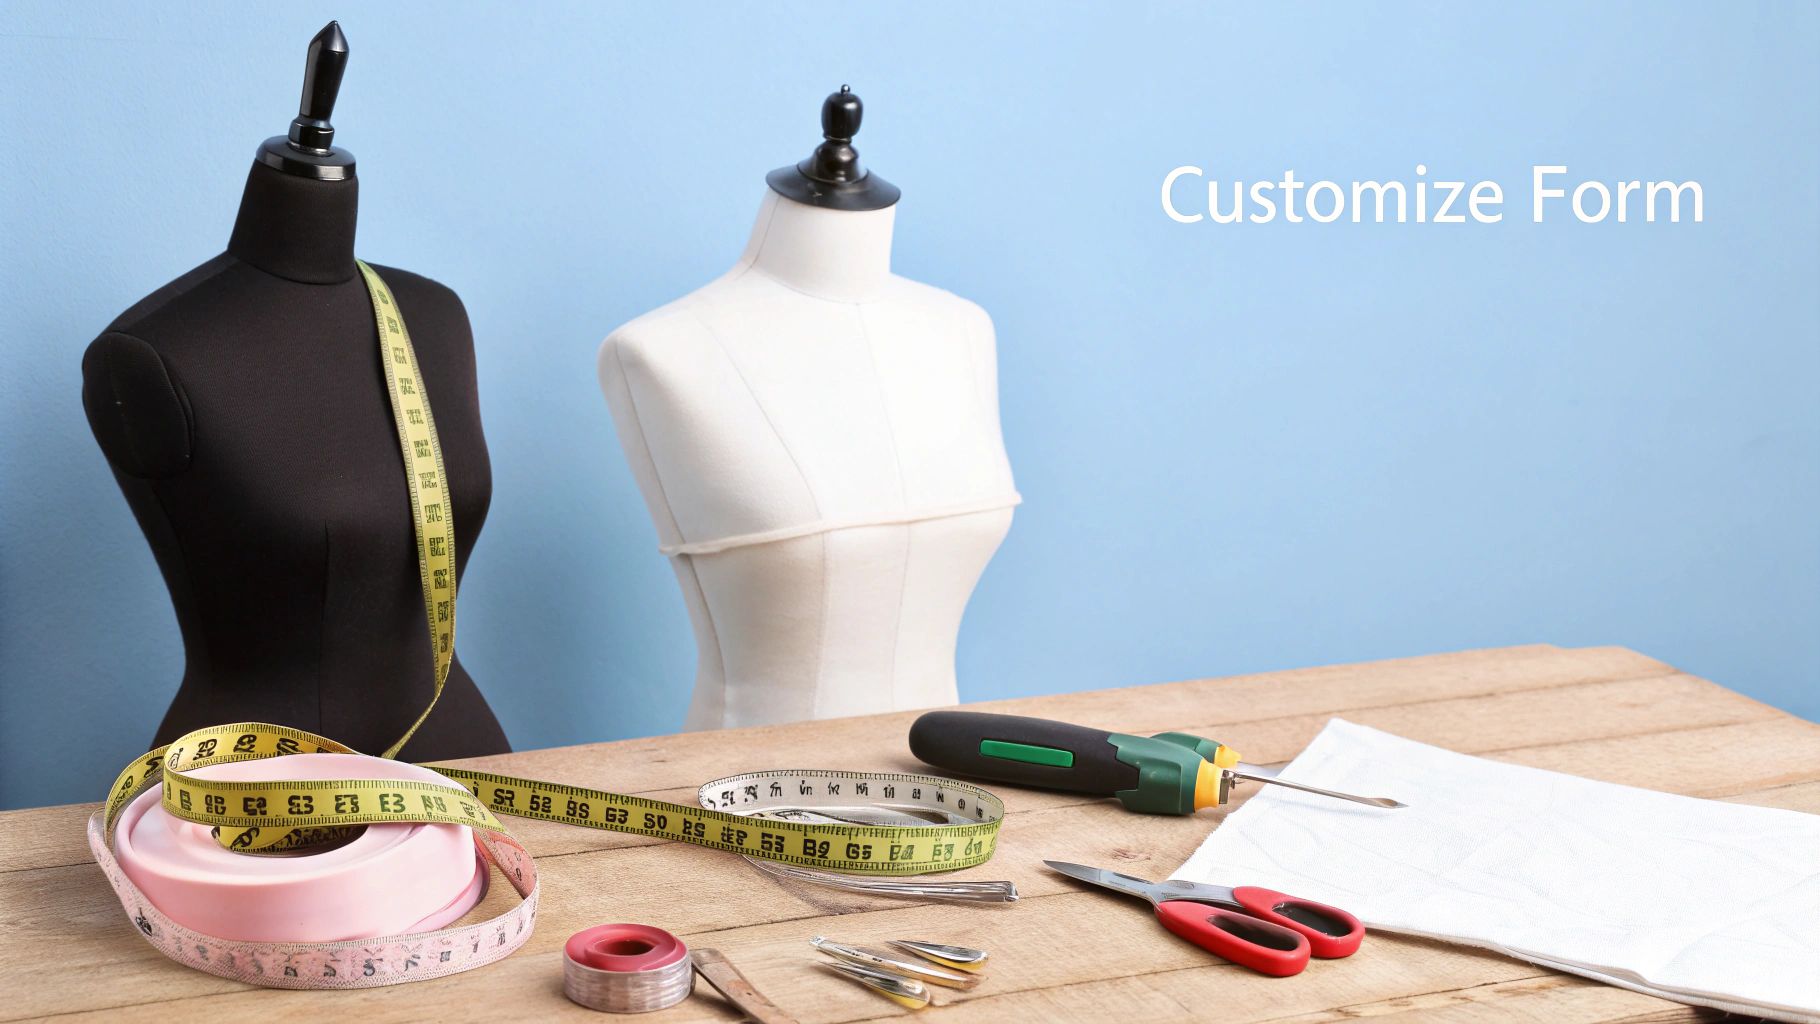
Assess the Core Features
When you start comparing different models, there are four things to zero in on: the size range, how the adjustments work, the stability of the stand, and what the dummy is covered in.
First, check the size range. You want a dummy whose measurements bracket your own, with your body measurements falling somewhere in the middle of its adjustment capacity, not at the very top or bottom. This gives you plenty of wiggle room for any future body changes.
Next, look at the adjustment system itself. Most use dials, but the quality can differ massively. A good system feels smooth and allows for small, precise tweaks. And don't forget the stand! There’s nothing more frustrating than a wobbly base. I always recommend a sturdy tripod or a solid, heavy-duty base, especially if you’re planning to work with hefty fabrics like denim or wool.
The surface of your dressmaking dummy adjustable form is just as crucial as its inner workings. A foam-backed fabric cover is the gold standard because it lets you pin directly into the form securely, without blunting your pins or damaging the dummy.
It's no surprise that these tools are becoming more popular. Here in the United Kingdom, there's a real resurgence in bespoke sewing, and the market reflects that. Projections show a steady growth rate of around 1.9% a year through 2035, as more and more people realise how a good dummy transforms the fit and accuracy of their projects.
Comparing Adjustable Dressmaking Dummy Features
To help you sift through the options, here’s a breakdown of the key features to look for. This table is designed to help you match the right kind of dummy to your personal sewing style and the projects you have in mind.
| Feature | What to Look For | Ideal For | Good to Know |
|---|---|---|---|
| Adjustment Points | 8-12 dials or more for bust, waist, hips, and length. Smooth, incremental turning. | Detailed tailoring, close-fitting garments, and mimicking specific body shapes. | More dials offer more precision but can be more complex to set up initially. |
| Size Range | A model where your measurements fall comfortably in the middle, not at the extremes. | Sewists whose weight may fluctuate, or those sewing for multiple people. | Pushing a dummy to its absolute maximum or minimum can affect its stability and shape. |
| Surface Material | Foam-backed nylon or linen cover that allows for easy pinning. | Draping, pattern drafting, and pinning fabric directly onto the form. | A pinnable surface is a non-negotiable for serious dressmakers. Avoid hard plastic shells. |
| Stand Type | A sturdy tripod or 4-5 pronged metal base. Check for stability and height adjustability. | Working with heavy fabrics (e.g., wool coats, denim) and full-length gowns. | A wobbly stand is not only annoying but can be a safety hazard. Test it if you can. |
| Body Shape | Standard torso, bifurcated (with legs), or full-body. | Trousers and jumpsuits (bifurcated), or general dressmaking (standard torso). | Bifurcated models are a game-changer for fitting trousers accurately. |
Ultimately, choosing a dummy is a personal decision based on your craft. Taking the time to compare these features will ensure you end up with a tool that serves you well for years to come.
Trousers and Specialised Garments
But what if you're a trouser-maker? For anyone who regularly sews trousers, shorts, or jumpsuits, a standard torso-only dummy just won't cut it. The gold standard here is a bifurcated dummy—one with defined legs. It's the only way to properly assess the crotch curve and inseam fit.
That said, plenty of sewists manage with a standard form. A common workaround is to use a torso dummy to perfect the fit around the waist, hips, and seat, and then do the final leg fitting on your own body.
It really comes down to what you make most often:
- Torso-Only Forms: The workhorse for most dressmakers. They're perfect for dresses, skirts, tops, and jackets.
- Bifurcated (Legged) Forms: Absolutely essential if you want a perfect fit on trousers, shorts, or jumpsuits without constant self-fitting.
- Full-Body Forms: These are less common for home sewing and are typically used in professional ateliers for full-length couture gowns or catsuits.
If you're looking to go a bit deeper into the different types available, this ultimate fitting guide for an adjustable sewing mannequin is a great resource. In the end, choosing the right dressmaking dummy adjustable model is about being honest about your sewing habits and ambitions. It’s an investment in your craft, so choose wisely
Getting Your Dress Form to Match Your Body
An adjustable dressmaking dummy is a game-changer, but it only really starts to earn its keep once it's a true reflection of your own body. This is where you transform it from a generic shop-bought form into your personal fitting double, making sure every single garment you create is made to fit you perfectly. The whole process starts with one non-negotiable step: taking accurate body measurements.
Before you begin, pop on the underwear you'd normally wear with your handmade clothes, as this can make a surprising difference to your final measurements. Grab a flexible tape measure, stand naturally, and if you can, ask a friend to help you—it’s much easier to get precise numbers when you’re not twisting and turning to see the tape.
Nailing the Core Measurements
Before you even think about touching those dials, you need a solid set of numbers to aim for. These are the foundational measurements you absolutely must have to get started.
- Full Bust: Take the tape around the fullest part of your bust, making sure it stays level and parallel to the floor all the way around.
- Waist: Find your natural waistline. This is usually the narrowest part of your torso, and it's where you should measure.
- Hips: This measurement needs to go around the fullest part of your hips and bottom. It’s often a bit lower than people first assume.
- Back Waist Length: This is a crucial measurement that so many people miss! Measure from that prominent bone at the base of your neck straight down to your natural waistline.
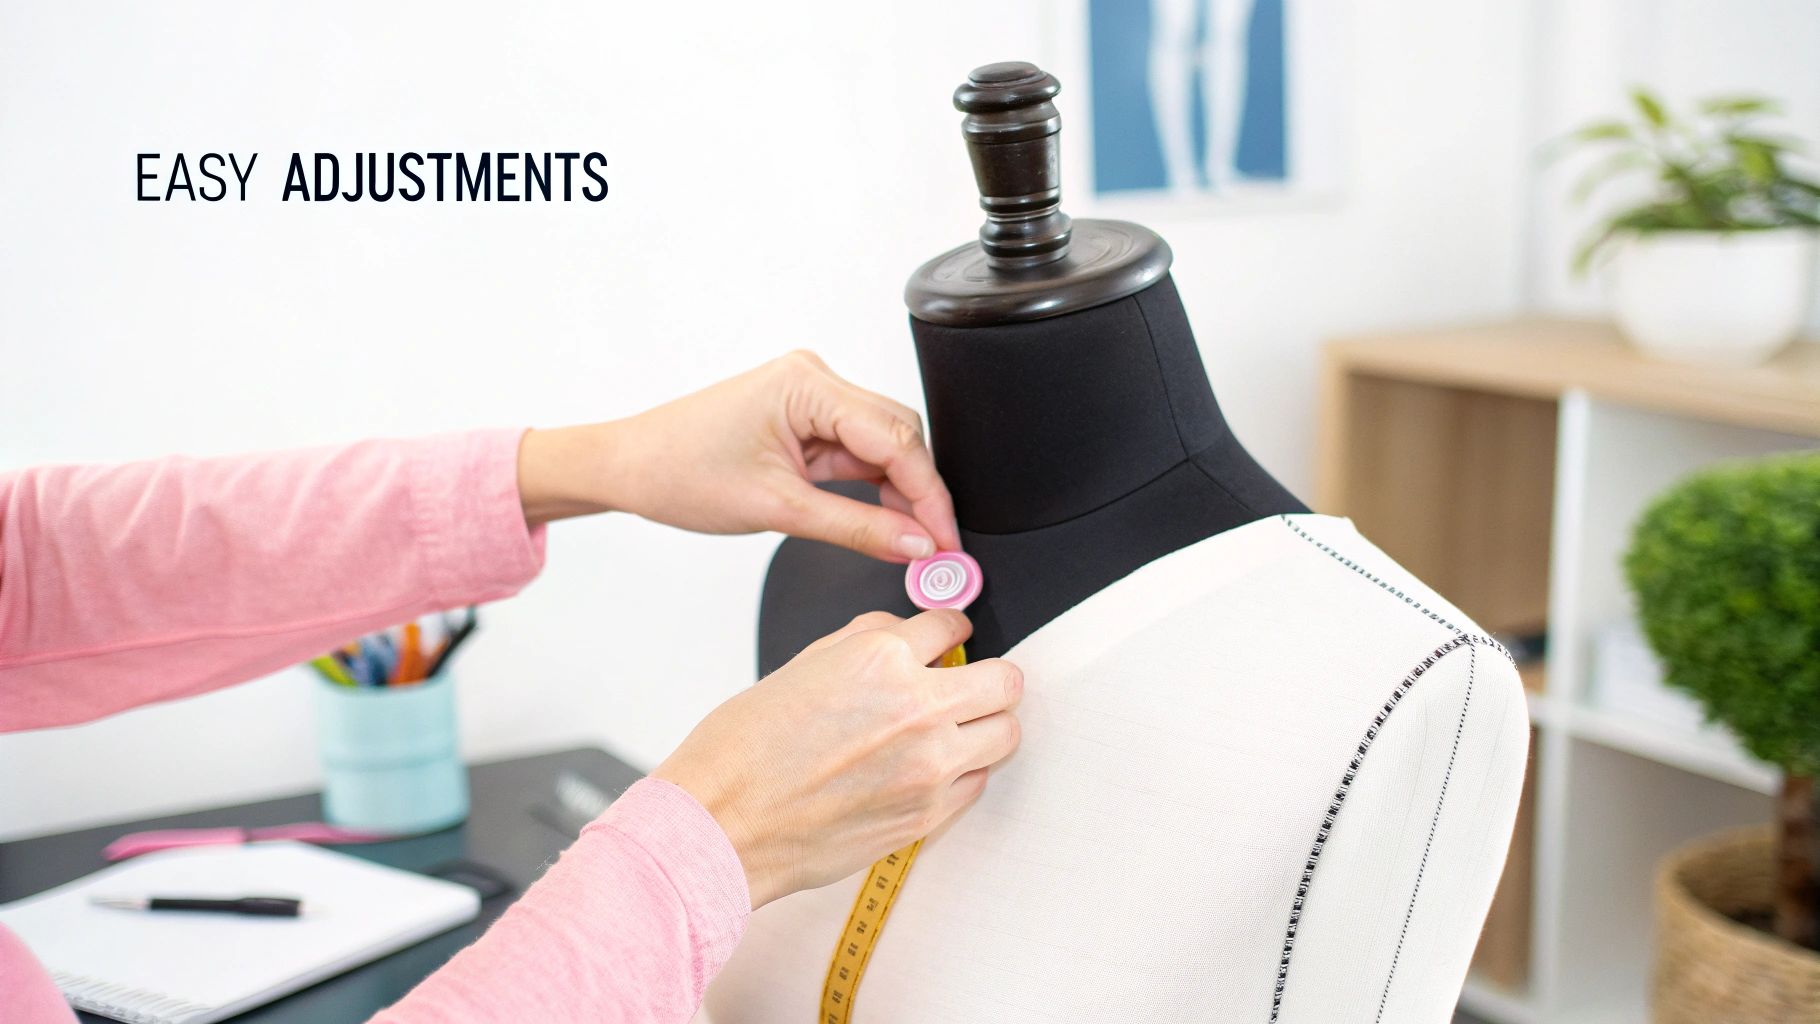
Once you have these figures written down, you can start adjusting the dials on your dummy. My advice is to work slowly. Adjust the dials on opposite sides in small, even increments to keep the form balanced and symmetrical. Keep your tape measure handy and check the dummy’s circumferences as you go, stopping as soon as you reach your target numbers.
The Art of Padding for a Truly Custom Shape
The dials will get you into the right ballpark, but it’s the padding that will get you a perfect match. Let's be realistic: no adjustable dummy, no matter how clever, can perfectly replicate the unique slopes, curves, and asymmetries of a real human body straight out of the box. This is where you step in with wadding, foam, or even quilt batting to build up the form.
Take a good look at your own shape and identify where you differ from the dummy. The most common areas that need a bit of extra padding are the bust, the upper back (especially for a rounded posture), the tummy, and the hips. Cut pieces of batting to the rough shape you need and pin them onto the dummy in thin layers.
My top tip: It’s always better to add several thin layers of padding than one thick, lumpy piece. The goal is to create a smooth, gradual build-up for a natural and accurate silhouette.
After you’ve pinned all the padding in place, the final touch is to make a snug-fitting cover for your dummy, usually out of a stretchy jersey fabric. This cover does two brilliant things: it compresses all that padding into a smooth, unified shape, and it gives you a fresh, pinnable surface to work on.
This focus on getting the perfect fit reflects a much wider trend. The demand for precision tools is on the rise, with the UK mannequin market alone generating around USD 278.2 million in 2023. This is only set to grow as more home sewists and independent designers seek out the tools they need to create beautifully fitting clothes.
If you're still exploring your options, our guide on adjustable dress forms for sewing is a great place to get more insight. Taking the time to do this detailed setup is what turns your dressmaking dummy from just another tool into an invaluable and precise partner in your sewing journey.
Practical Fitting and Draping Techniques
Right, your padded-out dummy is now a perfect stand-in for you. This is the exciting part, where it stops being a static object and becomes your silent partner in the sewing room. You can finally see how fabric will actually behave in three dimensions before you even think about cutting into your good stuff.
The most common starting point is fitting a toile (or a mock-up, if you prefer). Get your test garment onto the form, smoothing it over the bust, waist, and hips. Pin the openings closed just as you would a finished seam, then step back and have a proper look from every angle.
Is there enough ease to move comfortably? Are the shoulder seams sitting where they should? Is the neckline gaping? These are the exact kinds of problems that are an absolute nightmare to spot when you're twisting around trying to see your own back in a mirror. On the dummy, they're suddenly crystal clear.
Pinpointing and Solving Fit Issues
Think of your dummy as your best diagnostic tool. With the toile on the form, you can get straight to work on sorting out any fitting gremlins.
- Gaping Neckline: A classic problem. Simply pinch out the extra fabric and pin a new, temporary dart. You might also find that adjusting the shoulder seam pulls it into place perfectly.
- Pull Lines: Those pesky diagonal lines tell you the fabric is under tension somewhere. Unpin the nearest seam, let the fabric relax and hang naturally, then repin it where it wants to sit. That’s your new seamline.
- Incorrect Dart Placement: If you have a full bust, you've probably found that standard pattern darts often point to the wrong place. No problem. Just unpick the dart on your toile, smooth the fabric over the true bust apex, and repin the dart legs exactly where they need to be.
Working this way gives you a level of precision that’s almost impossible to get on your own body. You stop guessing and start engineering the fit with real confidence.
Working on a dummy forces you to think about the grainline and the way the fabric hangs—its drape. This is the secret to getting away from that "homemade" look and creating garments with a genuinely professional finish.
A Mini-Tutorial on Basic Bodice Draping
Draping is simply the art of designing with fabric directly on the form. It's an incredibly creative and intuitive way to work, and it all starts with understanding the fabric's grain.
First, grab some narrow pinning tape and mark the key style lines on your dressmaking dummy adjustable form. You'll want to clearly mark the centre front, centre back, bust line, waistline, and any princess seams or dart positions you have in mind for your design.
Next, take a piece of calico or muslin, making sure the grain is perfectly straight. Pin the lengthwise grain all the way down the centre front line of your dummy. Now, carefully smooth the fabric across the bust towards the side seam, creating and pinning darts as needed to mould the flat fabric to the dummy's curves. Trim away the excess, leaving a bit for a seam allowance, and then do the same for the back. Just like that, you've draped a basic bodice block—the very foundation for countless designs to come.
Advanced Tips for Long-Term Use
Once you've got your dummy set up, you'll find it becomes an indispensable part of your sewing practice. But to really get the most out of it for years to come, a few extra tricks and some consistent care can make all the difference. This is where you move beyond the basics and start tackling those tricky fitting challenges with real confidence.
Taking Padding to the Next Level
The first step is mastering advanced padding. While a standard padded form is great, the reality is that most of us aren't perfectly symmetrical. You might have one shoulder slightly lower than the other, or one hip that's a little fuller. This is where your dummy can truly become your body double.
By adding targeted layers of wadding only to those specific areas, you can replicate these subtle asymmetries. This is an absolute game-changer for bespoke tailoring, where even a tiny imbalance can throw off the entire hang of a jacket or a fitted dress.
This level of detailed customisation is exactly what you need for those high-stakes projects like formalwear or a perfectly tailored blazer. It’s a core principle of high-end tailoring, brought right into your own sewing space.
Adapting for Tricky Garments
Your dummy’s real strength is its versatility, especially when you learn how to adapt it for specific types of clothing.
Take swimwear or activewear, for instance. These garments are designed with negative ease, meaning they're smaller than the body and rely on stretch to fit. A rigid dummy doesn't account for this. A brilliant trick is to dial down the dummy's key measurements by about 5-10%. This simulates how the fabric will stretch and cling, giving you a far more accurate idea of the final fit.
Fitting trousers on a standard torso form can also be a headache. To get around this, you can create a makeshift crotch point. I've found that pinning a flexible ruler or a sturdy piece of card between the leg areas works wonders. It gives you a reference point to accurately assess the crotch depth and length, even without a proper bifurcated model. As you build your skills, it's also worth looking at how other forms are used; for example, a guide for male tailor dummies can provide some great insights into fitting different proportions.
Proper maintenance isn’t just about cleaning. It’s about preserving the precision and functionality of your most important fitting tool. A little care goes a long way in preventing small issues from becoming big problems.
Essential Care and Maintenance
To keep your dummy in top shape, a bit of simple, regular upkeep is all you need.
-
Keep it Clean: Give the fabric cover a once-over with a lint roller or the upholstery brush on your vacuum every so often. If you get a mark on it, spot-clean it gently with a mild fabric cleaner. Just be careful not to soak the material, as that could damage the form underneath.
-
Keep it Moving: The adjustment dials can get a bit stiff over time, especially if they aren't used regularly. About every six months, it’s a good idea to give each dial a gentle turn through its full range of motion. This keeps the internal mechanisms moving freely.
-
Keep it Stable: Before you start a big project, give the stand a quick check to make sure all the fixtures are tight. A wobbly dummy is not only unsafe but can also compromise the accuracy of your pinning and draping.
Common Questions About Adjustable Dummies
Even after hours of research, pulling the trigger on a new piece of sewing kit like a dressmaking dummy adjustable model can bring up a few last-minute questions. It’s a big investment, so that’s completely normal. Let's run through some of the most common queries I hear from fellow sewists to help you feel confident you're making the right choice.
What If My Measurements Fall Between Two Sizes?
This is probably the most common dilemma out there. You've taken your measurements carefully, but you're sitting squarely between a Small and a Medium. What's the best move?
Always, always go for the smaller size. I know it sounds counterintuitive, but trust me on this. It is far easier to add padding to build up a smaller form than to try and work with a dummy that’s too big, even at its smallest settings. A dummy stretched to its absolute maximum can also get a bit wobbly and unstable.
Think of the smaller size as your solid foundation. From there, you can add layers of wadding or foam to perfectly mimic your own shape – a fuller bust, a rounded tummy, a sway back. This is exactly what professionals do; they almost never use a form straight out of the box.
Can I Really Use It for Trousers?
Yes, absolutely! But how well it works depends on the type of dummy you have.
A standard torso-only dummy is fantastic for nailing the fit around the waist, hips, and crotch depth. You can get that whole tricky upper section of a pair of trousers sorted before you even touch your sewing machine.
For anyone who makes a lot of trousers, though, a bifurcated dummy (one with defined legs) is the gold standard. It lets you properly check the inseam and the hang of the leg fabric. If you don't have one, don't worry. You can still do most of the heavy lifting on your torso form and then just do a final leg-fitting on yourself. It still saves a huge amount of time.
The secret to smooth, realistic padding isn't about using one thick layer. It's about building up shape gradually with multiple thin layers and then compressing them all under a snug-fitting cover.
How Do I Pad My Dummy Without Lumps?
Getting a smooth, professional finish when padding your dummy is all down to patience and technique. Forget thick chunks of foam; the key is to build up the shape with thin, flat layers of polyester batting. Pin each layer securely as you go, focusing on one area at a time until you hit your target measurements.
The real game-changer, though, is the cover. Once you’re happy with the padded shape, you need to make a tight-fitting cover from a good stretch jersey. This cover is what pulls everything together, smoothing out any minor bumps and compressing the padding into a firm, unified shape. It also gives you a brilliant pinnable surface to work on.
For a professional-grade dressmaking dummy adjustable model that provides a superb foundation for all your fitting and draping projects, explore the collection at Display Guru. Our range is designed for precision, stability, and years of creative use. Find the perfect partner for your sewing room today at https://www.displayguru.co.uk.