


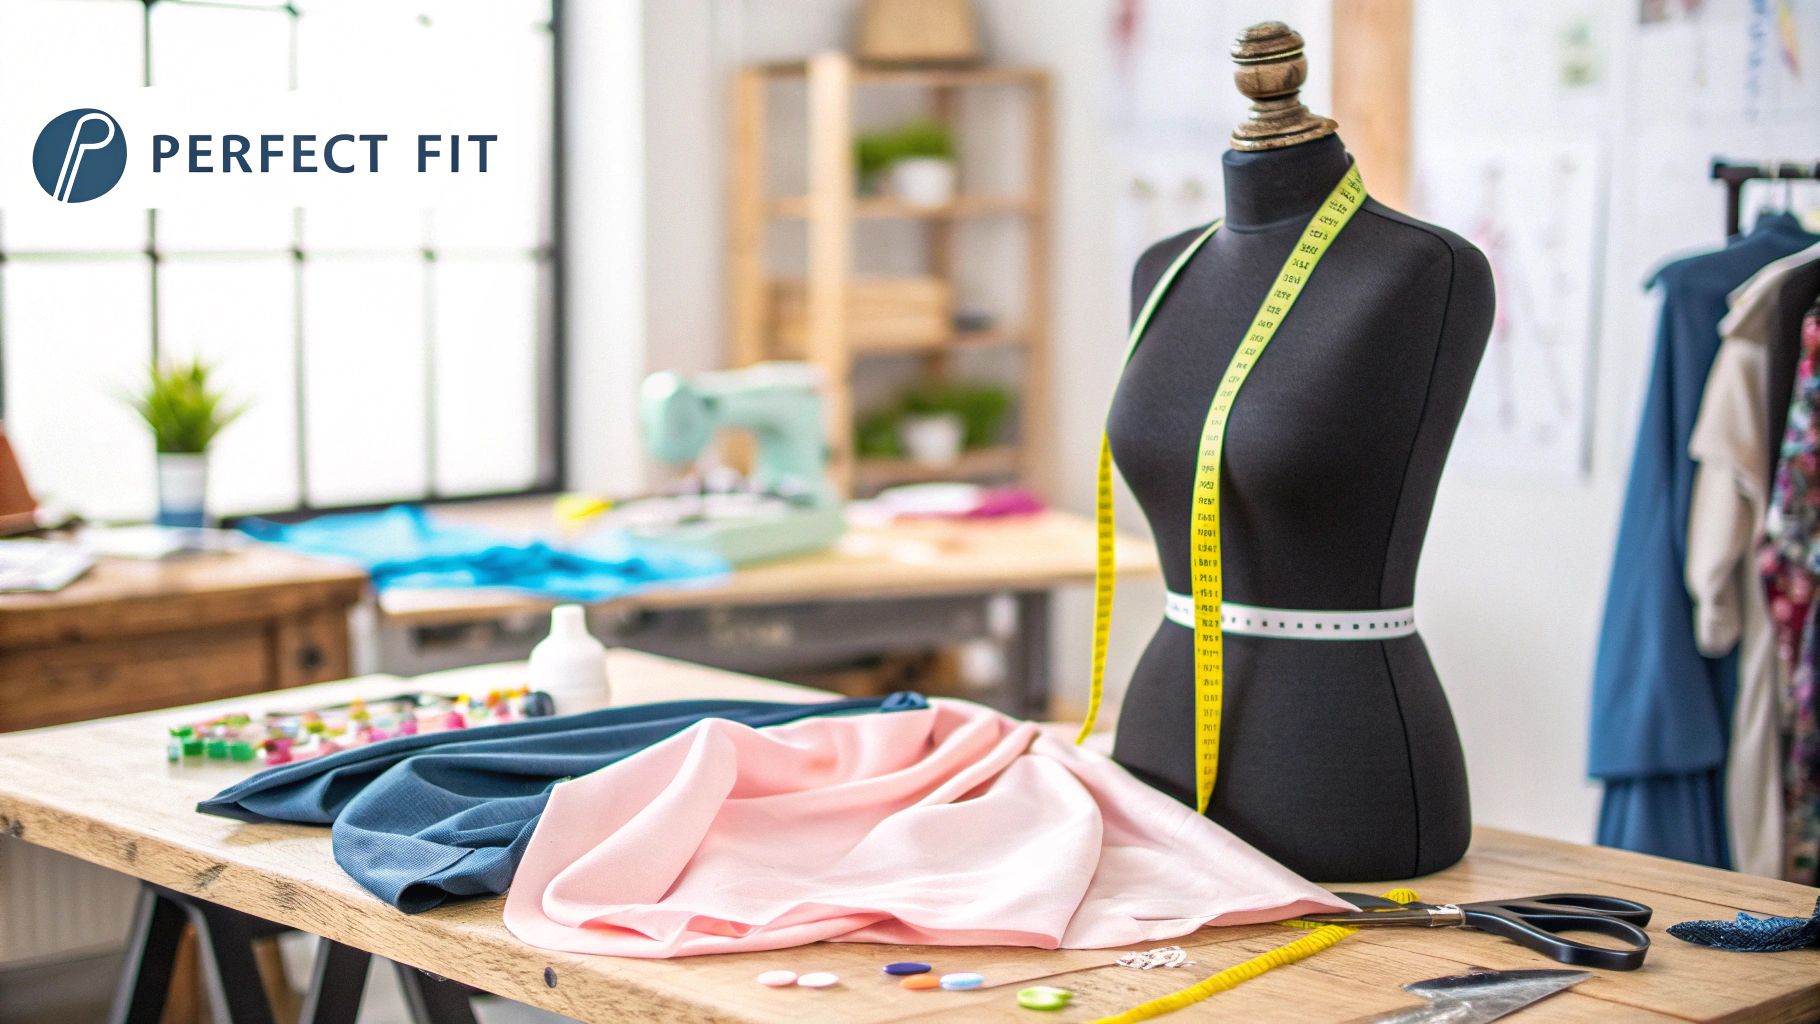
Your Guide to an Adjustable Sewing Mannequin
An adjustable sewing mannequin is the secret weapon for any tailor, designer, or home sewing enthusiast aiming for that perfect, bespoke fit. Think of it as your patient, silent partner in the creative process, taking the endless guesswork out of fitting garments on yourself and helping you achieve truly professional results every time.
Your Silent Partner for a Perfect Fit
It’s helpful to see an adjustable mannequin as more than just a tool—it's the very foundation of your garment. A sculptor needs an armature to give clay form and structure; in the same way, a sewist needs a dress form to build, shape, and refine clothing. This is where you get to see how fabric truly drapes and hangs in three dimensions, something you can never fully appreciate when working on a flat table.
By dialling in specific body measurements, the mannequin essentially becomes a stand-in for you or your client. This is a game-changer for efficiency, as it frees you from needing the real person present for every little adjustment and fitting. Their growing importance in the industry is clear; in the UK, mannequin production recently jumped by 7.5%, while exports shot up by 11% in the same year, signalling a huge demand both at home and abroad.
The Bedrock of Precision and Creativity
An adjustable mannequin is far more than a simple stand-in; it’s a canvas for precision tailoring and a launchpad for creative design. It provides a stable, accurate representation of the human torso, giving you the power to:
- Nail Symmetrical Designs: Finally, you can ensure darts, seams, and pockets are placed perfectly and evenly on both sides of a garment.
- Customise for Real Bodies: It’s simple to adjust for unique body shapes, whether that's broad shoulders or a petite waist, to create genuinely bespoke clothing.
- Elevate Your Draping and Pattern Making: You can experiment with fabric directly on the form, visualising how a design will come to life without wasting precious material on toiles.
- Make Fitting a Breeze: Adjustments can be made quickly with pins and chalk, saving you countless hours of trying on and taking off garments.
At its heart, an adjustable form is the bridge between a flat, two-dimensional pattern and the three-dimensional body it’s meant for. It’s what translates your vision into a wearable reality with accuracy and ease, making it a cornerstone of any serious sewing space.
Whether you're a seasoned professional or a passionate hobbyist, bringing an adjustable mannequin into your workflow will make a world of difference. For anyone just starting out, learning how to prepare the form is the first step. You might find our guide on how to dress a mannequin helpful for getting started.
Getting to Know Your Adjustable Dress Form
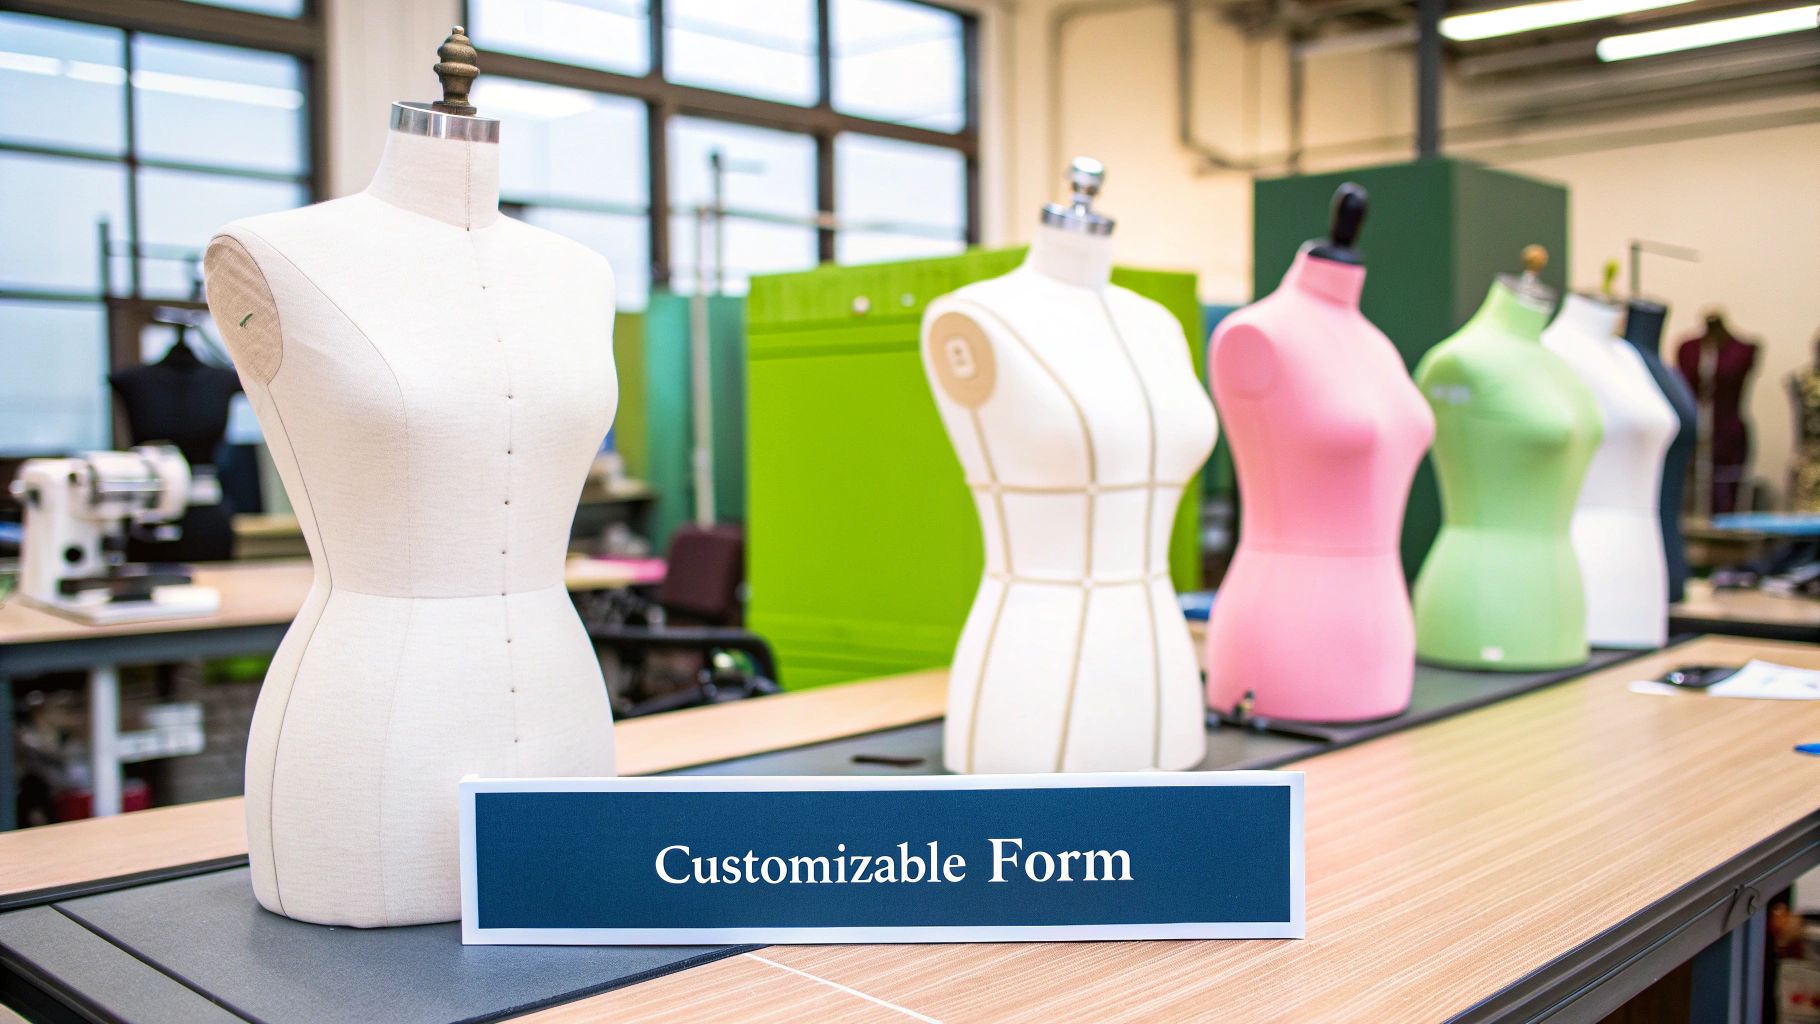
To really get the best from your adjustable mannequin, you first need to understand its moving parts. It’s a bit like getting a new kitchen gadget; once you know what each dial and lever does, you can use it with far more confidence and get the results you want. Every piece of a dress form is designed to work in concert, helping you create an accurate body double for your sewing projects.
The most obvious features are the body dials. You'll usually find these at the bust, waist, and hips. These little wheels or key-operated slots let you expand or shrink specific sections of the torso, so you can fine-tune the mannequin's curves and measurements. While basic models have a few, more advanced forms can offer up to 12 adjustment points for a truly bespoke fit.
Look below the torso, and you'll spot the height adjustment pole. This is typically a simple locking mechanism on a central pole that allows you to set the mannequin's height. This is absolutely essential for getting the hems right on skirts and dresses or for tackling full-length projects like coats or evening gowns.
The Inner Workings and Outer Shell
What your mannequin is made of has a huge impact on how long it lasts and how easy it is to use. The internal skeleton is usually a tough plastic or metal frame which holds all the adjustment mechanisms in place. This strong core is what keeps the form stable and prevents it from buckling under the weight of heavier fabrics like wool or denim.
The body itself is built around this frame, and the materials used here really matter. In the UK, fibreglass is a major player in mannequin manufacturing, accounting for about 68.5% of the market's revenue. This preference for durable, mouldable materials is a trend that adjustable sewing mannequins fit into perfectly.
On top of the hard body, there's usually a layer of foam padding wrapped in a fabric cover you can stick pins into, like nylon or linen. This is the surface you'll be working with day-to-day, so it needs to hold your fabric securely without letting it slip and slide.
Breaking Down the Key Features
When you're trying to figure out which adjustable mannequin is right for you, it helps to know what the most important features are and what they do. Here's a quick rundown of the essentials.
| Feature | Primary Function | Why It Matters for Sewing |
|---|---|---|
| Adjustment Dials | Expands or contracts key body measurements. | Allows you to precisely match the bust, waist, and hip measurements of yourself or a client. |
| Height Adjustment Pole | Raises or lowers the torso to a specific height. | Crucial for achieving accurate, level hemlines on skirts, dresses, and long coats. |
| Sturdy Stand | Provides a stable base for the mannequin. | Prevents the form from wobbling or tipping over while you're draping, pinning, or fitting heavy fabrics. |
| Pin-Friendly Surface | Allows pins to be inserted easily for draping. | Essential for holding fabric in place and constructing patterns directly on the form without damaging it. |
| Hem Marker | A moveable guide for marking even hemlines. | Saves an enormous amount of time and ensures your finished garment has a professional, perfectly straight hem. |
These components work together to give you a reliable tool that makes garment construction much more straightforward.
At the end of the day, every part of an adjustable sewing mannequin is there for one reason: to give you a stable, customisable, three-dimensional canvas that accurately mirrors a real human body.
Once you’re comfortable with these parts, choosing a mannequin that fits your needs becomes much easier. A great next step is learning how to transfer your measurements onto the form correctly. For a step-by-step walkthrough, have a look at our guide on taking mannequin measurements.
Choosing the Right Type of Adjustable Mannequin
Picking the right adjustable sewing mannequin isn't just a small detail; it's a decision that can make or break your projects. Think of it less like buying a tool and more like hiring an assistant. The best one for you is entirely down to what you love to sew.
The most common models you'll see are standard dress forms, which focus purely on the torso. These are your go-to partners for crafting dresses, blouses, jackets, and skirts. But what if trousers are your passion? For that, you'll want a bifurcated mannequin—one that includes legs. This specialised form is a game-changer for checking the fit and drape of trousers, giving you an accuracy you simply can't get from a standard torso form.
Understanding Adjustment Points
This is where things get interesting. The number of adjustment points a mannequin has directly impacts how closely you can mimic a real body.
An 8-part adjustable sewing mannequin is a fantastic workhorse. It typically gives you dials for the bust, waist, and hips, along with height adjustment. It provides a solid foundation for most common body shapes and is a brilliant starting point for hobbyists and professionals alike.
If you’re after a truly bespoke fit, especially for clients with more unique proportions, a 12-part form is the way to go. It offers extra adjustment points, often allowing you to fine-tune the bust and hip areas independently. This level of control is essential for replicating complex figures—like a full bust with a narrow back or pronounced hips with a smaller waist—ensuring your garments fit like a glove.
This infographic breaks down the two main adjustment styles you'll encounter.
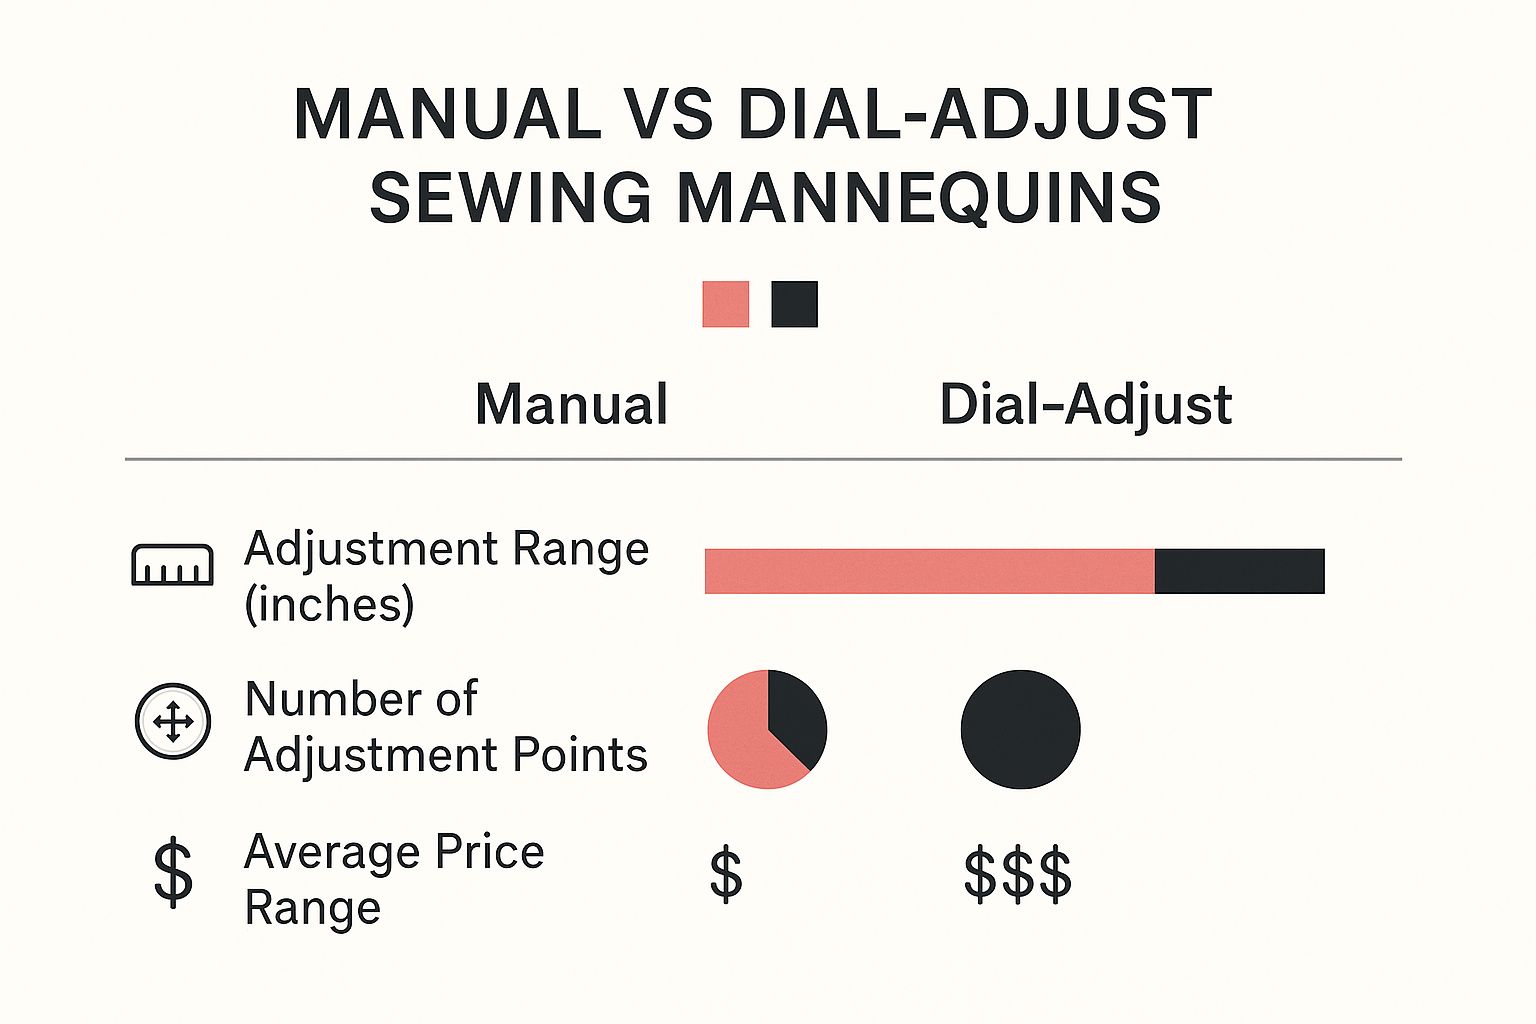
As you can see, dial-adjust models offer incredible precision with more adjustment points, but the simpler manual models are a great, budget-friendly alternative.
Making an Informed Decision
To help you decide, here’s a quick comparison of the most common types you’ll find.
Comparing Adjustable Mannequin Types
| Mannequin Type | Best For | Key Advantage | Consideration |
|---|---|---|---|
| 8-Part Torso Form | General dressmaking: dresses, shirts, skirts, coats. | Great all-rounder for standard body shapes. | Limited customisation for complex figures. |
| 12-Part Torso Form | Bespoke tailoring and fitting diverse body types. | High level of precision and nuanced shaping. | Can be more expensive and complex to set up. |
| Bifurcated (Legged) | Trousers, shorts, jumpsuits, and full-body outfits. | Essential for accurately fitting and draping trousers. | Less common and often has fewer torso adjustments. |
Ultimately, your choice comes down to your sewing ambitions. What garments do you make most often? What kind of body shapes are you fitting? And what’s your budget? The global mannequin market, now valued at over USD 5.37 billion, is increasingly focused on customisation, which is great news for sewists who need forms that can truly replicate a wide range of body types.
A well-chosen adjustable mannequin isn't just a purchase; it's a long-term investment in your craft. Taking the time to select the right type ensures your mannequin will be a reliable partner that grows with your skills and helps you bring your creative visions to life with professional precision.
One final, crucial point: don't overlook the stand! A wobbly mannequin is a sewist's nightmare. A sturdy, stable base is absolutely non-negotiable for frustration-free work. If you'd like to explore your options, we've put together a guide on the different dress form stands and how to choose the perfect one for your sewing space.
How to Achieve a Perfect Custom Fit
This is where the magic happens. Transforming your adjustable mannequin from a standard form into your body double is easily the most satisfying part of the process. It's the moment your dress form truly becomes your silent partner in the sewing room.
But first, you need a set of accurate, honest measurements of your own body. Grab a flexible tape measure and focus on getting the core four dimensions right: the fullest part of the bust, your natural waistline, the widest point of your hips, and the back-waist length (that’s from the noticeable bone at the base of your neck down to your waist). If you're unsure, this simple guide on how to take body measurements for clothes is a brilliant resource to make sure you’re spot on.
Dialling In Your Measurements
With your numbers in hand, it's time to translate them onto the mannequin. The key here is to be methodical. You don't want to end up with a lopsided shape.
Start by setting the height so the mannequin's shoulders match yours. Then, work your way down the body, adjusting the dials for the bust, waist, and hips.
The trick is to adjust all the dials for a particular measurement bit by bit, both front and back. For instance, if you need to add four inches to the bust, don't just crank one dial all the way. Instead, turn each of the four bust dials by one inch. This gradual, even expansion is what keeps the form's proportions realistic and symmetrical, preventing any weird bulges in just one spot. Remember to step back every so often to eye up the overall shape.
The goal isn’t just to match numbers on a tape measure. It's about recreating the three-dimensional reality of your body. Symmetry and gradual adjustments are your best friends here.
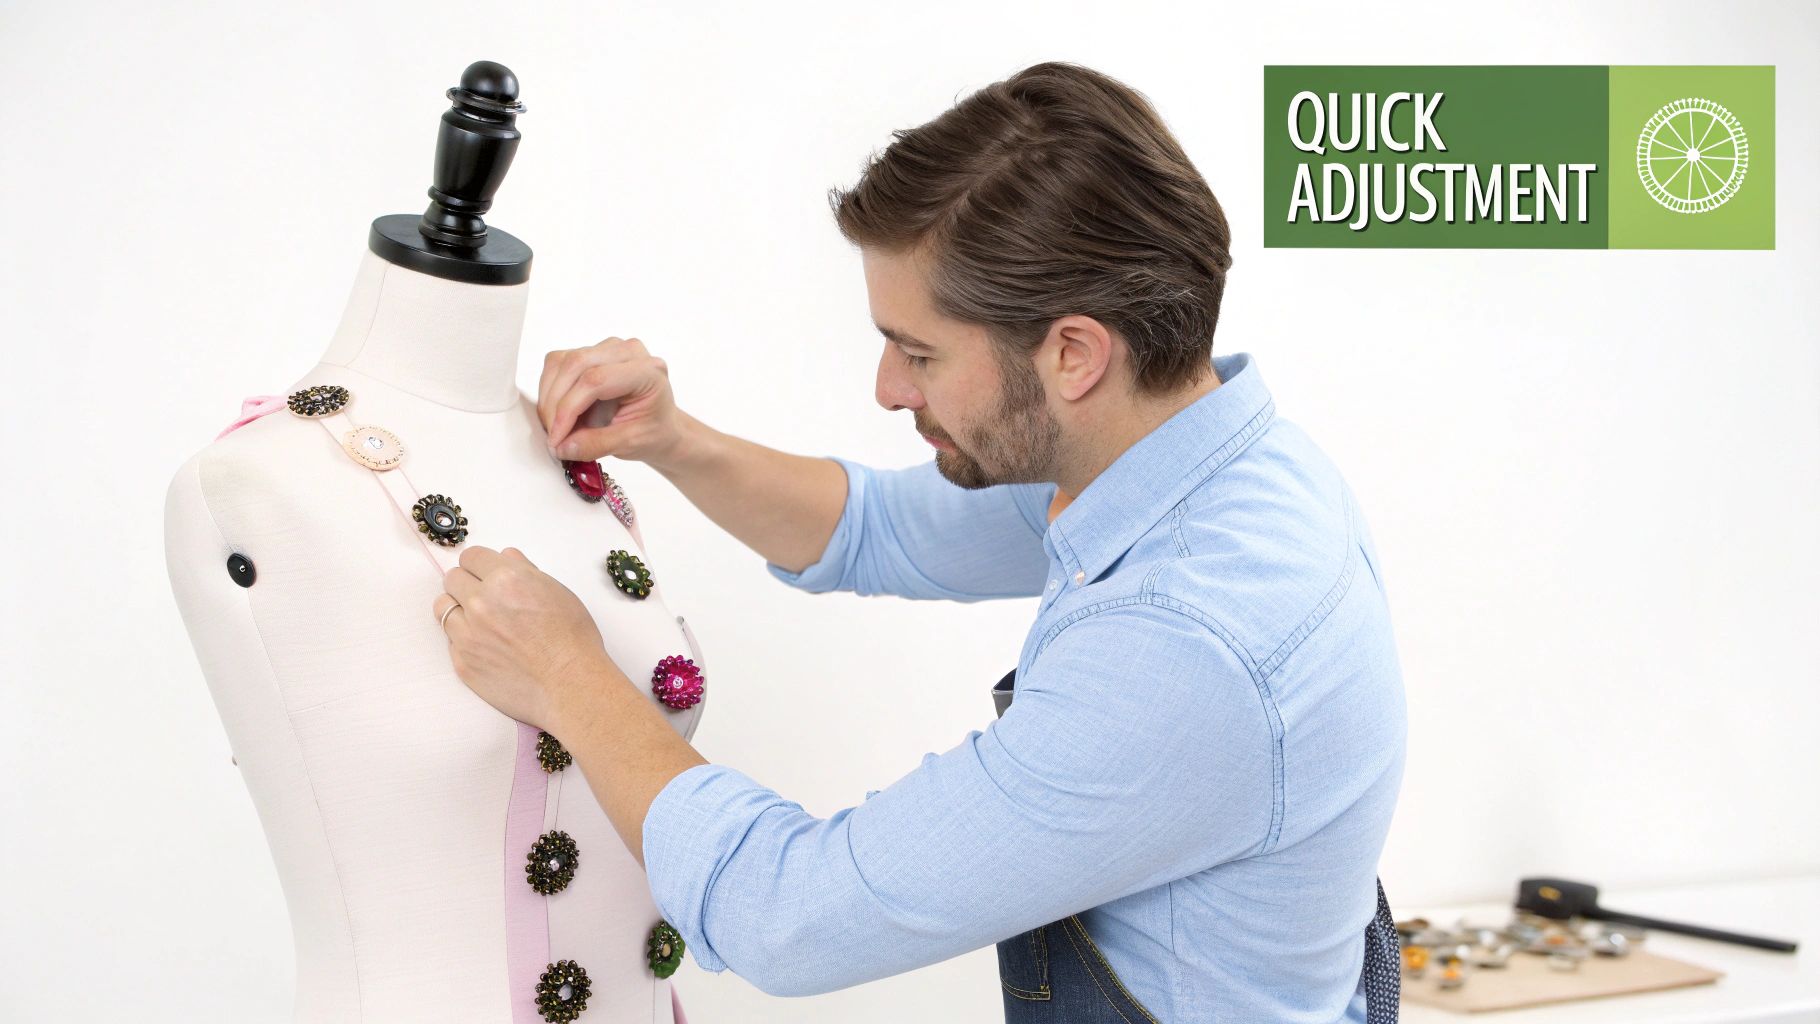
Perfecting the Fit with Padding
An adjustable form gives you the skeleton, but padding provides the flesh. This is the secret to capturing all the unique curves and contours that make a body individual. Let's be honest, dials alone can't replicate those subtle nuances.
You can use anything from quilt batting and foam pads to an old bra to build up specific areas. It’s all about customisation.
Some common padding adjustments include:
- A fuller bust: Shaping pads to create a more prominent, natural curve.
- A rounded tummy: Placing a soft pad over the abdomen for a more realistic shape.
- Sway back: Adding a small, curved pad to the small of the back to mimic your posture.
- Fuller hips or bottom: Using pads to build out these areas to better reflect your figure.
By carefully combining precise dial settings with strategic padding, you're not just adjusting a tool; you're creating a highly personalised stand-in for yourself. This attention to detail is what makes the difference between a garment that just fits and one that fits impeccably.
Unlocking Advanced Techniques Beyond Basic Fitting
Once you've nailed the basics of getting a perfect fit, your adjustable mannequin really starts to shine. It stops being just a stand-in for a body and becomes a proper creative partner, helping you explore techniques that give your garments that professional, polished look. This is where you move from simple sewing to genuine design.
One of the most exciting skills to develop is draping. This is a classic couture method where you shape the fabric directly on the form to create your pattern, instead of drafting it flat on paper. It’s a much more intuitive way to work, letting you see exactly how a fabric will fall and behave in real time. You can experiment with placing pleats on a skirt or sculpt the perfect cowl neckline, pinning and tweaking until the silhouette is just right.
Elevating Your Design and Finishing
Beyond just making patterns, the mannequin is fantastic for checking the overall look and feel of a garment before you commit to the final seams. It gives you that objective, 360-degree view that you just can't get from holding it up or trying it on yourself for the tenth time.
Here’s how it can make a real difference:
- Checking Garment Balance: This is about making sure the garment hangs straight, without twisting or pulling. It’s absolutely crucial for asymmetrical designs or when you're wrestling with tricky fabrics like a bias-cut satin.
- Perfecting Detail Placement: It's so much easier to get the position of pockets, collars, and buttonholes right when you see them on the form. You can judge proportion and visual appeal far more effectively than when everything's laid out flat.
- Achieving Flawless Hems: With the mannequin's height adjustment and a good hem marker, you can get a perfectly level hemline every single time. It's one of those details that instantly signals a high-quality finish.
Think of your adjustable sewing mannequin as a silent collaborator. It stands patiently while you test ideas, refine details, and solve those tricky construction puzzles, saving you a world of time and preventing expensive mistakes.
Finally, don't forget your mannequin is also a brilliant presentation tool. When you’ve finished a project you're proud of, use it as a professional display for photographing your work. When it’s properly lit and styled, your finished garment will look its absolute best—essential if you're building a portfolio or selling your creations online.
By getting comfortable with these more advanced techniques, you can completely transform your creative process. If you want to revisit the basics first, you might find our insights on sewing for a dummy a helpful starting point.
Looking After Your Mannequin for a Lifetime of Use
Think of your adjustable sewing mannequin as a serious investment in your craft. With a bit of regular attention, it'll be your trusted fitting companion for countless projects to come. Like any precision tool, it works best when it's well looked after, guaranteeing smooth adjustments and spot-on fittings every single time.
Keeping the Cover and Mechanisms in Top Shape
The first line of defence is simple upkeep. Dust and stray threads inevitably find their way onto the fabric cover, so a quick clean now and then makes a world of difference. A lint roller is your best friend for a quick once-over, while a vacuum with a soft brush attachment can handle a more thorough clean. If you spot a small mark, just gently dab it with a damp cloth and a tiny bit of mild soap. Be careful not to soak the fabric, as you don't want to damage the padding underneath.
The dials and gears inside are the real heart of your mannequin. To keep them moving freely, it's a good idea to turn them through their full range every so often. This simple trick stops them from getting stuck, which can happen if you leave the mannequin in one size for a long stretch.
If a dial ever feels a bit stiff, don't force it. A tiny bit of silicone-based lubricant usually does the trick. It's also worth giving the stand a check-up every few months to make sure it's solid.
- Tighten the Stand: Make sure all the screws and bolts on the base and pole are nice and snug to prevent any wobbling.
- Check the Wheels: If your stand has castors, clear out any tangled threads or fluff so they can roll smoothly.
- Inspect for Damage: Have a quick look for any cracks or signs of wear that might affect its stability.
Storing your mannequin properly is just as important as cleaning it. Keep it out of direct sunlight, which can fade the cover and make the fabric brittle over time. It's also best to avoid damp places, as humidity can play havoc with the internal mechanisms.
Following these simple steps will protect your investment. A mannequin that's well cared for won't just last longer—it will remain a reliable and accurate tool, ready to help bring all your creative ideas to life.
Frequently Asked Questions
When you're ready to bring an adjustable mannequin into your sewing space, it's natural to have a few questions. Let's clear up some of the most common queries to help you find the perfect partner for your projects.
Can an Adjustable Mannequin Perfectly Match My Body Shape?
This is the big question, isn't it? While an adjustable mannequin is brilliant for dialling in your core bust, waist, and hip measurements, it won't capture every unique contour of your body straight out of the box. Think of the dials as creating your foundational silhouette.
The real magic happens with strategic padding. By adding layers of wadding or foam, you can build up areas to mirror your specific posture, a fuller tummy, or the curve of a sway back. This turns a good fit into a true body double.
Do I Need a Mannequin with Legs?
It really comes down to what you love to sew. If you spend your time creating beautiful dresses, blouses, and skirts, a standard torso form will serve you perfectly well.
However, if you're a trouser-maker or you're venturing into shorts and jumpsuits, a bifurcated mannequin (one with legs) is a game-changer. It’s the only way to properly check the fit, hang, and inseam of bifurcated garments.
A common pitfall is choosing a form that doesn’t align with your go-to projects. Always invest in the mannequin that supports the clothing you make most often.
What’s the Difference Between 8-Part and 12-Part Mannequins?
The number simply refers to how many sections of the mannequin can be adjusted. An 8-part model is a fantastic all-rounder, giving you solid control over the main body measurements for most standard shapes.
A 12-part form offers an extra layer of precision. It typically includes additional adjustment points, often around the bust and back, which allow for more subtle and detailed shaping. This is especially useful if you're fitting for a figure with more complex curves.
At Display Guru, we offer a curated range of adjustable mannequins designed for everyone from the weekend hobbyist to the professional dressmaker. Explore our collection today and find your perfect fitting partner.