


Discover the Best Tailor Dummy Adjustable for Precise Fittings
Getting the right adjustable tailor dummy is probably the single most important step you can take towards achieving a truly professional fit in your sewing. Think of it as your personal stand-in, a silent partner that lets you tweak the bust, waist, and hips to precisely match a specific body shape, removing all the guesswork from fittings and alterations.
How to Choose Your Perfect Adjustable Tailor Dummy
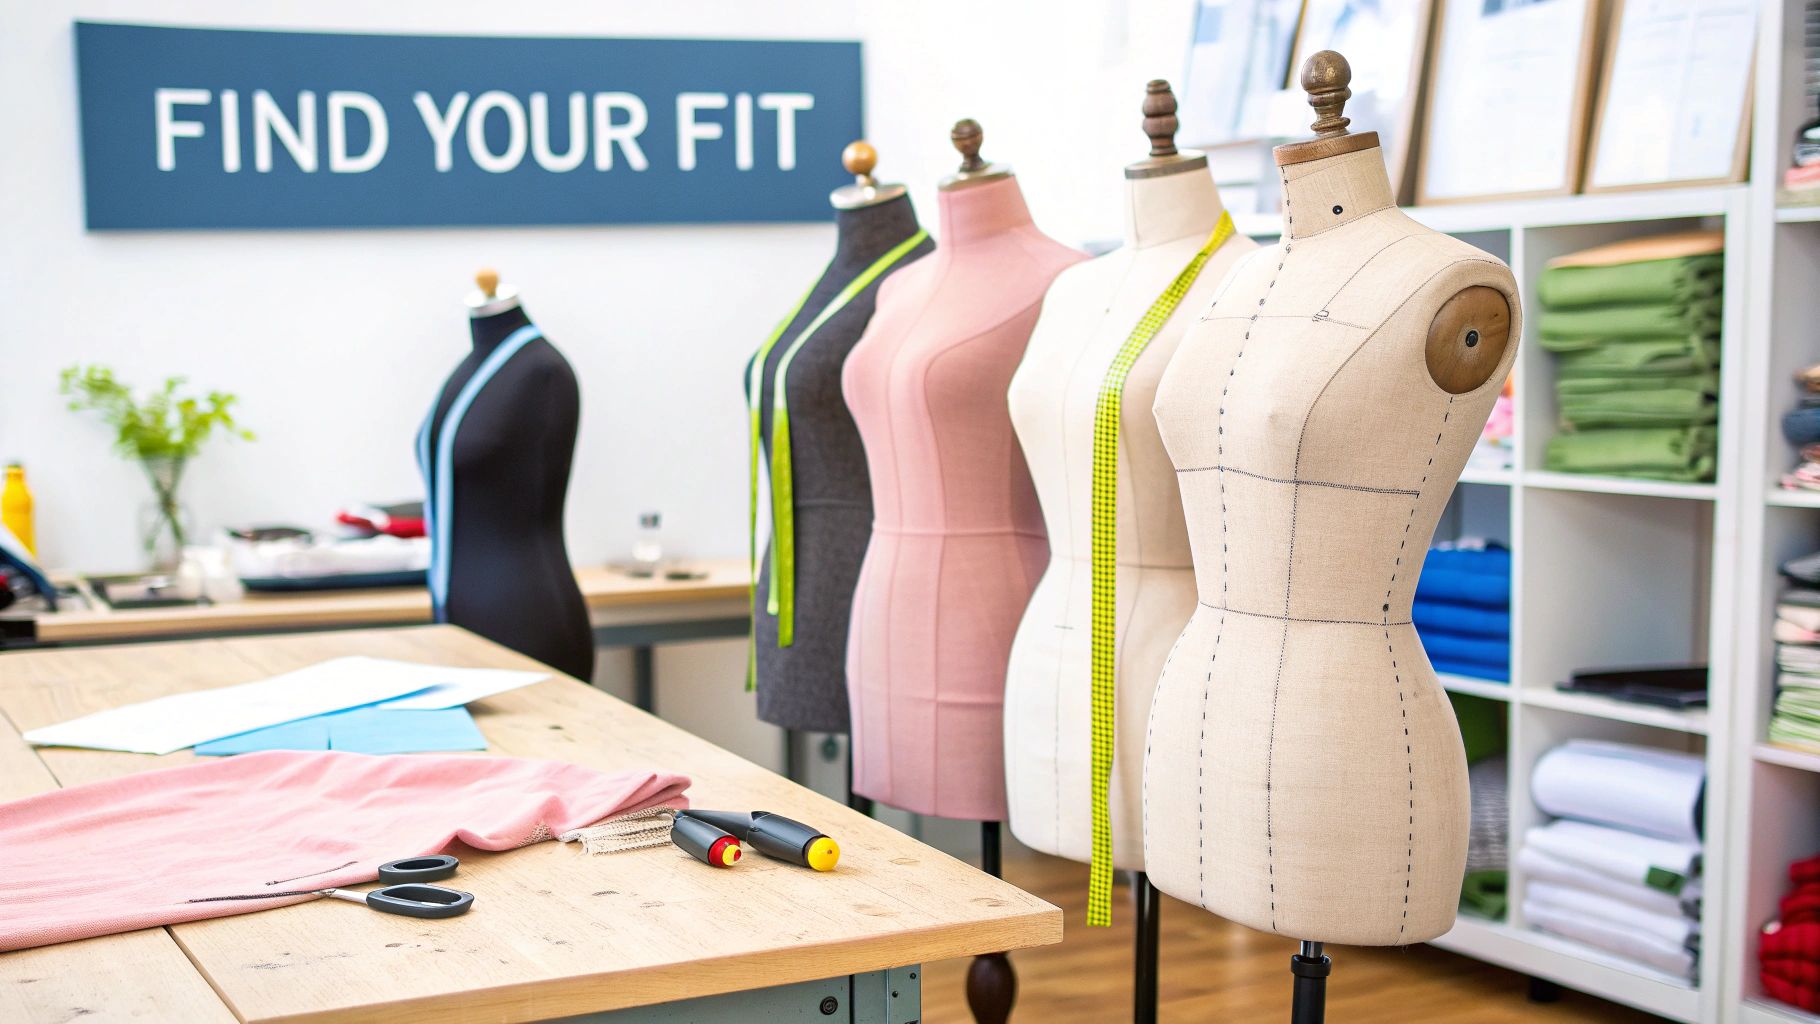
With so many options out there, finding the ideal adjustable dummy can feel a bit daunting. The trick is to simplify your decision by focusing on what really matters. You're not just buying a mannequin; you're investing in a patient, perfectly proportioned fitting assistant that will be with you for years. Your goal is to find a form that gives you the most flexibility for all your future projects.
Before you even start browsing, grab a tape measure. The most critical factor is the dummy's measurement range. Taking accurate bust, waist, and hip measurements of the person you'll be sewing for most often (even if it's yourself!) will help you avoid the common mistake of getting a dummy that’s too big or too small to be useful.
Matching Your Measurements to a Model
Here’s the golden rule I always share with fellow sewers: always select a dummy whose smallest measurements are smaller than your target measurements. It’s easy to add padding to build up areas like the bust or hips to match a unique shape, but you can’t make a form smaller than its minimum setting. This is the secret to creating a genuine body double that truly reflects real-life curves.
With your measurements in hand, start comparing them against the sizing charts of different models. The UK market has come a long way; many suppliers now offer adjustable dummies for UK sizes up to 26. It's a massive improvement, but remember that these forms adjust in general increments. They can’t perfectly replicate every nuance of a body, which is where strategic padding becomes your best friend.
A common mistake is buying a dummy that matches your measurements exactly. The smarter move is to go a size down. This gives you the creative freedom to pad it out, letting you replicate a true-to-life silhouette, complete with any asymmetries or unique contours.
Key Features Beyond Size
Once you've nailed down the size, a few other features will make a huge difference in how you work.
First up, the stand. A stable base is non-negotiable. There's nothing more frustrating than a wobbly dummy that threatens to tip over while you're working. Look for a sturdy tripod or a weighted round base that provides solid, reliable support.
The covering material is also important. A foam-backed nylon or linen cover is perfect because it allows you to pin fabric directly onto the form. This is absolutely essential for draping new designs or holding pattern pieces in place during an alteration. Some of the more advanced models even have adjustments for the back-waist length and neck size, giving you that extra layer of control for a precision fit. For a complete breakdown, have a look at our detailed guide on how to buy a dress form.
When you're comparing different models, it can be helpful to see the features side-by-side. This quick table breaks down what to look for and why it matters in your day-to-day sewing.
Comparing Adjustable Dummy Features
| Feature | What to Look For | Why It Matters |
|---|---|---|
| Adjustment Dials | Smooth, easy-to-turn dials (often 12 in total) | Allows for precise, incremental changes to the bust, waist, and hips without struggle. |
| Sizing Range | A range that starts smaller than your primary measurements. | You can always add padding to increase size, but you can never shrink a dummy's core structure. |
| Cover Material | Foam-backed fabric (linen, nylon, or brushed polyester). | Essential for pinning fabric directly to the form for draping, fitting, and pattern adjustments. |
| Stand Stability | A sturdy metal tripod or a heavy, flat base. | Prevents tipping and wobbling, ensuring your work stays secure and your measurements remain accurate. |
| Height Adjustment | A simple locking mechanism on the central pole. | Lets you set the dummy to a realistic height, which is crucial for hemming skirts, trousers, and dresses. |
| Hem Marker | An attachable, 360-degree pin guide at the base. | A huge time-saver for achieving perfectly level and even hemlines on all your garments. |
| Extra Adjustments | Dials for back-waist length or neck circumference. | Offers finer control for tailored garments like fitted blouses, jackets, and formalwear. |
Ultimately, choosing a dummy comes down to matching its features to the type of sewing you do most. By prioritising the right size range and a few key practical features, you’ll find a reliable partner for your sewing room that helps bring your creative visions to life.
Assembling Your New Dress Form Without the Headache
That moment you unbox a new adjustable tailor's dummy is brilliant, isn't it? But let's be honest, the excitement can quickly fade when you're faced with a sheet of cryptic instructions. We're going to sidestep the confusing diagrams and get straight to a simple assembly process.
You'll almost always start by attaching the base to the main pole. Whether your model has a classic tripod or a solid round base, take a moment to tighten every screw properly. It sounds obvious, but a wobbly stand is one of the most common—and annoying—problems you can face later on, especially with a heavy garment pinned to the form.
With the base sorted, it's time to mount the torso. Most have a straightforward locking mechanism or a foot pedal to adjust the height. My advice? Slide it up and down a few times before you lock it in place. If it feels a bit stiff or sticky, have a quick look to see if anything is obstructing the spring or clamp inside.
Here's a tip I've learned from experience: check if the form is level right away. Grab a small spirit level and place it across the shoulders. If it's not sitting perfectly horizontal, the culprit is nearly always an unevenly tightened screw in the base. Fixing it now saves you from wonky hemlines later.
This visual guide breaks down the core assembly into three simple stages.
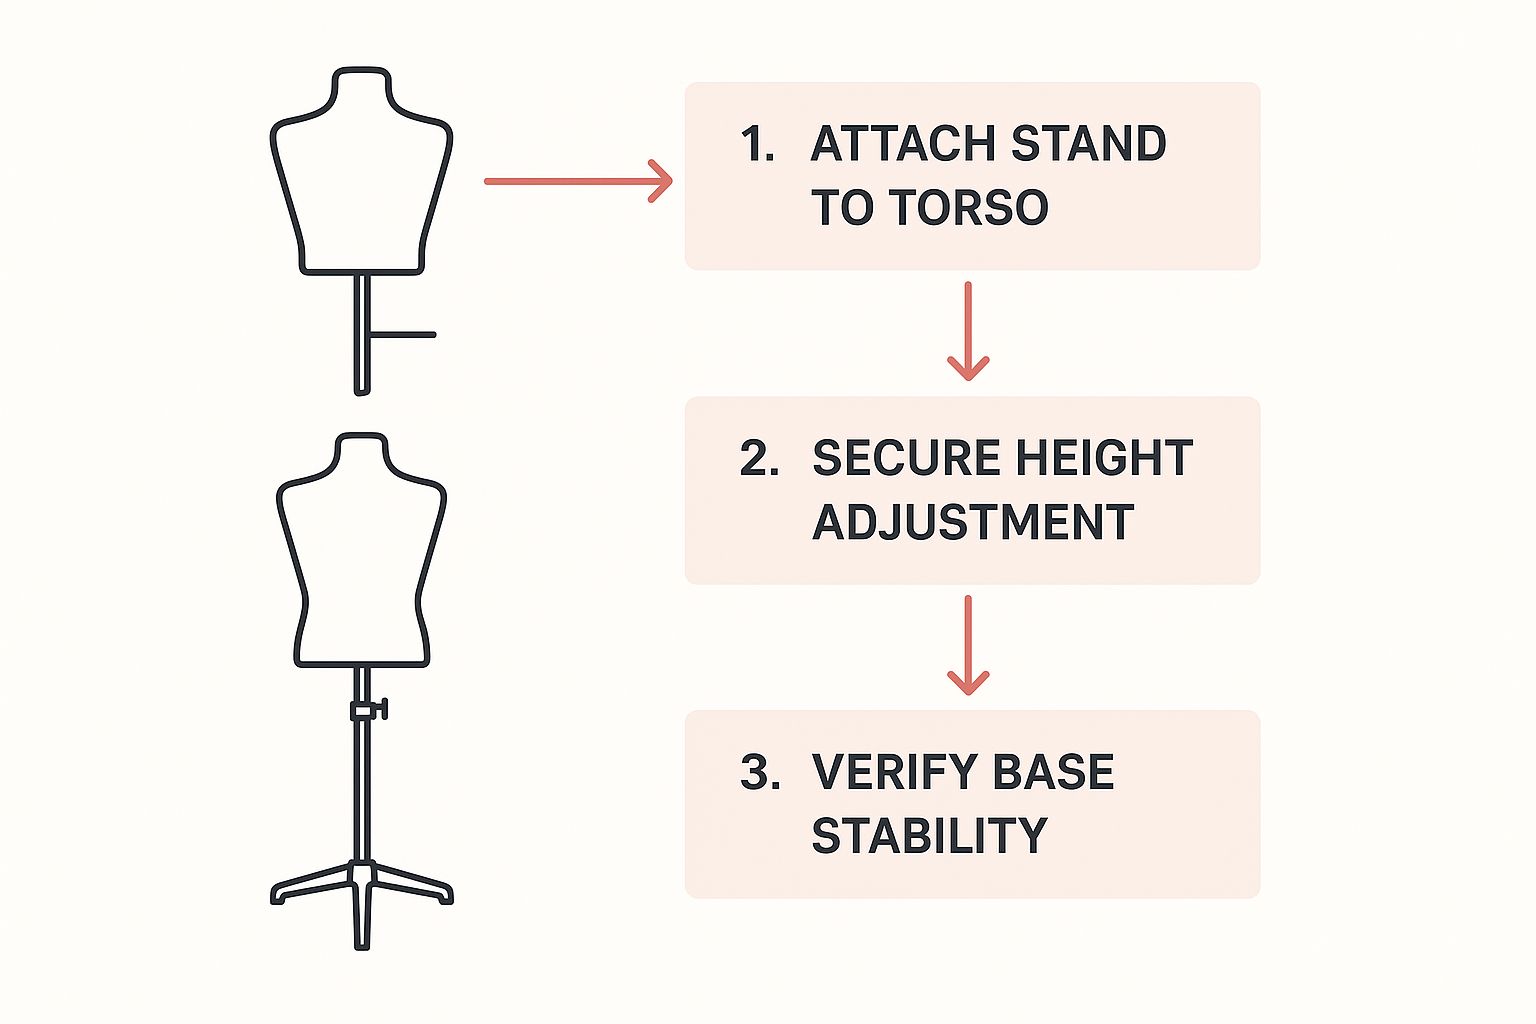
As you can see, checking for stability isn't just a final afterthought; it's a vital part of the process. You need a solid, reliable foundation before you can even think about draping fabric.
Securing the Torso and Stand
Once the torso is sitting on the pole, give it a gentle nudge from a few different directions. It should feel completely solid, with no swaying or rocking. If there's any give, go back and double-check all your connection points.
For a deeper dive into troubleshooting different stand types, our guide on choosing a dress form stand has some extra pointers. Taking these few extra minutes to get the assembly right is a small investment that pays off on every single project.
Dialing In a Precise Fit on Your Dummy
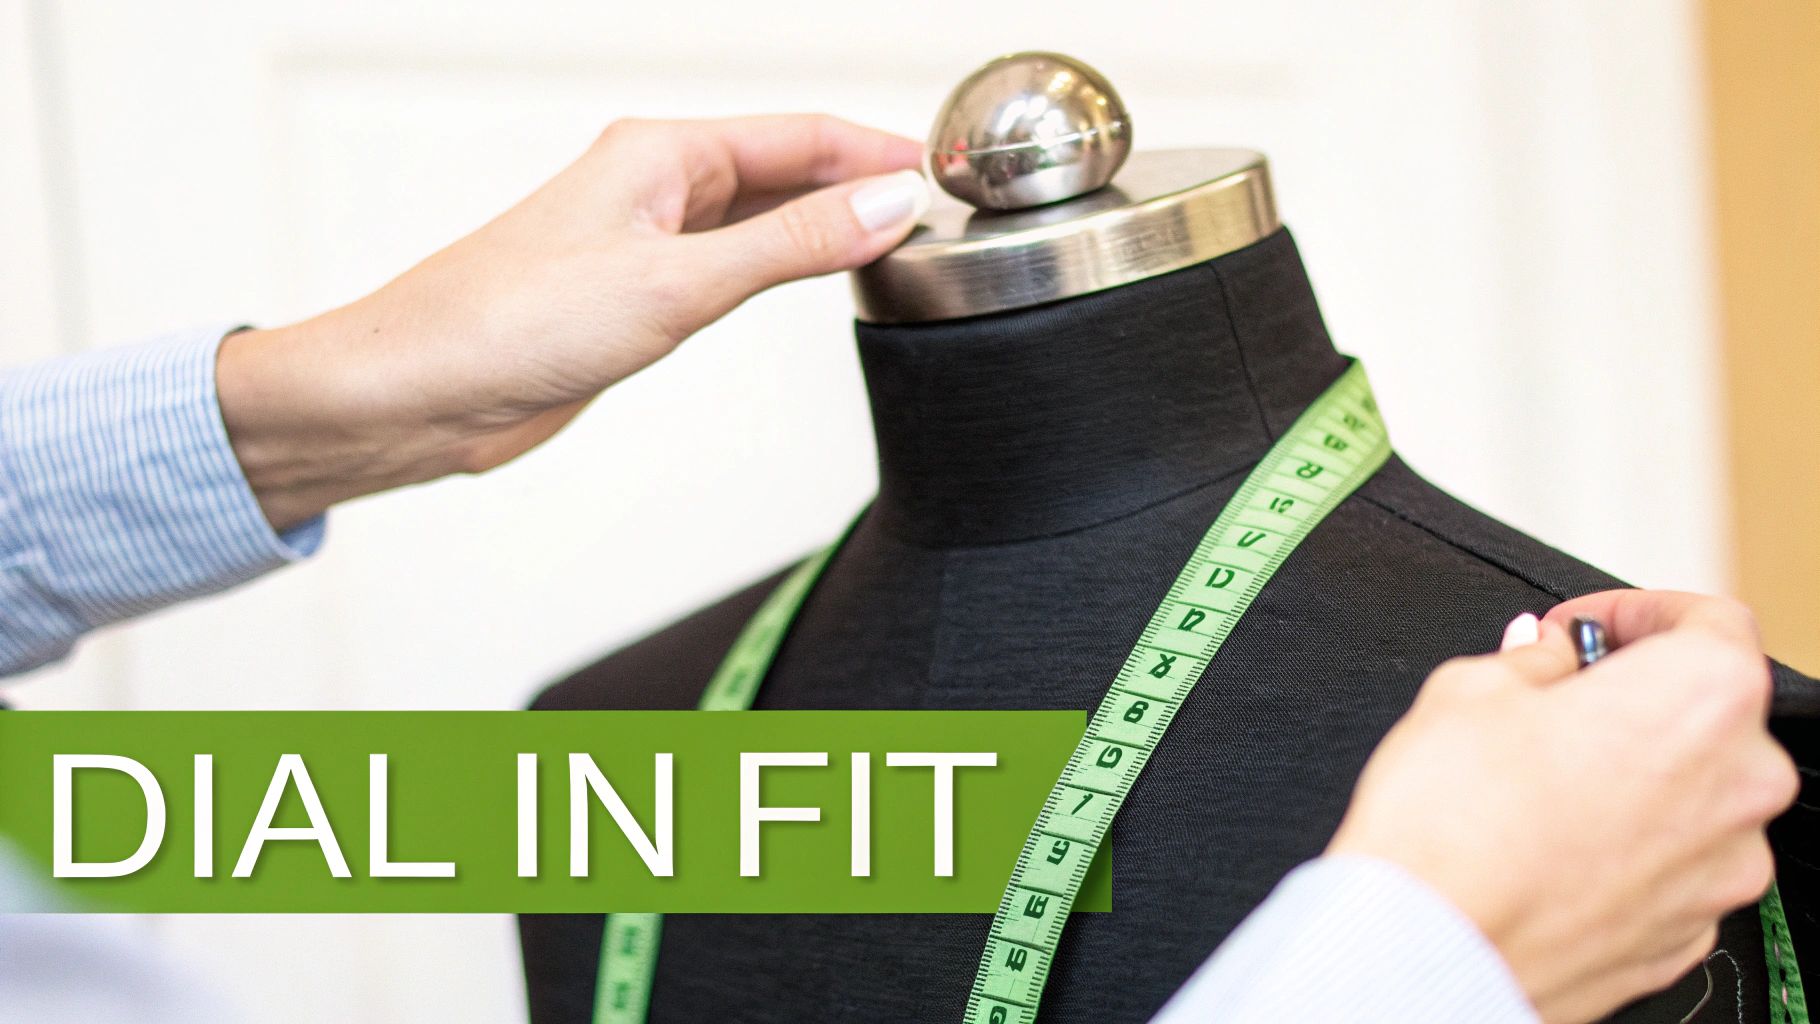 The magic of an adjustable tailor's dummy lies in its ability to become your perfect body double. Getting there, however, requires a bit of finesse with the adjustment dials. It's tempting to just crank one dial to the final number and move on, but that’s a quick way to get a lopsided shape and put unnecessary stress on the dummy’s internal gears.
The best approach is to work gradually. Think of it like coaxing the dummy into shape rather than forcing it. Gently turn each dial for the bust, waist, and hips in small, even increments. Do a little on the bust, then the waist, then the hips, and repeat the cycle. This method ensures the dummy expands symmetrically, giving you a far more natural and accurate silhouette to work with.
As you go, keep your tape measure handy. The numbers on the dials are a great starting point, but they're not infallible. You need to physically measure the dummy's circumference to confirm you’ve hit your mark. This constant cross-checking is really what separates a so-so fit from a professional-grade one.
Beyond the Basic Measurements
A truly great fit isn't just about getting the bust, waist, and hips right. Many of the better adjustable dummies also have settings for the back-waist length and even the neckline. These are the details that make all the difference in how a finished garment actually drapes and sits on a body, so don't ignore them.
Take the back-waist length, for instance. This is the vertical measurement from the most prominent bone at the base of your neck down to your natural waistline. If this is off, you'll end up with bodices that are too short or too long, often causing fabric to bunch up awkwardly at the lower back. Nailing this adjustment is crucial.
It's such a common mistake to get fixated on the horizontal measurements. From experience, I can tell you that vertical adjustments like the back-waist length are just as vital. Get that wrong, and the entire fit can be thrown off, no matter how perfect the bust and waist are.
A Practical Example in Action
Let’s say you're setting up your dummy for a client with a 94 cm bust, 76 cm waist, and 102 cm hips. Here’s how I’d tackle it:
- First Pass: Start by turning all the dials evenly, bringing the dummy up to about half of the target measurements. This gets the basic shape established without straining any single part of the form.
- Refine and Measure: Now, continue with smaller, more controlled turns, measuring with your tape after each complete rotation around the dummy. Once you hit 94 cm at the bust, for example, you can stop adjusting those dials and focus on the others.
- Final Checks: When all three measurements are spot on, stand back and take a look. Does the overall form look balanced and human? Or does it seem angular and forced? A quick visual check can catch any distortions.
Of course, all of this relies on having accurate measurements to begin with. If you're not completely confident in your technique, our easy guide on how to take body measurements for clothes will walk you through it. A little time spent here makes the entire fitting process smoother and more successful.
Custom Padding for a True Body Double
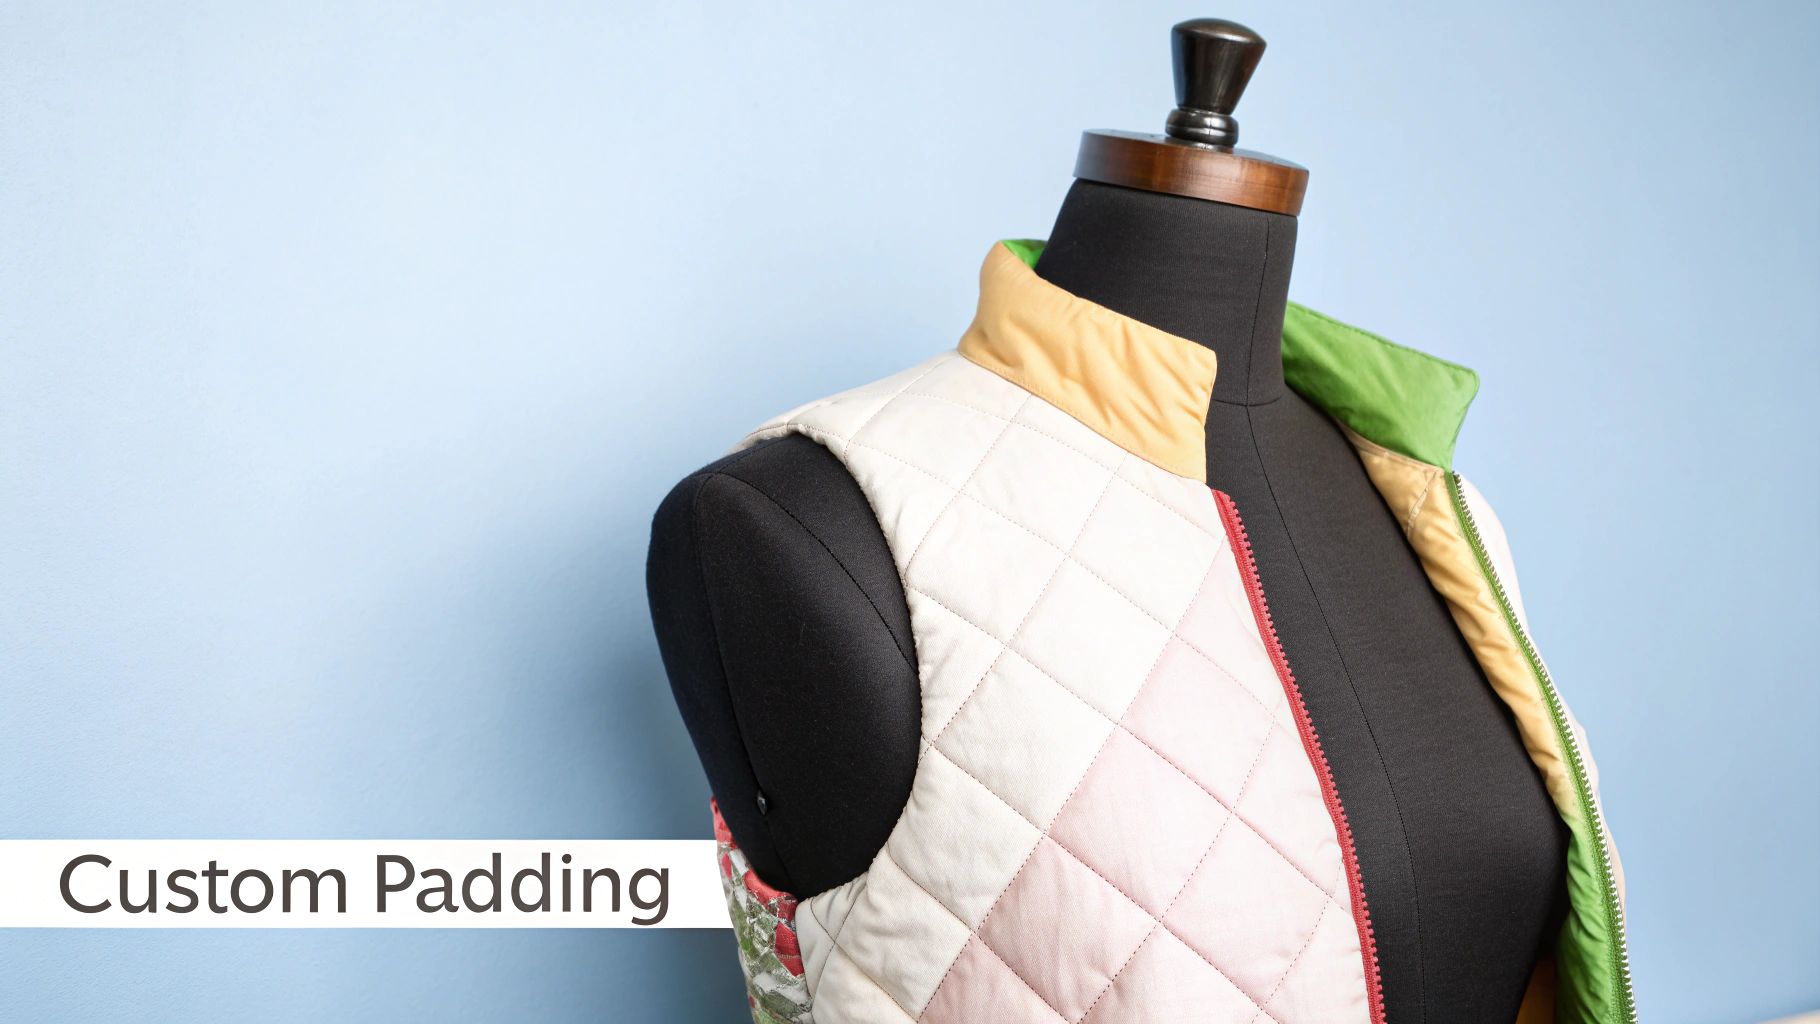 Even the most advanced tailor dummy adjustable with a dozen dials can only ever achieve a generic, symmetrical hourglass figure. Real human bodies, as we know, are rarely so neat and tidy. This is where the real artistry begins, using padding to transform your standard form into a true body double.
This is the step that bridges the gap between the dummy's generic measurements and a person's individual shape. Think about a slightly rounded stomach, asymmetrical shoulders, or a sway back—these are common features that dials simply can't replicate. By adding volume exactly where it's needed, you create a much more realistic silhouette for your fittings.
Choosing Your Padding Materials
The good news is you don't need to buy expensive, specialised kits to get a professional result. In fact, many of the best materials are probably already stashed away in your sewing room. The goal is to find materials you can layer and shape smoothly.
- Quilt Batting or Wadding: This is my go-to for building up soft, general contours across the bust, stomach, and hips. It layers beautifully and doesn't create harsh, obvious lines under fabric.
- Foam Shoulder Pads: Don't just save them for jackets! They are perfect for more defined shaping. I use them to build up prominent shoulder blades, create a fuller bust, or add dimension to asymmetrical areas.
- Old T-shirts or Stretch Fabric: Pulling a snug-fitting top over the dummy gives you a fantastic base to work on. It holds all the padding in place and creates a smooth final surface that's easy to pin into.
Remember, this process is less about adding bulk and more about sculpting. If you're fitting for someone with a sway back, for instance, you'll add padding to the upper back and buttocks while leaving the small of the back unpadded to properly mimic that distinctive curve.
The goal is to move beyond the three main measurements. It’s the subtle padding for posture and asymmetry that truly elevates a fitting, ensuring garments hang correctly on the real body.
Creating a Padded Cover
Once your padding is securely pinned or taped in place, a custom cover is the perfect finishing touch. A simple jersey or stretch-fabric cover, sewn to fit snugly over your newly padded form, holds everything together permanently. This leaves you with a stable, pinnable surface that perfectly mirrors the unique physique you're sewing for.
It's this hands-on technique that separates a good fit from a truly great one. You can learn more about how to get started in our guide to sewing for a dummy, which has plenty of additional tips.
Advanced Fitting and Draping Techniques
Once you've padded your adjustable dummy to match your measurements, it becomes so much more than just a fitting tool. It's now your canvas for exploring advanced dressmaking, particularly the art of draping.
Draping is all about creating your design directly on the form using fabric, usually an inexpensive muslin to start. It's a much more intuitive way to work, letting you see exactly how a fabric will behave and fall. This hands-on process of pinning, tucking, and smoothing often sparks design ideas that just wouldn't come from a flat paper pattern.
Marking Key Construction Lines
To make draping easier and far more accurate, it’s a good idea to mark up your dummy’s padded cover with some essential guidelines. Grab a flexible ruler and some tailor's chalk or thin ribbon to create a clear map for your fabric.
Think of these as the landmarks on your dummy's body. The essential ones to mark are:
- Centre Front and Centre Back: Your core vertical lines for ensuring everything is symmetrical.
- Bust Apex and Underbust: Absolutely vital for positioning darts and getting the shaping of a bodice just right.
- Waistline and Hipline: The key horizontal guides for the fit of skirts, trousers, and bodices.
- Princess Seams: Marking these curved lines is a game-changer for achieving a really close, sculpted fit through the torso.
Having these reference points in place gives you a solid framework, making sure your draped patterns are balanced and professional. If you're looking to build your skills, getting familiar with a range of sewing techniques will give you the confidence to tackle more complex designs.
By marking these key anatomical lines, you're essentially creating a blueprint on your form. This simple preparation step makes it much easier to diagnose and correct common fit issues, like gaping necklines or twisted side seams, long before you ever cut into your final fabric.
Your Adjustable Tailor Dummy: Answering the Big Questions
So, you’ve brought an adjustable tailor dummy into your sewing space. It’s a brilliant piece of kit, but like any new tool, it often comes with a few questions. Getting a handle on these points from the outset will make a world of difference. Let's walk through some of the common things people wonder about.
The first puzzle for many is picking the right size, especially if your own measurements don't neatly fit into one category. It can feel like a bit of a gamble, but there's a tried-and-tested rule that experienced sewers swear by.
What If My Measurements Fall Between Sizes?
When you're stuck between two sizes, always, always go for the smaller one.
It might feel wrong, but think of it this way: you can easily add padding to a smaller form to build it up, but you can't shrink a dummy down past its minimum measurements. The smaller form gives you a solid foundation to work from, allowing you to add padding to perfectly mimic a client's specific curves or your own unique shape.
The classic mistake is buying a dummy that's too big. You're left with no room to manoeuvre. Choosing the smaller size gives you the creative freedom to accurately replicate a fuller bust, a softer tummy, or even asymmetrical hips – details that make all the difference to the final fit.
Can I Get a Dummy for Different Body Types?
Absolutely. The days of one-size-fits-all dress forms are long gone. The UK’s fashion industry contributes over £3.5 billion to the economy each year, and that success is built on catering to a diverse population.
Leading brands have recognised this and now offer a fantastic range of dummies. You can find models for petite frames (UK size 4) all the way through to plus-size figures (UK size 26). This shift towards inclusivity means it’s easier than ever to achieve a truly professional fit for any body shape. You can find more details on the versatility of adjustable dummies in the UK in this great article.
At Display Guru, we have a fantastic range of high-quality, adjustable dressmaker dummies ready for any sewing project you can dream up. Find the perfect creative partner for your sewing room by exploring our collection at https://www.displayguru.co.uk.