


Dressmaker Dummy Adjustable: Perfect Fit for Your Sewing Projects
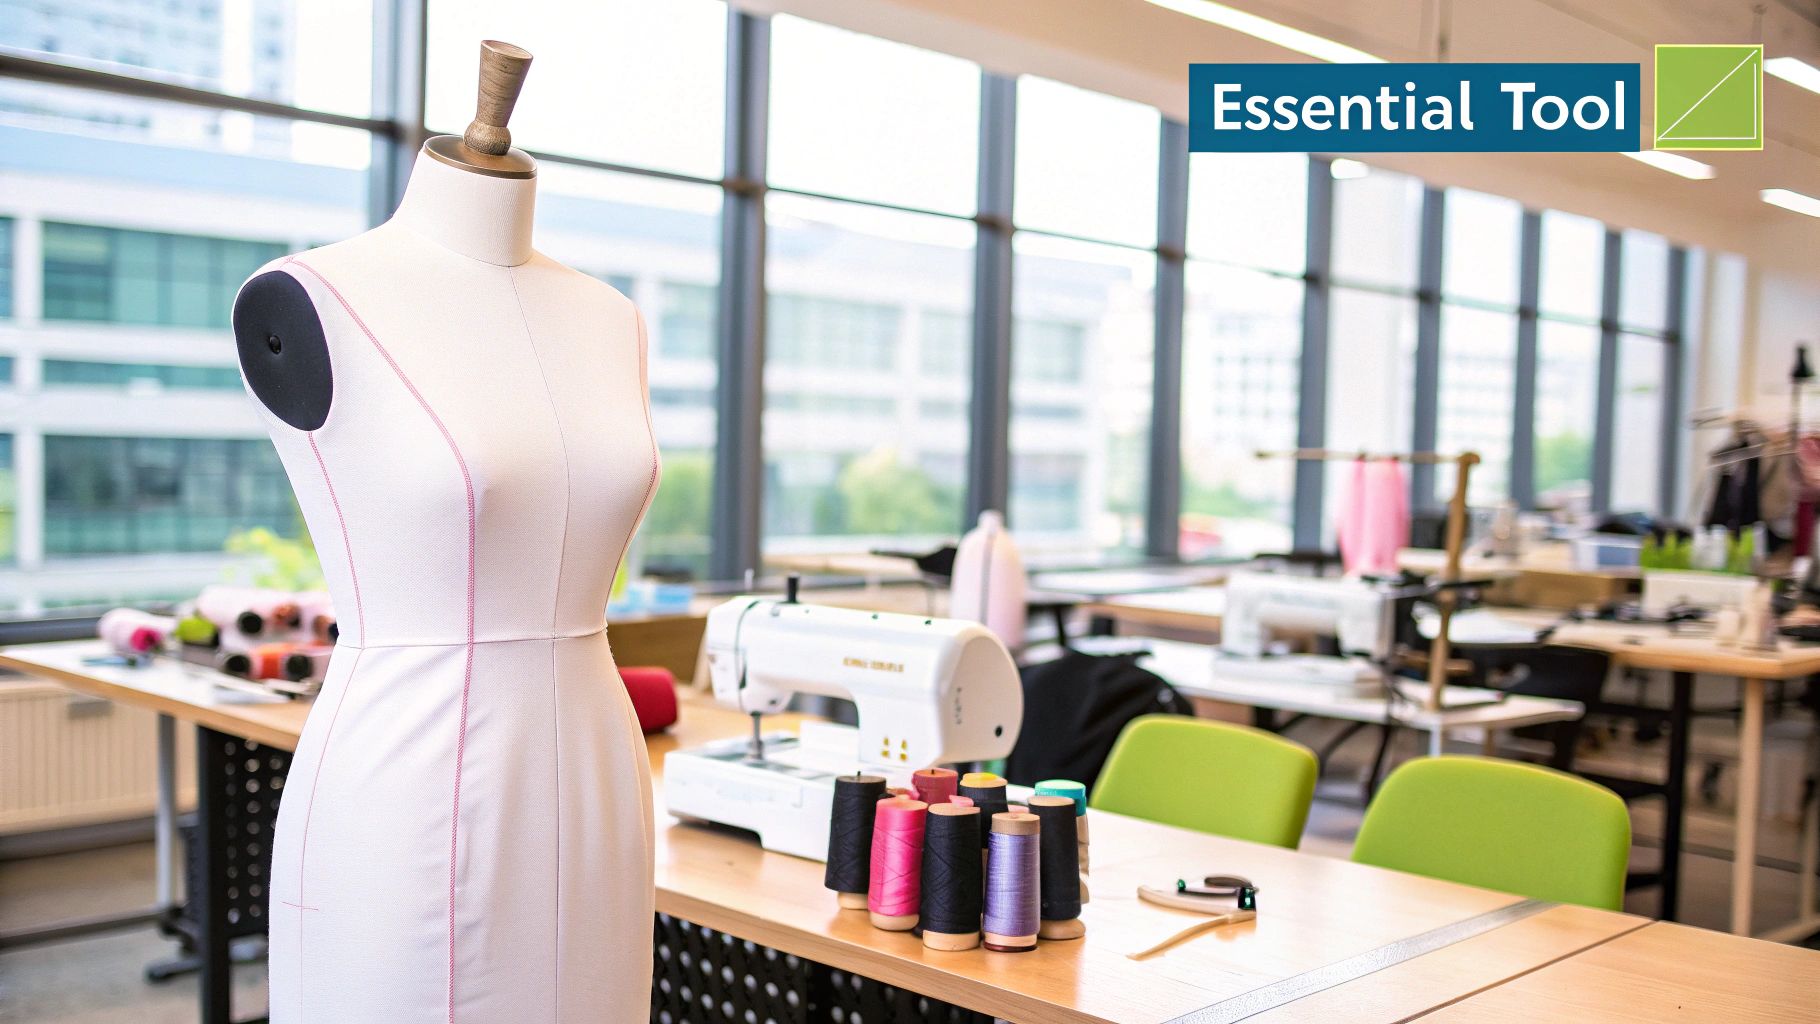
So, what exactly is an adjustable dressmaker's dummy? In simple terms, it's a three-dimensional torso form with dials built in that let you tweak its bust, waist, and hip measurements. Think of it as your own personal fitting model, one you can shape to match a specific body perfectly. It's an absolutely essential bit of kit for anyone serious about creating clothes that fit like a glove.
Getting to Grips with the Adjustable Dress Form
We've all been there. Trying to pin a dart on your own back or get a hem perfectly straight while you're wearing the skirt? It's a frustrating, almost impossible task. This is where an adjustable dummy becomes your best friend. It acts as your stand-in, giving you a stable, 360-degree view of how a garment truly hangs and fits.
It’s the bridge between a flat, two-dimensional paper pattern and a finished piece of clothing that drapes and moves with the body. Unlike the static mannequins you see in shop windows, this is a tool designed for the hands-on, creative process of making clothes. It’s all about taking the guesswork out of fittings and alterations, meaning you no longer have to bribe a family member to stand still for hours on end!
What It's Really For
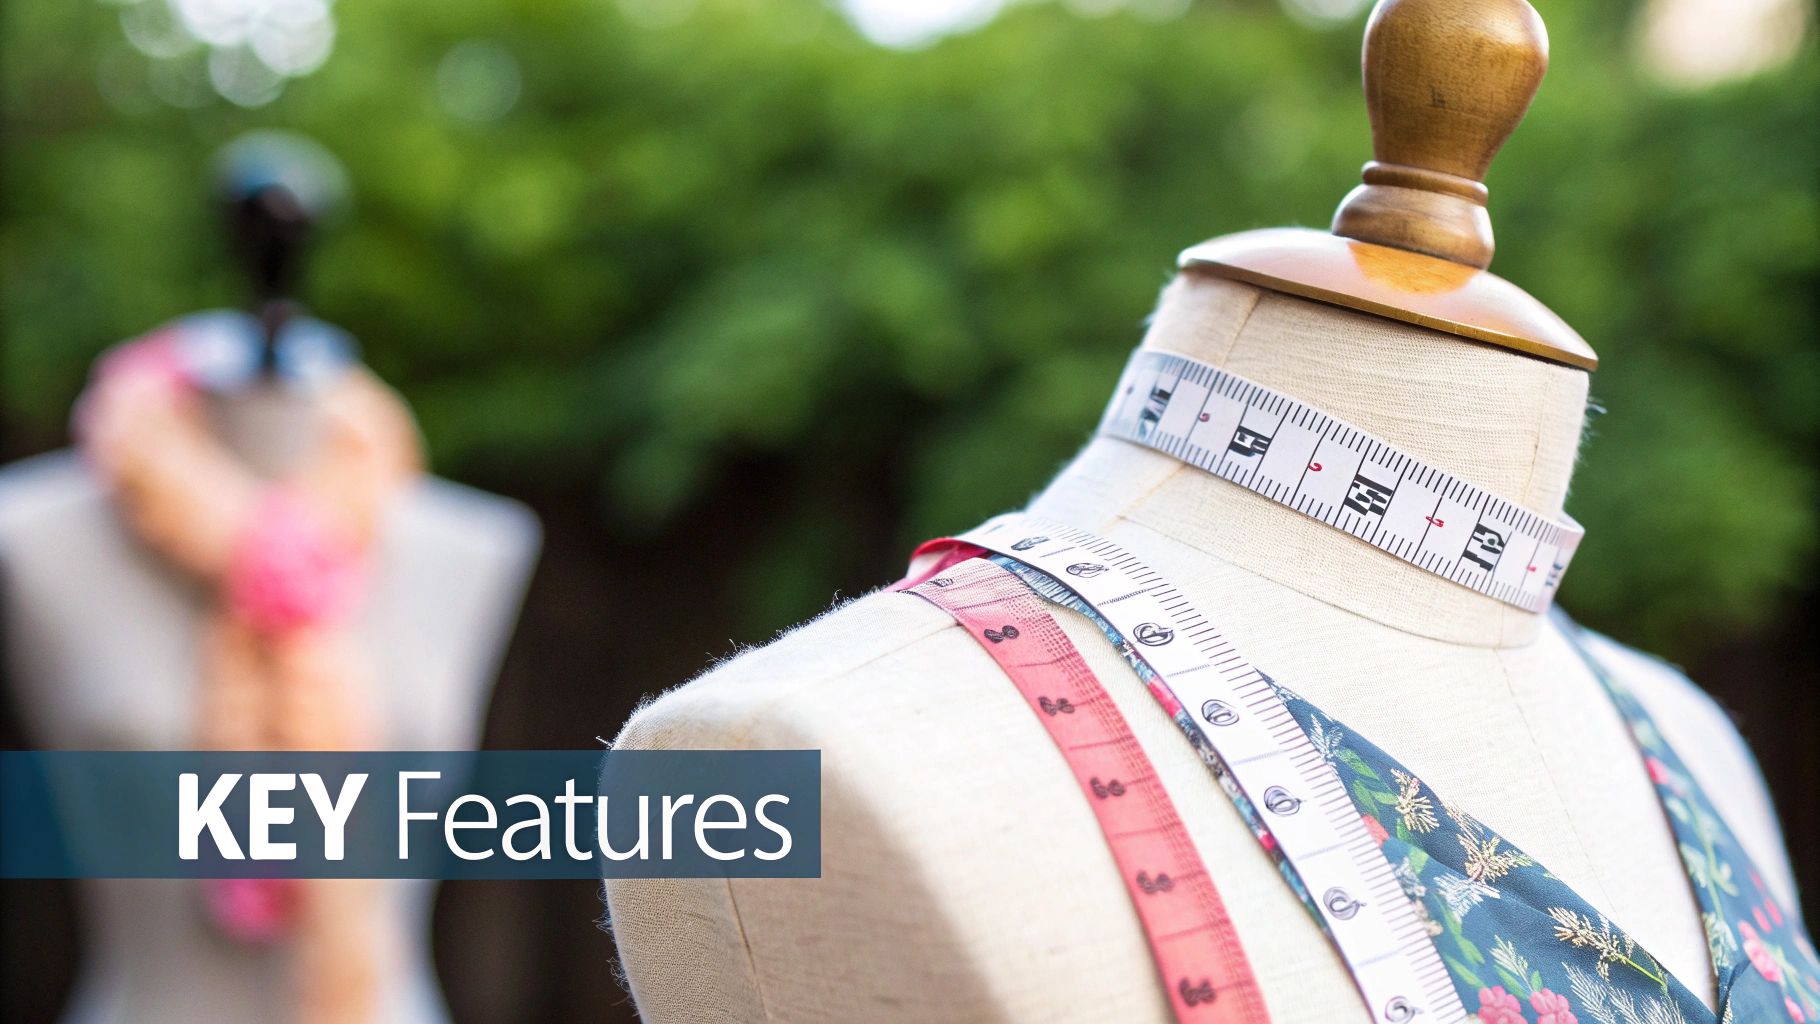
At its heart, the goal is to create a body double. By turning a series of dials—usually at the bust, waist, and hips—you can expand or shrink the form to hit very specific measurements. The more advanced models even let you adjust things like back-waist length or neck size, offering an even more faithful replica of a person's shape.
This adjustability is precisely what makes them so invaluable.
- Spot-on Fittings: You can instantly see where a garment pulls, bunches, or hangs awkwardly, letting you make precise changes before you touch your final, precious fabric.
- Painless Pattern Alterations: It makes tricky jobs, like adding darts or redrawing seam lines, so much simpler by showing you the effect of your changes in 3D.
- Creative Draping: Designers can drape fabric directly onto the form to dream up unique designs from scratch, a technique at the core of haute couture and bespoke tailoring.
- A Professional Finish: Getting a perfectly level hem or a beautifully balanced drape is a breeze when you can see the garment properly supported on a form.
In short, an adjustable dummy provides a reliable, consistent reference throughout the entire sewing journey. It gives you the confidence to tackle tricky fitting problems and achieve that truly professional, custom-fit result, time and time again.
Choosing the Right Dressmaker Dummy For You
Investing in an adjustable dressmaker dummy is a game-changer for any sewing room. It's a significant step, so it pays to get it right. With so many options out there, focusing on a few key details will ensure you find a tool that will serve you well for years. Think of it less as buying a mannequin and more like hiring a silent, perfectly patient fitting assistant.
The first, most crucial factor is making sure the dummy’s measurement range actually works for you. Before you even start browsing, take accurate bust, waist, and hip measurements of the person you'll be sewing for most often. This simple step helps you avoid the common pitfall of buying a dummy that's either too large or too small to be truly useful.
Matching Your Measurements to a Dummy
Here’s the golden rule for picking the right size: always choose a dummy whose maximum measurements are slightly smaller than your own. Why? Because you can easily add padding to build up specific areas like the bust or hips, but you can never make a dummy smaller than its minimum settings. This is the secret to creating a genuine body double.
An adjustable dressmaker dummy is a cornerstone of a global industry valued at over a billion dollars. The UK's vibrant fashion and tailoring sectors are a big part of this, relying on these forms to create everything from bespoke suits to ready-to-wear lines. You can explore more about the tailor dummy market on Verified Market Reports.
Once you have your numbers, it's time to compare them against the size charts from different manufacturers. Pay close attention to the full adjustment range for each key measurement point.
Choosing the right dummy comes down to a few core features that make a world of difference in your day-to-day work. The table below breaks down what you should be looking for.
Adjustable Dummy Feature Comparison
| Feature | What to Look For | Why It Matters |
|---|---|---|
| Number of Dials | 8 to 12 adjustment dials or more, covering bust, waist, and hips. | More dials give you finer control, allowing for more precise shaping to replicate a real body. |
| Stand Stability | A sturdy, weighted base—either a tripod or a solid round base. | A wobbly stand is not only frustrating but can be a hazard. Stability is non-negotiable. |
| Cover Material | A foam-backed fabric cover that is easy to pin into. | This is essential for draping fabric and securing pattern pieces directly onto the form during fitting. |
| Size Range | A range that starts slightly smaller than your target measurements. | It allows you to pad out the form to perfectly match unique curves and body shapes. |
Ultimately, a good dummy isn't just a stand-in; it's a creative partner that helps you bring your designs to life with precision and confidence.
The goal is not just to match three numbers, but to create a realistic silhouette. Choosing a slightly smaller form gives you the creative freedom to pad it out and replicate unique body curves perfectly.
For an even more in-depth look at making the right choice, be sure to read our complete guide on selecting an adjustable mannequin for sewing your ultimate fitting guide. It’s packed with extra details to help you find the perfect partner for all your projects.
Setting Up Your Dummy for a Perfect Fit
Getting your new dressmaker dummy adjustable form out of the box is exciting, but the real magic happens when you start personalising it. The aim here is to create a true body double, moving past the flat numbers of a tape measure to capture the unique contours of an actual person.
Begin with the dials. Don't rush this part. Adjust the bust, waist, and hips slowly and evenly on all sides. This helps keep the form's proportions balanced and symmetrical, giving you a realistic foundation to build upon.
Achieving a True Body Double
With the main measurements dialled in, it’s time to start padding. This is the crucial step that transforms a standard form into a bespoke fitting tool, as it’s the only way to mimic the unique curves that dials can't replicate. A properly padded dummy is the secret to ensuring your finished garments hang beautifully, without any awkward pulling or sagging.
You don't need fancy materials to get a great result. Many sewists use:
- Wadding or Batting: Brilliant for adding soft, general volume across the bust, stomach, or hips.
- Foam Shoulder Pads: These are perfect for building up more defined areas, like the shoulders or creating a fuller bustline.
- A Fitted T-Shirt or Cover: Pop an old, snug-fitting top over the dummy first. It acts as a great base layer to hold all your padding firmly in place.
This graphic breaks down the initial setup into three straightforward steps.
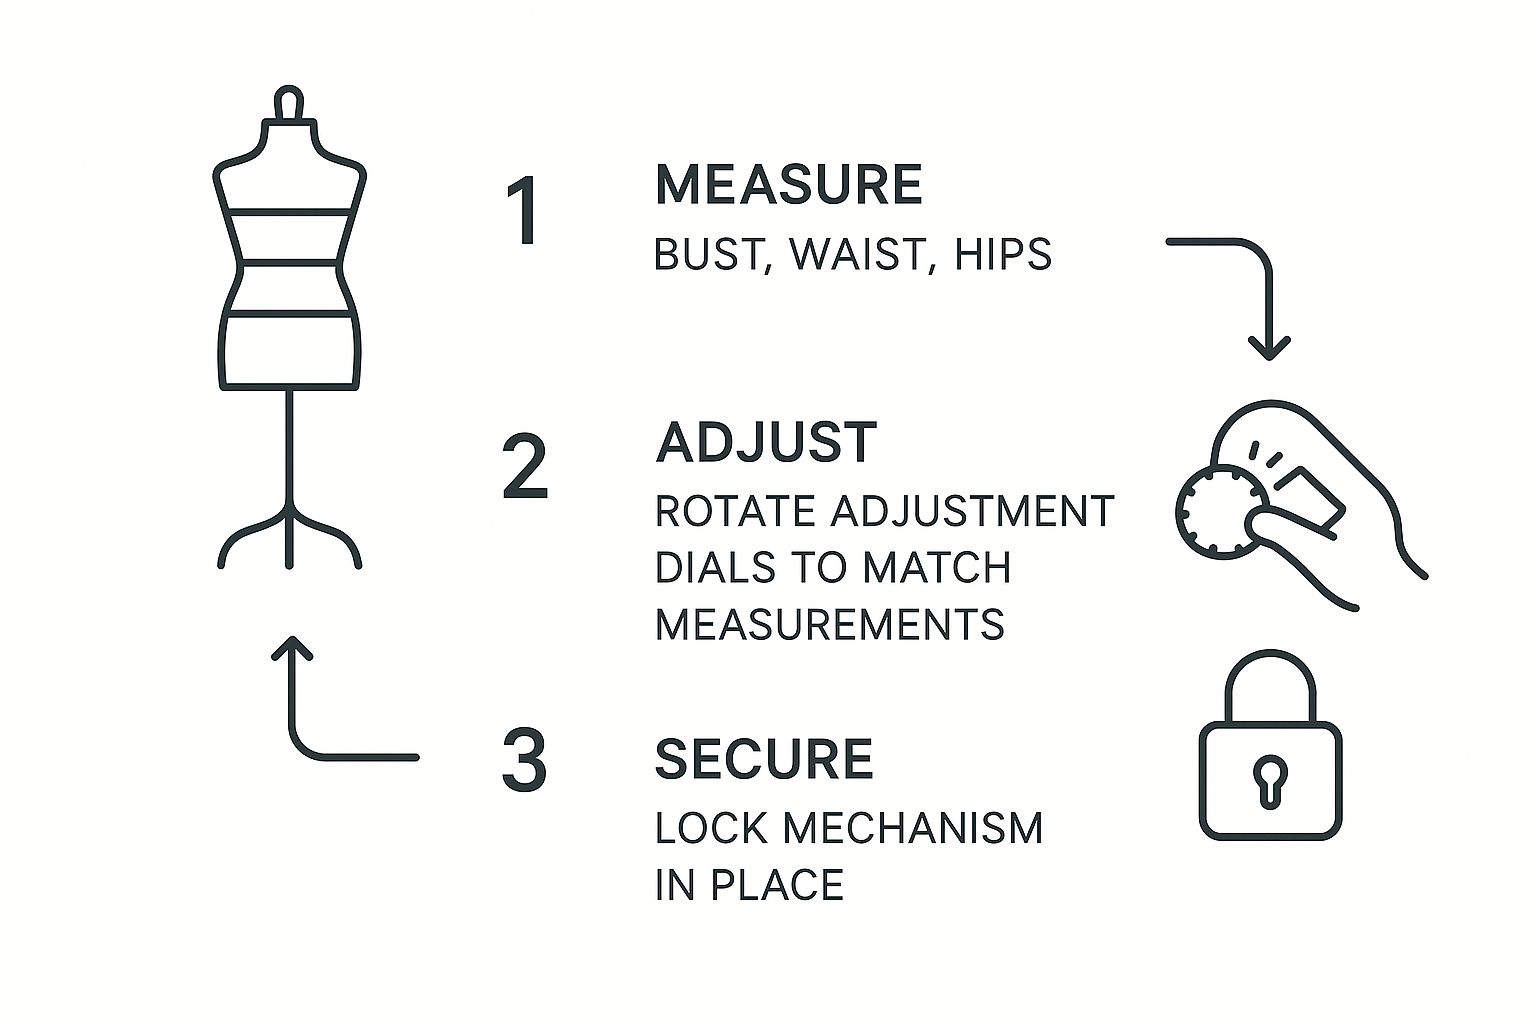
As you can see, a methodical process of measuring, adjusting, and then securing the padding is the key to a reliable fit.
Remember, the goal isn't just to match measurements on a chart; it's to replicate a body's unique landscape. Specific areas like a rounded upper back, high hips, or a fuller tummy all need careful padding to get a truly accurate silhouette.
This hands-on process is what turns a generic piece of equipment into your personal fitting assistant. Taking the time to pad your dummy correctly builds a trustworthy reference point that will drastically improve the fit of every single garment you create.
For a deeper dive, our guide on using adjustable dress forms for sewing has even more tips to help you master your projects.
How the Dress Form Shaped Modern Fashion
The humble dress form has a surprisingly rich history, one that closely follows the story of fashion itself. Before we had the versatile dressmaker dummy adjustable models we use today, their earliest ancestors were simple, static tools hidden away in the backrooms of tailoring workshops.
Back in 15th-century Britain, these forms were a practical must-have for crafting bespoke garments for the aristocracy. Think headless, armless torsos, painstakingly built to a client's exact measurements. This meant a tailor could perfect a piece of clothing without demanding endless, inconvenient fittings from their wealthy patrons. For centuries, this dedication to a perfect, individual fit was their entire reason for being.
From Workshop Tool to Public Spectacle
Then came the Industrial Revolution, and everything changed for the dress form. With the dawn of mass production and standardised sizing, the need for purely custom forms in everyday garment making started to fade. In their place, the dress form stepped out into the world and took on a new public-facing role: the mannequin.
No longer just a maker's tool, the dress form moved into the shop window. It became a silent salesperson, showcasing the latest styles and making fashion feel attainable to everyone, feeding the new and exciting pastime of window shopping.
This journey from a private fitting aid to a public symbol of style was a huge leap. The history of shop mannequins in the UK, as detailed by sources like The Retail Factory, clearly maps this evolution from a craftsman's secret weapon to a commercial display essential.
Today's models truly represent the best of both worlds. They have the display power of their 19th-century relatives combined with the precise, customisable spirit of their very first ancestors. Understanding this history gives you a real appreciation for just how versatile a modern dress form is. For a closer look, you can explore our guide on the vital role of dress forms for sewing. They really do remain at the centre of craft, commerce, and creativity.
Advanced Techniques for Creative Sewing
Once your dressmaker dummy adjustable form is padded out to match your unique shape, it transforms from a simple fitting tool into a powerful creative partner. This is your chance to move beyond the flat world of paper patterns and start exploring the techniques that give garments a truly professional finish.
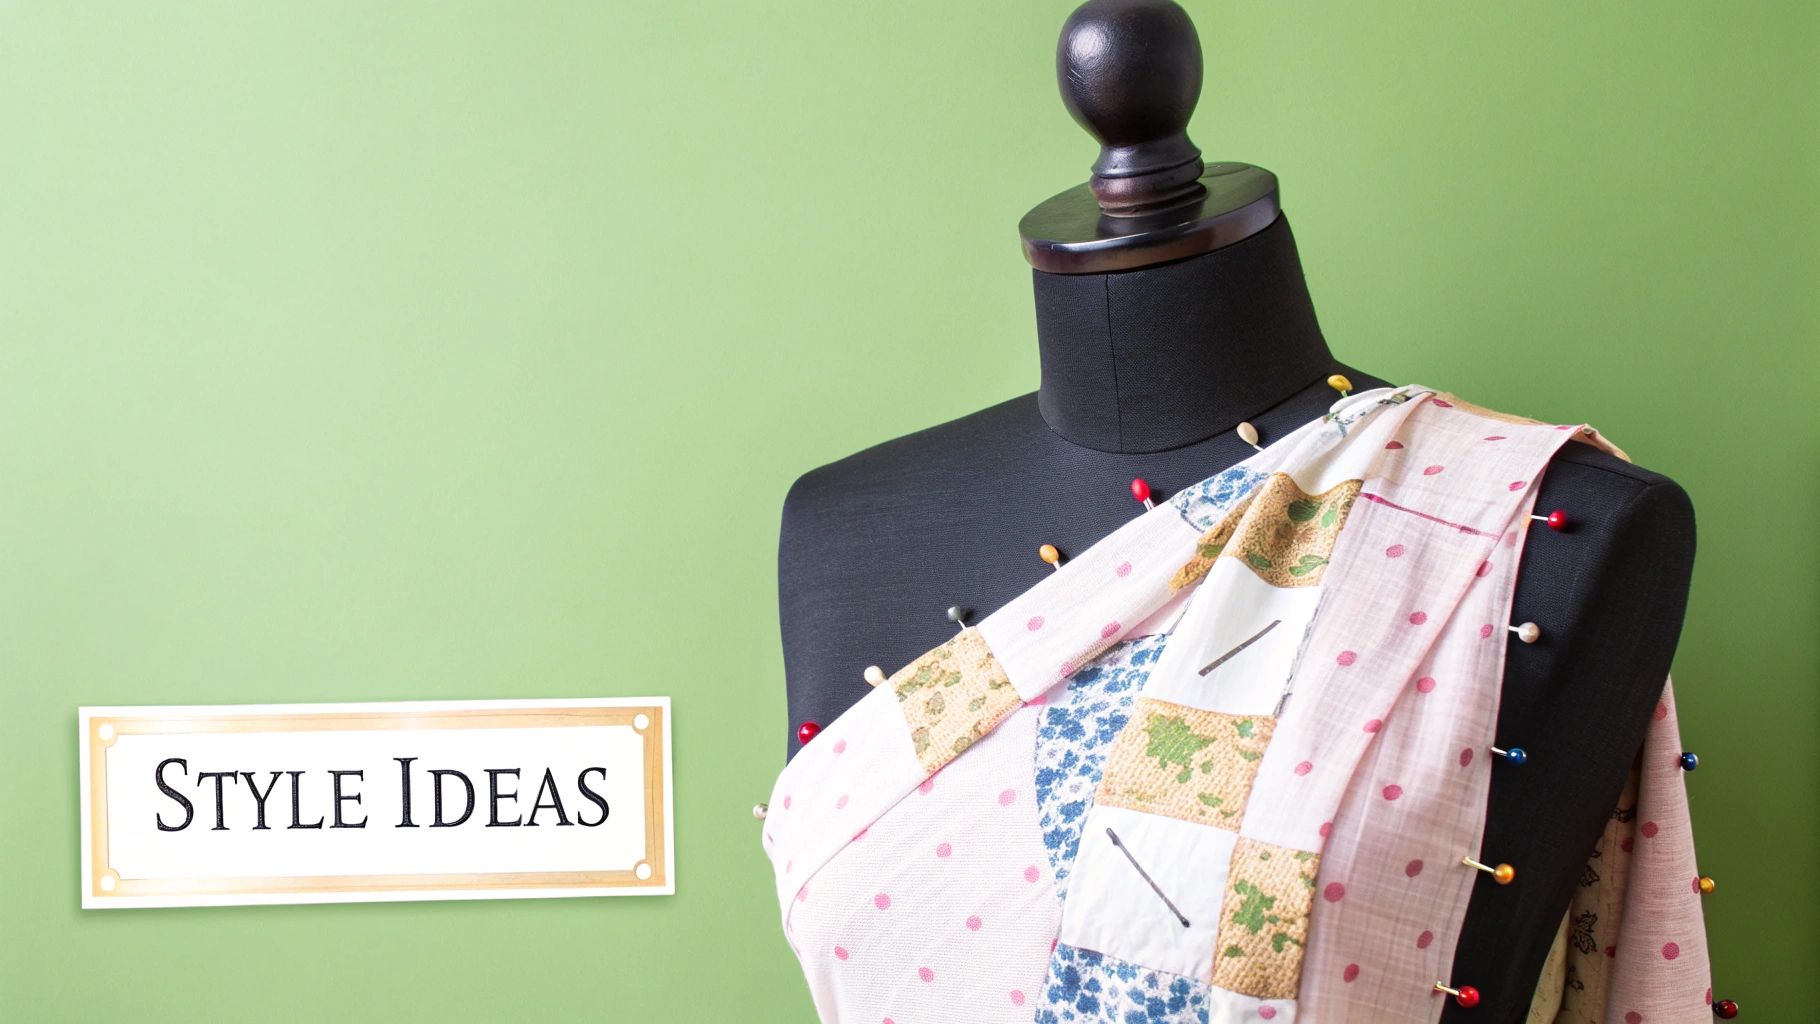
One of the most exciting things you can do is draping. Instead of cutting from a pattern, you work directly with the fabric on the form, pinning, folding, and sculpting it to bring a design to life. It’s a wonderfully intuitive process that lets you discover how a material wants to hang and move—the very foundation of haute couture.
Solving Complex Fitting Issues in 3D
A dress form is an absolute game-changer for tricky pattern alterations. Forget struggling with flat paper and trying to imagine the result. Here, you can see the real-world impact of your changes on a three-dimensional body. It’s especially brilliant for those notoriously difficult adjustments.
- Full Bust Adjustment (FBA): You can see precisely how much extra fabric is needed across the chest and exactly where to position the darts for a smooth, pucker-free fit.
- Swayback Adjustment: Simply pinch out that annoying excess fabric at the small of the back to get rid of pooling and achieve a clean, sharp silhouette.
- Shoulder Slope Changes: Check the drape from the shoulder point in real-time, making sure the garment hangs beautifully without pulling or creating diagonal wrinkles.
These forms are so fundamental to the craft that they're a vital part of the fashion industry's toolkit. The UK’s fashion sector, for instance, relies on a global supply chain to source these essential items from major manufacturing centres. This just goes to show how indispensable they are for everyone from bespoke tailors to large-scale clothing brands. You can even dig into the data behind UK imports of tailors' dummies on Trading Economics.
Using a dummy for these adjustments gives you instant visual feedback. It turns what was once a frustrating guessing game into a clear, logical process. It’s the difference between hoping for a good fit and actually engineering one.
Lastly, your dummy is the perfect assistant for applying those all-important finishing touches. You can meticulously check the balance and hang of a garment from every angle. And most importantly, you can mark a perfectly even hemline. Whether you use a skirt marker attachment or a simple pin-and-ruler method, your form ensures your hems are flawlessly level every time, giving your work that final polished look. To learn more about how different forms support diverse body types, check out our guide to plus-size mannequins for stylish store displays.
Common Questions About Dressmaker Dummies
Once you bring an adjustable dressmaker dummy into your sewing room, you'll naturally have a few questions. It’s a brilliant tool, designed to make your life easier, but knowing a few tricks of the trade will help you get the most out of it right from the start. Let's walk through some of the things sewers often ask.
One of the first hurdles is often choosing the right size, especially if your own measurements fall somewhere between two different models. It can feel like a bit of a gamble, but there’s a golden rule that seasoned dressmakers always stick to.
What if My Measurements Are Between Two Sizes?
If you find yourself stuck between two sizes, always choose the smaller one. I know, it might feel wrong, but trust me on this. You can always add padding to build up specific areas on a smaller form, but you can never shrink a dummy that’s already too big at its smallest setting.
Think of the smaller dummy as your base sculpture. It gives you the foundational structure, and from there, you can add layers to perfectly mimic the unique contours of the body you're fitting. This way, you’re guaranteed to be able to create an exact replica, no matter the figure.
How Do I Create a Realistic Body Shape with Padding?
Getting that true-to-life silhouette is less about the numbers on the dials and more about strategic padding. Human bodies have soft curves, dips, and bumps that a standard form just can’t replicate on its own, so simply setting the bust, waist, and hip measurements is only half the job.
First, pull a snug-fitting t-shirt or leotard over your dummy. This gives you a smooth surface to work on and helps keep all your padding securely in place. Now you can start layering materials like quilt batting, foam, or even spare shoulder pads onto key areas.
- Bust: Add padding underneath to create the right cup shape and position.
- Stomach and Back: Build up layers to reflect a rounded tummy or the curve of a swayback.
- Hips and Thighs: Add volume to match the body's natural curves.
Pin or tape the padding as you build it up. Every so often, pop the garment you’re making onto the form to check how it drapes. Keep tweaking the padding until it hangs just right. For a really deep dive into this, our ultimate fit guide for adjustable dressmaking forms has even more detailed techniques.
Are There Dummies for Different Body Types?
Yes, absolutely! Thankfully, the days of the one-size-fits-all hourglass dummy are long gone. The industry has made huge progress in creating tools that reflect the wonderful diversity of real bodies.
You can now find a dressmaker dummy adjustable for all sorts of figures. Many brands offer specialised forms designed for plus-size, petite, and male body shapes, making it easier than ever to get a professional fit.
When you're looking for a dummy, just be sure to check the specific measurement range of the model. This will tell you if it has the right scope to adjust for the projects you have in mind, so you can create beautifully tailored clothes for anyone and everyone.
At Display Guru, we offer a fantastic range of high-quality, adjustable dressmaker dummies to suit every sewing project. Find the perfect partner for your creative space by exploring our collection at https://www.displayguru.co.uk.