


Best Sewing Machine for Cabinet Installation | Guide & Tips
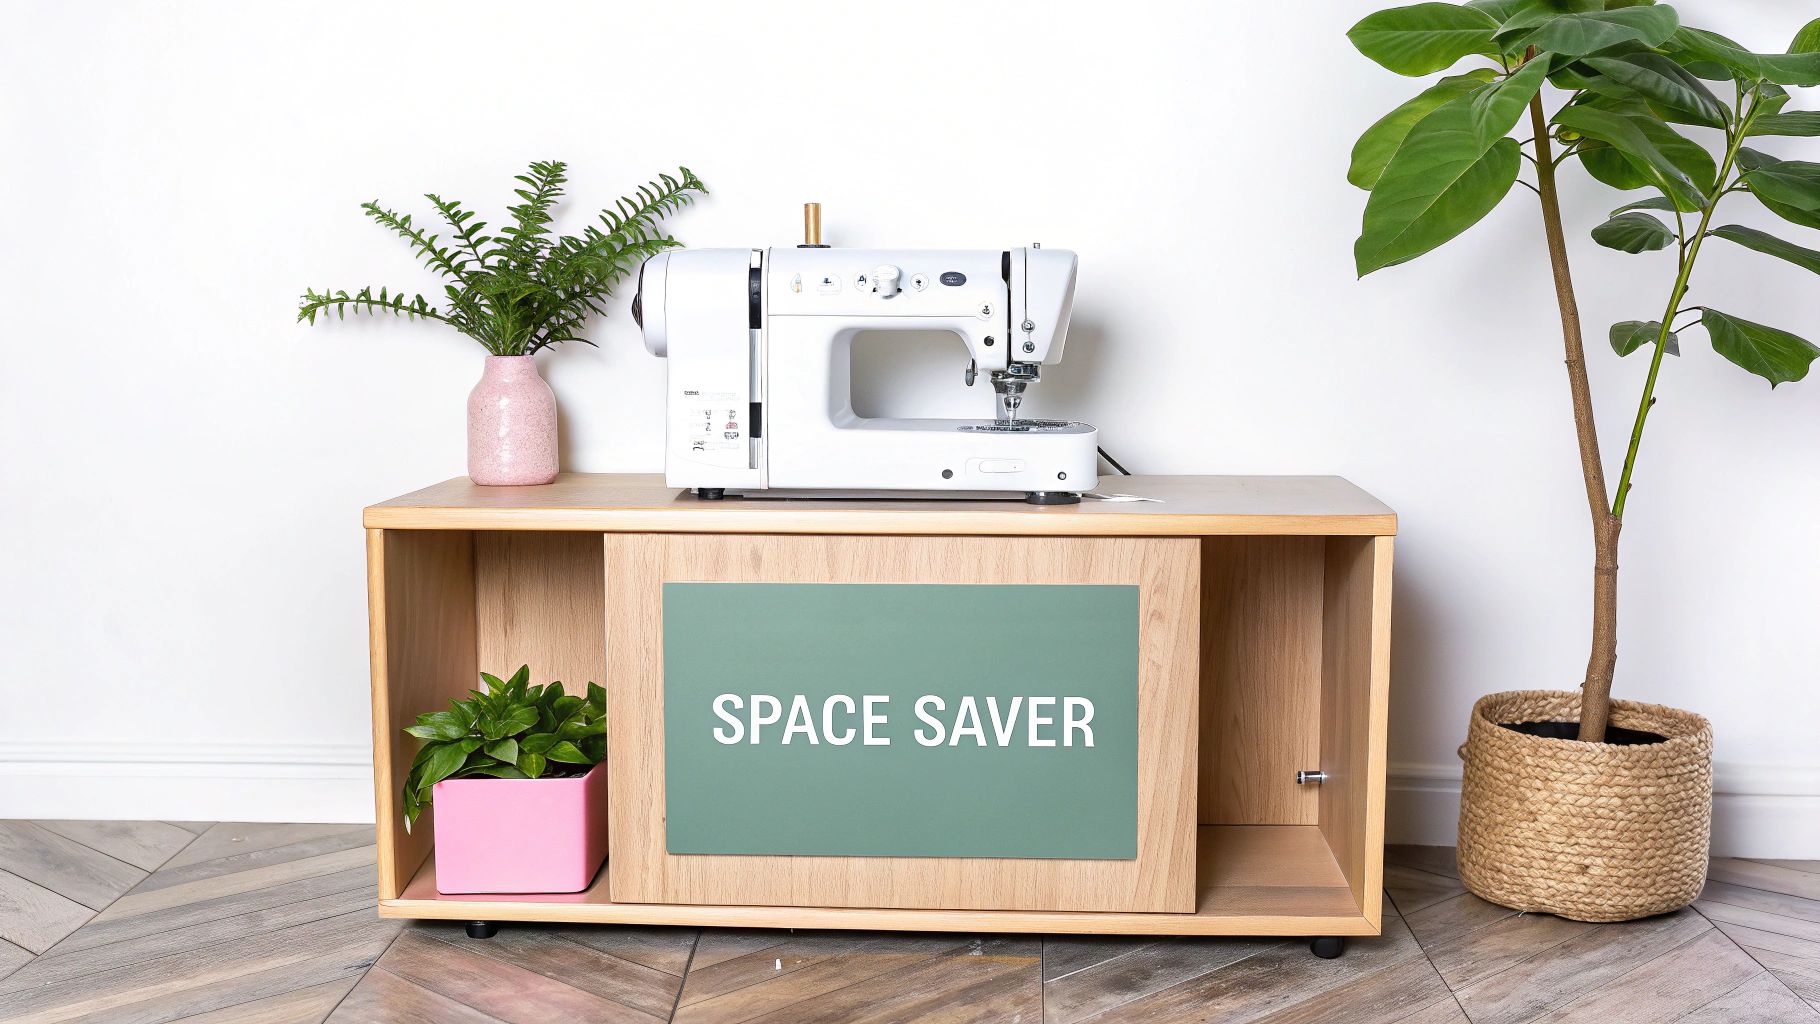
A sewing machine designed for a cabinet isn't just any old model you can pluck off a shelf. It needs to have a flatbed design and be the right size to sit perfectly level within a cabinet's lift mechanism. This is what creates that seamless, ergonomic workspace, turning a simple table into a fully integrated sewing station.
Why Your Sewing Machine and Cabinet Must Be a Perfect Match
Pairing a sewing machine with a cabinet is a bit like finding the right dance partner—the rhythm and coordination have to be spot on. This is about more than just slotting a machine into a pre-cut hole; it’s about creating a single, cohesive system where everything works in harmony. When you get it right, you're rewarded with a comfortable, expansive, and incredibly efficient workspace that genuinely makes your sewing process smoother.
Think of it as a custom-fitted glove. When your machine sits completely flush with the cabinet top, you eliminate all those annoying edges and gaps that cause fabric to snag, bunch, or drag. You’re left with a smooth, uninterrupted surface that’s an absolute dream for quilting or managing large, unwieldy pieces of material.
Creating an Integrated System
A successful pairing all comes down to the relationship between your machine’s dimensions and the cabinet’s lift. Getting this right from the start saves a world of frustration later. Your sewing station should feel less like separate bits of equipment and more like one dedicated hub for your creativity.
The benefits of getting this synergy right are huge:
- Better Ergonomics: A flush-mounted machine helps you maintain a much healthier posture, which means less strain on your back and shoulders during those long, marathon sewing sessions.
- Superior Fabric Control: With a seamless surface, your fabric will glide effortlessly right up to the needle plate. This gives you far greater control and precision, especially with delicate or bulky textiles.
- A Larger Workspace: The cabinet effectively becomes an extension of your machine, giving you a massive amount of room for even the most ambitious projects without feeling cluttered. For more tips on setting up your area, check out our guide on creating the ideal sewing and cutting table.
You can see just how crucial this kind of precision is across the sewing industry. The European market for industrial sewing machines is on the rise, with projections showing consumption will hit around 1.7 million units. Here in the UK, we're a major part of that, especially where precise sewing is vital for high-quality upholstery and cabinetry work. You can find more details on these trends in the European sewing machine market report from IndexBox.
Taking the Right Measurements for a Seamless Fit
When it comes to creating the perfect sewing station, there’s one rule I always tell people: measure twice, buy once. Guesswork is the quickest way to end up with a sewing machine that just won't cooperate with your cabinet, leading to endless frustration. A few careful measurements are all it takes to guarantee a seamless fit and a workspace you’ll love.
First things first, grab a tape measure and get the vital statistics of your sewing machine. You'll need its overall width (side to side), depth (front to back), and height. It’s also a good idea to measure the throat space—that’s the distance from the needle to the inside of the machine's arm. This number tells you how much room you'll have for manoeuvring larger projects like quilts.
With those numbers in hand, it's time to measure the cabinet. Focus on the opening or platform where the machine will sit. Just as crucial, though, is checking the lift mechanism’s weight capacity. You'll usually find this in the manufacturer’s manual or online specs. Pushing the weight limit can strain the lift, causing it to fail over time.
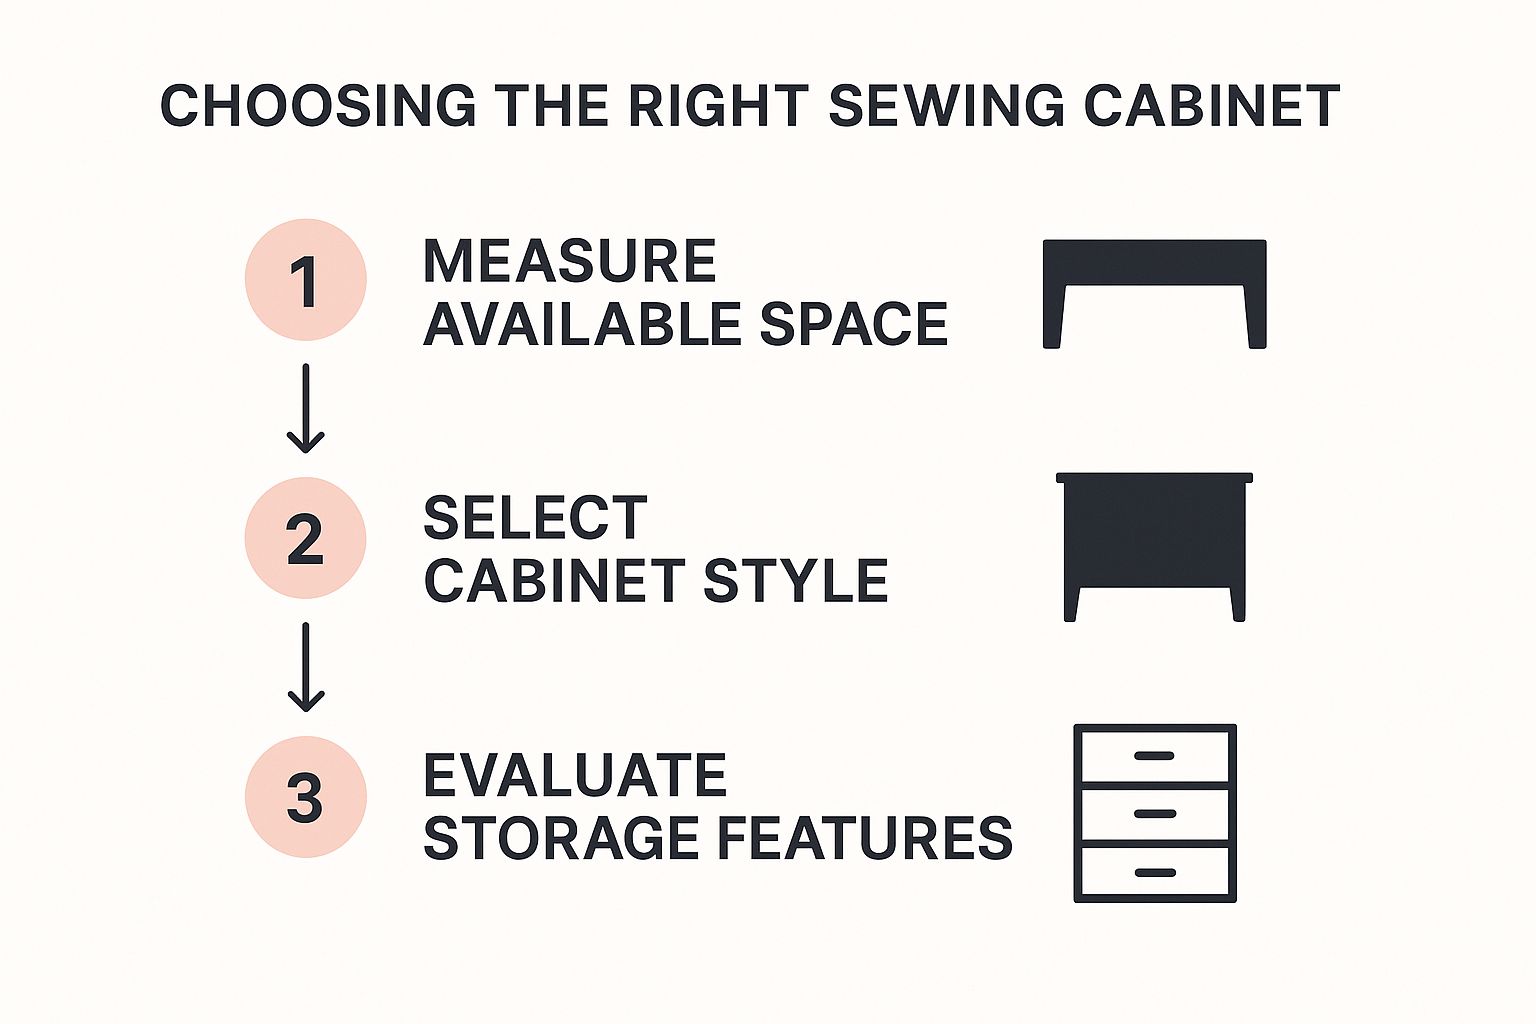
This little guide really drives the point home: measuring your space is the absolute first step. Get that right, and everything else, from style to storage, falls into place beautifully.
Common Measurement Mistakes to Avoid
From my experience, a couple of small oversights can cause the biggest headaches down the line. It's easy to forget about the bits and bobs that stick out, so make sure you're accounting for everything.
Here are a few common pitfalls I’ve seen people fall into:
- Forgetting Cords and Plugs: Always add a few extra centimetres to your depth and width measurements. You need space for the power cord and foot pedal plug to sit comfortably without being squashed.
- Ignoring the Knee Lift: Does your machine have a knee lift? You need to be certain there’s enough clearance underneath the cabinet top for it to move freely.
- Assuming a "Standard" Size: There's no such thing as a one-size-fits-all cabinet opening. Machine dimensions vary hugely between brands and even different models from the same company. Always measure your specific machine.
To make this process foolproof, I've put together a quick checklist. Use this to jot down your numbers and you can't go wrong.
Essential Measurement Checklist for Compatibility
| Measurement Point | How to Measure | Why It Matters |
|---|---|---|
| Machine Width | Measure the widest points from side to side. | Ensures the machine fits into the cabinet's opening without being too tight or too loose. |
| Machine Depth | Measure from the very front to the back, including knobs. | Critical for ensuring the machine doesn't stick out and the cabinet can close (if applicable). |
| Machine Height | Measure from the base to the tallest point (e.g., spool pin). | Determines if the machine can be fully lowered into the cabinet for storage. |
| Cabinet Opening | Measure the width and depth of the recessed platform. | These are your absolute maximum dimensions; your machine must be smaller. |
| Cabinet Lift Weight | Check the manufacturer's specifications. | Prevents damage to the lift mechanism by ensuring it can support your machine's weight. |
Keeping this checklist handy as you shop will save you from any compatibility surprises and help you find the perfect pairing of machine and cabinet.
Taking the time to double-check these details is what separates a functional setup from a frustrating one. A well-measured space ensures your machine not only fits but operates as intended.
For more ideas on optimising your entire creative area, our guide on designing functional cutting and sewing tables has some great insights that build on these same principles of thoughtful planning.
What to Look For in a Cabinet-Friendly Sewing Machine
Not all sewing machines are created equal, especially when you plan to install one in a cabinet. While many modern machines boast impressive power and a dizzying array of stitches, only a handful are truly designed to work seamlessly within an integrated sewing station.
So, what transforms a good machine into the perfect partner for your sewing furniture? It comes down to a few specific features that prioritise a smooth, snag-free workflow.
The absolute number one, non-negotiable feature is a flatbed design. This is what allows the machine to sit perfectly flush with the cabinet's surface when raised on the lift. Without it, you’ll be left with a frustrating lip or gap where your fabric can catch, which completely undermines the whole point of a cabinet setup.
Beyond that essential foundation, a few other key features will make your life so much easier during those long, creative sessions. Think of these as the difference between a functional setup and a genuinely joyful one.
- Top-Loading Bobbin: This is a game-changer. It means you can pop a new bobbin in from the top without having to awkwardly lift the entire machine out of its cradle.
- Bright LED Lighting: Good lighting is crucial. A powerful, built-in LED that illuminates the needle area will banish the annoying shadows often cast by your main room light.
- Knee Lift Compatibility: If you're into quilting or appliqué, a knee lift is a must. It allows you to raise and lower the presser foot with your knee, keeping both hands on your fabric for maximum control.
Function Over Frills
When you're shopping for a cabinet machine, it’s easy to get distracted by flashy digital displays and hundreds of decorative stitches. But it's far wiser to focus on the practical, physical features first.
For example, the UK sewing machine market is set to grow by over USD 20 million by 2028, and a lot of that is fuelled by new digital tech. While a touchscreen is lovely, it's far less important than the machine's actual compatibility with your cabinet. You can read more about the evolving UK sewing market at Bonafide Research.
A workhorse machine with a top-loading bobbin and a solid motor will always serve you better in a cabinet than a feature-packed model with a cumbersome free-arm design that constantly gets in the way.
The goal here is to create a single, harmonious system. The right machine doesn't just sit in the cabinet; it works with it, turning two separate purchases into one efficient and ergonomic workstation.
Choosing wisely at this stage makes your entire sewing experience better. If you're looking for more ways to create your perfect creative space, check out our collection of inspiring sewing room ideas.
Getting to Grips with Your Cabinet's Lift Mechanism
Think of the lift as the engine of your sewing cabinet; it’s the bit that does all the heavy work behind the scenes. This mechanism is what lets you glide your sewing machine from its storage spot up to a flatbed or free-arm position, and getting the right one is crucial for your comfort and ease of use.
Lifts aren't all created equal. They offer different levels of help and convenience, and they generally fall into one of three camps.
Manual, Air-Lift, and Electric Systems
Let's break down the core differences so you can find the perfect match for your sewing setup.
-
Manual Lifts: These are the most straightforward option. You physically lift and lower your machine, then lock it into place with a lever. They’re dependable and won't break the bank, but they do require a bit of muscle, which might not be ideal if you have a particularly hefty machine.
-
Air-Lifts: This is the go-to for most sewists, and for good reason. Often called a pneumatic lift, it uses a gas-pressurised system to help you out. A gentle push is all it takes to make the machine glide smoothly up or down. Most of these can handle machines up to about 20 kg, but it's always wise to double-check the specific weight limit.
-
Electric Lifts: If you’re after the ultimate in convenience, especially with some of the heavier, computerised beasts on the market today, an electric lift is the way to go. A simple press of a button moves your machine smoothly and precisely into position. They boast the highest weight capacity and are a fantastic choice for anyone looking to avoid any physical strain.
Picking the right lift is about more than just convenience. It's about setting yourself up for an ergonomic and long-lasting sewing habit. An air-lift or electric system can dramatically reduce the strain on your back and arms, making your creative time more comfortable and enjoyable for years to come.
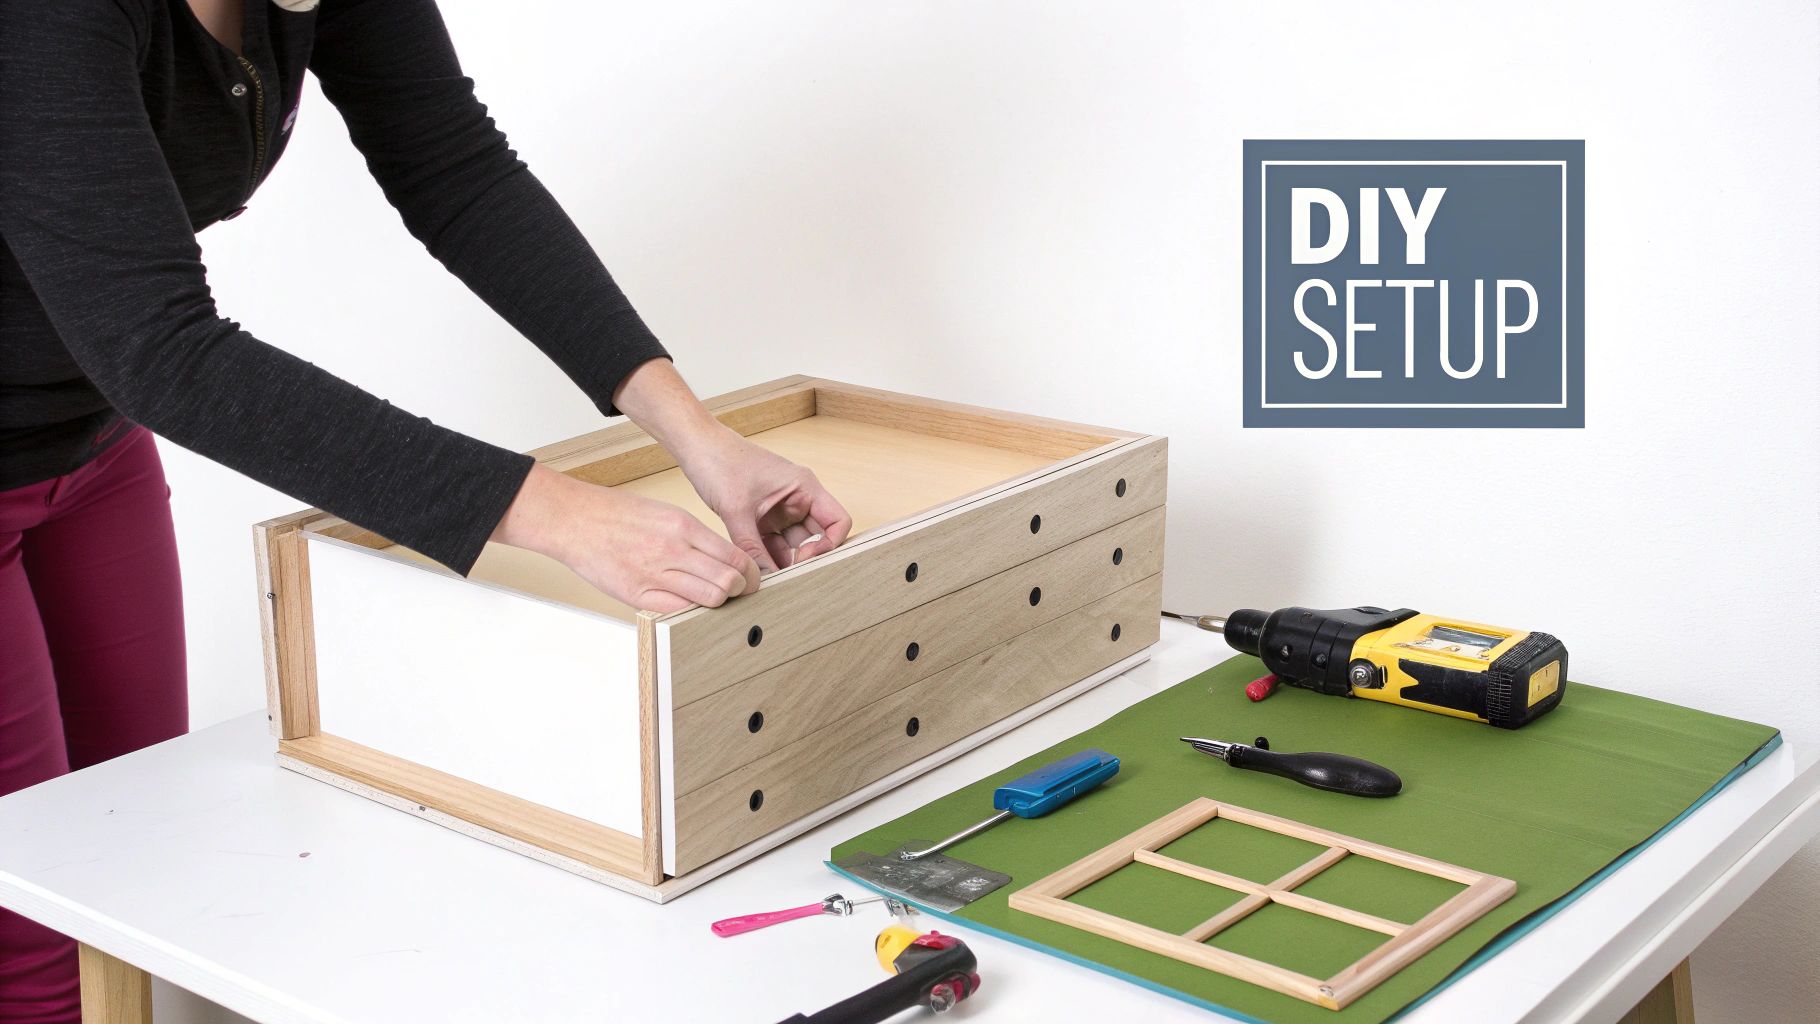
Assembling Your Perfect Sewing Station
You've found the ideal machine and the perfect cabinet. Now for the exciting part: bringing them together to create your ultimate sewing space. Getting the installation right is the final piece of the puzzle, ensuring your new setup is not just practical, but also safe and a dream to work with.
The first job is to securely mount your sewing machine onto the cabinet's lift platform. It’s worth taking your time here and following the manufacturer’s instructions to the letter. Make sure every bolt is tight and the machine feels completely solid before moving on.
Next, you'll need to fine-tune the height. The aim is to get the machine's bed sitting perfectly flush with the cabinet's surface, giving you one large, smooth area to work on.
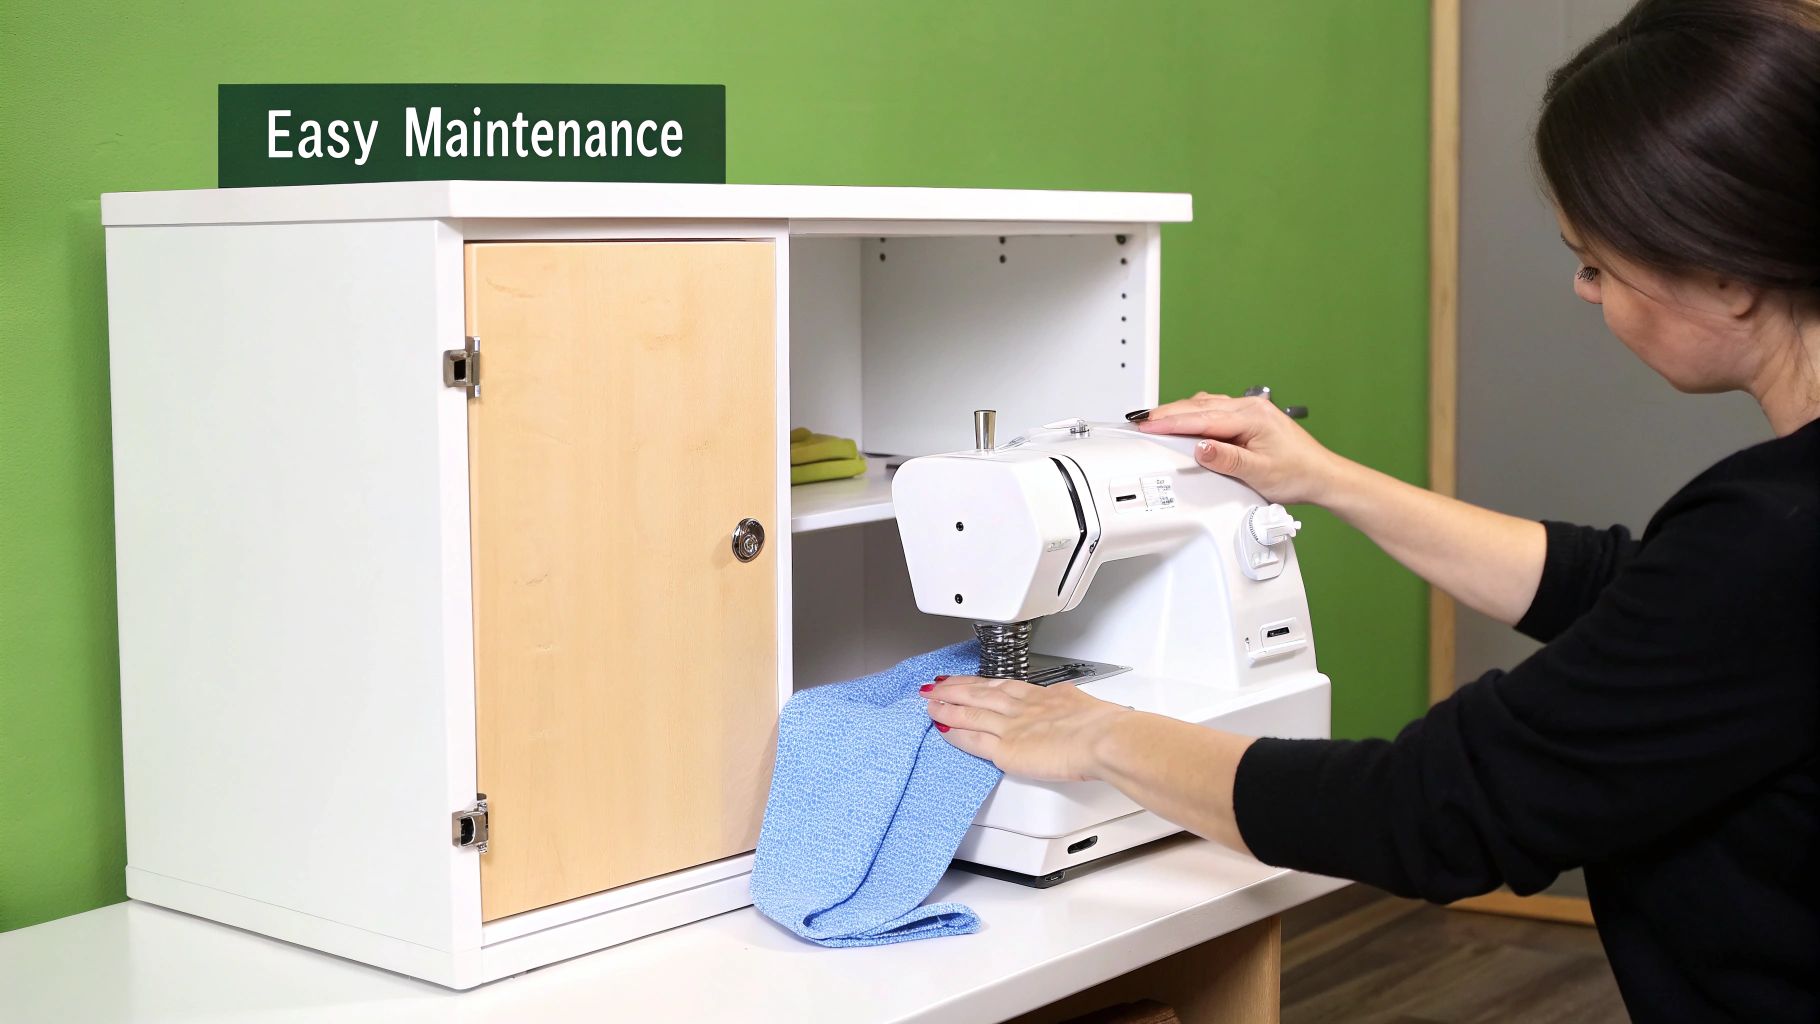
Final Touches for Peak Performance
A tidy workspace is a productive one. Spend a few minutes on cable management, bundling the power cord and foot pedal lead so they're out of the way. This simple step stops them from snagging in the lift mechanism or creating a trip hazard. A few adhesive cord clips stuck to the underside of the cabinet work wonders.
The real game-changer, though, is a custom-fit insert. This acrylic piece slots in perfectly, filling the gap around your machine. It gets rid of any edges that your fabric could catch or dip into, which is absolutely essential for quilting and handling larger projects.
"A well-assembled sewing station is more than just furniture; it's an ergonomic hub designed for creativity. Taking the time to install your machine correctly pays dividends in comfort and precision on every project you tackle."
This kind of specialised sewing equipment is more popular than you might think. In 2023, the UK's import value for sewing machines was approximately £22 million. You can see the full breakdown of these UK import statistics on Statista.
By paying attention to these small but vital details, you're not just assembling furniture; you're building a professional-grade, ergonomic creative space. For more ideas, take a look at our guide to designing the perfect sewing room setup.
Common Questions About Sewing Machines and Cabinets
Choosing the right sewing machine for a cabinet can feel like a big decision. After all, it’s a major investment in your creative space, so you want to get it right. Let’s walk through some of the most common questions that pop up, so you can move forward with confidence.
Can Any Sewing Machine Go in a Cabinet?
This is usually the first question people ask, and the simple answer is no. For that perfectly flush, integrated sewing surface, your machine needs to have what’s called a ‘flatbed’ style. This means the base is flat and rectangular, allowing it to sit snugly in the cabinet’s opening.
Portable machines with big, moulded handles or unconventional body shapes are often a poor fit. They simply won’t drop into the lift mechanism correctly or allow the top to close properly.
A custom-fit cabinet insert is the secret to a truly professional setup. This clear acrylic piece bridges the gap between your machine and the cabinet tabletop. It stops fabric from snagging or dipping down, which is an absolute game-changer when you're working on quilts or other large projects.
Key Compatibility Checks
Getting the physical fit right is only half the battle; you also need to make sure the mechanics are compatible. This really comes down to one crucial thing: weight.
-
Can the lift handle my machine? Every sewing cabinet lift has a maximum weight capacity, which you'll find listed in the manufacturer’s specs. Before you buy, check the weight of your sewing machine and make sure it’s well under that limit. Pushing the lift beyond its capacity is a recipe for disaster – you risk breaking the mechanism and damaging both your machine and the cabinet.
-
What about vintage machines? Many older, all-metal machines are brilliant for cabinets because of their classic flatbed shape. But be warned, they can be incredibly heavy! You absolutely must check that the cabinet’s lift is rated to handle the significant weight of a vintage model before you even think about pairing them.
Finally, don’t forget that a streamlined workspace is a productive one. Getting your sewing room organisation sorted out is the final piece of the puzzle. When your tools and fabrics are in order, the ergonomic design of your cabinet can really work its magic, creating the perfect environment for your creativity to thrive.
At Display Guru, we provide the high-quality tailor's dummies and display forms that complete any professional or home sewing studio. Explore our collection at https://www.displayguru.co.uk to find the perfect tools for your projects.