


How to Choose a Petite Dress Form with Confidence
A petite dress form is a compact working body used for pinning, shaping and checking garments when the wearer cannot be there. It earns its place during construction, rather than acting as a smaller version of a shop mannequin, and it cannot replace a final fitting on the person.
What a Petite Dress Form Actually Does
At the cutting table, the form behaves like a patient fitting partner: it does not shift weight, hold its breath or slump halfway through pinning a dart. It also gives the cloth somewhere to sit in three dimensions, so balance and shaping can be judged instead of guessed from fabric laid flat.
That partner still represents only one chosen size and proportion. Posture, shoulder slope and personal ease, meaning the room someone likes inside a garment, can change the result once the piece meets a real body.
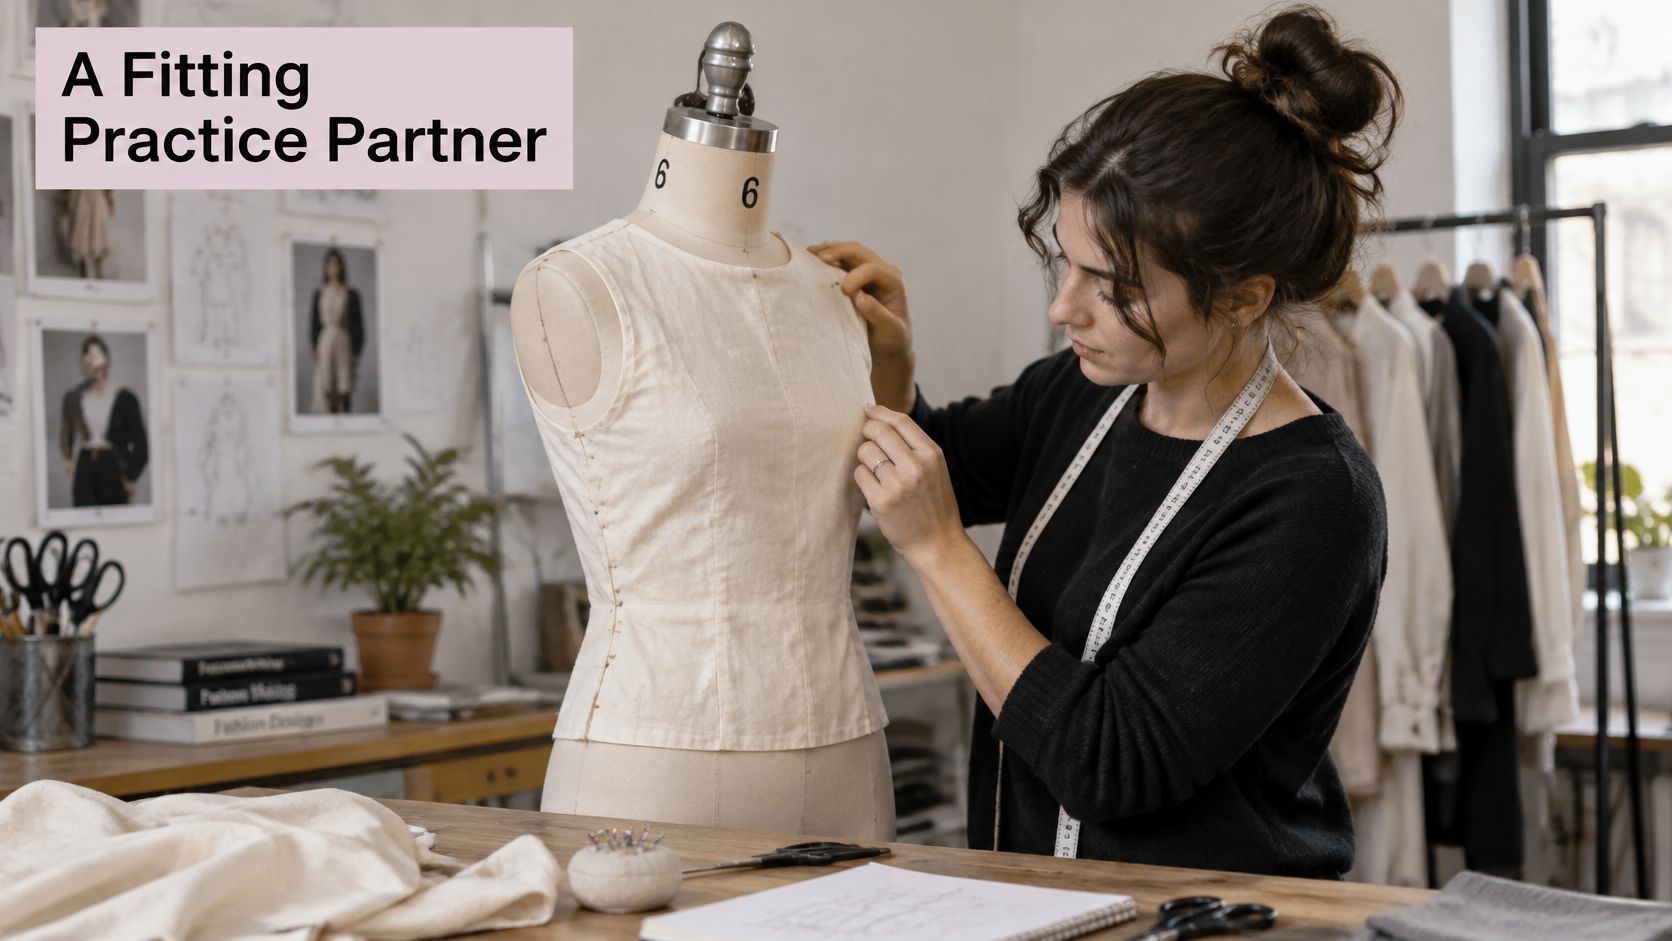
Display and construction ask different things from a torso. A window or rail needs a clean silhouette and reliable stance; garment work needs measurements, pin grip and shaping support.
- A pin-friendly surface keeps muslin, paper and fashion fabric steady while seams and darts are tested.
- A suitable torso length makes it easier to judge where the waist seam should land.
- Comparable circumferences give bust, waist and hip adjustments a believable reference.
Put the Form to Work Before Cutting
A design student might pin a trial bodice to the stand, step back, then correct the waistline before touching the final cloth. A home sewist can leave the same sample in place between sessions, which saves calling a patient friend back for every small change.
The same support helps professional dressmakers, costume teams and visual merchandisers, though each group ranks features differently. Display Guru’s polystyrene Size 8/10 torso supports secure pinning, while the wider collection covers sewing and presentation needs across its dressmaking and display equipment.
Choose a working shape that resembles the intended wearer, rather than assuming the smallest torso is automatically the right petite fit.
From there, the decisions fall into a workable order:
- Learn the basics of petite proportion, then compare UK measurements with the pattern.
- Match studio tasks to the stand, surface and pinning features.
- Test assumptions early, before they turn into wasted fabric.
Begin by noting the wearer’s bust, waist, hips and torso length, then judge every candidate form against those figures rather than the label alone.
Petite is a proportion category, not a single small body. It describes an adult frame that is shorter or more lightly built, and the measurements inside that category stretch further than most people expect.
A quick look at a UK petite chart shows just how far. Down at Size 2P, bust figures hover around 28 to 29 inches and the waist sits near 22 to 23 inches. Up at Size 24P, the bust reaches 44 to 46 inches with a waist of 35 to 38 inches.
That is a gap of roughly 16 to 18 inches between the smallest and largest bust bands, which is precisely why no single fixed mannequin can represent every petite garment.
Circumference Is Only Half the Story
Two people can measure exactly the same around the bust and still need entirely different garments. Torso length, shoulder position and where the bust sits all shift within the same circumference.
So a standard full-size form can match the tape measure perfectly and still get the fit wrong. Darts drift out of position, waist seams land too low and hems finish at the wrong point, because the vertical proportions disagree with the horizontal ones.
Independent designers, alteration businesses, fashion students and costume departments run into this every working day. All of them serve several different customer bodies, and one generic shape quietly generates rework.
A Numerical Progression, Not One Generic Shape
Display Guru addresses this with six paired female ranges — 6/8, 8/10, 10/12, 12/14, 16/18 and 18/20 — each offered with a tripod or round-base stand. The run treats petite and fuller figures as a stepped numerical progression rather than one averaged torso.
- The £39.95 Size 8/10 form covers the smaller end of the range.
- The £39.95 Size 18/20 form covers the fuller end.
- Both work the same way in practice; only the measurements differ.
One caveat applies across every band. Published measurements still need checking against the actual pattern before cutting, because a listed size is a starting point rather than a promise.
Match the Band Before You Match the Stand
The working order is simple enough. Confirm the size band against your chart and pattern first, then pick the stand and surface that suit the job.
You might be interested in our guide to mannequin measurements, which walks through how to read and compare torso figures before buying.
Read the label as shorthand for a set of numbers, and treat the numbers as the real product. A petite dress form chosen on that basis supports the garment instead of distorting it, keeping darts, seams and hems exactly where the pattern intended.
Before any fabric is cut, treat the size label as a prompt to measure, not as proof of fit. A petite dress form earns its place only when it agrees with the size chart and the pattern in front of you.
Match a Petite Dress Form to UK Measurements
The figures below are approximate, though they show how quickly the fitting reference shifts between two close UK petite sizes.
UK Petite Size 6 and Size 10 Compared
Use this comparison as a sense check before you commit to a form, because each circumference moves together and changes the balance of the whole garment.
| Measurement | Size 6 | Size 10 | Approximate Change |
|---|---|---|---|
| Bust | 77 cm | 87 cm | 10 cm |
| Waist | 62 cm | 72 cm | 10 cm |
| Hips | 86 cm | 96 cm | 10 cm |
The jump is about 10 cm across the full Size 6 to Size 10 span, spread through the intervening sizes rather than added in one step. Check these points against the chart supplied with your pattern, since blocks and brands can grade differently.
- Bodice shaping needs a close look because bust changes affect dart position and fullness.
- Waist seams and fastenings should sit comfortably without being dragged into place.
- Skirt shaping has to make room for the hips instead of taking space from nearby seams.
Check Vertical Landmarks Before Adding Padding
Circumferences are only the opening measurements. Think of the form as a map: an outline can look right while the landmarks inside it sit too high, too low, or too far apart.
A fitted dress might zip around a standard mannequin while its waist seam drops below the intended waistline. For shorter or smaller-framed customers, a compact form with sound proportions gives a truer reference during construction.
Match torso length, shoulder position and bust placement before assuming that matching circumference means matching fit.
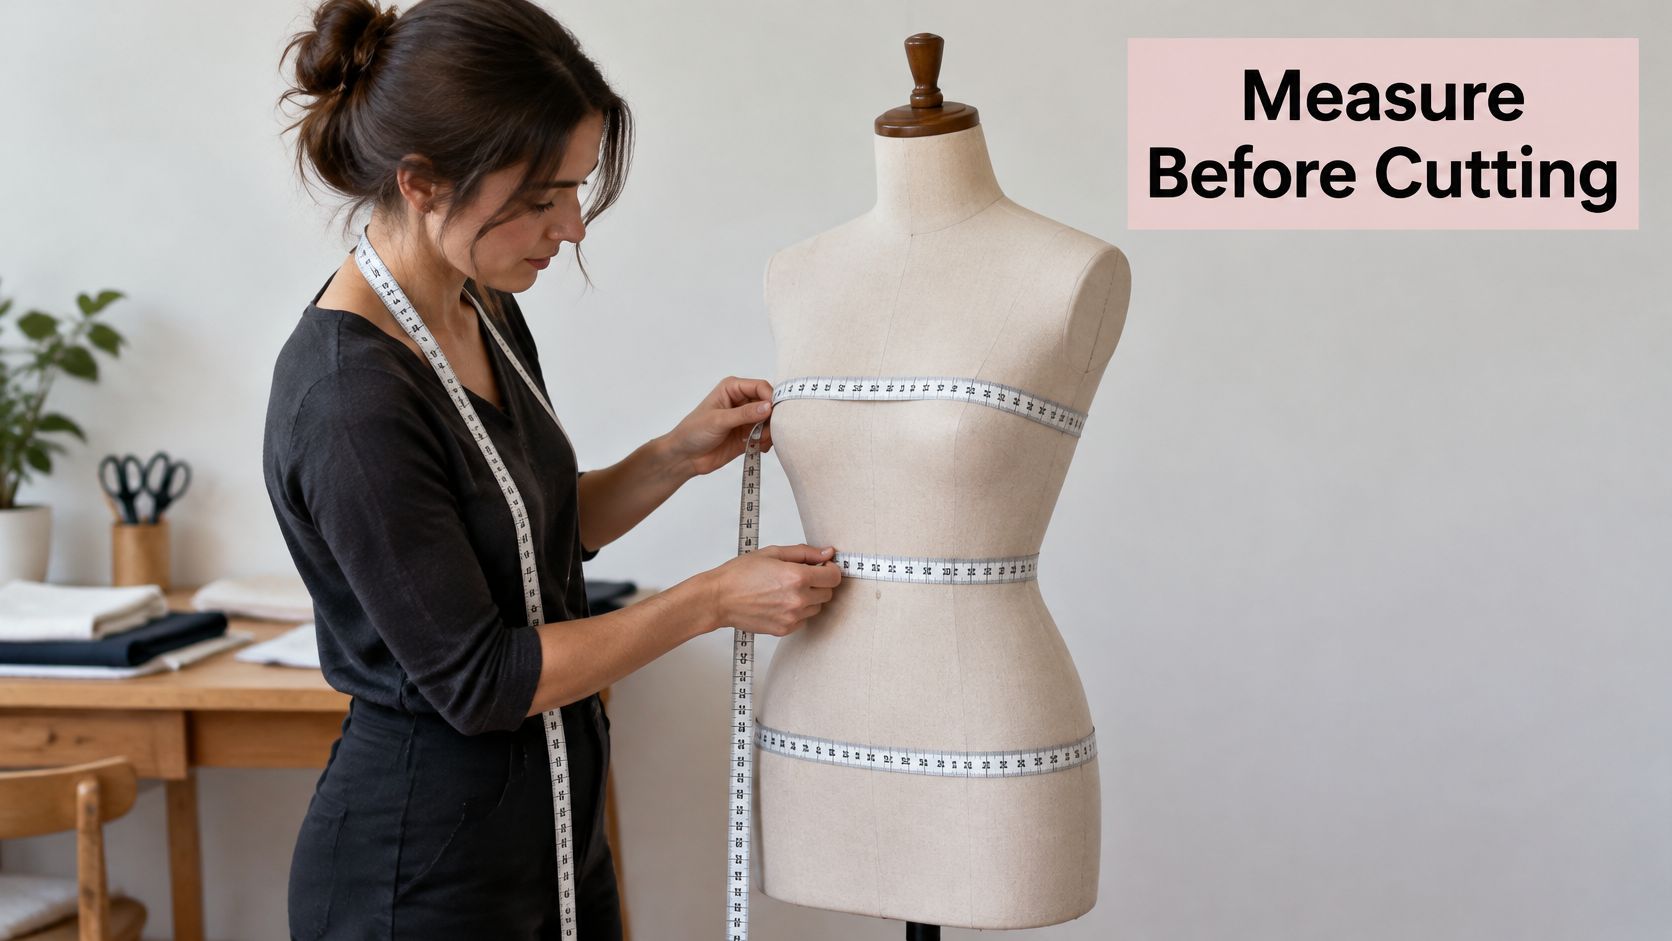
Compare the unpadded form with both the intended chart and the pattern first. Add padding only when a named client's measurements call for it, and write down exactly where the shape was changed.
For steady tape placement, follow our guide to taking body measurements for clothing before marking the matching points on your form.
Keep body measurements separate from finished garment measurements as well. Ease is the gap between them, so padding the form to consume every centimetre of design allowance can distort the result.
Choose a Size Band and Record the Fit
Use Display Guru's female forms as a buying progression, with bands 6/8, 8/10, 10/12, 12/14, 16/18 and 18/20. Check the actual dimensions rather than treating a paired label as an exact pattern match.
The Size 8/10 polystyrene torso, listed at £39.95, takes secure pinning for fittings and alterations. That makes it worth a look when your measurements sit in this band and your work involves repeated seam changes.
- Measure the form, including circumferences and vertical landmarks.
- Compare with the pattern, checking the body measurements it was drafted for.
- Record ease, keeping design allowance distinct from body size.
- Pin the sample, without forcing seams or fastenings closed.
Take your tape measure to the form today, note those checks, and confirm the match before cutting your fabric.
A petite dress form starts to earn its keep the moment sewing moves past mending a seam and into shaping a garment around an actual body. It works rather like a patient second pair of hands, somewhere to park a half-formed idea while you step back and look at what the cloth is really doing.
Where a Petite Dress Form Earns Its Place
A 2021 UK survey found that 21% of Britons took up sewing or embroidery during 2020, among them 23% of men aged 25 to 34 and 21% of women in that same bracket. Plenty of those newcomers eventually reach the stage of making fitted clothes, and that is where a working torso proves itself: it gives you something to practise on between real fittings.
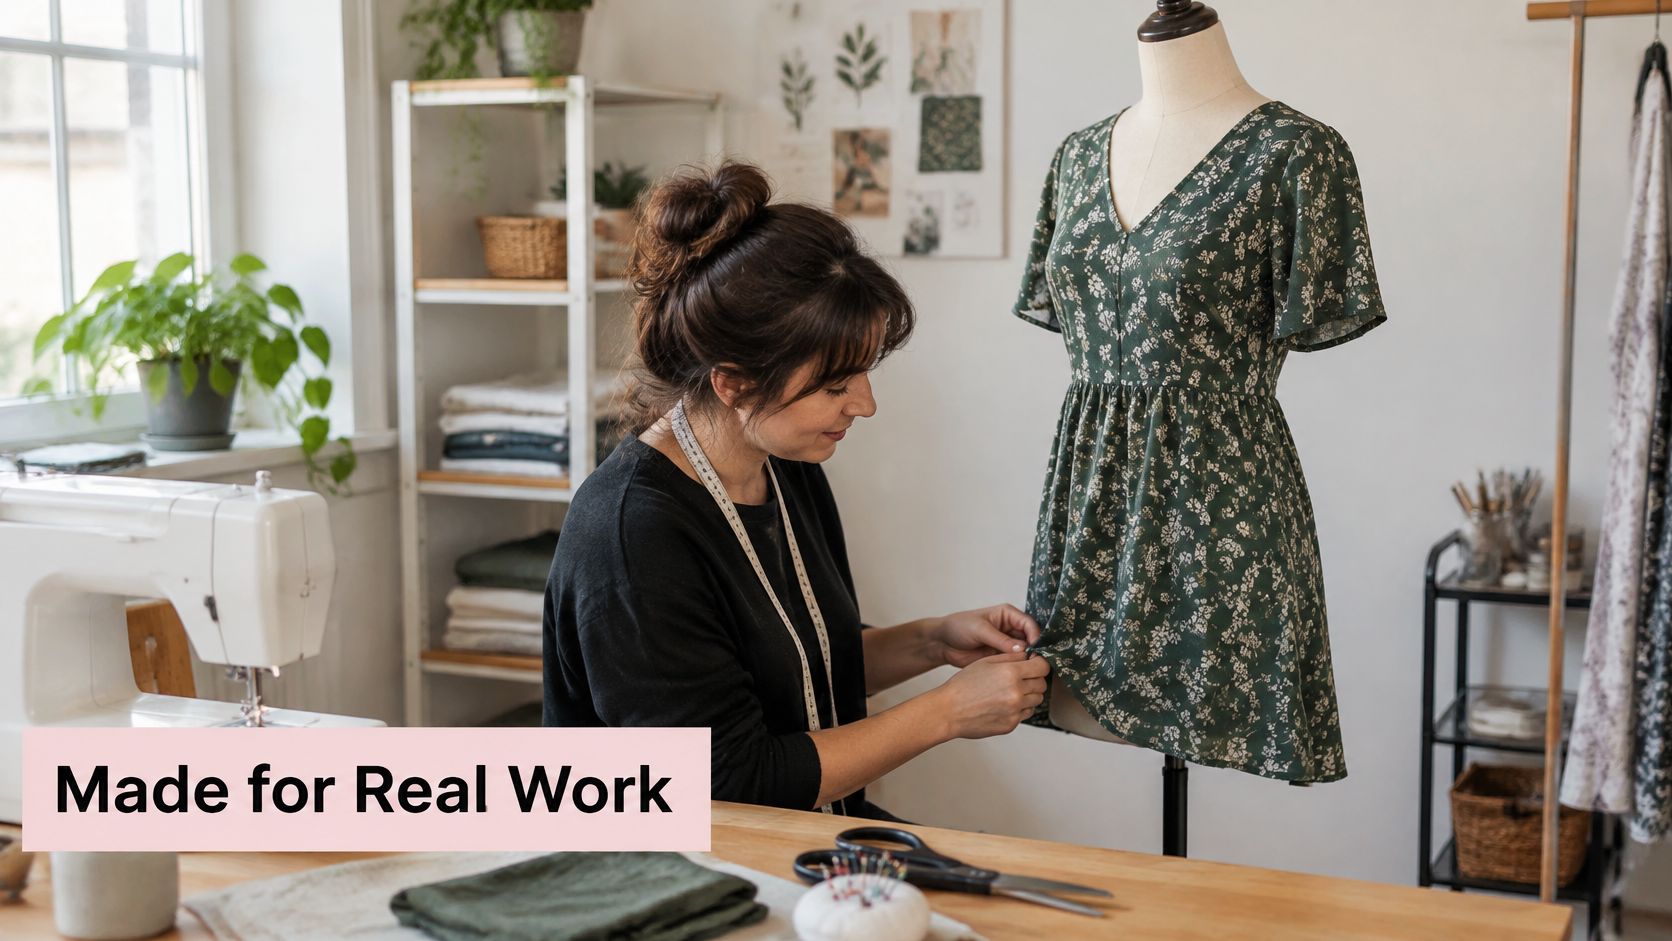
Picture a few everyday jobs:
- A student pins a toile, essentially a trial run of the garment, to the form so she can study a fitted bodice before touching the good fabric.
- A home sewist turns a dress hem this way and that, pinning the proposed fold in place to check the line from every angle.
- A costume team fits a garment for a compact adult performer or a shorter character between rehearsals, without needing the actor in the room.
Practise Construction With a Steady Reference
Jobs like these call for a surface that genuinely takes pins, not just a pretty silhouette. Display Guru's polystyrene Size 8/10 torso holds pins securely through fittings and alterations, so temporary seams and hem folds stay put while you judge each adjustment.
Pinning works on this surface in a way it never will on a hard display shell. That said, pins do leave their marks over time, so treat every change as provisional until you are happy with the shape.
Treat the dress form as a rehearsal space for the garment; the final verdict still belongs to the person wearing it.
A simple routine keeps practice honest:
- Pin one proposed change at a time, a bodice seam adjustment, say.
- Step back and compare both sides in good light.
- Write down the alteration before you take the garment off.
If shaping fabric directly on the form appeals to you, our guide to fabric draping techniques covers the craft in more depth.
Carry Skills Into Studio and Retail Work
As your projects grow, Display Guru's range runs from 6/8 to 18/20, with tripod or round bases suited to studio fittings, demonstrations and shop-floor presentation. Pick around the job in hand rather than asking one format to cover everything.
A retailer, for instance, might style a top with jewellery on a half-body form, which also works well for dresses and accessories. Hanging versions are hollow at the back, so a simple clip can pull a displayed dress into shape.
Start with whatever you are making next, a dress, a fitted top, a costume piece. Ask whether you need pinning, presentation, or a bit of both, then choose a form that serves your current practice and still makes sense once the work turns professional.
Pick a petite dress form on the strength of its working features, rather than its appearance alone. The stand decides where it sits in your workspace, and the torso surface decides whether it can take pins or simply present a finished garment.
Choose Stands, Pinning and Half-Body Forms
A light wood tripod sits happily beside a sewing table or in a demonstration corner. A round base keeps the footprint compact, which matters on a studio or shop floor where you need room to move around the garment.
Before committing, mark out the proposed spot next to your worktable and check the clearance honestly. Our guide to dress form stands walks through the stand options against the space you actually have.
- For demonstrations, think about where viewers will stand and how clearly they can see the garment.
- For studio work, leave room to reach seams without squeezing between furniture.
- For retail, choose a position that keeps the displayed outfit visible without obstructing movement.
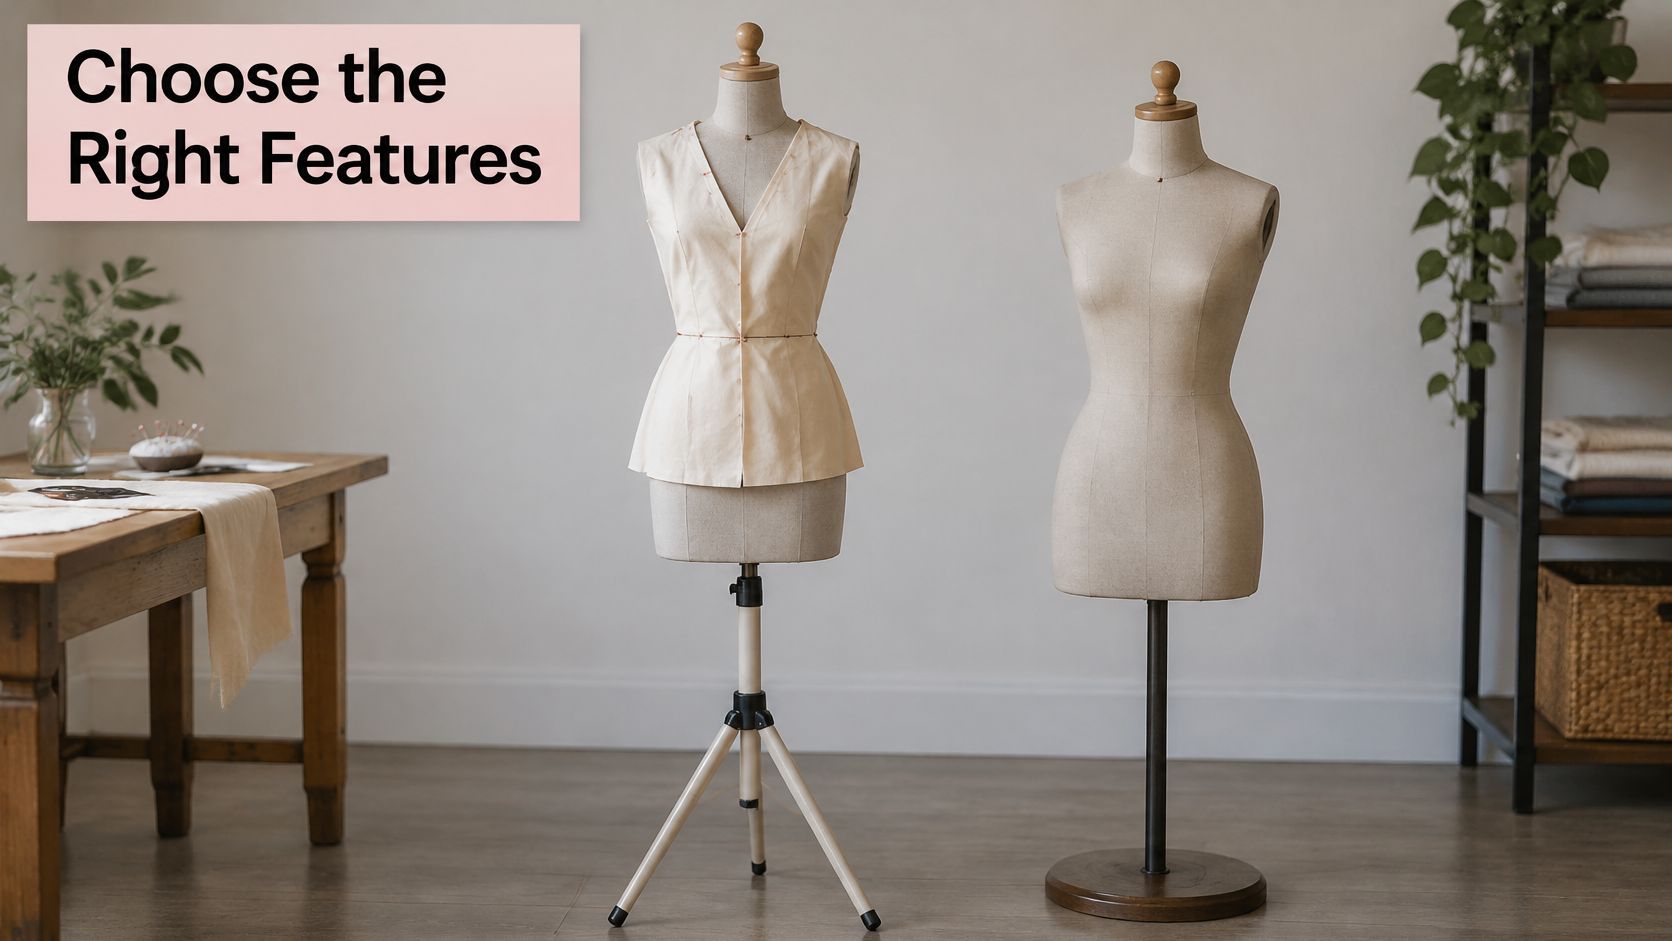
The Display Guru range lists several forms worth weighing up. Compare the stated surface and support on each one, because matching prices tell you nothing about matching construction.
Display Guru Forms and Listed Prices
The table below sets the listed female forms side by side, so you can tell a pin-friendly fitting torso apart from a lower-priced hanging display piece at a glance.
| Form | Surface or Stand | Best Use | Listed Price |
|---|---|---|---|
| Size 6/8 female dummy | White torso, light wood tripod | Demonstration setup | £39.95 |
| Size 8/10 female dummy | Brown flower on cream torso, white wood tripod | Studio presentation | £39.95 |
| Size 18/20 female dummy | Brown flower on cream torso, light wood round base | Compact floor display | £39.95 |
| Size 8/10 polystyrene bust | Pin-friendly polystyrene torso | Fittings and alterations | £39.95 |
| Female Full Size Light Skin Hanging Body Form | Hanging display format | Garment merchandising | £12.95 |
Read the prices alongside the surfaces. Four forms share the £39.95 tag, yet only the polystyrene bust is built for pinning, while the hanging form at £12.95 does a purely visual job.
Pinning is a construction feature, something you confirm from the stated material rather than guess from a fabric covering. The Size 8/10 polystyrene bust holds pins securely through fittings and alterations, which makes it the relevant choice when you need to trial a proposed seam change.
Say you pin a temporary waist adjustment on the polystyrene torso first, then transfer that alteration back to your pattern. A hanging display form simply cannot offer that.
A clip reshapes the displayed silhouette; secure pinning supports the construction itself.
Separate Half-Body Display from Fitting
Half-body forms suit dresses, tops, jewellery and accessories. Hanging versions are hollow at the back, so a clip can pull a dress into shape for merchandising.
That clipped outline, though, says nothing about corrected fit. Think of it as dressing a shop window rather than testing a sewing pattern.
- Match the size band first, checking it against the garment you plan to make.
- Choose the stand for your workspace.
- Confirm the surface for alteration, sample making or visual merchandising.
Before ordering, jot down the size band and the task for your next project. Then pick the stand and surface that genuinely serve that job.
Fitting trouble usually starts before you've even picked up a pin. When something doesn't match, treat it as a measurement worth investigating rather than a wrinkle to smooth over.
Common Mistakes When Fitting on a Form
Choosing the smallest torso simply because a client is petite often backfires. The sample drapes loosely on the form while a fastening strains on the actual person. Take the client's bust, waist and hip measurements, then compare them with the form's figures rather than trusting its size label.
Relying on circumference alone is another easy trap. When the waist drags or darts land above the bust, measure shoulder to waist and shoulder to bust point on both bodies. Matching girth won't fix landmarks that sit in the wrong place.
A smooth sample isn't proof of accurate fit. Check where the garment sits, not simply whether it closes.
- Check the shoulder position by comparing shoulder lengths against the pattern before adjusting any darts.
- Keep ease as its own figure, noting the difference between body and finished garment measurements instead of padding the gap away.
Checks like these give students and small studios a repeatable method for diagnosing problems, without recutting a sample on instinct or assuming the sewing is at fault.
Correct the Surface and Final Fit
Expecting a display form to hold pins lets seams creep while you adjust them. Measure between the pinned seam and centre front before and after handling; if the numbers shift, your reference point isn't stable. A polystyrene fitting torso will serve you far better than a hanging display shell.
Padding before comparing the pattern can leave you with a strained zip while hiding the original size mismatch. Write down the unpadded circumferences first, then add only the client's specific differences. Our guide to covering a dress form explains how to prepare the covering properly.
For further fitting and draping guidance, explore dress form care for sewing instructors.
Calling one sample final ignores posture and comfort entirely.
- Try the garment on the wearer.
- Measure where the waist sits and the hem's distance from the floor.
- Confirm the preferred ease while sitting.
Before you cut, record and compare your measurements. A petite dress form cuts down on repeated fittings only when those checks are guiding the construction.
Before you commit to a petite dress form, get clear on four points: sizing, construction and how the final fitting will happen.
FAQ
Is a Petite Dress Form the Same as a Children’s Torso?
No. Petite sizing still describes an adult body, with adult balance through the shoulders, bust and waist. A child’s torso sits in a different size family, even when the height or chest measurement looks close on paper.
A child’s stand may let a bodice fasten, yet that proves very little. Match the form to the adult wearer’s measurements first, then look at proportions such as back waist length and hip position.
Fit the stand to the person who will wear the garment; small alone is not enough.
Can One Form Cover Every Petite Client?
Usually no. Petite ranges run from very small adult sizes through to fuller figures, so a single fixed shape can only represent part of that spread.
Before adding another size band, compare:
- Bust against the wearer and the pattern.
- Waist on its own, rather than guessing it from the bust.
- Hips, especially for dresses, skirts and close-fitting bodices.
Store those figures with the client’s fitting notes. When the next sample needs a reference form, the choice is based on evidence instead of a hunch.
Decide Between Display and Fitting
Does a £12.95 Hanging Form Replace a £39.95 Pin-Friendly Dummy?
No. A £12.95 hanging body form is for presentation, and hollow-backed hanging models can be adjusted with clips. A £39.95 Size 8/10 polystyrene torso is the better option when pins need to hold during fittings and alterations.
Display Guru’s catalogue separates these jobs clearly:
- Use hanging display when you are arranging a finished garment.
- Use pin-friendly polystyrene when you need to trial construction changes.
Should the Garment Still Be Tried on a Person?
Yes. A form keeps the sample stable between appointments, while a living wearer brings posture, movement and ease preferences that no stand can copy.
For bespoke and costume work, book a final personal fitting before sign-off. Judge comfort, balance and position on the wearer rather than trusting the silhouette on the stand.
For a working form, start with Display Guru. Browse the range, check the measurements against your client list and confirm that the surface will take pins before you order.