


A Practical Guide to Your Hanging Rail Wall
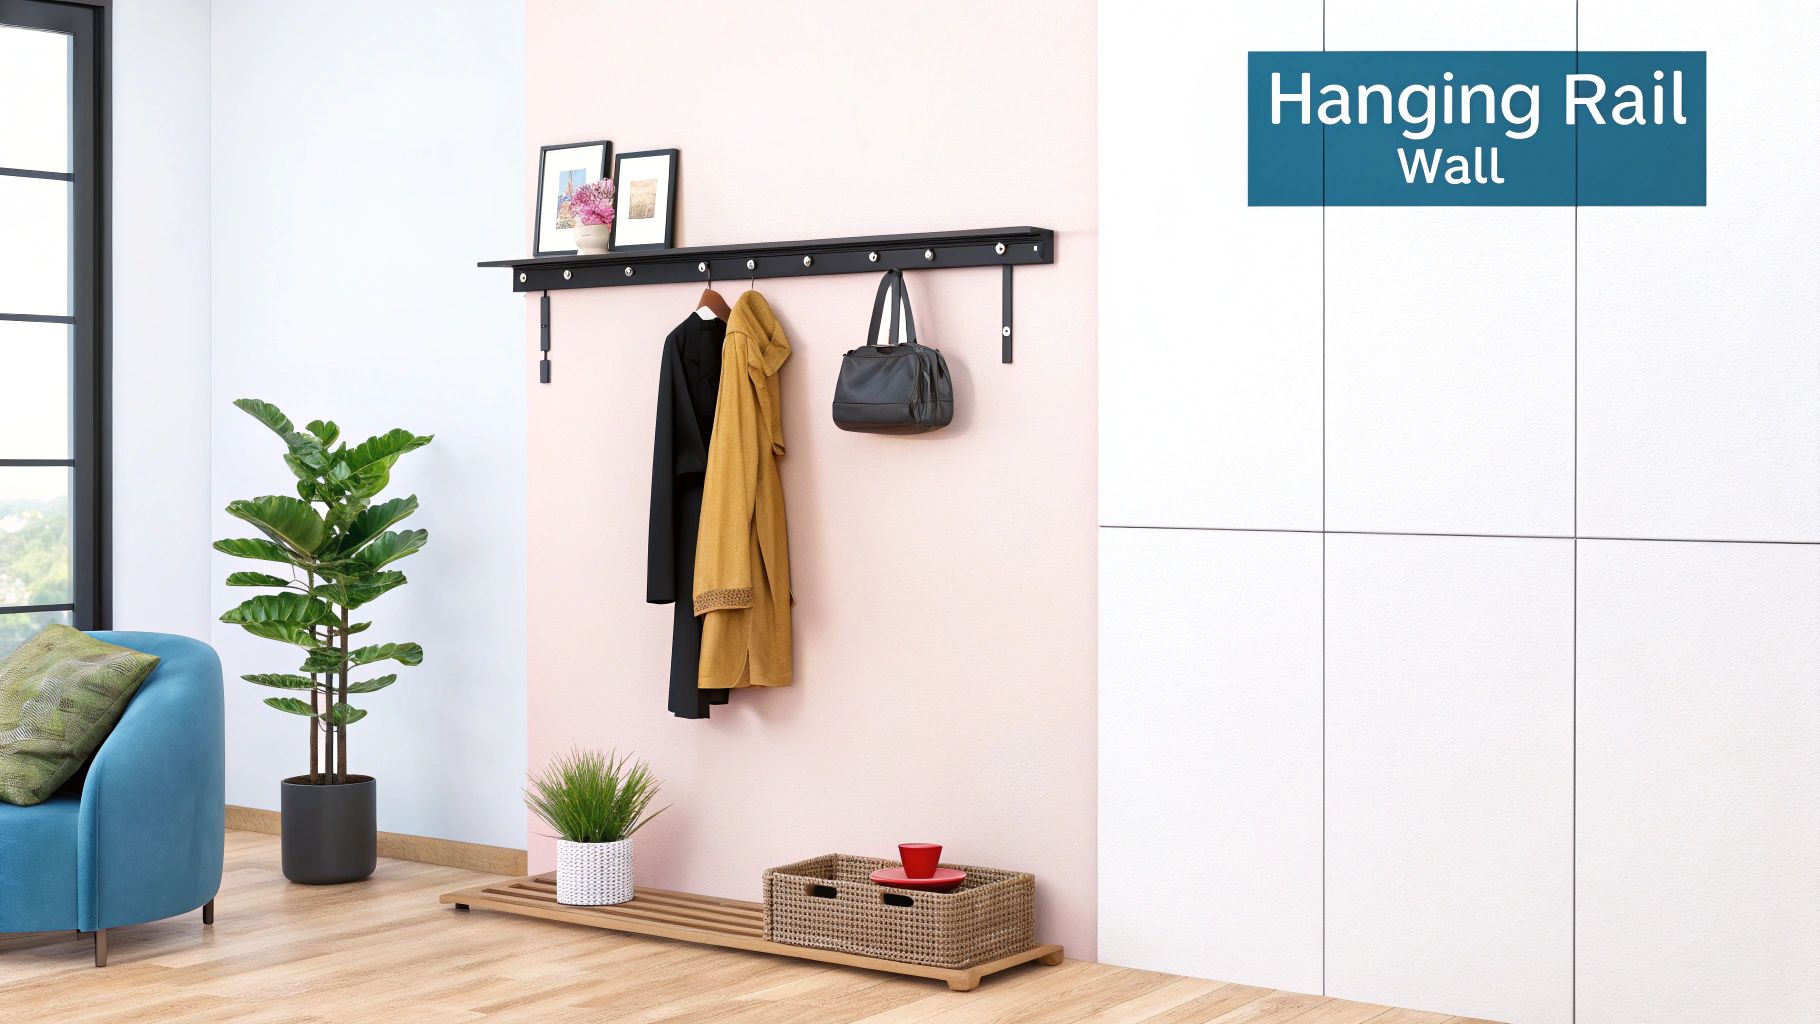
A wall-mounted hanging rail is a fantastic way to turn a blank wall into a stylish, open wardrobe. The best ones are more than just practical; they're a design feature in their own right, keeping your most-loved clothes organised and easy to grab. It’s a brilliant solution for smaller bedrooms, awkward alcoves, or even retail boutiques.
Choosing The Right Hanging Rail System
Picking the right rail is the most important part of the job. It’s about more than just how it looks; you need to think about what you'll hang on it, where it will go, and the overall feel of your room. Before you even touch a drill, let's get the fundamentals right.
Think about it this way: a heavy-duty industrial rail made from raw steel pipe is built to handle the weight of winter coats and a whole collection of denim. It looks fantastic in a loft-style space or a room with a minimalist, modern edge.
But if you’re planning to display a few favourite dresses or shirts in a chic bedroom, a slimmer, powder-coated metal rail might be a better fit. It’s more subtle and blends in beautifully.
Material And Style Considerations
The material doesn't just define the look—it dictates the rail's strength and longevity. You'll find that different materials lend themselves to very different aesthetics and practical uses.
For a clearer picture, here's how some of the most common materials stack up against each other.
Hanging Rail Material Comparison
| Material Type | Typical Style | Weight Capacity | Best For |
|---|---|---|---|
| Raw Steel/Iron Pipe | Industrial, rugged, urban | Very High | Heavy-duty storage for coats, denim, and full wardrobes. |
| Powder-Coated Metal | Modern, minimalist, versatile | Medium to High | Everyday clothing in bedrooms; available in various colours. |
| Copper Pipe | Bohemian, rustic, warm | Low to Medium | Lighter garments, curated displays, and adding a unique accent. |
Choosing between these often comes down to balancing style with sheer practicality.
- Raw Steel or Iron Pipe brings a cool, industrial vibe to a room. It's incredibly strong and makes a real statement.
- Copper Pipe has a lovely warm, rosy tone that works well in rustic or bohemian-inspired spaces. Just be aware that it develops a patina over time and isn't as rigid as steel.
- Powder-Coated Finishes are probably the most versatile. You can find them in black, white, gold—you name it. The coating also gives an extra layer of protection against scuffs and rust.
Your choice of material directly affects how much weight the rail can safely handle. A hefty steel rail is designed for a full wardrobe, whereas a delicate copper one is better for a carefully selected collection of pieces.
Ultimately, the goal is to find a hanging rail that works for you. Seeing some examples of different types of cloth hanger wardrobes can give you a great feel for how different materials and designs work in practice.
For a more detailed breakdown, our guide on choosing a https://www.displayguru.co.uk/blogs/news/wall-mounted-clothes-rail is packed with extra tips.
How to Measure and Prepare Your Wall Space
Getting the measurements and prep work right is the difference between a professional, sturdy installation and a wobbly disaster. Before you even think about drilling, taking a few minutes to map everything out will save you a lot of headaches later on. It’s the best way to avoid common pitfalls, like a rail that’s too low for your maxi dresses or one that’s dangerously close to hidden pipes.
So, where do you start? The first thing to figure out is the ideal height. There’s no magic number here; it all comes down to what you’ll be hanging. A great trick I’ve picked up is to take your longest garment, hold it up against the wall where you plan to install the rail, and make sure there’s at least 15cm of clearance from the floor. This stops anything from dragging or getting crumpled.
Finding Your Anchor Points
Once you have a rough idea of the height, you need to find the strongest points on your wall to fix the brackets. For most UK homes, this means locating the vertical wooden studs hidden behind the plasterboard. Please, don't just guess.
A digital stud detector is your best friend for this job. They're cheap, easy to use, and will save you from the nightmare of a rail pulling away from a weak wall. Just slide it across the surface, and it’ll tell you exactly where the studs are. It’s also a vital safety check—the last thing you want to do is drill into hidden electrical wires or water pipes.
Visualising the Final Look
With your studs marked, grab a spirit level and some masking tape. Use them to create a temporary outline of where the rail and brackets will go. This simple step is surprisingly effective.
It lets you stand back and really see how it will look in the room. Is it too cramped next to the doorway? Does it look balanced with the other furniture? You’d be surprised what you notice. Sometimes, the most practical spot for storage doesn’t quite work for the aesthetic display you're going for, a crucial point covered in many clever sewing room layout ideas.
Thoughtful planning can completely transform a space, as this visual shows.
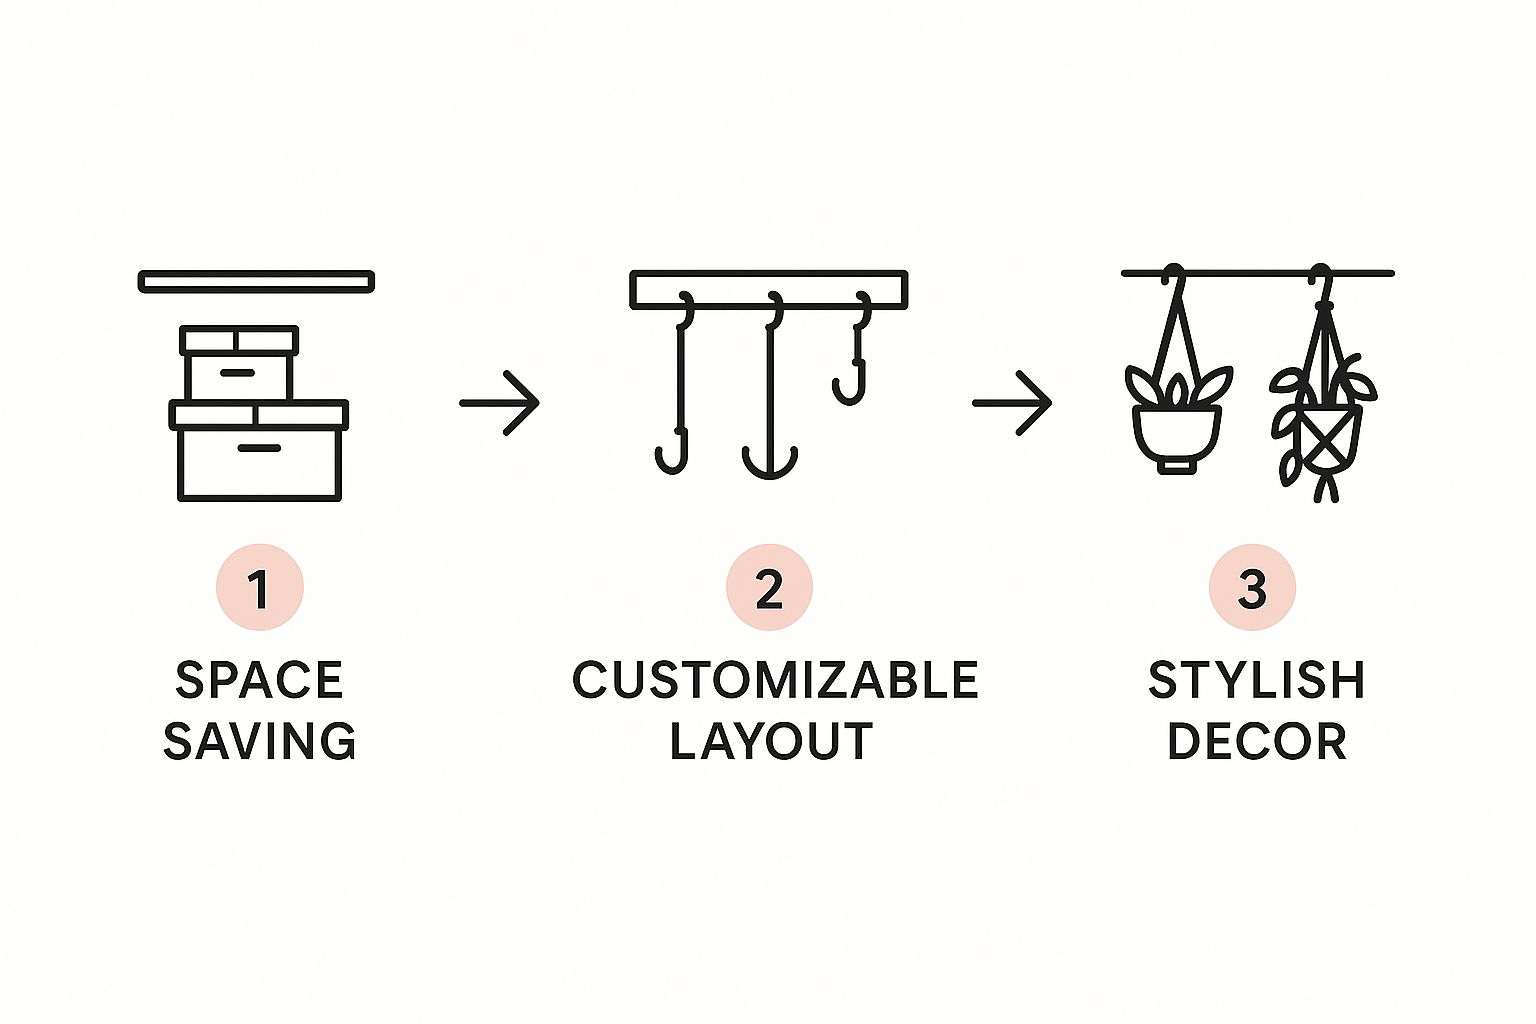
As you can see, a well-placed rail does more than just hold clothes. It makes the most of your vertical space, lets you create flexible arrangements, and can even act as a stylish piece of décor in its own right.
Matching Your Fixings to Your Wall Type
The long-term stability of your hanging rail doesn’t actually come from the rail itself—it comes from how well it’s anchored to the wall. I’ve seen it happen too many times: someone uses the wrong fixing, and a few heavy coats later, the entire rail is pulling away from the plasterboard. It’s a recipe for disaster.
Figuring out what your wall is made of is the first, non-negotiable step to getting this right.
Thankfully, it's usually straightforward. Most modern homes in the UK have plasterboard (or drywall) for internal walls. Just give it a knock. If you hear a hollow sound, you've got plasterboard. If it’s more of a dull, solid thud, you’re likely dealing with brick or blockwork, which is common in older properties or on external walls.
That simple knock test tells you everything you need to know to choose the right hardware.
Fixings for Plasterboard Walls
With a hollow wall, a standard plastic wall plug is useless. It has nothing to grip onto in the void behind the board. The goal here is to use a fixing that spreads the load over a wider area on the inside of the wall, preventing it from just tearing through the plaster.
You have a few excellent options for this:
- Spring Toggles: These are clever little fixings with wings that fold flat to pass through the hole you drill. Once inside the wall cavity, they spring open. As you tighten the screw, they pull tight against the back of the plasterboard, creating a really strong anchor point.
- Hollow Wall Anchors: Often called ‘molly bolts’, these are inserted into a pre-drilled hole. When you tighten the screw, the body of the anchor collapses and expands behind the board, locking it firmly in place. They provide a super-secure grip.
- Drilling into Studs: Honestly, this is the gold standard. If you can, use a stud finder to locate the vertical timber supports behind the plasterboard and drill directly into them. Nothing provides a more robust fixing than screwing straight into solid wood.
Choosing the right fixing isn't just about strength; it's about safety. An improperly secured hanging rail poses a genuine risk, potentially damaging your wall, your floor, and your belongings when it fails.
Anchoring to Solid Walls
If you're lucky enough to have solid brick or concrete block walls, your job is a bit simpler, but getting it right is just as crucial. Here, the aim is to use a fixing that will expand tightly within the dense material of the wall.
For these solid walls, a high-quality masonry plug (like the classic Rawlplug) and a corresponding screw is your best bet. You will need a hammer drill fitted with a masonry bit to make the hole—a standard drill just won't cut it. Once drilled, gently tap the plug in so it sits flush with the wall, then drive the screw home. The screw expands the plug, wedging it tightly for an incredibly firm hold.
It's also worth understanding how the rail's supports function. For a deeper dive into the mechanics, learning about the different types of a clothing rail bracket can show you how they work with the wall to support the load. When you match your fixings correctly, you're ensuring these brackets can do their job properly for a safe, professional, and lasting installation.
A No-Nonsense Guide to Installation
You’ve done the prep work, the wall is ready, and you’ve got the right fixings. Now for the satisfying part. This is where your careful planning comes to life, turning an empty wall into a smart, functional display. Getting a professional-looking result all comes down to precision, starting with that very first mark.
Marking Your territory
Grab your spirit level and a pencil. Using the measurements you figured out earlier, place the first bracket against the wall. If you’re dealing with plasterboard, make sure you’re right over a stud.
Pop the spirit level on top of the bracket to check it's perfectly vertical, then lightly mark where you’ll need to drill. Don’t press too hard – these are just guide marks for now.
Drilling and Anchoring
It’s time to make some holes. Fit the right drill bit for your fixings – a masonry bit for brick walls or a standard bit for wooden studs. Drill your holes to the recommended depth, keeping the drill as straight as possible. A common slip-up is drilling a shallow or angled hole, which means your anchor won't sit flush and secure.
With the holes drilled, gently tap your wall plugs in until they’re flush with the surface. If you’re using toggle bolts, you'll need to collapse the toggle to push it through the hole. You should feel a satisfying little 'pop' as it springs open inside the wall cavity – that’s your sign of a solid anchor.
Slow and steady wins the race here. A slightly off-kilter hole can usually be corrected, but rushing often leads to bigger headaches. Remember, a secure anchor is the bedrock of the entire installation.
Getting the Brackets and Rail in Place
With your anchors ready, it's time to attach the first bracket. Position it over the anchors and put the screws in, but don't tighten them all the way just yet. Leaving them a little loose gives you some wiggle room for getting the second bracket perfectly aligned.
Now, hold the rail up to the attached bracket and place your spirit level on top. Adjust the other end of the rail until that little bubble is sitting dead centre. Mark the drill points for your second bracket, then repeat the drilling and anchoring process.
Once the second bracket is loosely on the wall, pop the rail into place for one final check with the spirit level. When you are 100% certain everything is perfectly level, go ahead and tighten all the screws. Just be careful not to overtighten, as you could damage the wall or the fixing itself.
The final touch is to secure the rail to the brackets. Most systems use small grub screws for this, which stop the rail from sliding about.
And that's it. Stand back and admire your work – a perfectly installed hanging rail, ready for action.
For more specialised projects, like creating a display for delicate or historical garments, our guide on setting up costume rails has some extra tips you might find useful.
Styling and Maintaining Your Open Wardrobe
Right, the hard work is done and your hanging rail is securely on the wall. Now for the fun part: turning it into a feature that’s both functional and genuinely stylish. This is where your personal taste really comes into play.
A simple trick that always looks fantastic is to arrange your clothes by colour. It creates a beautiful, organised gradient that just looks so intentional and clean. If you're more about function over form, grouping by garment type—shirts, trousers, dresses all in their own sections—makes finding what you need in a hurry an absolute breeze.
Curating Your Display
It's the little details that will really make your open wardrobe pop. Investing in a set of matching hangers, for instance, is a game-changer. It instantly gives the whole setup a cohesive, boutique-like feel. Classic wooden hangers bring a bit of warmth, while those slim, velvet-coated ones are brilliant for maximising space and stopping silky tops from sliding off.
Think about the space around the rail, too. What's happening above and below? A neat shelf underneath is the perfect spot for shoes or folded knits. A higher shelf can work for storage boxes, hats, or even a few decorative pieces. If you're looking for a bit of inspiration, checking out some design ideas for high-impact display walls can really spark some creative ways to style the entire area.
Remember, an open wardrobe is a living display. Regularly rotating your items not only keeps your wardrobe fresh but also prevents certain pieces from being exposed to too much light or dust.
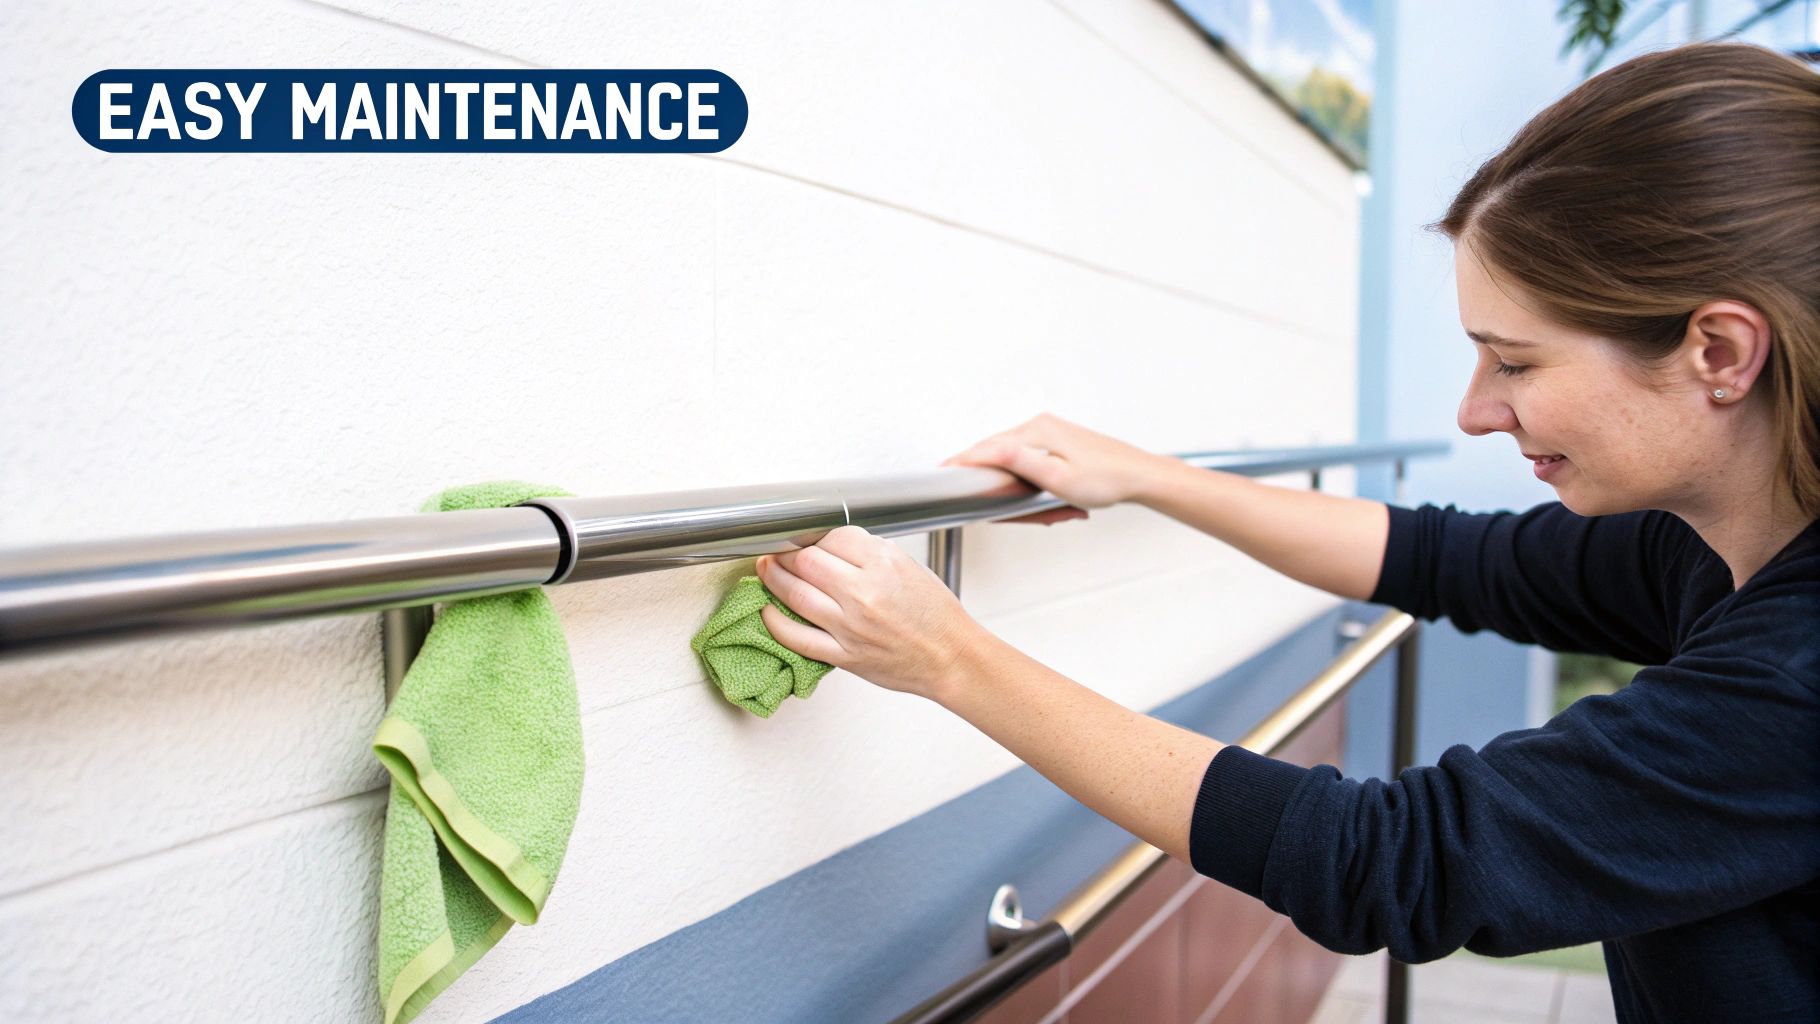
Simple Upkeep for Longevity
Keeping your rail looking its best doesn't take much effort. A quick wipe-down with a damp cloth every couple of weeks is usually all that’s needed to keep dust at bay. The material will guide your approach; a microfibre cloth is fine for most finishes, but if you've gone for raw metal, you might need a specific cleaner to keep it pristine and prevent any rust.
It's also a good habit to check the fixings every now and then. About every six months, just give the brackets a firm but gentle wiggle to make sure everything is still rock-solid. This simple check gives you peace of mind and ensures your rail will be a safe and secure part of your room for years. For more tips on getting the most out of your setup, have a look at our guide to clothes rail storage solutions.
Common Questions About Hanging Rail Walls
Even with the best-laid plans, a few questions always seem to surface when you're about to drill into a wall. Getting these details right from the start can be the difference between a rock-solid rail and a repair job waiting to happen. Let’s tackle some of the most common queries we hear from customers.
How Much Weight Can a Wall-Mounted Rail Actually Hold?
This is the big one, and the answer really comes down to two things: the rail itself and, crucially, how it’s attached to the wall. A heavy-duty steel rail anchored properly into brick or timber wall studs can easily support 50kg or more.
But here's the catch: that exact same rail, if fixed to plasterboard with just a couple of standard plastic plugs, could give way under a fraction of that weight. To get the most out of your rail's strength, always prioritise a secure fixing into a solid structural element of the wall.
Can I Install a Hanging Rail on a Plasterboard Wall?
Absolutely, but you have to be smart about it. Standard screws and the little plastic plugs that come with them just won't cut it here; they'll pull straight out of the board once you add any real weight.
You have a couple of solid options for a secure plasterboard installation:
- Find the studs. The best method is to locate the vertical timber studs behind the plasterboard and drill your rail directly into them.
- Use proper anchors. If studs aren't an option, you'll need specialised plasterboard fixings like spring toggles or hollow wall anchors.
These anchors are designed to expand and grip the back of the plasterboard, spreading the load across a much wider area. It’s a clever bit of engineering that stops the fixing from pulling through the board.
What Is the Best Height to Install a Clothing Rail?
For a single, all-purpose rail, we've found that a height of around 165cm (about 65 inches) from the floor to the rail is a great starting point. This gives enough drop for longer items like coats and dresses to hang properly without dragging on the floor.
If you're planning a double-rail setup to maximise your space, a tried-and-tested configuration is to place the lower rail at 100cm (40 inches) for trousers and skirts, and the top rail at 200cm (80 inches) for shirts and jackets. This tiered system is a brilliant way to double your hanging capacity.
At Display Guru, we stock the professional-grade rails and accessories you need to create a stylish and durable open wardrobe. Explore our collection to find the perfect solution for your space.