


Choosing Your Perfect Clothing Rail Bracket
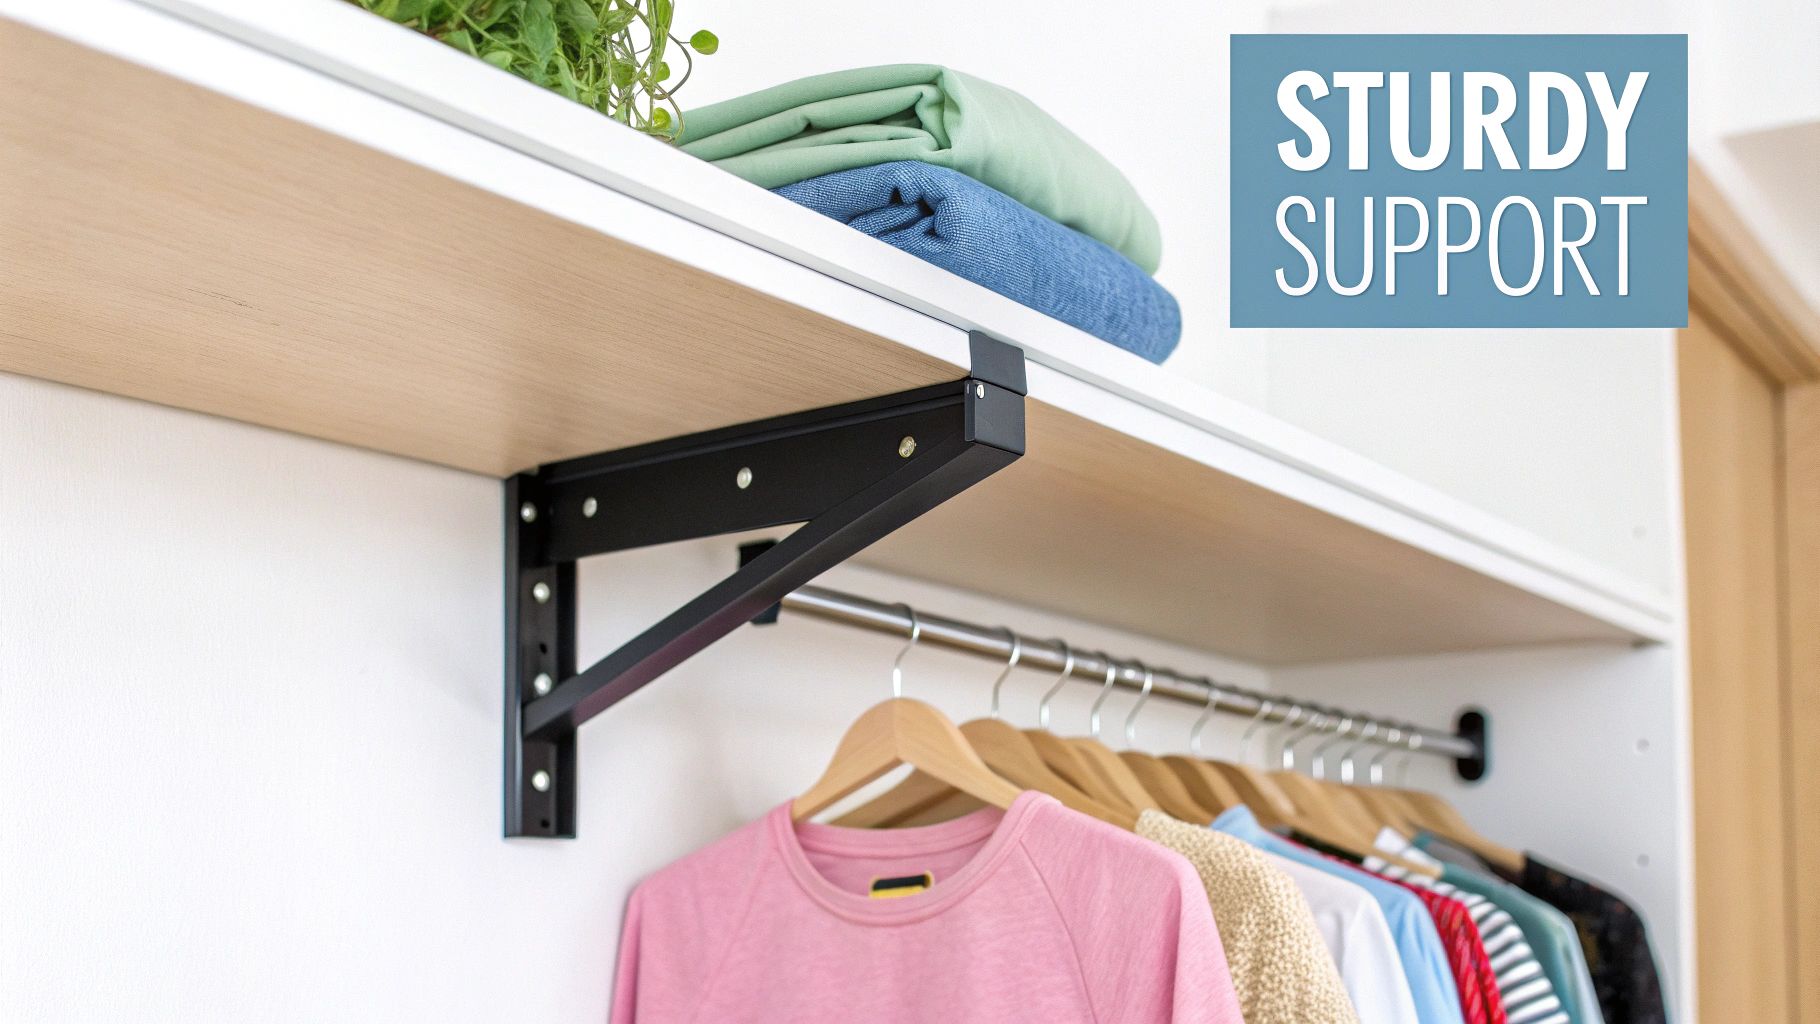
Let's be honest, the clothing rail bracket is the unsung hero of wardrobe organisation. It's the crucial link that secures a garment rail to a wall, ceiling, or inside a shelving unit. These small but mighty components bear the entire weight of your clothing, making them an essential part of any secure home storage or professional retail display.
Why Your Choice of Bracket Matters More Than You Think
It’s easy to grab any old piece of hardware off the shelf, but the humble clothing rail bracket has a huge impact on how well your storage system works, how safe it is, and even how good it looks. Picking the right one is what separates a reliable, long-lasting setup from one that’s a disaster waiting to happen.
Think about it from a retail perspective. The right bracket helps create a seamless shopping experience. A sturdy, well-chosen support can hold heavy stock without bending or sagging, which keeps the display looking sharp and reflects the quality of your brand. On the other hand, a flimsy or badly installed bracket can lead to damaged merchandise and, worse, a potential safety hazard for staff and customers.
The Impact in Home and Retail Settings
The setting of your project really dictates the kind of bracket you’ll need. For a walk-in wardrobe at home, you’re probably looking for something that maximises space but also complements your interior design. A decorative yet strong bracket can add a nice touch of style.
But in a busy retail stockroom? Aesthetics take a backseat to pure, brute strength. In that kind of environment, a heavy-duty, industrial-grade clothing rail bracket is absolutely non-negotiable.
This need for smarter storage is something we're seeing all across the UK. The global garments display and storage industry is currently valued at around USD 5.2 billion and is expected to grow substantially. This boom is being fuelled by retailers wanting to create better in-store experiences and by the simple fact that many of us in urban areas need clever, space-saving storage for smaller homes.
Foundational Principles of Mounting
No matter where you're installing a rail, the basic principles of mounting are always the same. You have to consider the weight capacity, the type of wall you're drilling into, and the fixings you use – they all work together. If you want to get into the nitty-gritty of selecting the right hardware, it’s worth understanding how to choose the right wall mount as many of the same concepts apply.
Choosing the right bracket isn't just about holding up a rail. It's an investment in the safety of your garments, the integrity of your walls, and the overall success of your storage design. A little forethought here prevents significant problems later on.
Finding the Right Bracket for Your Project
Choosing the right clothing rail bracket is about more than just aesthetics. I've seen countless projects where the wrong choice led to sagging rails or damaged walls. Getting it right means finding a perfect balance between the material, the type of wall you're working with, and what you’re actually planning to hang.
Think about the difference between a guest bedroom rail and a busy retail stockroom. For the guest room, where you might only hang a few light items, a sleek, minimalist bracket works beautifully. But for a boutique’s main display rail groaning under the weight of heavy winter coats, strength is non-negotiable. In those commercial settings, industrial black iron or heavy-duty steel brackets are what we always turn to for their sheer durability.
Material and Wall Type Considerations
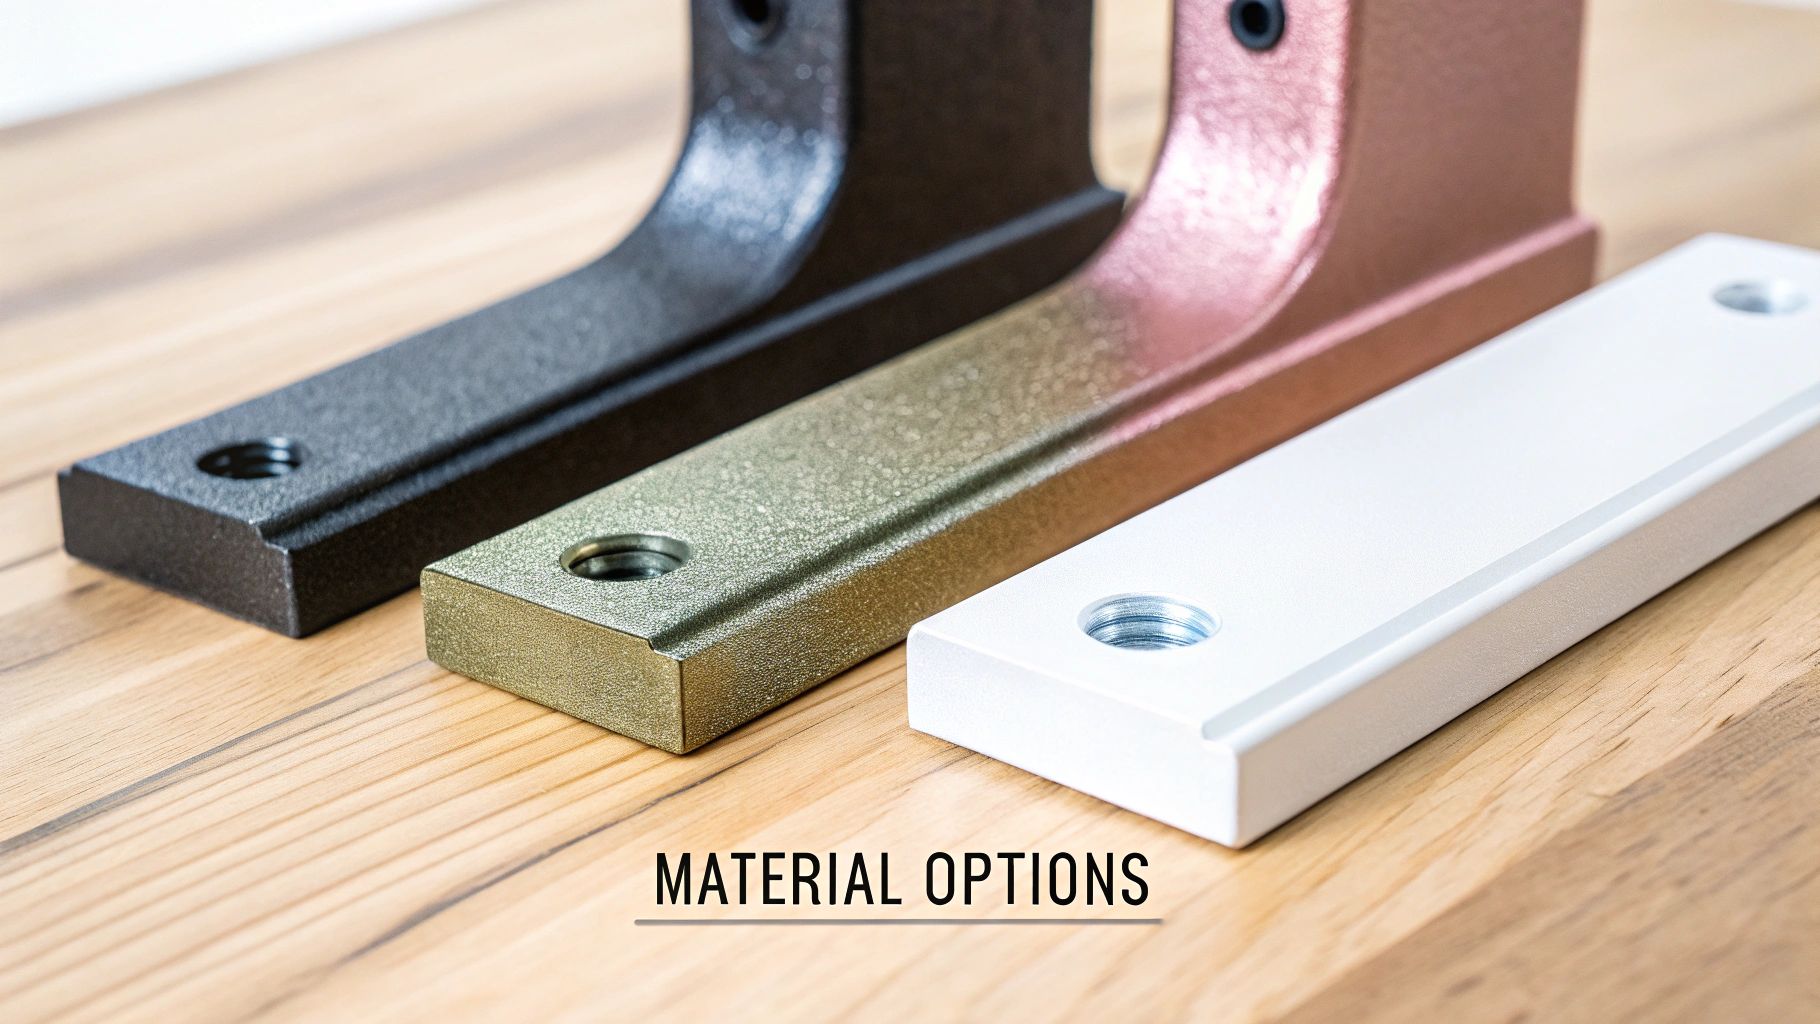
The bracket's material is the foundation of its strength and longevity. Stainless steel is a fantastic choice for its corrosion resistance, especially in potentially damp environments, while polished chrome gives you that modern, reflective finish that’s so popular in retail displays.
Just as important, though, is what you're fixing it to. A solid brick or concrete wall will give you a rock-solid foundation, capable of supporting serious weight with the right fixings. Plasterboard walls are another story entirely. If you're dealing with plasterboard, you absolutely must aim to screw directly into the wooden studs behind it for a secure fit. You'll find there are many various types of shelving brackets out there, and seeing the full range can often spark ideas for your own setup.
Getting to Grips with Load Capacity
This is where people often get caught out. The load capacity—how much weight a bracket can safely hold—is its most critical feature. Underestimate this, and you're looking at a disaster waiting to happen.
The table below gives you a better idea of what to expect from common materials.
Clothing Rail Bracket Material Comparison
| Material Type | Typical Load Capacity | Best For | Aesthetic Style | Price Point |
|---|---|---|---|---|
| Heavy-Duty Steel | 40-60 kg per bracket | Commercial stockrooms, heavy coats | Industrial, minimalist | ££ |
| Stainless Steel | 30-50 kg per bracket | Bathrooms, walk-in wardrobes | Modern, clean | £££ |
| Cast Iron | 30-45 kg per bracket | Boutiques, vintage displays | Ornate, traditional | £££ |
| Polished Chrome | 25-40 kg per bracket | Modern retail, home wardrobes | Sleek, contemporary | ££ |
| Aluminium | 15-25 kg per bracket | Light garments, children's rooms | Lightweight, functional | £ |
This comparison makes it clear that matching the material to the job is essential for a safe and lasting installation.
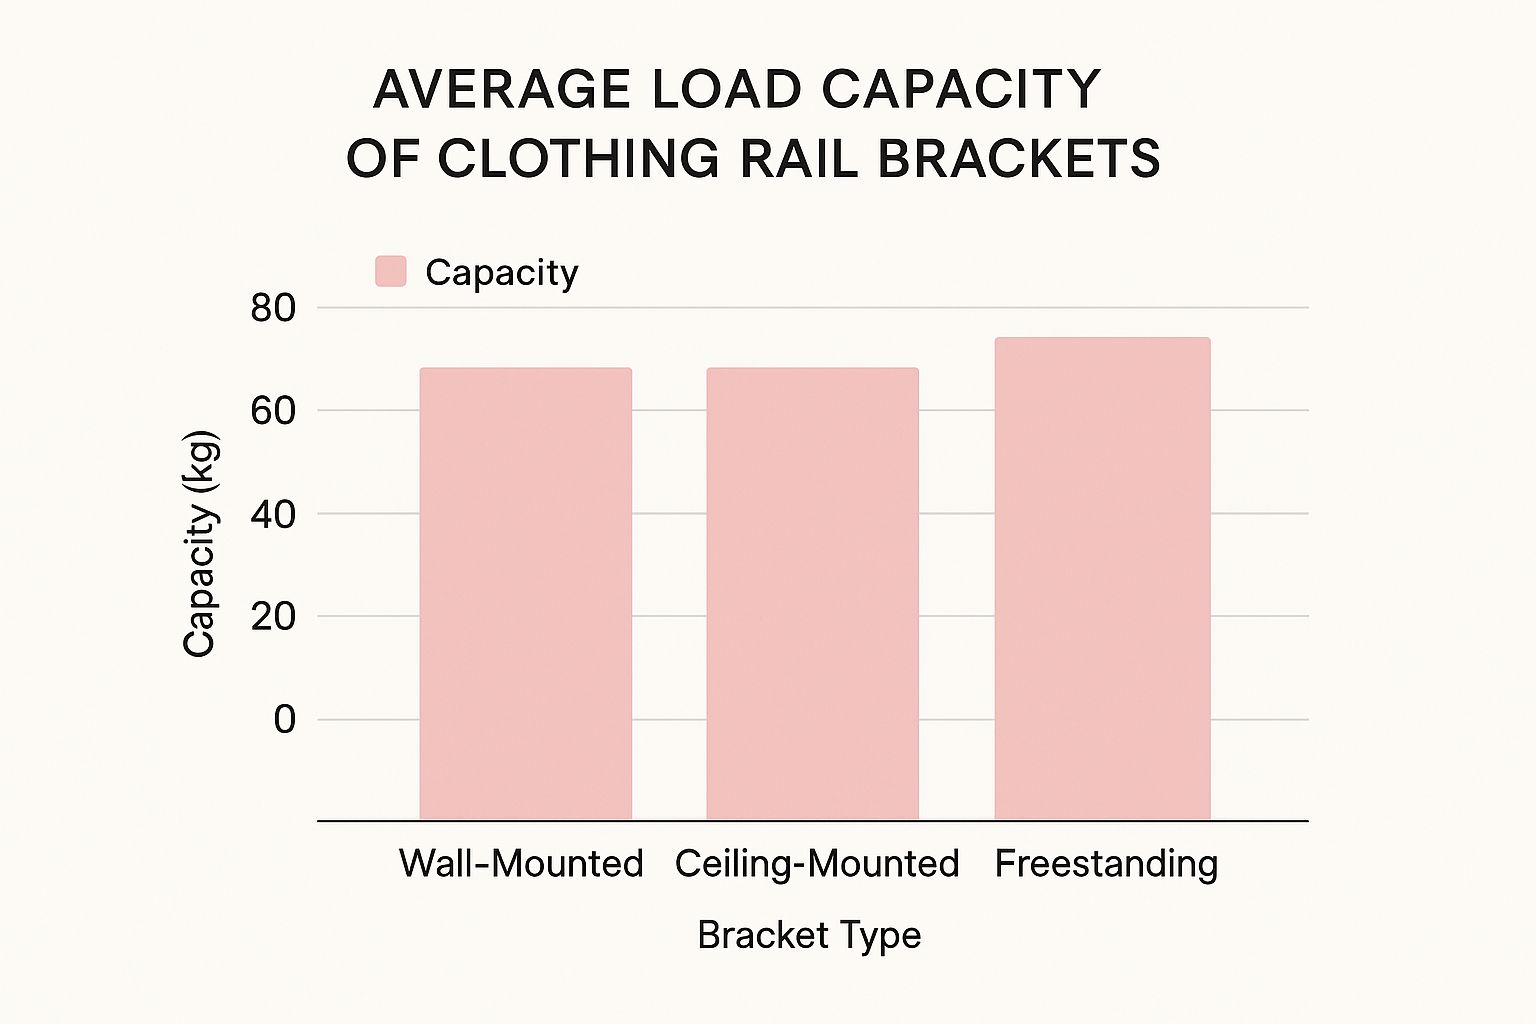
As you can see, wall-mounted brackets anchored into solid walls offer the best performance by far, which is why they are the standard for any serious, heavy-duty use.
The need for smart storage solutions is massive. In the UK, clothes racks and their brackets make up about 85% of sales in their category, a figure driven by our collective need to maximise space. With roughly 83% of UK households being flats or terraced houses with limited built-in storage, a sturdy rail isn't a luxury—it's a necessity.
Expert Tip: Never rely on standard wall plugs for heavy loads on plasterboard. Always use specialised toggle or anchor fixings designed for hollow walls. It’s the only way to ensure the bracket, and your clothes, stay on the wall.
If your project demands a bit more flexibility, like for a pop-up shop or a market stall, a permanent fixture might not be the answer. In that case, it's well worth checking out our guide on the benefits of a portable clothing rack, which offers a completely different approach to garment display.
A Practical Guide to Secure Installation
You can pick the best clothing rail bracket in the world, but it’s only as good as its installation. This is where theory meets reality, but don't let that put you off. A secure, professional-looking installation is well within your reach with the right approach and a bit of care.
The aim here is simple: a fixture that's perfectly level, looks neat, and, most importantly, is safe and stable enough to hold a full load of clothes for years.
Getting Your Toolkit Ready
Before you even touch a drill, get your tools organised. A few minutes of prep will save you a world of frustration later. Having everything to hand means you can concentrate on doing a proper job.
- A decent drill: A combi drill is your best friend here, as it can both drill holes and drive screws.
- The right drill bits: You'll need a different bit for a solid brick wall than for plasterboard or wood.
- A spirit level: This is absolutely essential. There's no good way to guess if a rail is straight. For longer spans, a laser level is a game-changer.
- A stud finder: This is your secret weapon for plasterboard walls. It helps you find the solid wooden supports hiding behind the plaster.
- Pencil and measuring tape: Precision is key, so mark your drill points carefully.
- The correct wall fixings: This is probably the most critical part. The screws and plugs you use must be right for your wall type.
I can't stress the point about fixings enough. Trying to hang a heavy-duty clothing rail bracket from plasterboard using a standard wall plug is a recipe for disaster. You have to use specialised fixings designed specifically for hollow walls.
Finding the Best Fixing Points
The real strength of your installation comes down to what you're fixing the brackets into. Solid masonry walls are pretty straightforward, but plasterboard demands a bit more thought.
Your number one goal should always be to find the wooden studs behind the plasterboard. These vertical beams are the structural frame of the wall and provide a rock-solid anchor point that can take some serious weight. A stud finder will usually beep or flash when it passes over one, letting you mark its centre.
But what if the studs aren't where you need them to be? In that case, you have to turn to specialist hollow wall anchors. The most common types are:
- Spring Toggles: These clever fixings have 'wings' that spring open behind the plasterboard, spreading the load over a much wider area.
- Hollow Wall Anchors: These expand like a concertina behind the board as you tighten the screw, gripping it firmly.
In a retail setting, where rails are constantly being loaded up and used, fixing into solid walls or wooden studs is the only way to go. Relying purely on plasterboard fixings just isn't worth the risk.
Once you know where you're fixing, use your spirit level and tape measure to mark the exact drill points for each bracket. Check, then double-check, that your marks are perfectly level before you drill. It’s a simple step that prevents that frustrating sloping rail.
The Drilling and Fixing Process
With your spots marked, it's time to drill. Here's a pro tip: always drill a small pilot hole first. It stops the larger drill bit from 'wandering' off course and massively reduces the risk of cracking the plaster or brick.
Hold your drill dead straight, perpendicular to the wall, to get a clean hole. Pop your wall plug in so it sits completely flush with the surface. Now you can place your clothing rail bracket over the hole and drive the screw in until it's snug and secure. Be careful not to over-tighten, as you can strip the fixing or damage the plasterboard.
For a broader look at how different displays work in a commercial space, our guide on clothing display racks offers some great insights into getting the most out of your setup.
With your brackets firmly in place, all that's left is to attach the rail. You'll have a secure, perfectly level storage solution ready for action.
Common Installation Mistakes and How to Avoid Them
Even with the best brackets in hand, a few simple installation mistakes can quickly turn a straightforward job into a frustrating mess. Getting your clothing rail fitted securely the first time isn't just about avoiding a wonky rail; it's about making sure it's safe and built to last.
Let's walk through the most common pitfalls I see and, more importantly, how you can sidestep them.
Choosing the Wrong Fixings
One of the most frequent—and dangerous—errors is grabbing the wrong wall plugs for your wall type. This is particularly critical when you're dealing with plasterboard. A standard plastic plug is designed to expand and grip inside solid materials like brick, but it has nothing to hold onto in a hollow plasterboard wall. It will simply pull out under the slightest pressure.
Imagine loading up a new rail with heavy winter coats. If you've used standard plugs in plasterboard, it's only a matter of time before the fixings tear straight out of the wall, taking a big chunk of plaster with them. It's not just a pain to repair; it's a genuine safety hazard.
The fix is simple: use fixings designed specifically for hollow walls.
- Spring Toggles: These clever fixings have metal wings that pop open behind the plasterboard, spreading the load across a much wider, more stable area.
- Hollow Wall Anchors: As you tighten the screw, these expand and grip the back of the board, creating an incredibly secure anchor point.
The key here is to figure out your wall type before you even think about drilling. Spending a little extra on the correct heavy-duty plasterboard anchors will save you from a costly and dangerous failure later on.
Poor Placement and Measurement
Another classic mistake is getting the bracket spacing and alignment wrong. If you place your brackets too far apart, you're setting yourself up for a sagging rail. Over time, the weight of the clothes will cause the middle of the rail to bow, which looks awful and puts a huge strain on the entire setup.
As a solid rule of thumb, brackets should be no more than one metre apart. If you know the rail will be holding heavier items, like in a retail stockroom, it's wise to reduce that gap to between 60cm and 80cm for that crucial extra support.
And please, use a spirit level. Trying to judge it by eye might feel faster, but it almost always leads to a slightly sloping rail where all your hangers slide to one end. A few seconds with a level makes all the difference.
Finally, don't overlook the weight capacity of your chosen brackets. Every bracket is rated for a maximum load. Overloading it, even if it's perfectly fixed to the wall, puts immense stress on the metal, the screws, and the wall itself. This leads to metal fatigue and, eventually, a total collapse. The entire system has to work together, and a strong, well-organised display really elevates a space. For more inspiration on effective presentation, take a look at our guide on clothing display stands.
Keeping Your Clothing Rail in Top Shape for the Long Haul

So, you've got your clothing rail fitted – great stuff. But to keep it sturdy and reliable for years, a little bit of routine care goes a long way. Think of it like any other hardworking piece of kit in your home or shop; the brackets need a quick check-up now and then to catch any potential problems before they start.
Once a month or so, just give each bracket a quick once-over. Have a look for any signs that it might be pulling away from the wall. You can also give the rail a gentle wiggle to feel for any movement. If you notice any give at all, it's a sure sign the screws could do with a tighten.
Routine Checks and a Bit of Polish
Setting up a simple maintenance schedule is the best way to make sure your rail lasts. These checks only take a few minutes but are absolutely essential for keeping everything safe and looking smart.
- Tighten Those Screws: Grab a screwdriver and just confirm that all the fixing screws are snug. Over time, everyday vibrations or just the weight of your clothes can cause them to loosen ever so slightly.
- Spot-Check for Rust: If your brackets are in a place that gets a bit damp, or if they're made from raw steel, keep an eye out for any early signs of corrosion. Catching it early means you can treat the spot before it spreads.
- A Quick Clean: A simple wipe-down will keep your brackets looking their best. For a chrome finish, a soft microfibre cloth is perfect for avoiding water spots. For black iron, a dry cloth is all you need.
A well-maintained clothing rail isn't just about looking good; it's a crucial safety check. Regular inspections prevent the slow, gradual fatigue of the fixings—the most common reason for a rail to fail—which protects both your walls and your clothes from a nasty surprise.
If you’re managing a whole collection of rails, maybe for a theatre wardrobe or a busy stockroom, our guide on organising costume rails has some extra tips on keeping everything in order.
It’s no surprise that the market for these kinds of storage solutions is growing. The European garment racks market, which your trusty clothing rail bracket is part of, was valued at around USD 1.9 billion and is expected to hit nearly USD 3.5 billion. This boom is largely thanks to the UK's bustling fashion retail scene and the strict safety standards that demand tough, high-capacity hardware. For a closer look at the market forecast for garment racks, you can dig into the full report.
Your Top Questions About Clothing Rail Brackets Answered
Even with the best-laid plans, a few nagging questions can surface right when you’re ready to start drilling. To clear things up, I’ve put together answers to the queries I hear most often about installing clothing rail brackets.
Getting these details right is what separates a decent installation from a truly great one. It’s all about making sure your new rail is secure, safe, and built to last.
What Is the Maximum Weight a Standard Bracket Can Hold?
This is the golden question, isn't it? The honest answer is: it depends entirely on two factors—the bracket itself and, just as importantly, the wall it’s fixed to.
A heavy-duty steel bracket, when properly screwed into solid brickwork or a timber stud, can easily handle 40-50kg. No problem at all.
But take that same sturdy bracket and try to mount it on plasterboard with the wrong fixings, and you'll be lucky if it holds 10-15kg before pulling away from the wall. You absolutely have to check the manufacturer's guidance and know what kind of wall you're dealing with. For any serious weight, anchoring into a structural point is non-negotiable.
The wall is just as important as the bracket. A strong bracket on a weak wall is a recipe for disaster. Always, always match your fixings to your wall type for maximum security.
How Far Apart Should I Place My Brackets?
Proper spacing is the secret to preventing that dreaded rail sag. For most home wardrobes or general use, a good rule of thumb is to place your brackets no more than 100cm (1 metre) apart. This gives more than enough support for a typical amount of clothing.
However, if you're planning to hang a lot of heavy items—think a rail packed with winter coats or a commercial stockroom—you’ll want to close that gap. I'd recommend spacing them between 60cm and 80cm apart. This distributes the load far more evenly and makes the whole setup much stronger.
One final tip: always place a bracket within 10-15cm of each end of the rail. This stops the ends from dipping or tilting when loaded up.
Can I Install a Clothing Rail Bracket on Plasterboard?
Yes, you certainly can, but you have to do it the right way. Standard plastic wall plugs are completely unsuitable for plasterboard; they simply won't grip and will fail under load.
Your best bet is to use a stud finder to locate the timber joists behind the plasterboard and screw directly into that solid wood. That’s your strongest possible fixing.
If the positioning means you can't hit a stud, you’ll need to turn to specialist heavy-duty plasterboard fixings.
- Spring Toggles: These are clever little fixings with wings that fan out behind the board, spreading the weight over a much larger surface area.
- Hollow Wall Anchors: As you tighten the screw, these expand behind the plasterboard, creating an incredibly firm grip.
Using one of these is the only reliable way to ensure your clothing rail bracket stays put on a plasterboard wall.
If you’re dealing with a truly massive collection, our guide on choosing a heavy duty clothing rack has some great insights into managing substantial loads safely.
At Display Guru, we stock the kind of robust and reliable hardware you need for any project, from a simple home wardrobe update to a full-scale professional retail fit-out. Explore our complete collection of garment rails and accessories to find the perfect solution for your space.