



Clothes Rail Hooks Types and How to Choose
The most repeated advice about clothes rail hooks is to buy twice as many as you think you need and fill the tube end to end. That advice is easy to give when you're the one selling hooks. It's also why so many shop rails end up bowed, crowded and impossible to work from.
A hook is not a decorative finish you add until a rail looks complete. It's a joint, the point where a fixed tube meets a hanger and where the full weight of a garment enters the structure. It's also a workflow marker, because the hook a garment sits on tells you whether that piece is waiting for a fitting, waiting for a price, or ready to leave the building. Get the joint wrong and the rail sags. Get the workflow wrong and the rail is full of garments nobody can find.
Three things decide the purchase: the tube you already own, the weight the hook will share with everything else on that rail, and the job the garment is waiting for. Colour and price per hundred come after those three, never before.
Measure Your Rail Before Buying Hooks
Before you open a hook catalogue, write down three facts about the rail already in use. They take five minutes and they remove more of your shortlist than any review you'll read.
- Tube shape and outside diameter, in millimetres. Pull a tape across the tube at a fixing point. Oval and rectangular tube behaves nothing like round stock, because a throat sized for a circle can sit loose on a flat face and tilt under load.
- Whether an end opens. If the cap or end stop lifts off, a closed ring or figure-eight link can slide on. If the tube is sealed, those families only work when you fit them at a bracket before the end goes back on.
- The heaviest garment that will realistically hang there. A rain-soaked wool coat and a beaded bridal bodice set different limits, and a hook that shrugs at a shirt may hold neither.
Then look at the finish. A bare wire throat on a powder-coated white or black shopfitting rail scrapes the coating off at the contact point, and the pale line it leaves doesn't come back. On a coated rail, choose a padded or coated hook, or accept that the finish has a working life measured in months rather than years.
Matching the system matters as much as matching dimensions. Display Guru sells shopfitting garment rails in white and black along with accessories, so a shop can keep hooks, end stops and rail in one range instead of hunting a shade that's nearly right. Nearly right is obvious under shop lighting.
Write down the rail height and the number of garments each hook will carry before you buy anything. Those two figures set the drop and the load check, and both need the bracket arrangement settled first, which is why clothing rail brackets are worth sorting before you blame a hook for a sag.
Types of Clothes Rail Hooks Compared
A rail looks productive when it is full. In practice, extra hooks can make it harder to move stock, read size tickets and remove garments without disturbing their neighbours. Choose hooks for the work the rail needs to do: hold stock securely, make garments easy to handle, or keep repairs and resale pieces distinct.
| Hook type | Best garments | Fabric contact | Handling style | Spacing cue |
|---|---|---|---|---|
| Open S-hook | Shirts and light fast-change stock | Hanger only if the throat fits the tube | Slides on and off an open tube | About 25–40 mm hook centres for shirts |
| Closed ring or figure-eight | Busy shop rails and shared studios | Hanger, not the cloth | Stays on the rail; load from an open end | Match the hanger width |
| Clip or clamp | Trousers, skirts and samples | Jaw on waistband or bar | No separate hanger | One garment unless the jaw is rated for more |
| Coated or padded | Silk, lace, beading and coated rails | Soft face on metal or cloth | Slower to load, kinder to the finish | Wider gaps for delicate pieces |
| Cascade or multi-tier | Light tees and samples in a small footprint | Several hangers in one drop | Vertical stack | Not for coats or structured jackets |
| Shoulder or display hook | Jackets and coats shown as worn | Wood or plastic at the shoulder | Projects into the aisle | About 80–100 mm centres where sleeves must clear |
What each family is actually for
Open S-hooks are quick to add and remove, which suits stock that changes often. Their weakness is movement: if the throat is wider than the tube, a customer shifting one garment can send the hook sliding sideways. Closed rings stay put, but must be loaded from an open rail end. That trade-off suits busy shop rails and shared studios where hooks should remain in position.
Clip and clamp hooks suit garments that are awkward to hang on a standard hanger. A jaw can hold a trouser waistband, skirt or sample bar without a separate hanger, shortening the drop. The jaw also touches the fabric directly. An unlined clip can leave a crease or mark, so check its contact surface before using it on finished stock.
Coated or padded hooks reduce hard contact with fabric and rail finish, though they take longer to load. They suit delicate pieces such as silk, lace and beaded garments. Cascade hooks save horizontal space for light tees and samples, but their stacked load can fold coats and structured jackets. Shoulder or wooden display hooks show outerwear in shape, at the cost of taking more aisle space.
For clips, check the jaw's grip and how it meets the garment before choosing the hook finish. Examples of hangers with clips for robes show a padded jaw paired with a swivel hook, an arrangement suited to holding a waistband while reducing direct pressure from bare metal.
What I would buy first: a matched run of closed rings for the main rail, plus a small set of coated S-hooks for delicate stock. A large batch of cheap wire hooks can add clutter without making garments easier to handle.
Spacing and colour, in that order
Set spacing by the garment. Shirts can sit at roughly 25–40 mm centres; garments whose sleeves need room call for 80–100 mm between hooks. Delicate pieces need wider gaps to avoid rubbing or pressure from neighbouring stock.
Choose colour after type and spacing. A shade mismatch is a minor visual issue; a hook that does not suit the rail or the garment creates daily handling problems.
How the Hook Joins Rail and Garment
A hook is the joint between three parts, and it fails when any one of them is treated as an afterthought. The rail is the beam carrying everything. The hook is the connection that lifts on and off that beam. The hanger or clip is the shoulder that meets the garment. Change one and you've changed the joint, which is why a hook that works on one rail is not a safe purchase for another.
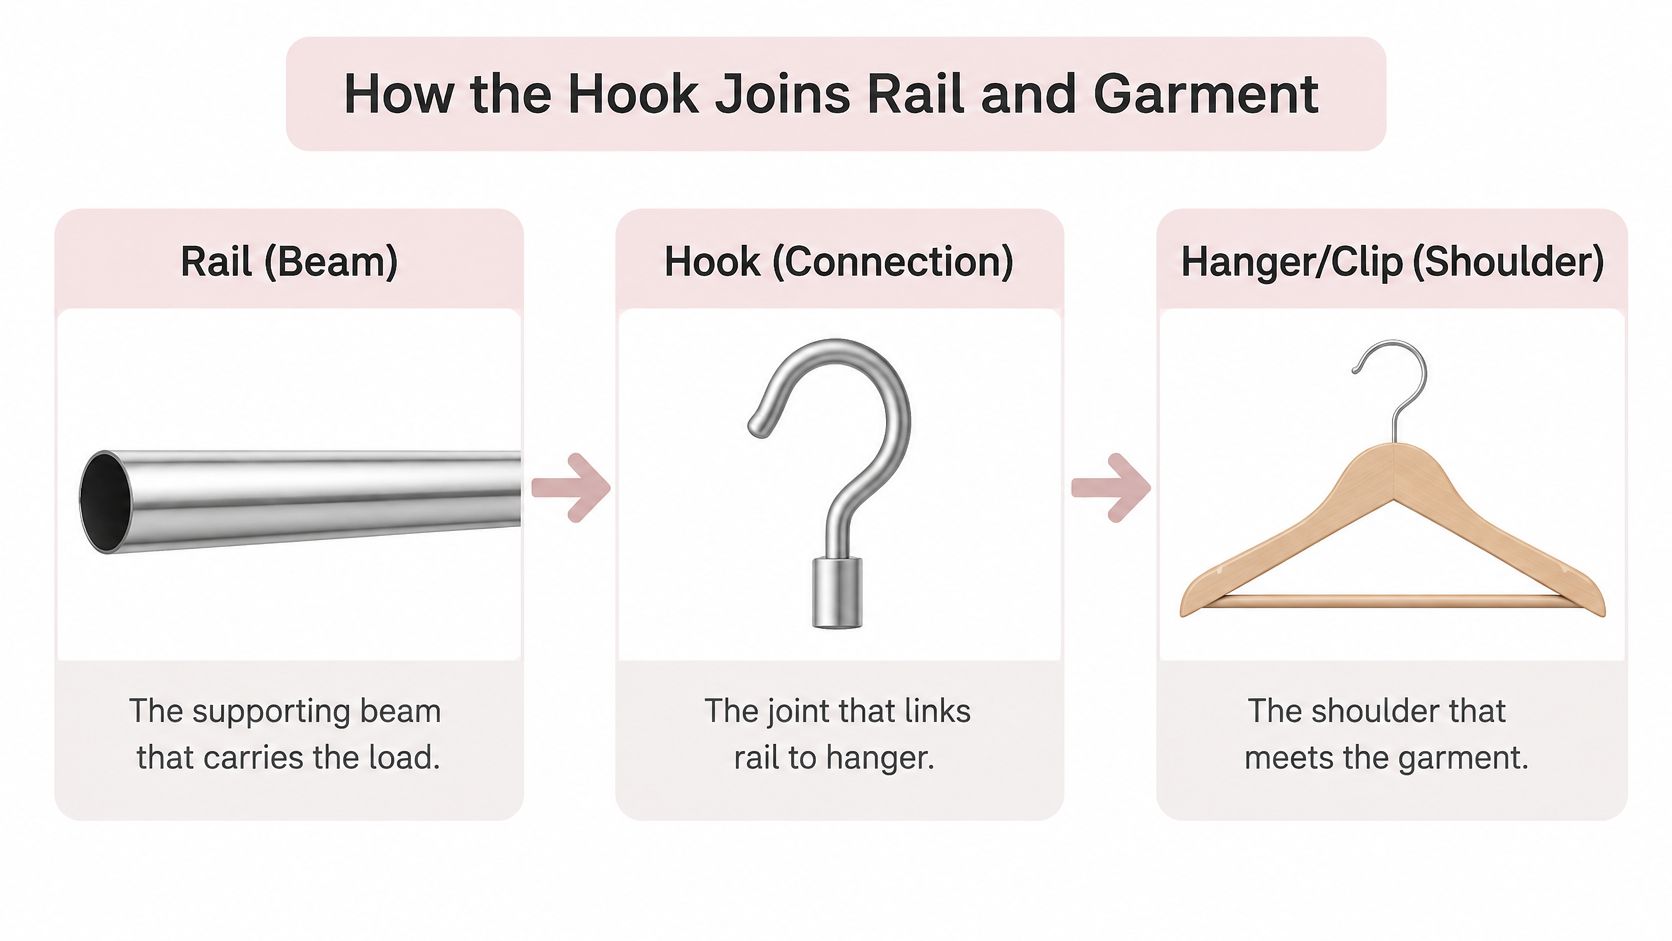
Every rail accessory still performs three functions at once: it provides a structural rail, it gives each garment a hook-based connection, and it allows a removable attachment that can be shifted along the tube or taken off. That trio isn't a modern retail convenience. British inventor J. A. Launder recorded a patent priority on 13 December 1918, and the patent, published as GB130538A on 7 August 1919, described removable sliding carriers supported by a fixed rail, with variations using hooks to hang from or eyes to slip onto a fixed rod, as the GB130538A patent record sets out. The patent is recorded as expired, so nothing in it is protected, but the distinction it drew still holds: a clothes-rail hook belongs to a system supporting multiple garments on a fixed rail, not to a single coat on a wall peg.
Say the tube under your hand measures 25 mm and the S-hook you're holding has a 35 mm throat. It sits over the tube and still slips off sideways, so it fails the test before a garment goes anywhere near it. You reject that hook and choose a closed ring, a narrower throat, or a stopped open end that loads from the cap. That is the whole decision, made in a shop doorway with a tape measure rather than from a catalogue photograph.
Rail Heights That Decide Hook Drop
Hook length is a consequence, not a starting point. Two decisions come first: how high the rail sits and what will hang from it. Choose the hardware first and you'll spend the fitting session moving brackets and re-drilling holes.
A UK technical wardrobe-design source gives typical rail-centre heights of approximately 1,650–1,900 mm for long-hang garments, 850–1,050 mm for a lower rail in double-hang storage, and 1,800–2,100 mm for the upper rail, per Make Bespoke's wardrobe and dressing-room dimensions.
| Garment run | Typical rail-centre height | What the hook must allow |
|---|---|---|
| Long hang, coats and dresses | About 1,650–1,900 mm | Full garment drop clear of the floor |
| Lower rail in double hang | About 850–1,050 mm | Shirts or trouser length above the floor and the rail below |
| Upper rail in double hang | About 1,800–2,100 mm | Short garments only, within comfortable reach |
| No British Standard for these layouts | Convention, not a compliance limit | Check aisle width after hook projection |
What each band asks of the hook
Long-hang pieces need the hem to clear the floor once the hook and the hanger have taken their share of the drop. A 1,700 mm rail with a long hook and a deep hanger can put a coat hem closer to the floor than the drawing suggested, and a hem that brushes the floor in a shop picks up everything the day brings.
A low rail is where long hooks do real damage. Put a deep-throated hook under a 950 mm rail and shirts and skirts hang into the aisle, block customers and catch on passing trolleys. Short connections belong at the bottom of a double hang, and they need to be short in the throat as well as the body.
The upper rail is for short garments and must stay reachable without a stool. That rules out shoulder hooks with long necks and any hardware that adds a second drop above head height, however good it looks in a display photograph.
Projection is part of the measurement
Shoulder and wooden hooks push a garment forward, so add hook projection to garment depth before you fix bracket centres. In a fitting room or a narrow retail bay, that combination decides whether a customer can stand back and look at the piece, or whether they're turning sideways to pass it. Measure the aisle at the tightest point, not at the widest.
Here's the sort of mismatch that shows up on site. A shirt on a lower rail at about 950 mm with a short hook hangs clear with room under it. Move that same hook onto a 1,700 mm coat rail and it wastes the drop, leaving the coat bunched at ankle height while the next size crowds it from the side. The hook didn't change; the rail did.
Before committing, hang the longest piece and the widest piece on the rail, walk the aisle in both directions, and only then fix your centres. If you're working with a taller frame for full-length stock, the guidance on tall clothes rails is worth reading before you set the upper bracket.
Testing Load Before You Trust a Hook
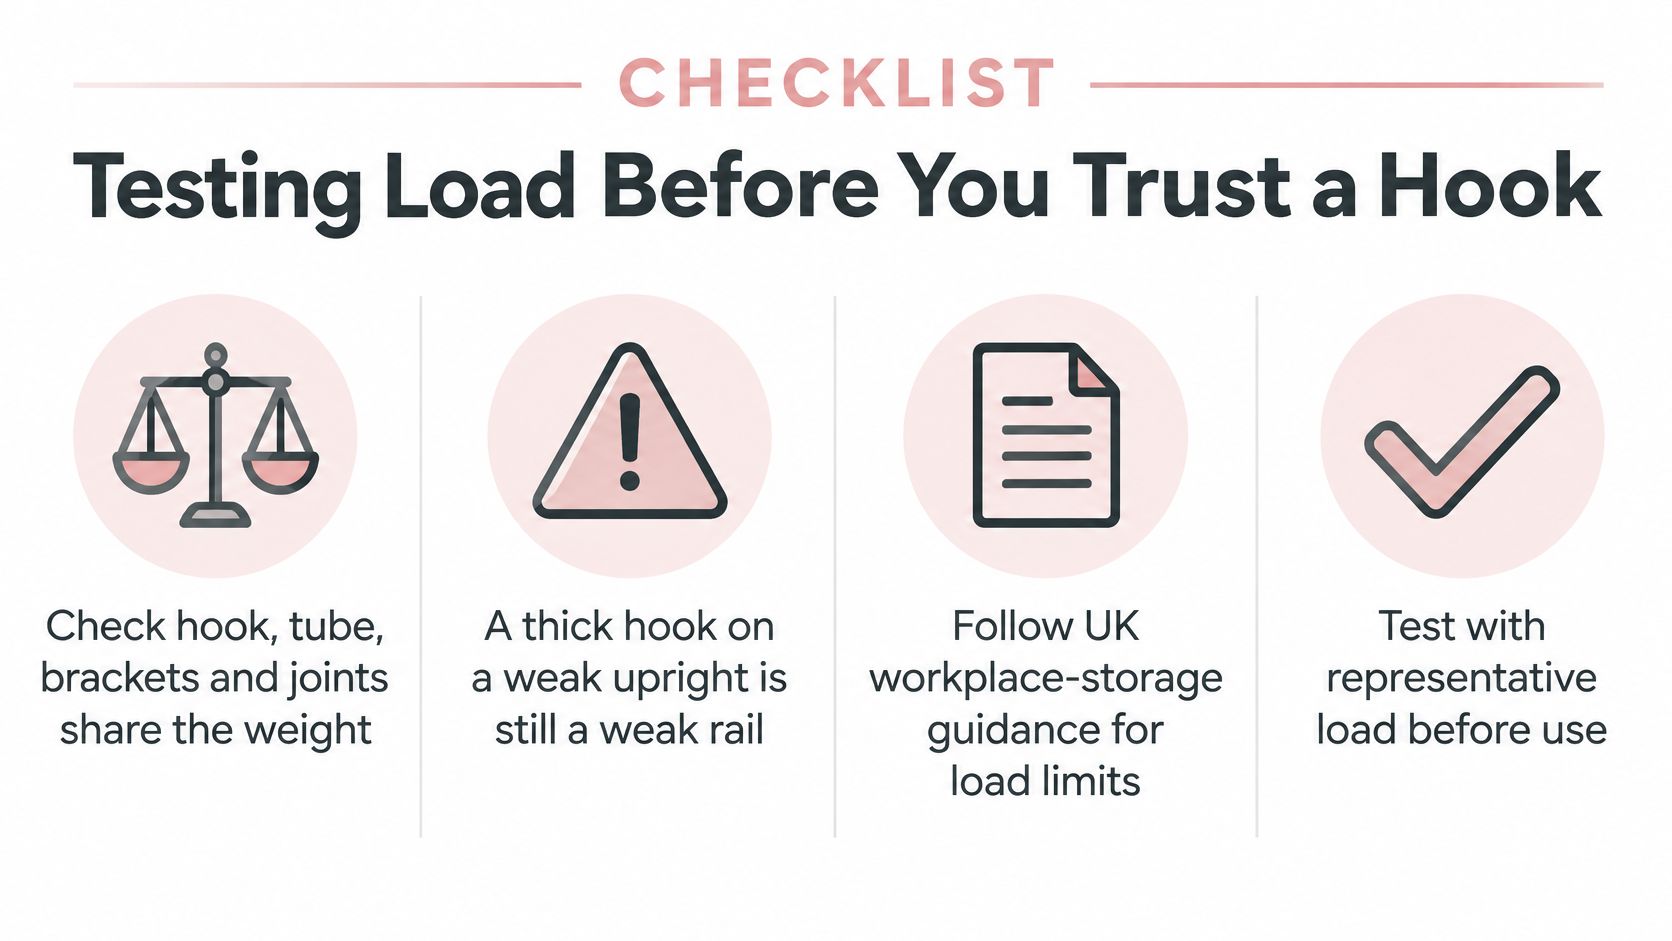
No one can give you a trustworthy kilogram figure for a hook, because the hook is never carrying the load alone. The hook, the tube, the brackets, the joints and any anti-tip restraint share the weight, and a thick hook on a weak upright is still a weak rail. UK workplace-storage guidance identifies a hook or peg as a suitable means for hanging clothes but does not establish a universal capacity for garment rails, as the HSE workplace storage guidance makes clear. So the working figure is the manufacturer's stated safe working load where one exists, followed by a test of the actual assembly.
The five-step acceptance check
- Take the lower rating. Read the rail figure and the hook figure, then work to whichever is lower. Never average them.
- Spread the garments along the tube. Coats parked at one end or hung over one bracket will bend a tube that would have carried the same weight happily when distributed.
- Add weight in stages up to the intended static load. Include a margin for wet wool and layered bridal construction, because a soaked coat can weigh far more than the one you weighed on the bench.
- Watch three failure signs. The hook throat opening up, the tube taking a permanent bend, and the base lifting or walking. Any one of those means stop and re-specify.
- Unload and reload several times, then recheck screws and joints. Shop traffic loosens fixings even when each individual garment is light, and a joint that was tight in January can be hand-loose by half term.
Pass or fail, record it: note the hook model and the result beside the rail, so a change of tube or bracket triggers a retest instead of a guess.
What beats hook thickness
Tube diameter, the distance between the load and the nearest upright, moisture, and rough handling all influence whether a rail holds. A garment pushed to the end of a cantilevered rail loads the joint far harder than the same garment centred between brackets. Repeated loading and unloading in a retail environment creates fatigue and loosens connections even when the nominal garment weight is modest, and the same is true of a studio rail that turns over stock all day.
Turnover is rising rather than falling. Traid's survey findings report that 71% of surveyed people reported wearing second-hand clothing in 2025, up from 65% in 2020, and every extra piece through a rail means another load and unload cycle on the same joint.
Finish with a trial hang of one typical shirt and one heavy coat on the chosen hook, then run the five steps on that pair. If it passes, stop. Don't add hooks to fill bare tube because the rail looks sparse. For stock that regularly runs heavy, a heavy duty clothing rack is the better starting point than a lighter rail reinforced with hope.
Organising Repairs and Resale on the Rail
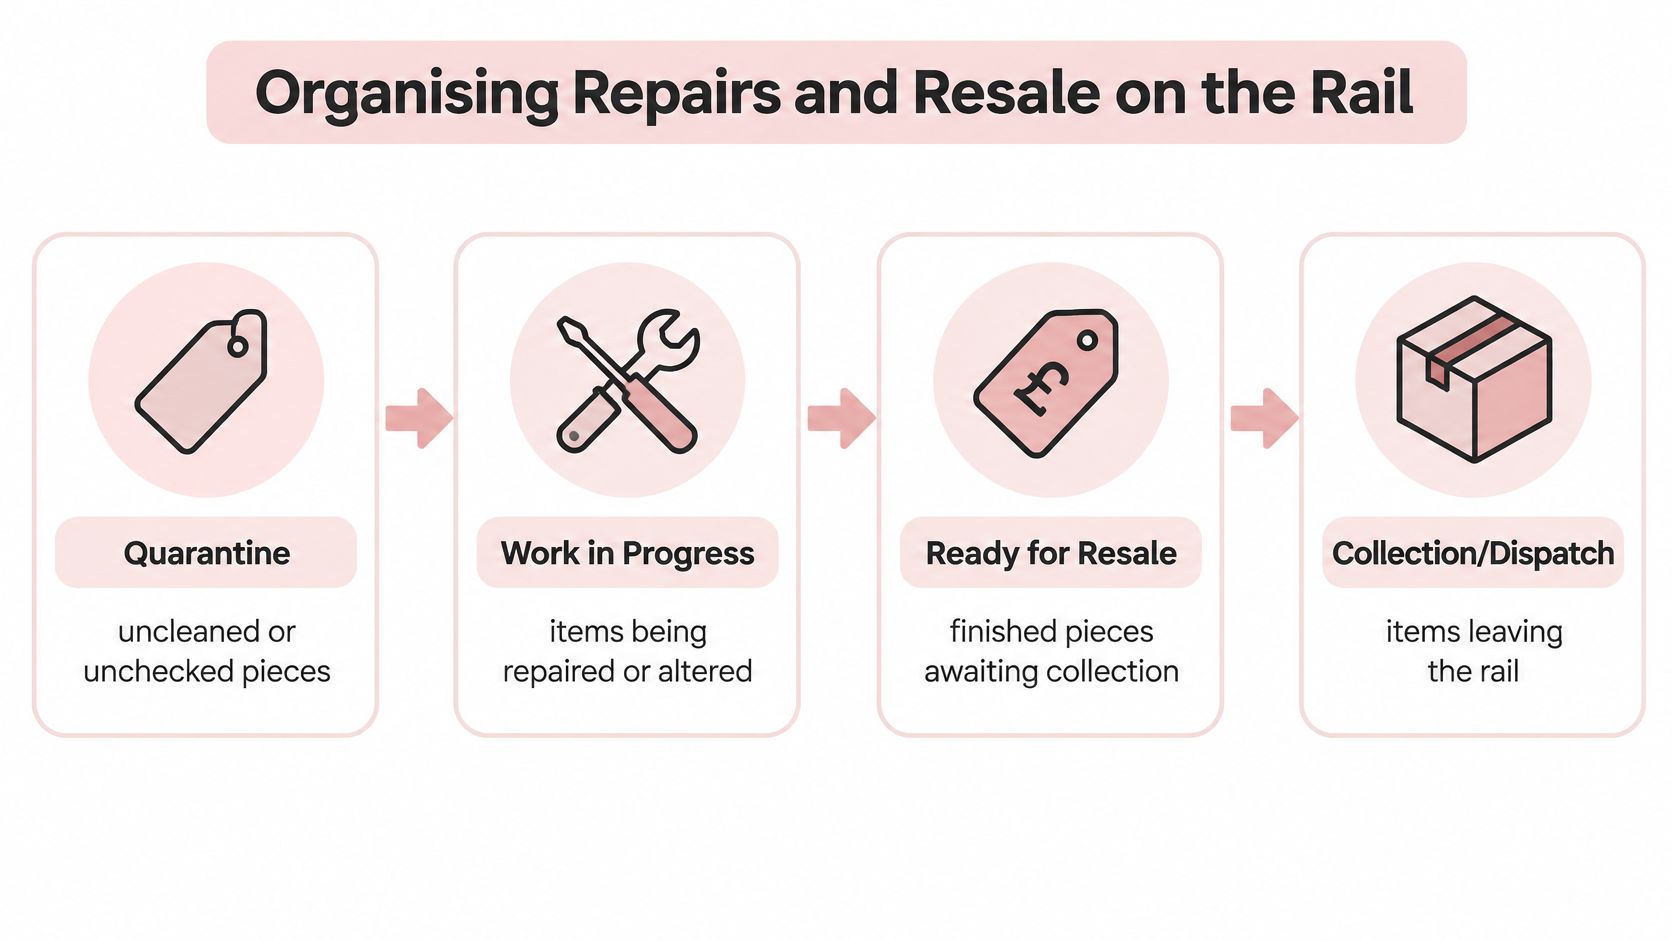
Treat the rail as a queue, not a wardrobe. Once a rail carries work in progress, the hook stops being storage and becomes a stage marker, and a garment on the wrong stage costs more time than the hook itself.
- Quarantine. Uncleaned or unchecked pieces, kept physically apart from everything else so a soiled item can't touch finished work.
- Work in progress. Garments under alteration or repair, closest to the bench and to the machine.
- Ready for resale. Finished pieces that have passed a check, with deliberate gaps between them.
- Collection or dispatch. Customer-owned items waiting to leave, and stock waiting to be photographed or boxed.
That separation is not fussiness. The Bearingpoint Sustainable Retail Barometer 2025 UK edition reports that 63% of UK consumers reported repairing items instead of buying new in 2025, a figure that fell by 10 percentage points year-on-year, while UK fashion-service spending rose 18% per person between Q4 2024 and Q3 2025. More garments are moving through repair and resale counters, and each one needs a place to wait.
Label with a looped ticket or a clip on the hanger rather than a pin through the cloth. Pinholes in silk don't close, and a pinned ticket on a customer's jacket is a conversation nobody wants. Leave real space in the finished zone, because tight centres crease wool, snag beading and hide the size ticket that resale depends on.
Match the hook to the stage. Padded or coated hooks for silk, lace, beading and anything awaiting a quality check. Open hooks for samples that move the same day. Run incoming second-hand stock on its own rail, separate from photographed and priced items, so a soiled piece never shares hardware with a finished one. Give each zone a named owner and a daily clear-down time, or quarantine becomes permanent.
Send folded stock, incoming repairs and small accessories to a bin rather than a hook, so the rail stays for hanging only. If you're reworking a stockroom around these zones, this guide to clothes rail storage covers the layout side.
Fabric Risks That Change the Hook Choice
A hook can pass every dimensional and load test and still be wrong, because fabric is the variable that won't sit still. These are the exceptions worth designing around before you place an order.
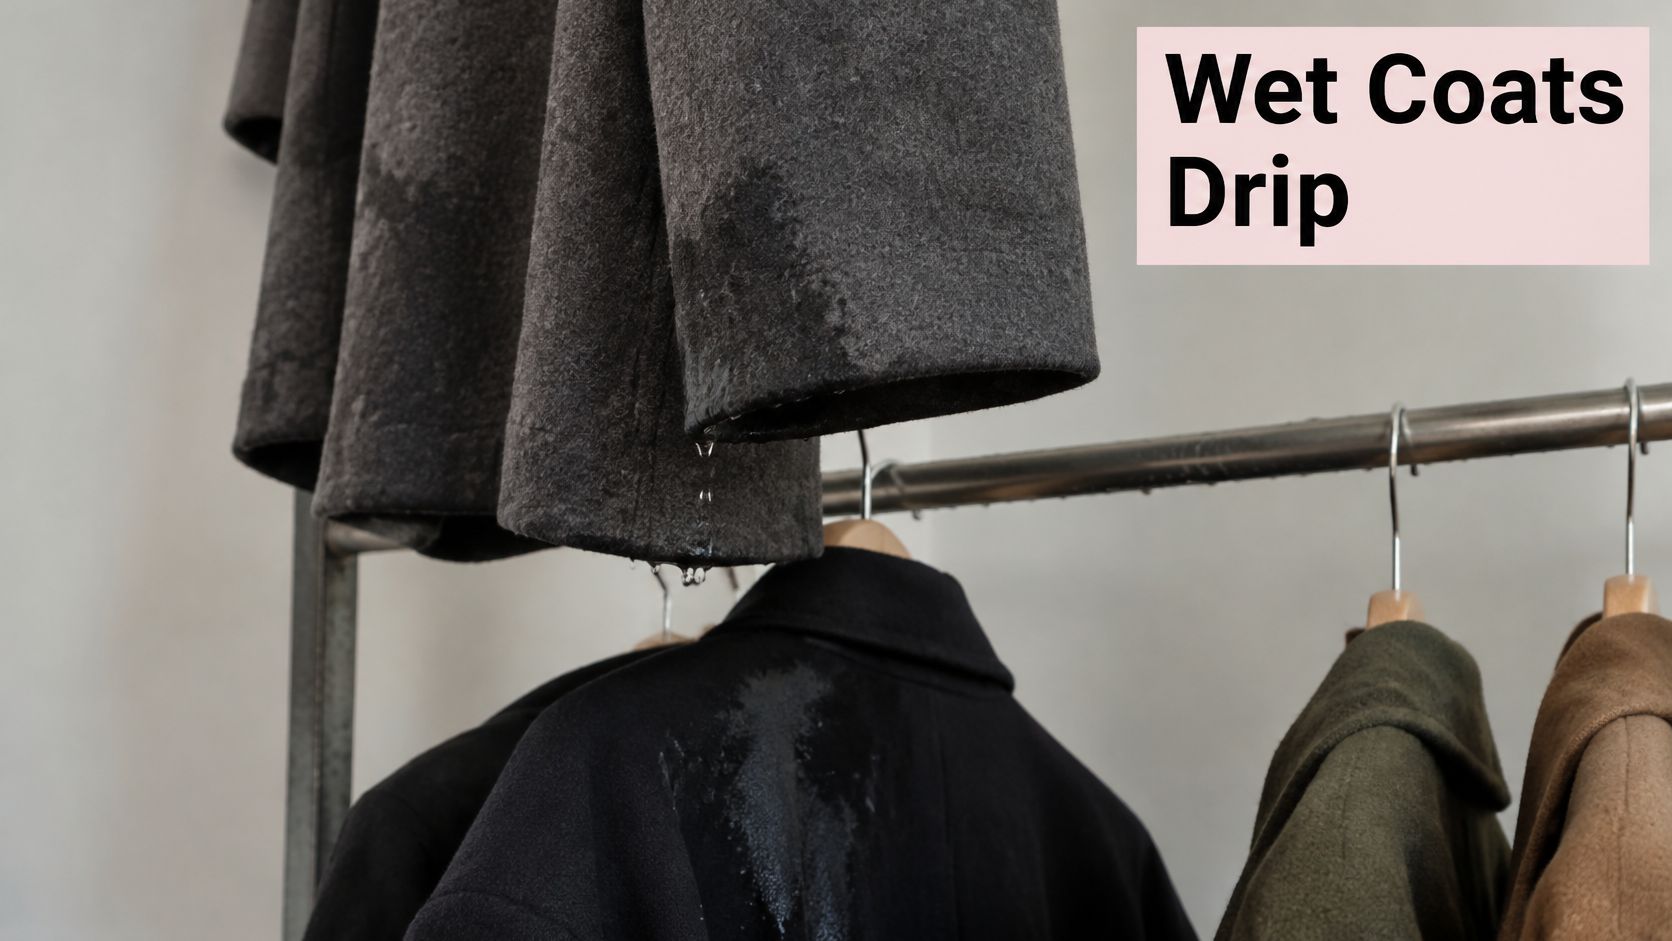
Wet coats and rain-soaked wool weigh more, drip onto whatever hangs below and swell the shoulder line. They belong at an open end with extra centres around them, never in a cascade, and never directly above a pale garment. If your entrance rail takes the weather, treat it as a separate run with its own spacing.
Leather and dark denim transfer dye onto a pale coated hook face and onto the next sleeve in line. Keep them on their own stretch and test a scrap of the dark fabric against the hook face before you commit a run. If you're sorting incoming second-hand stock, spotting vintage clothing while thrifting covers the label and construction checks worth doing before a piece reaches the rail.
Beading, sequins and loose knit catch an open wire even when the garment sits on a hanger. The contact face needs to be smooth, and the neighbouring piece mustn't be free to swing into it. Heavy knitwear hung from any hook stretches at the shoulder, so fold it and send it to a shelf instead of forcing it onto the rail.
Bridal and theatre pieces are few and bulky. One garment per hook, a longer drop, no shared cascade, because a snag in a beaded bodice costs more than the rail space you saved. Children's garments on an adult-length hook leave a long empty drop that twists and tangles; shorten the connection or drop to a lower rail rather than adapting adult hardware. And several light pieces share one hook only when that hook is built to stack and the combined weight has passed the system test. A single open S-hook is never a cascade.
My reject list is short and final: anything that slips off the actual tube, anything with a bare jaw meeting silk, anything that stacks a coat, and anything that hides a ticket. Where the hardware at the shoulder is the weak link rather than the hook, heavy duty hangers are the sensible upgrade.
Display Guru supplies garment rails, tailor dummies, body forms, dump bins and baskets, so you can kit out a fitting room or a shop floor from one range instead of stitching a system together from three catalogues. Measure your tube, test the load with the heaviest garment you'll hang, and buy only the hooks your workflow needs. Visit Display Guru to see the garment rail and accessory range.