




3 Way Clamp Guide for Displays, Rails and Frames
You've got a rail to extend across a window, a temporary promo frame to finish before opening, or a costume rack that looks straight on the bench and wobbly on the floor. A 3 way clamp is the small fitting that turns those awkward tube junctions into a clean modular build, so you can assemble, move, and rework a display without welding every corner shut.
What a 3 Way Clamp Does in a Display Build
A tailor trims a length of tube, reaches for a fitting box, and wants the rail finished before the mannequin goes in the window. A shopfitter faces the same pressure at a larger scale, the frame has to go up quickly, look tidy, and come apart again without leaving drilled holes or welded patches behind. A 3 way clamp handles that job.
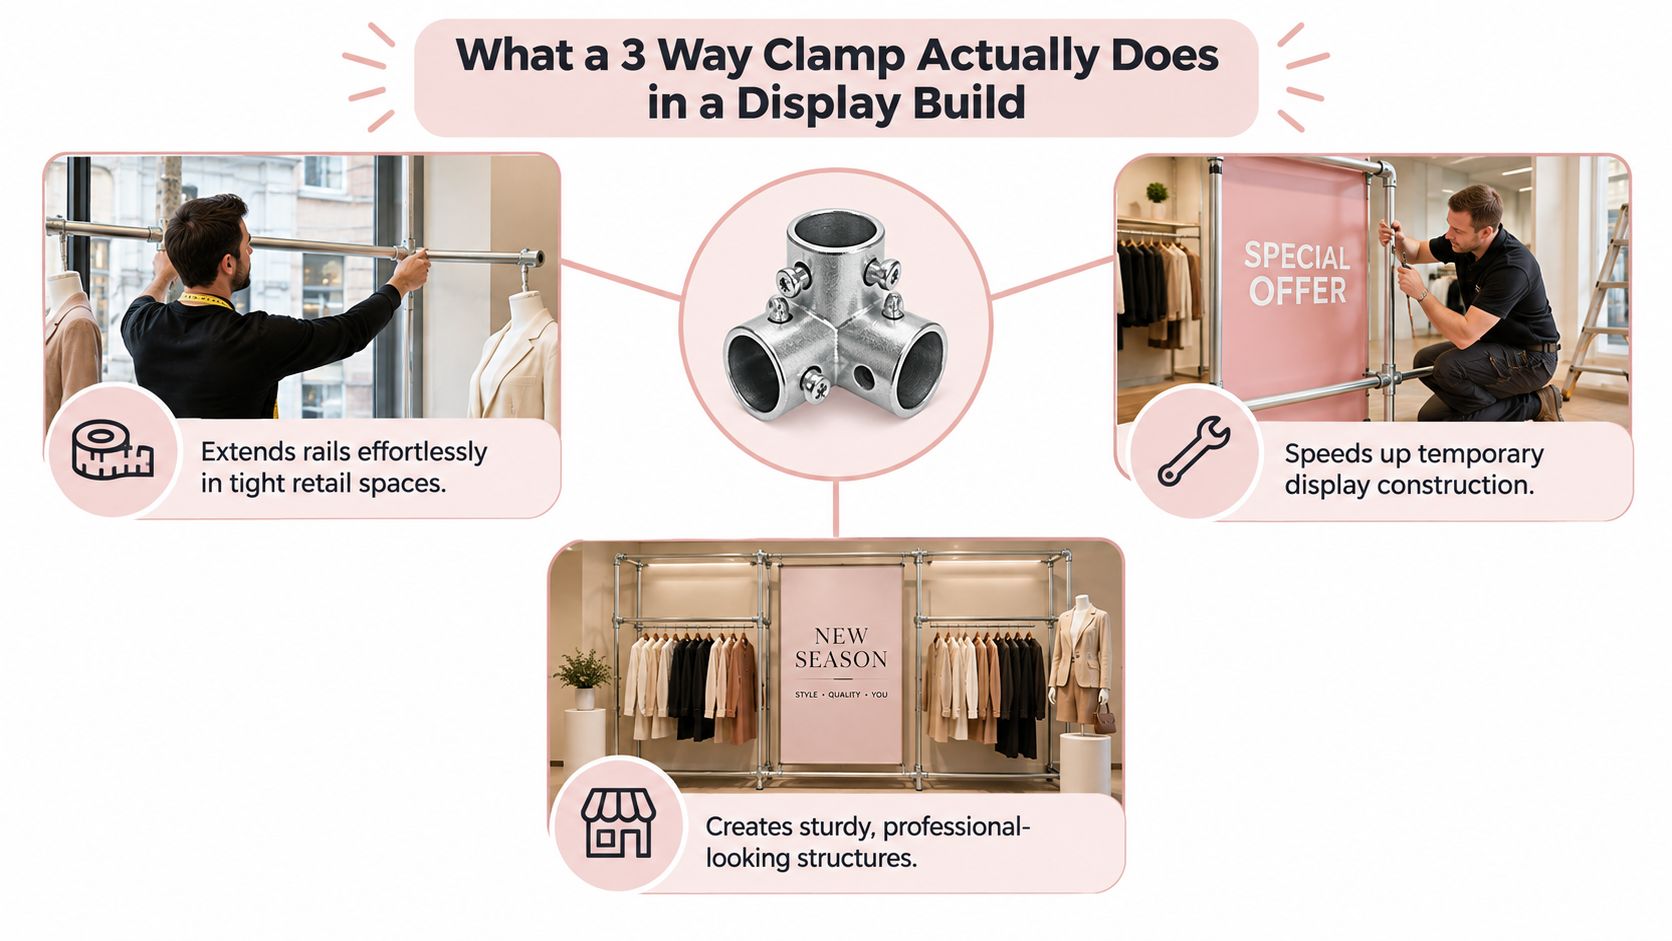
At its simplest, the fitting joins three tubes at right angles so a corner, an upright, and a rail can meet in one place. In UK tubular builds, that lets a display behave like a proper frame instead of a few loose poles propped against each other. The result is quicker assembly, easier reuse, and a cleaner industrial look for garment rails, mannequins, and shop fittings.
The practical advantage shows up at the bench. Cut the tube to length, insert it, tighten the grub screw, and the joint is ready to use. No welding torch. No threaded boss. No need to fabricate every corner from scratch.
Practical rule: if the frame may be moved, packed down, or changed for a new window, a mechanical fitting is usually easier to live with than a permanent corner.
A 3 way clamp also suits teams that plan a display before they build it. When the layout is still being sketched, production notes in campaign production software can keep the tube list, fitting count, and assembly order in one place. For a retailer or tailor, that means fewer surprises when the last upright goes in.
The fitting is best treated as a building block, not a repair. It connects the geometry, but the full frame still needs the right tube size, the right base, and the right stability choices. For a broader shop-fitting context, Display Guru's shop-fitting supplies overview gives a useful sense of where these parts sit inside a modular display system.
The Geometry of a Three-Way Joint
A three-way joint only makes sense once you follow the tube path. One tube runs through the fitting or stops inside it, and the other two meet it at 90 degrees, so the layout forms a tidy corner or a tee-like intersection. That is why the same label can cover more than one shape.
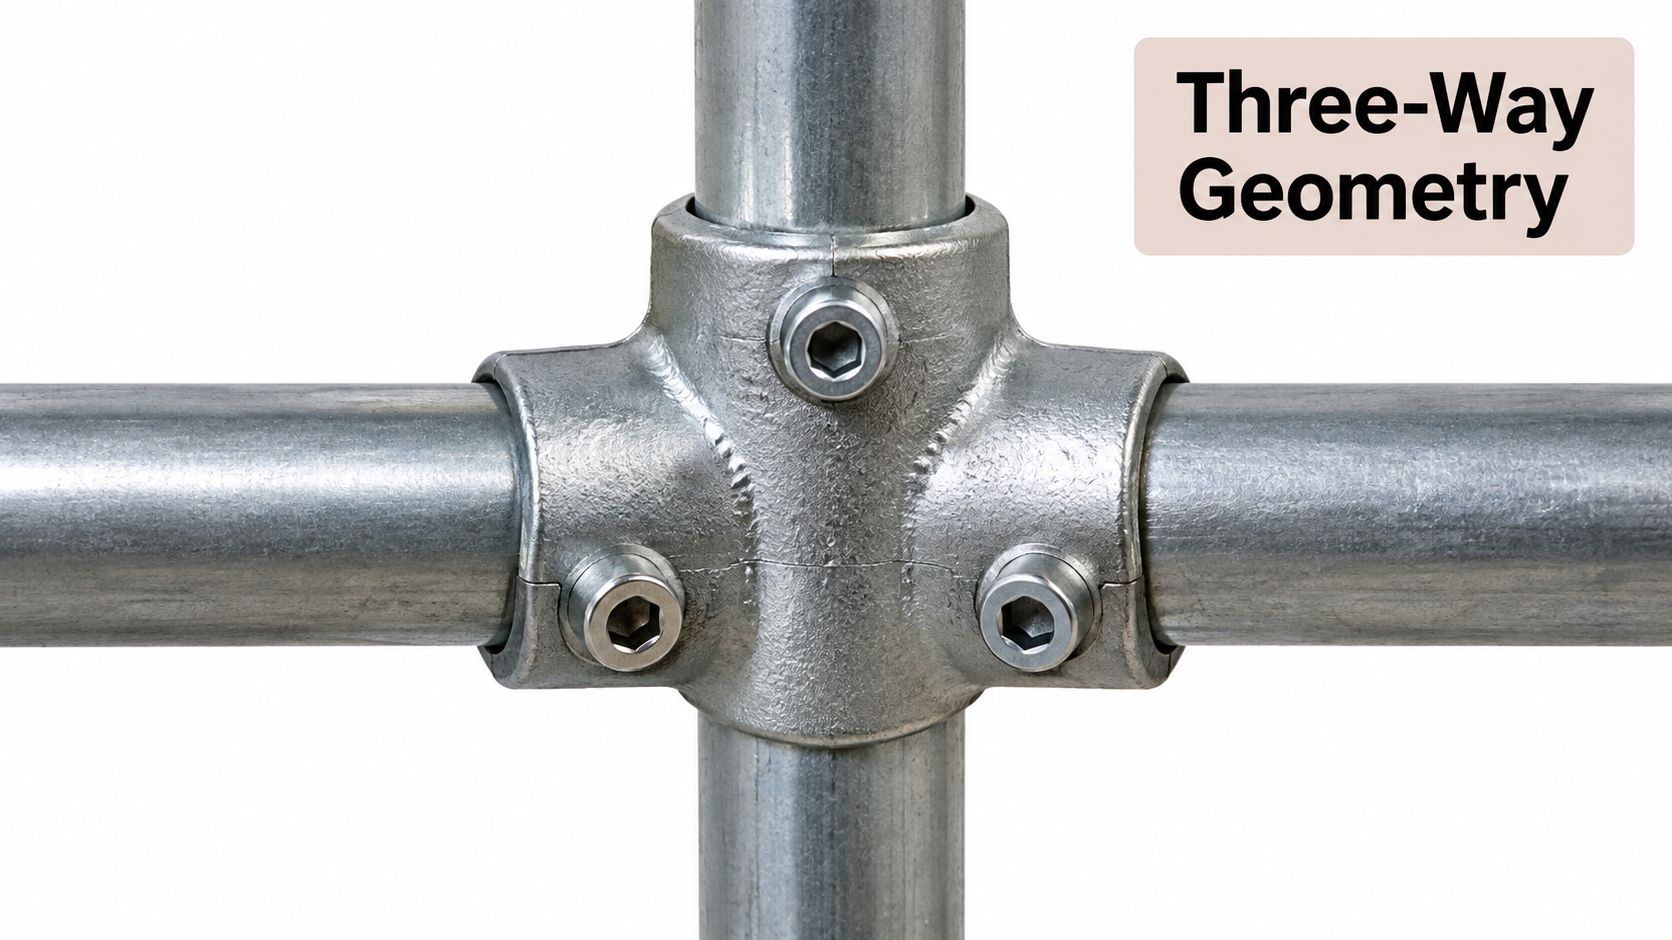
Three-way through versus three-way elbow
A three-way through fitting lets one tube continue through the joint while the other tube or tubes join into it. A three-way elbow ends the run, so the tube inserts only part way into the socket and stops there.
That difference is the whole geometry question at this stage. If you are building a rail that needs to keep going, the tube path stays continuous. If you are closing off a corner or a bay, the tube path stops at the fitting.
UK product labels often use 3 way clamp for both versions, which is where buyers get tripped up. The name tells you how many directions are involved, not whether the tube passes through or terminates. Before ordering, ask a simple question, does this joint carry the line on, or finish it? The scaffold pipe diameter guide is useful here because it helps you match fittings to the actual tube in hand.
Why insert depth matters
Insert depth is the part people overlook. On many corner elbows, the tube only goes in about 25 to 30 mm. That is enough to locate the joint, but it also means the connection depends on the fit of the tube, the tightening, and the surrounding frame to do its real work.
For display builds, that small detail changes how the joint behaves under load. A frame can look square and still have a short load path if the socket is shallow. If an upright has to carry weight, or if a rail may need to continue into another section later, the geometry of the fitting should match the path the tube takes.
Choosing the Right Tube Size, Material and Finish
A display frame can look tidy on paper and still feel awkward on the floor if the tube size is off. The common UK outside diameters are 26.9 mm, 33.7 mm, 42.4 mm, and 48.3 mm, and those sizes appear across handrail, scaffold, and light structural work as noted in the UK product data. The key point is simple, the fitting has to match the actual outside diameter, not the size you assumed from the catalogue name.
| Tube Size | Typical use | Relative load |
|---|---|---|
| 26.9 mm | Light garment rails, compact studio frames | Light |
| 33.7 mm | Mid-weight retail rails, small modular displays | Light to medium |
| 42.4 mm | Shopfloor rails, stronger window frames, frequent use | Medium to heavy |
| 48.3 mm | Heavier shopfitting, stage-adjacent structures, larger frames | Heavy |
For retail and tailoring builds, 42.4 mm often gives the best balance. It feels solid in the hand, yet it does not become awkward to move or assemble. 48.3 mm is the familiar scaffold size and suits larger frames or setups that need a planted feel. Smaller diameters can still work for lighter studio use, but once coats, garments, and customer handling enter the picture, the frame benefits from more substance.
Material and finish choices
The fitting body is commonly made from blackheart malleable iron to BS EN 1562:1997, while hot-dip galvanised coating requirements are set out in BS EN 1461 for iron and steel products, as specified in the product data for a square 3-way elbow. That means the body is built for hard use, while the finish helps it cope with damp air and repeated handling.
A galvanised finish suits displays near moisture, fixtures that get touched often, or fittings that stay visible for long periods. Stainless-steel grub screws help where adjustment needs to stay easy and the hardware detail should look cleaner. The finish still does not fix a mismatched tube, so diameter comes first.
Measure the tube outside diameter with a proper gauge or caliper before ordering. Nominal size and actual size are not the same thing, and that small gap is where a lot of wobbly builds begin.
Corner Elbow Versus Through Fitting
The buying question is simple. Must the tube end here, or continue through here? Once you answer that, the right fitting usually becomes obvious, and you avoid ordering hardware that looks right on paper but breaks the intended run on the floor.
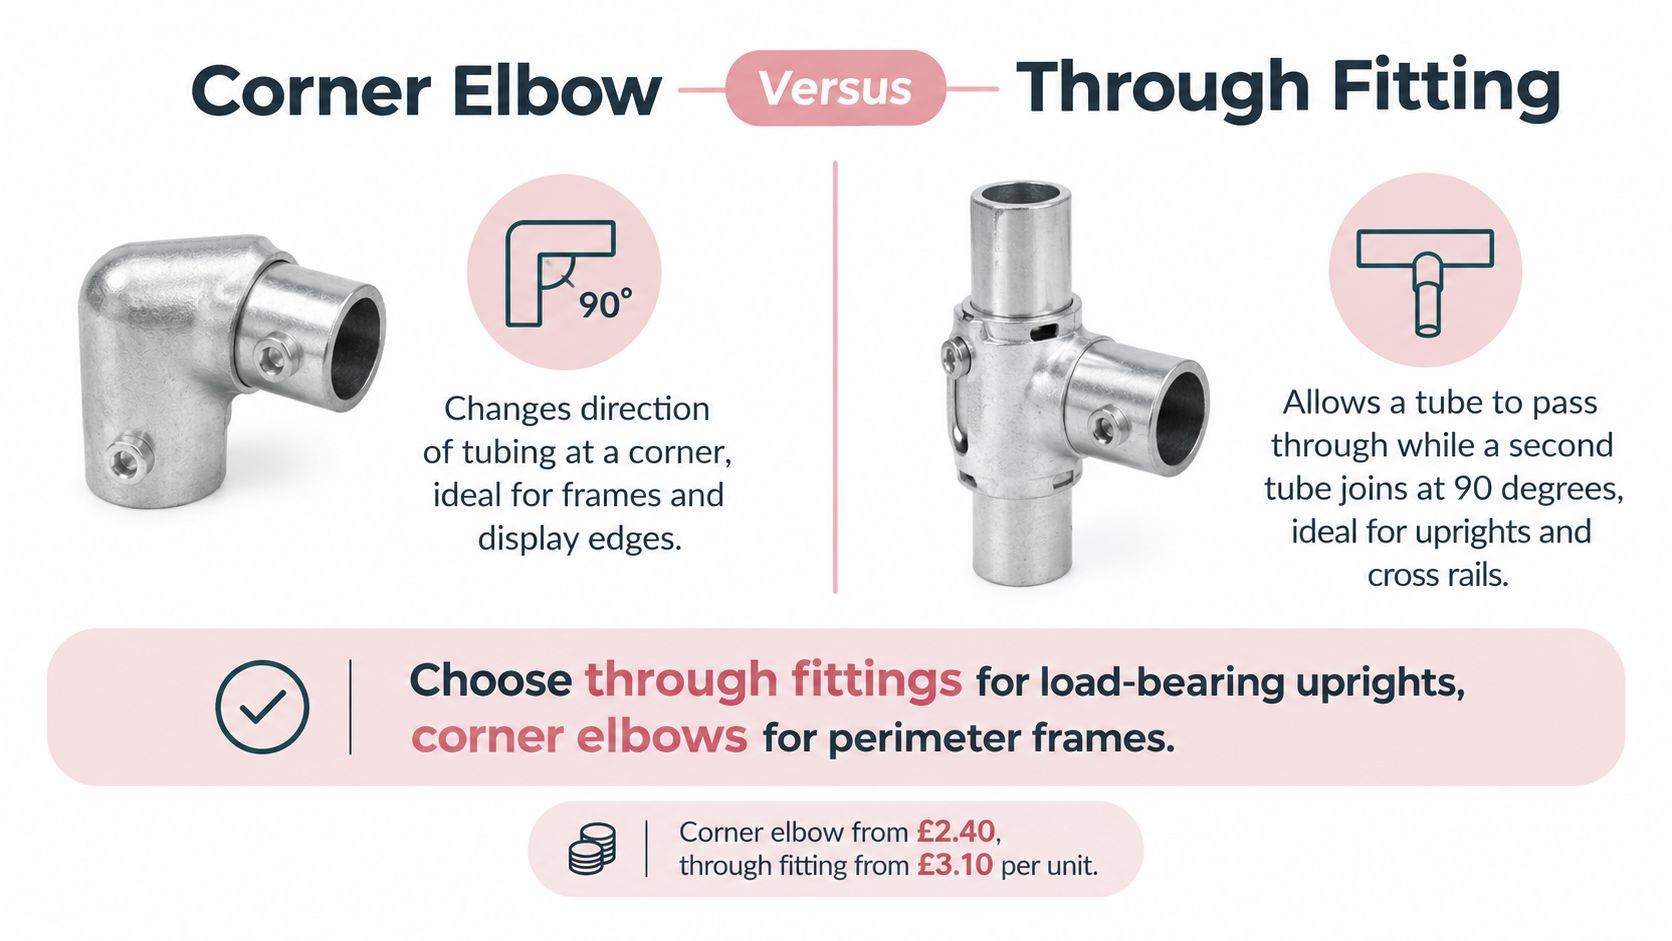
Side-by-side choice
A corner elbow suits a terminating run, where the frame edge finishes cleanly at the joint. A through fitting suits a continuous run, where one tube needs to pass on and another tube joins at right angles. That difference matters most when you are comparing parts for a retail rail, a tailoring stand, or a bay that may be extended later.
The strength question needs the same discipline. More sockets do not automatically mean more strength. A three-way clamp can still be the wrong answer if the load path is poor, the base is light, or the frame is not braced. A concrete failure looks like this, a 2 m rail on 42.4 mm tube with three clamps but no diagonal brace will rack sideways under a pushed rail of coats, even though every screw is tight.
| Fitting type | Best for | Trade-off |
|---|---|---|
| Corner elbow | Terminating rails, finished edges, perimeter frames | The tube stops at the joint |
| Through fitting | Continuous uprights, linked bays, extendable frames | The tube must pass through correctly and stay braced |
If you are ordering from a parts page, the pipe fitting guide helps you match the fitting style to the way the frame will be built. That check is practical, because a display often starts as one bay and later grows into another.
For retail users, the risk is choosing a terminating elbow where continuity was needed. The frame may still look square, but the build logic becomes awkward if you later want to extend the rail or carry load across the joint. A through fitting is the cleaner purchase when the layout has to keep going, while a corner elbow is the cleaner purchase when the joint is meant to finish the line.
Real Builds for Tailoring and Shopfitting Setups
A garment rail for a shopfloor is where the theory gets real. Use 42.4 mm tube for a freestanding frame with three uprights, two long rails, and 3 way clamps at every corner, then add a mid-span tee if heavier coats are going to sit on it for the day. That extra support isn't decoration, it shortens the unsupported span and stops the rail from feeling soft when customers pull hangers along it.
A common mistake is to build the perimeter first and think the frame is finished. If the rails are long and there's no mid-support, the display can sag even though every clamp feels tight in the hand. A second mistake is to load one side harder than the other, which twists the frame and makes the uprights work against each other.
Good habit: build the base first, then hang the load, then check the sway before the public sees it.
A backstage costume fitting frame needs a different mindset. With 48 mm tube and three-way clamps meeting around a single upright, the aim is often to create a corner rig where multiple rails converge and the frame can be moved around a theatre or studio. In that setup, the clamps give you the geometry, but the base plates and spread of the feet decide whether the rig feels planted.
The small upgrades matter more than they sound like they should. Wider feet, a better base plate, and a second point of support can turn a wobbly prototype into something that survives daily use. This clothes-rail support guide is worth reading if you're adapting the same basic frame for heavier coats or repeated rearrangement.
For a practical build sequence, think in this order:
- Set the footprint first. A wider base usually buys more stability than a taller post ever will.
- Keep heavy garments close to the uprights. Long overhangs invite twist.
- Avoid single-sided loading. Put the mass where the structure can carry it symmetrically.
- Check the frame after transport. A fitting that survived assembly can still loosen in the van.
A short video reference can help the eye before the first cut is made.
Making a Three-Way-Clamp Display Stable
A mechanically tight joint can still leave a display leaning, racking, or tipping. A 3 way joint does not automatically triangulate a frame, and that is the mistake people make when they shift from scaffold thinking into retail thinking. A tall rail, a customer-facing stand, or a rail carrying clothes that get pulled sideways needs a stability check, not just a firmer screw.
Pre-use stability checklist
- Verify the tube size and material. Make sure every tube matches the fitting, and that mixed parts have not crept into the build.
- Seat every tube fully. A tube that sits proud can feel tight and still work loose under movement.
- Tighten with the correct tool. Use the grub screw properly, and do not guess by feel if the fitting is meant to be set to a specific torque.
- Inspect the thread and screw head. A stripped screw or damaged thread can look serviceable right up to the moment the rail shifts.
- Test for sway. Push gently from different angles and watch for rack, twist, or foot lift.
- Add bracing where the load is cantilevered. A diagonal brace or wider base often solves what a tighter clamp cannot.
- Check it again after transport. A frame that was fine on the workshop floor may behave differently after a van ride or a site move.
Small upgrades can change how a finished rail behaves. For rails that need extra support points, the clothes-rail support guide shows where a second bearing point belongs, and that kind of extra support often matters more than another quarter turn on the clamp.
The wider safety principle is simple. Stability has to be built up step by step, not assumed from one fitting. The HSE's scaffolding guidance on staged installation and removal follows the same progressive-assembly mindset, because the whole structure matters more than any single clamp. A display may not be a scaffold, but it still needs a complete load path and regular inspection.
Never assume: leaning garments, customer contact, edge loading, and mixed-metal corrosion will not matter just because the joint feels tight.
That point catches a lot of shop builds. A display can look stiff in the workshop and still become unsafe once people brush past it, pull on it, or load one side with heavier stock. The safe habit is to treat the clamp as one part of the system, then check the base, the bracing, the loading direction, and the inspection interval together.
Choosing, Buying and Checking Your 3 Way Clamp
Before you order, answer three questions. What is the tube outside diameter. Does the rail need to continue through the joint or terminate there. What is the maximum foreseeable load, including customer contact, garment weight, and any sideways pull on the frame.
That last question matters most when the fitting has no stated working load limit. A clamp that only positions tubes is fine for light display geometry, but it's not the same thing as a rated structural solution. If visitors or staff could hang weight on the rail, pull on it, or lean into it, choose a system that is explicitly rated for that kind of use.
A quick buyer checklist keeps the order honest:
- Measure the tube first. Don't trust the catalogue description alone.
- Choose the correct joint type. Elbow for termination, through fitting for continuity.
- Check the finish. Match the environment and the visual standard of the display.
- Plan the base and bracing. The clamp is only one part of the build.
- Re-inspect after every move. Transport and reconfiguration change how the frame settles.
If you keep those five checks in order, the frame is far more likely to stay straight, safe, and reusable. Measure twice, tighten to specification, and re-check after every repositioning, because a display that's easy to assemble should also be easy to trust.
If you're putting together a garment rail, display frame, or shopfitting build, Display Guru has the rails, mannequins, and display hardware that sit around this kind of project every day. Browse Display Guru to match the right display parts to your tube size, layout, and finish, then build a frame that works properly the first time.