



8 Sewing Home Projects for Every Skill Level in 2026
A new sewing machine is ready on the table, the sofa still looks bare, and the window needs curtains. Choosing a first project means balancing what you want to make with the skills and space you have.
These eight sewing home projects range from simple beginner work to advanced fitted projects. Choose according to your current skill, not the order listed. Each offers practice you can use again: pillows build accurate seams, curtains teach measuring and handling long fabric, and slipcovers require fitting fabric around furniture.
Your sewing space can help at each stage. Use a dress form to check how a project hangs, a garment rail to keep work in progress visible, or a dump bin to contain fabric and offcuts. Display Guru supplies display and studio tools that can support sewing tasks and staging finished pieces. Match the setup to the work: a rail keeps larger pieces accessible, while a bin keeps scraps off the cutting and pressing areas. Start with a project you can manage, then choose another that stretches your skills.
1. Lined Curtains and Drapes
Curtains look simple until you're handling several metres of fabric and trying to keep both panels the same length. A lining adds body, helps the curtain hang smoothly, blocks more light, and protects the face fabric from direct sun. It also gives you a chance to practise straight seams and long, controlled hems.
For a bedroom, consider blackout fabric with a thermal lining. In a living room, floor-length drapes with a pleated heading can give a more polished finish, while a rod-pocket café curtain works well in a kitchen. Before cutting, pre-wash and shrink-test both fabrics, then measure the curtain rod rather than the window frame. Pleated styles usually need extra width for fullness, and the amount depends on the heading and the look you want.
Manage the length before committing
Long curtain panels are awkward to cut and press on a small table. Make a practice panel from spare fabric, hang it from a dress form or mannequin, and check how its weight affects the drape. A dress form isn't a substitute for checking the actual window, but it can help you spot whether the fabric pools or pulls before you cut the final length.
Practical rule: Press the hem in stages, then use a pressing cloth and steam to set the fold without marking the face fabric.
Leave enough space between the curtain and the wall for the fabric to fall freely. If you're adding lining to a project, the construction principles in this guide to lining a jacket can help you think through clean joins and finishes. The trade-off is time: lined curtains take longer than unlined panels, but they're more substantial and give you more control over light and privacy.
2. Upholstered Furniture Slipcovers
A slipcover can rescue a tired armchair or protect a sofa from everyday wear without replacing the furniture. It can also be one of the most demanding home sewing projects on this list. Upholstery has curves, cushions and changing depths, so a cover that looks neat laid flat may pull or sag once it's on the chair.
Start by measuring each part separately: cushions, arms, seat and back. Draft a paper pattern if the shapes are simple, or pin muslin directly over the furniture to capture awkward curves. Mark each piece clearly, including its position and direction, before taking the pattern apart. For a fitted three-seat sofa, a heavy cotton canvas with a concealed back zip can hold up well; dining-chair seat covers with ties are a more manageable first attempt.
Make a test cover first
A muslin prototype is worth the extra effort. It lets you check where the cover needs ease, where it should grip, and whether the seams sit in sensible places before you cut into the final fabric. Pre-wash or shrink-test the chosen cloth, particularly if you expect to remove and launder the cover.
A heavy-duty needle and walking foot can help feed thick layers evenly. Don't force the fabric through the machine; bulky seams may need to be sewn slowly, with the presser foot levelled when it approaches a raised section. A loose linen cover is easier to fit than a close-fitting one, but it won't stay as smooth on the furniture. A snug fit looks polished, though it demands more accurate measuring and pattern work.
Keep the fitted prototype on the chair while you make adjustments. A garment rail is useful for hanging the labelled cut pieces nearby, so you don't confuse the order of assembly. For a visual demonstration of the fitting process, watch this slipcover sewing video.
3. Throw Pillows and Cushion Covers
An envelope-back cushion is a satisfying first project because it uses simple pieces and teaches the habits that make other sewing easier: accurate cutting, consistent seam allowances and a tidy finish. Choose a fabric that suits the room, such as linen for a relaxed sofa or a heavier cotton for a cover that needs more structure. If you want to practise zip insertion, move on to a removable cover with an invisible zip.
Cut the cover slightly smaller than the cushion insert if you want a fuller finish. Sew the seams evenly, clip the corners without cutting through the stitching, and press before turning the cover right side out. For a piped edge, keep the seam allowance consistent and take care around the corners, where fabric can bunch.
Use a test cover to check the shape
A plain scrap cover lets you check the fit before you use a special print or velvet. It also shows whether the fabric is too stiff to turn neatly at the corners. If you're adding an invisible zip, use a zipper foot and keep the stitching close to the teeth without catching them.
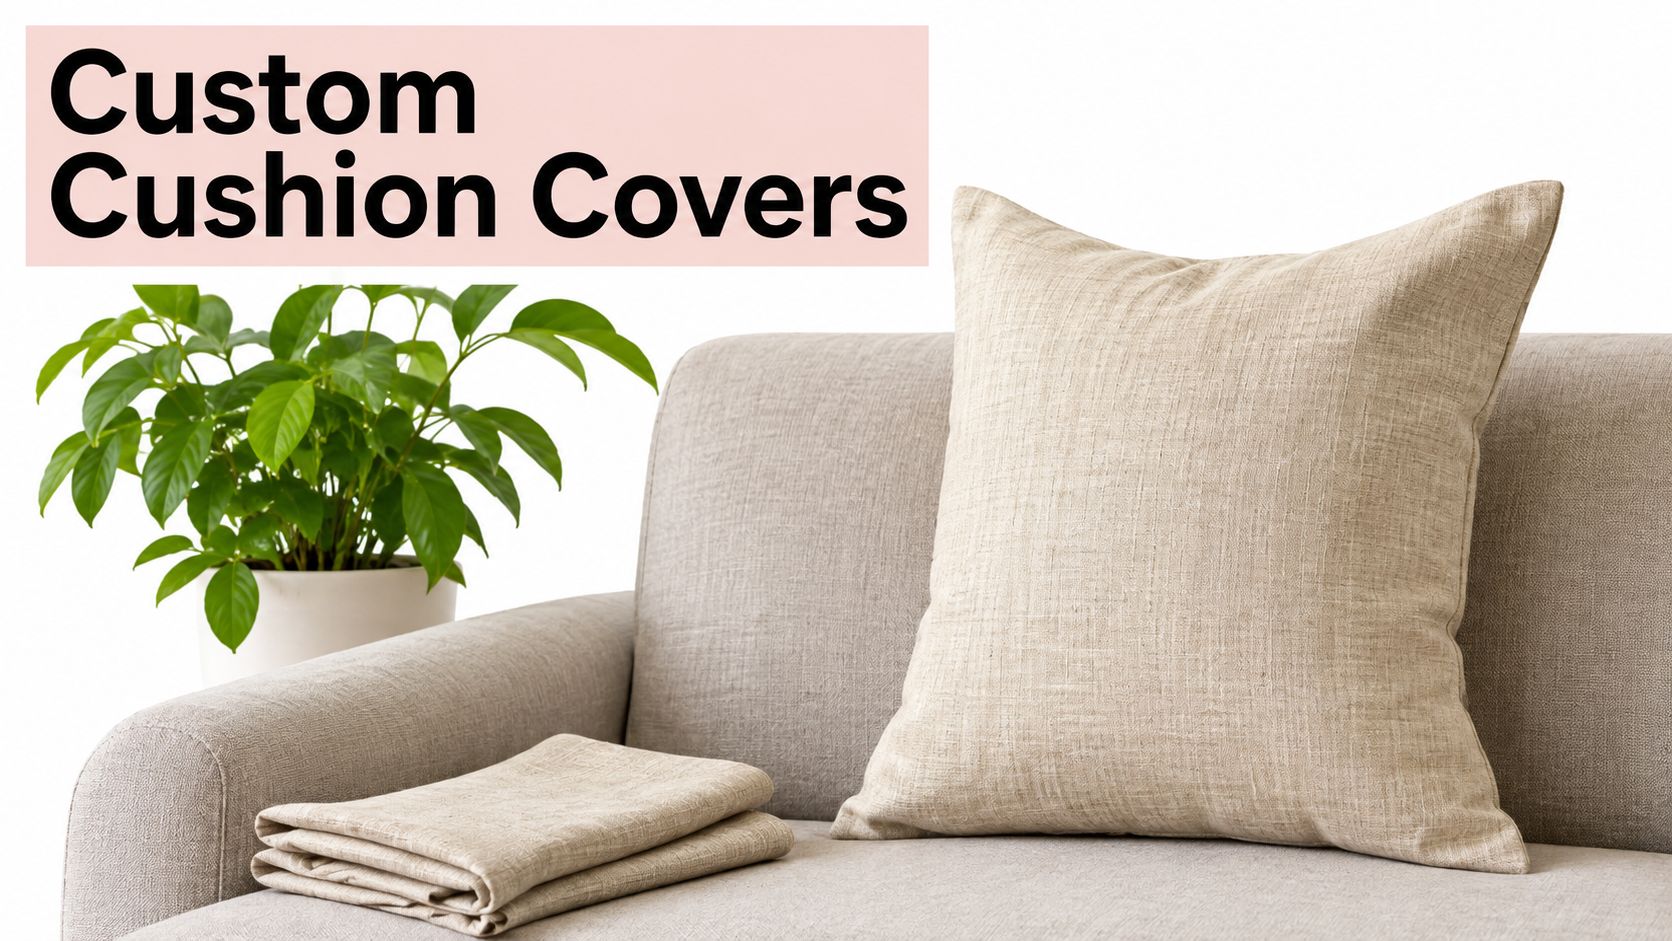
Try a pair of linen envelope covers for a quick room refresh, or make one velvet cushion with contrast piping when you're ready for more careful construction. A dress form can act as a temporary display stand while you compare fabric placement and trim. It won't tell you how the cushion feels on the sofa, but it can help you see whether the colours and proportions work together before you finish the set.
4. Quilted Throw Blankets and Quilts
A quilt brings together careful cutting, repeatable seams and patient pressing. Its layers are straightforward in principle: a top, batting and backing. The challenge is keeping them aligned while you piece the top and stitch through the finished sandwich.
Choose a simple patchwork pattern for your first throw. Cut pieces with a rotary cutter and quilter's ruler, then press each seam consistently so the blocks lie flat. Pre-wash and press the fabric if you want to reduce the chance of later shrinkage changing the texture. A cotton batting gives a flatter result, while polyester tends to create more loft; choose according to how the quilt will be used and laundered.
Keep the layers from shifting
Baste the top, batting and backing together before quilting. Safety pins or basting spray can hold the layers in place, and a walking foot helps feed the bulk evenly under the machine. If you're new to quilting, straight-line stitching is easier to control than free-motion work. Avoid rushing the quilt through the machine, as small shifts can leave puckers that are difficult to remove.
For a personal throw, use fabric from clothing or other textiles that carry meaning, but check that the pieces have similar weights and stretch. Mixing a stable cotton with a stretchy knit can make the top harder to handle. Keep your cut pieces sorted in labelled storage; a dedicated quilting storage bag can help protect work in progress between sessions.
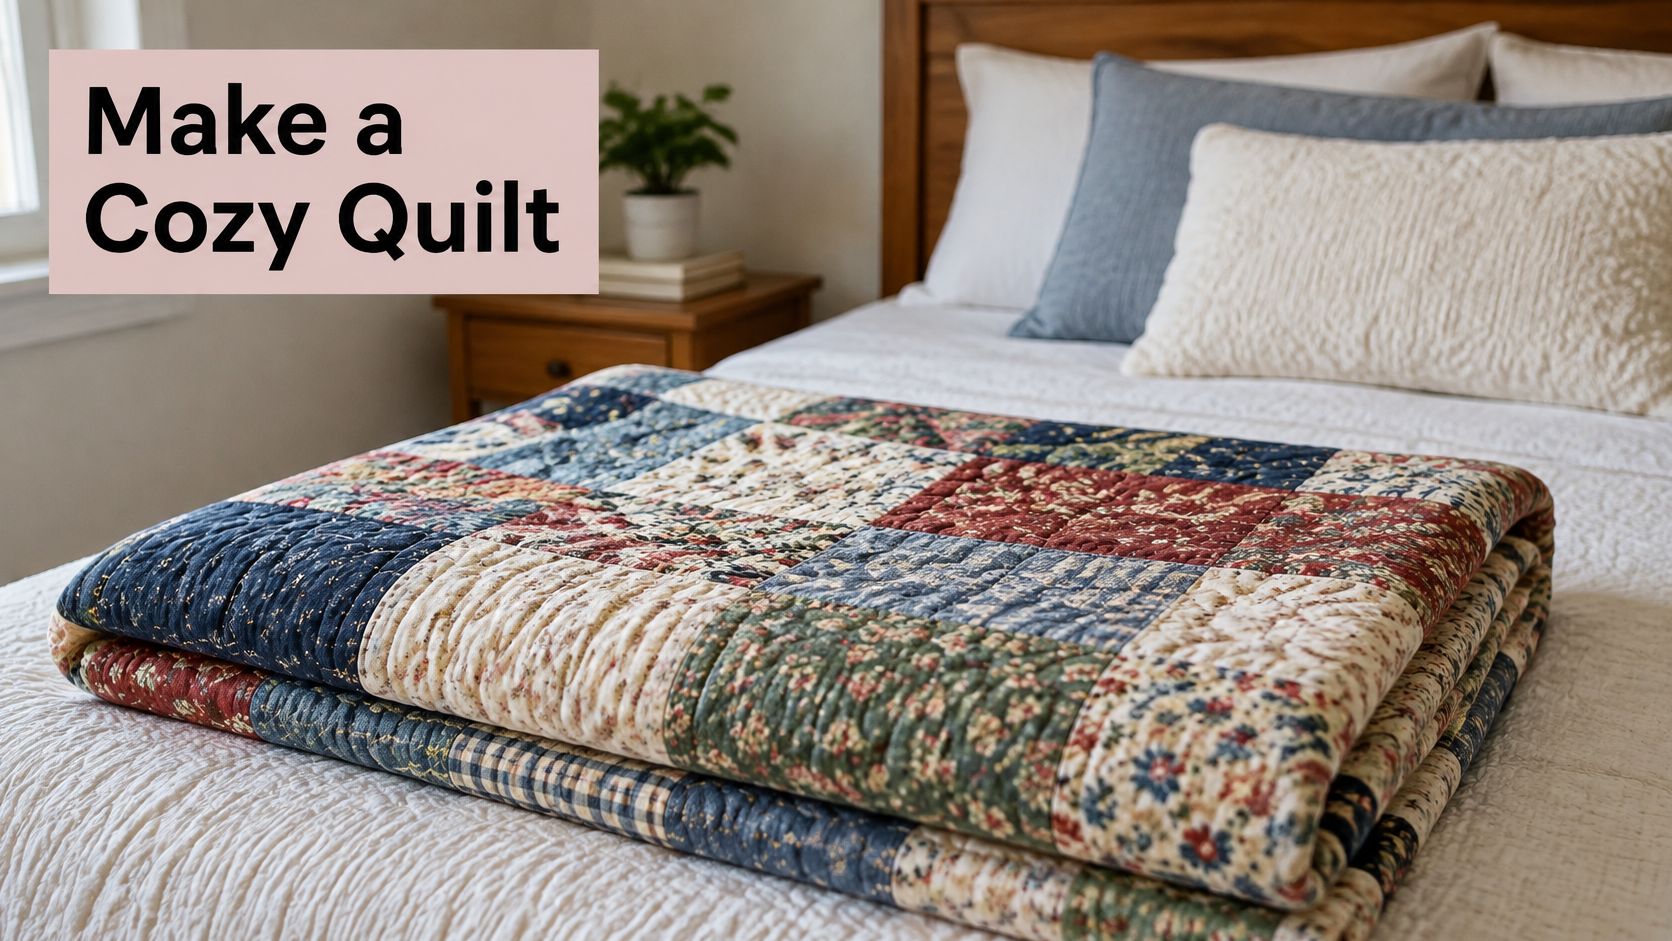
A garment rail gives you somewhere to hang the quilt top while you check the overall colour balance and spot an awkward patch before layering. It's also a practical place to keep the project off the floor when the table is occupied.
5. Roman Blinds
Roman blinds suit windows where curtains would take up too much room. They sit within or just above the recess and fold into horizontal pleats when raised. Making one combines soft-furnishing skills with precise measuring and the mechanics of a blind system.
Measure the recess at the top, middle and bottom, then use the narrowest width when planning a blind that fits inside it. Decide whether the blind will sit inside the recess or cover it, because that choice affects the finished dimensions. A ready-made mechanism can simplify the hardware side, but it won't correct a poorly measured or unevenly sewn panel.
Mark the folds carefully
Use a fabric weight that will hang flat but won't become unwieldy when folded. Mark the pleat positions accurately and check them before sewing on rings or tapes; uneven spacing becomes obvious when the blind is raised. A blackout lining can suit a bedroom, while patterned cotton can bring colour to a kitchen window.
Test that the cords move smoothly before installing the blind, and use secure brackets fixed into a suitable surface. The neatest blind isn't much use if it catches on the window frame or the mechanism binds. A garment rail can hold the prepared panel while you mark and compare the fold lines, keeping the fabric clear of a crowded cutting table. For installation, follow the mechanism's instructions and check that the brackets sit level before hanging the blind.
6. Tablecloths, Table Runners and Napkins
Table linens are forgiving projects when you want to practise accurate measuring and neat hems without shaping a garment. A runner or a set of napkins uses less fabric than a full tablecloth and makes a good way to work with linen or a favourite cotton print. For a tablecloth, measure the tabletop and add the intended drop on both sides, then check the dimensions against the width of the fabric before cutting.
Pre-wash and press the fabric to reduce the risk of shrinkage after the first wash. A narrow hem is practical for everyday napkins, while a mitred corner gives a sharper finish for a tablecloth or runner. Use a long ruler and fabric marker to keep edges square; a slightly skewed cut can make a hem look uneven even when the stitching is straight.
Press first, sew second
Pressing is where these projects succeed or fail. Fold the hem evenly, press each side, then take time to shape the corners before stitching. If the cloth is slippery, pin or baste the folds instead of relying on the iron alone.
A Christmas runner in cotton print can be a manageable seasonal project, while linen napkins work for everyday meals and become softer with use. The trade-off is maintenance: pale linen shows marks more readily than patterned cotton, and delicate fabrics need more careful laundering. If you're comparing fabric choices or finishes for a table, this guide to transparent table covers offers useful context for planning a coordinated setup.
A garment rail can keep a finished tablecloth hanging flat until it's needed, reducing creases between sewing and use. It also gives you a clear view of the fabric's pattern placement before you hem the final edge.
7. Fabric Storage Bins and Baskets
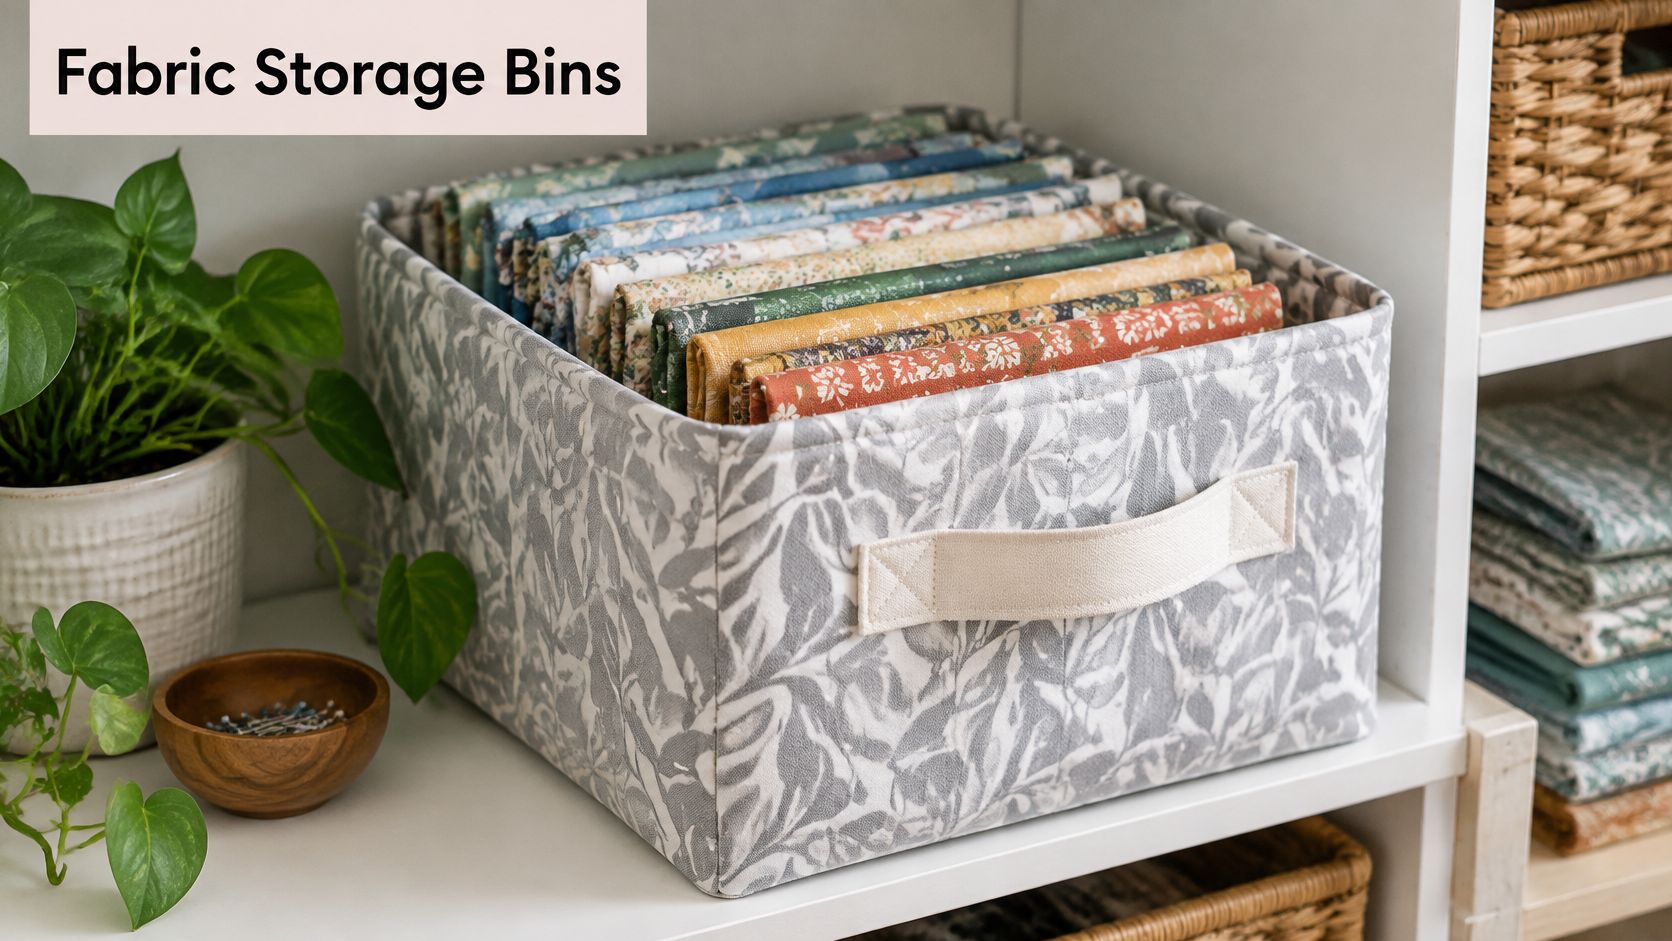
A fabric bin is useful beyond the sewing room. Make a canvas version for toys, a lined basket for spare blankets, or a smaller container for thread, zips and pattern weights. The key is structure: without a firm interfacing or stable base, the sides may collapse once you add anything heavier than fabric scraps.
Cut an outer fabric and lining, add heavyweight interfacing, then sew the pieces into a box shape. Boxed corners create a flat base; pinch each lower corner so the side seam lines up with the base seam, then stitch across the fold. Reinforce handles where they join the bin, especially if it will hold books, tools or folded projects.
Match the build to the contents
Use a wipeable fabric such as oilcloth for a playroom or kitchen, but check that your machine can handle its coating without sticking under the presser foot. For a softer basket, quilted cotton gives body but won't be as rigid as canvas with a firm insert. A removable cardboard base can help the bin stand upright, though it should come out before washing.
A dress form can help you judge the proportions of a large basket beside a chair or sewing table. It's a quick way to check whether the bin looks too tall or wide in the room before you finish its handles. Keep scraps sorted by type or colour in separate bins rather than mixing everything into one container. This fabric storage guide can help you plan a sewing area that keeps materials visible and accessible.
8. Sewing Studio Essentials and Pressing Mats
A well-fitted ironing board cover and a portable pressing mat improve the place where much of the careful work happens. Pressing sets seams, shapes hems and helps fabric behave during assembly. A cover that slides or bunches makes those jobs harder, while compressed padding can leave uneven marks.
Measure the board's length, width and thickness, then add enough allowance to form a snug edge. Cotton is a practical cover fabric, and a heat-reflective layer or suitable padding can add comfort during pressing. Secure the cover with elastic or a drawstring, and check the fit before trimming away excess. A wool-blend mat is useful for seams and tailoring details because it holds heat, but follow the manufacturer's care and heat guidance.
Treat pressing as part of construction
Test the cover on the board before using it with a hot iron. Press it first to remove sizing, then check for scorching or movement. Replace uneven padding rather than trying to compensate by pressing harder; a lumpy surface can distort the fabric.
A portable mat gives you a firm pressing surface near the machine, which can save repeated trips across a small studio. Keep it close to the cutting and sewing area, but don't leave an iron unattended on it. A garment rail can hold freshly pressed pieces while they cool and stay crease-free. For a compact option, review this guide to a travelling ironing board.
At-a-glance comparison of eight home sewing projects by difficulty and time
| Item | Difficulty | Estimated Time |
|---|---|---|
| Lined Curtains and Drapes | Beginner to intermediate | 3 to 8 hours per pair |
| Upholstered Furniture Slipcovers | Advanced | 15 to 30 hours for a sofa |
| Throw Pillows and Cushion Covers | Beginner | 30 minutes to 2 hours per cover |
| Quilted Throw Blankets and Quilts | Intermediate | 10 to 60+ hours |
| Roman Blinds | Intermediate | 4 to 10 hours per blind |
| Tablecloths, Table Runners and Napkins | Beginner | 1 to 4 hours per tablecloth; 20 to 45 minutes per napkin |
| Fabric Storage Bins and Baskets | Beginner to intermediate | 1 to 3 hours per bin |
| Sewing Studio Essentials: Ironing Board Covers and Pressing Mats | Beginner | 1 to 3 hours per cover or mat |
Choosing Your Next Sewing Project and Setting Up the Space
Choose projects in an order that builds one skill at a time. A throw pillow or pressing mat gives you a manageable way to practise cutting, straight seams and pressing. Once those steps feel consistent, try lined curtains or a Roman blind, where accurate measuring and handling larger fabric panels matter more.
Quilts and slipcovers call for more control. Quilting depends on steady handling of layered fabric and consistent seams. Slipcovers demand careful fitting: watch how fabric falls over the furniture, then adjust the pattern wherever it pulls or sags. You can test a challenging fit early by sewing a muslin version before cutting into your final fabric.
Set up the work area around the current project. A dress form lets you pin and assess drape, balance and placement. It can also help you check the proportions of a storage project, but you still need to see how the finished item fits in its intended spot. Hang garments, curtain panels and works in progress on a garment rail to keep them visible and clear of the floor while you use the table for cutting or pressing.
Keep scraps, lining and batting sorted in dump bins so you can find each material without digging through a mixed pile. Put frequently used tools within reach, and leave a clear surface where fabric can lie flat. Display Guru supplies tailor's dummies, body forms, garment rails and dump bins for sewing, fitting and organising a home studio. Explore the options at Display Guru to choose tools that suit your next project.
Pick the next project for the technique you want to practise. Napkins or curtains give you a chance to work on accurate hems; a muslin slipcover lets you focus on fit, with a dress form available for assessing shape. A well-arranged sewing space cannot remove every challenge, but it makes each step easier to check and helps you resume work without rebuilding your setup.