


Your Guide to Installing a Hanging Rail Wall Mounted
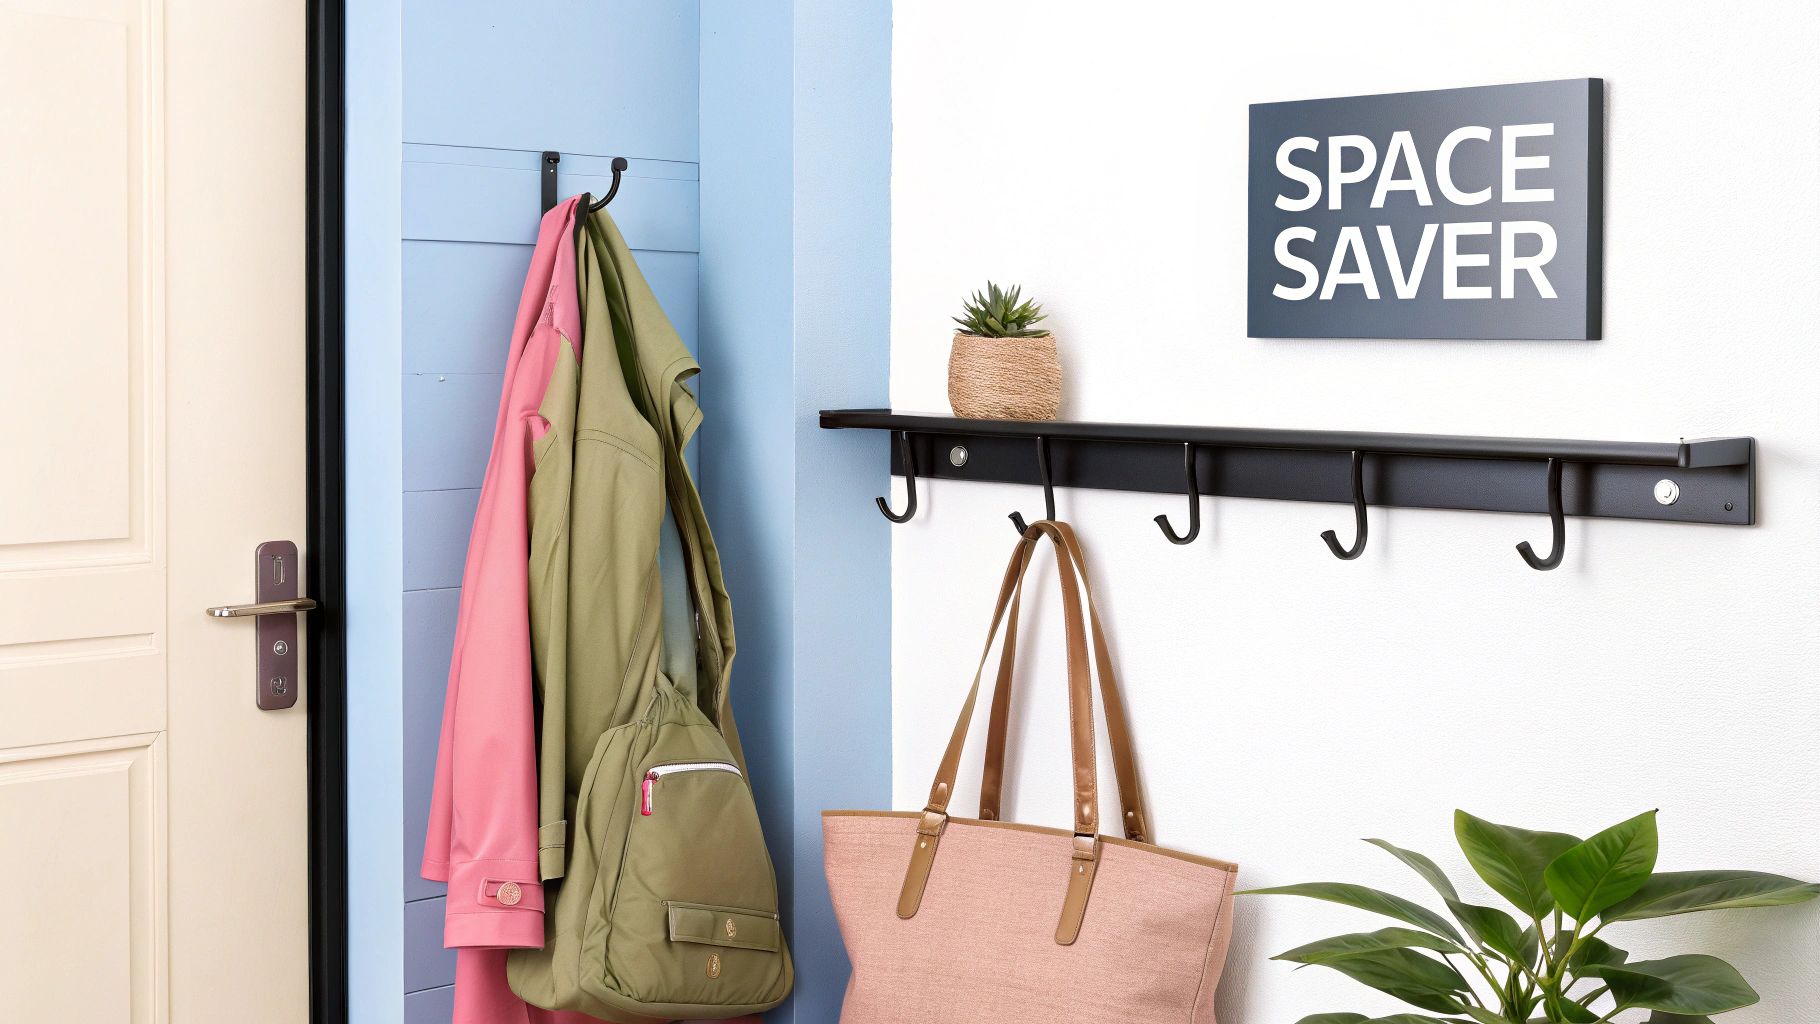
A wall-mounted hanging rail is more than just a place to hang your clothes. It’s a clever, space-saving alternative to a bulky wardrobe, perfect for creating that minimalist, open-closet feel. Whether you’re trying to carve out some extra hanging space in a utility room or setting up a sleek stock display in a shop, it’s an incredibly versatile solution.
Why Your Choice of Rail Matters More Than You Think
Before you even think about picking up a drill, the most crucial decision is choosing the right rail for the job. This isn't just about looks; it’s about matching the material, length, and strength to what you actually plan to hang on it. Get this wrong, and you could end up with a sagging rail or, even worse, a chunk of plaster on the floor.
It's no surprise these rails are becoming so popular, especially in modern homes where every square foot counts. In fact, back in 2020, over 25% of UK households were already using some form of rail-based storage, and that figure has only been climbing. You can read more about what’s driving this trend at https://www.displayguru.co.uk/blogs/news/wall-mounted-clothes-rail.
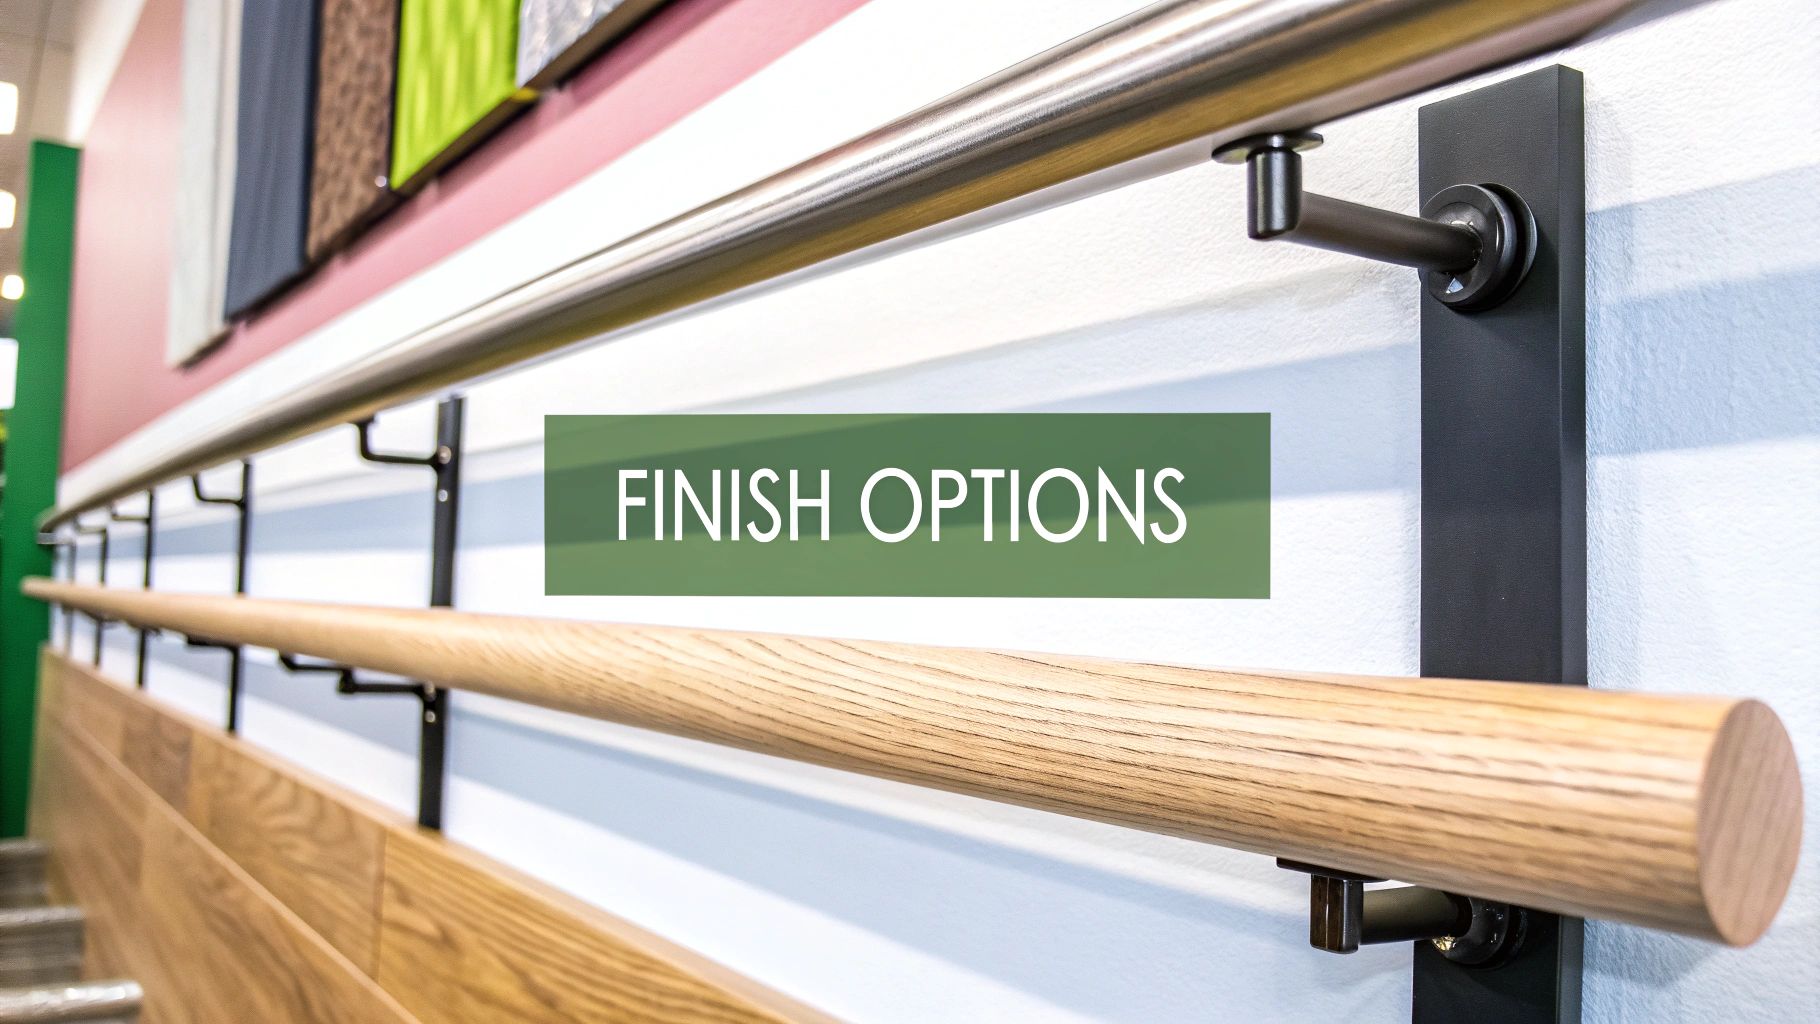
Matching Material to Purpose
The material of your rail does two things: it sets the style and determines how much weight it can handle. So, take a moment to think about what you’ll be storing. A few summer dresses have very different needs from a collection of heavy winter coats.
Here’s a quick rundown of what I’ve seen work best in different scenarios.
Comparing Wall Mounted Rail Materials
Choosing the right material is a balancing act between aesthetics, durability, and the demands of your wardrobe. This table breaks down the most common options to help you find the perfect fit.
| Material | Best For | Pros | Cons |
|---|---|---|---|
| Industrial Steel | Heavy-duty use: winter coats, retail stock, lots of denim. | Extremely strong and durable, has a raw, urban look. | Can be heavy, might rust in damp areas if untreated. |
| Chrome / Powder-Coated | Modern bedrooms, walk-in closets, and sleek retail displays. | Scratch-resistant, clean finish, versatile style. | Cheaper versions can chip or peel over time. |
| Brass / Copper | Boutique displays, chic bedrooms, adding a decorative feature. | Adds warmth and elegance, develops a unique patina. | Softer metal, lower weight capacity, can tarnish. |
Ultimately, the best material is one that not only looks the part but can also stand up to the daily reality of your storage needs without compromise.
Assessing Load Capacity and Size
It’s easy to underestimate the combined weight of your clothes. Be honest with yourself—a rail packed with thick wool coats needs a much higher load capacity than one holding a few shirts. Always, always check the manufacturer’s specified weight limit.
And remember, the rail itself is only half the battle. You’ll need the right suitable fixings and ironmongery to make sure it’s anchored securely to your specific wall type.
My Two Cents: If you're ever unsure, go for a rail with a higher weight capacity than you think you need. Your clothes collection will inevitably grow, and having that extra strength built-in offers complete peace of mind.
Getting Your Wall Ready for a Rock-Solid Installation
Before you can even think about drilling, the wall itself needs a thorough check-up. This isn't just about making things look nice; it's about making sure your rail stays put. After all, even the toughest steel rail is only as strong as the wall it's fixed to. Spending a few minutes on preparation now can save you a world of trouble later.
You need to look for any signs of trouble. Things like hairline fractures or damp patches aren't just cosmetic issues. For example, understanding what causes drywall cracks is crucial, as a weak wall simply can't provide a secure anchor for a heavy rail. A quick lick of paint might hide the problem, but it won’t stop a fully loaded rail from pulling a chunk of plaster off the wall.
First, What Kind of Wall Are You Working With?
The type of wall you have determines everything that comes next – from the drill bit you use to the kind of fixings you'll need. In most UK homes, you’re dealing with one of two main types.
- Plasterboard (or Drywall): Common in newer homes and internal walls, this is essentially a plaster core between two sheets of paper. Give it a tap; if it sounds hollow, it's plasterboard.
- Solid Masonry: This is your classic brick or blockwork, usually found in older houses or on external walls. A knock on this will feel solid and sound with a dull thud.
If you’re working with plasterboard, you absolutely have to find the wooden studs running behind it. These are the timber beams that make up the wall's frame and provide the only real strength. The easiest way to do this is with a stud finder, which will help you mark the centre of each beam.
A Word of Warning: Never, ever mount a heavy-duty hanging rail directly to plasterboard. It simply isn't designed for that kind of load and will almost certainly fail, pulling your rail and a chunk of the wall down with it.
Choosing the Right Fixings is Critical
Once you’ve identified your wall type, picking the right hardware becomes much simpler. The golden rule is to always fix into something solid. This means using heavy-duty screws that go directly into the wooden studs, or proper masonry plugs and screws for a brick or block wall.
Never be tempted to rely on plasterboard fixings alone for something that will carry a significant weight. It’s a recipe for disaster.
For more ideas on how to use rails and other fixtures in your space, have a look at our guide on https://www.displayguru.co.uk/blogs/news/clothing-display-racks.
Installing Your Wall-Mounted Rail Like a Pro
You’ve prepped the wall and picked the perfect rail—now for the hands-on part. A successful installation really boils down to two things: precision and patience. Rushing this stage is the fastest way to end up with a wonky rail, so let's grab the tools and do it right the first time.
The absolute cornerstone of a secure hanging rail wall-mounted setup is getting your markings spot on. Use a spirit level and a pencil to mark the exact spots for your brackets. You’ve heard it before, but it bears repeating: measure twice, drill once. It’s a lot easier to rub out a pencil mark than it is to patch up a hole in your wall.
Drilling and Attaching the Brackets
Once you're completely happy with your markings, it's time to drill the pilot holes. Make sure the drill bit you choose matches the size of your wall plugs. If it's too small, the plug won't go in, and if it's too large, it won't grip properly, which could be disastrous later on. For brick or block walls, a hammer drill setting will make your life much easier.
After drilling, gently tap the wall plugs into the holes until they sit flush with the wall’s surface. Now you can fix the brackets in place. Screw them in firmly, but avoid overtightening them just yet. Leaving a tiny bit of wiggle room at this stage will help when you make final adjustments with the rail in place.
This image gives a great overview of the essential steps for a perfect installation.
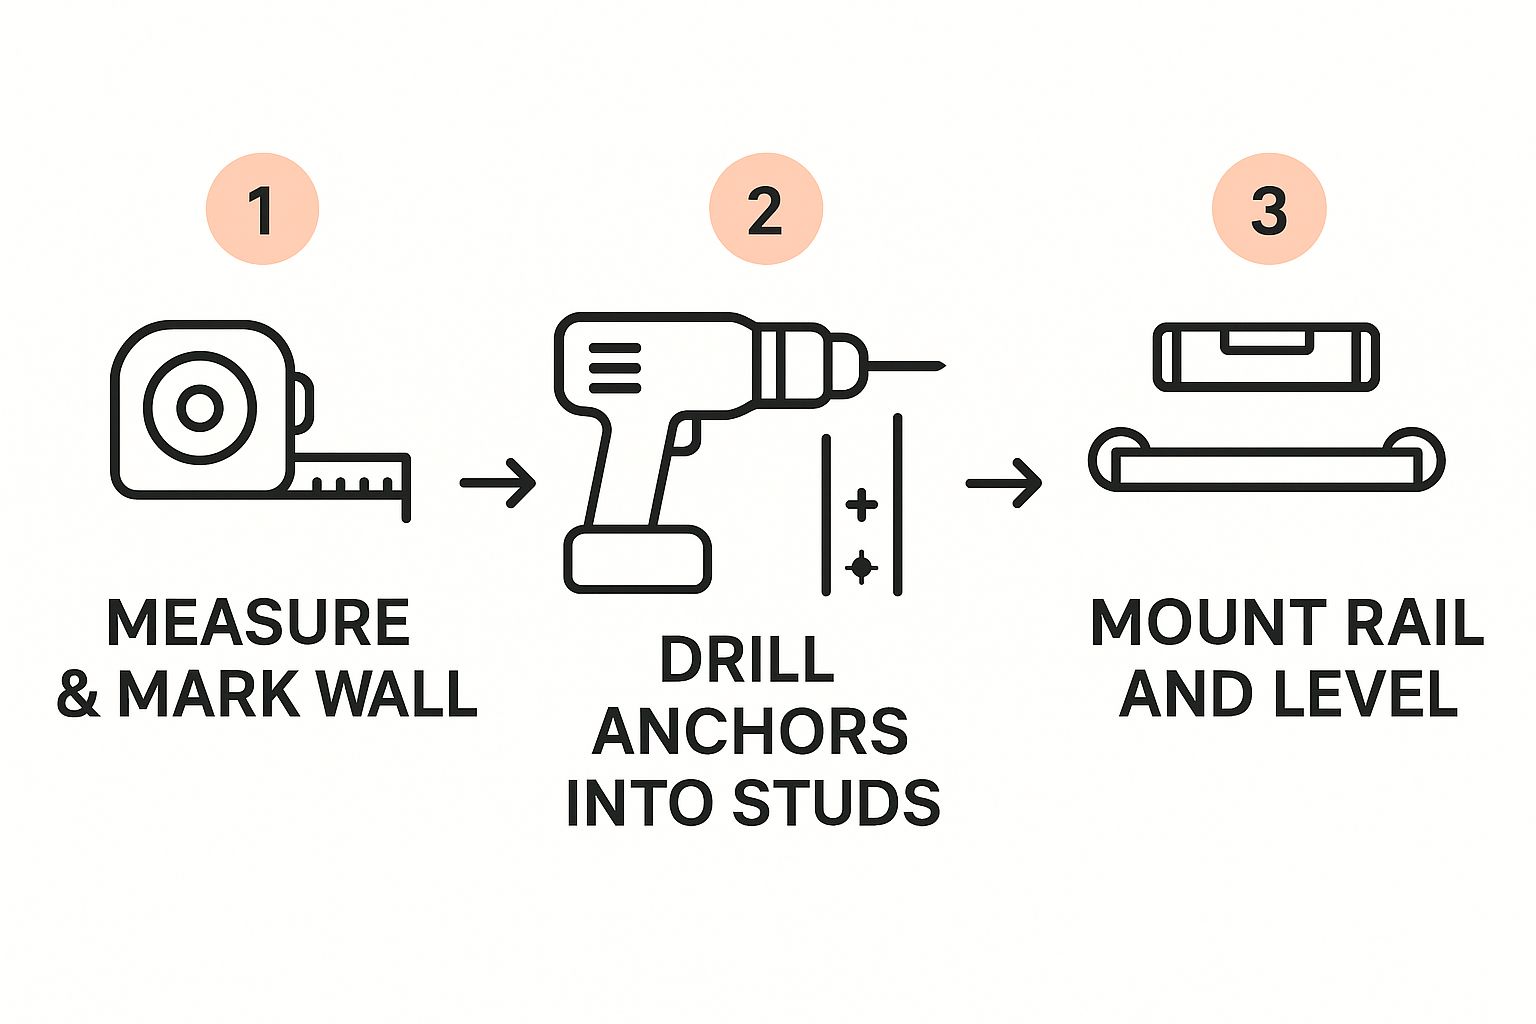
As you can see, a successful result completely depends on those foundational steps: careful measuring and properly securing the fixings before the final assembly.
Final Assembly and Levelling
With the brackets loosely attached, you can now rest the rail on them. Pop your spirit level directly on top of the rail itself—this is your last chance to make sure everything is perfectly horizontal.
When you're satisfied it's perfectly level, go ahead and tighten all the screws. It’s best to alternate between them, tightening each one a little at a time to distribute the pressure evenly. Once everything is tight, give the rail a firm (but not aggressive!) wobble to check for any movement. It should feel completely solid, almost like an extension of the wall.
Pro Tip: Many rails come with tiny grub screws that lock the rail into the brackets. Don't forget these! They're a crucial safety feature that stops the rail from shifting or rotating, especially when it's holding a lot of weight.
A properly installed rail doesn’t just give you sturdy storage; it looks professional and enhances the entire feel of the room. This same principle of solid, well-placed fixtures is just as important in commercial settings. You can find more ideas for retail spaces in our guide on clothing display stands.
Bringing Your New Storage Space to Life
Now that your hanging rail is wall mounted and solid as a rock, the fun part begins. It’s time to transform that simple fixture into a genuinely stylish and functional part of your room. An open rail is a fantastic canvas for your favourite items, but it takes a bit of planning to keep it looking curated rather than cluttered.
Let's start with the hangers. It’s a small detail, but getting it right makes a huge difference to the look and capacity of your rail. Slim, non-slip velvet hangers are a game-changer for maximising space, letting you hang more clothes without finding them in a heap on the floor. For bulkier items like winter coats or tailored jackets, you’ll want sturdy wooden hangers to provide proper support and preserve their shape.
Building a Complete Storage Solution
A single rail is great, but you can create a far more effective storage system by layering it with other elements. Always think vertically—it’s the best way to squeeze every bit of potential out of your wall space. A simple shelf mounted just above the rail is the perfect home for folded knitwear, hats, or even some stylish storage boxes.
Don't forget the space underneath the rail, either. It’s prime real estate for shoes and accessories.
- Low Baskets: These are ideal for neatly tucking away scarves, belts, or anything you don’t need every day.
- Shoe Racks: A slimline shoe rack will keep your footwear organised and easy to find.
- Storage Benches: Why not add a bench? It gives you a place to sit and often comes with handy hidden storage.
By combining these elements, you can turn a basic rail into a proper open-wardrobe system. If you're tackling a hobby space, these same principles work wonders. We've got more tips on this in our guide to https://www.displayguru.co.uk/blogs/news/sewing-room-organization.
A well-styled hanging rail does more than just hold your clothes; it becomes a curated display that showcases your personal style and adds real character to your space. By coordinating colours and textures, you can elevate a practical item into a thoughtful design feature.
Finally, think about how the rail fits into the bigger picture of your room's decor. If it's for a home workspace, for instance, it can be a surprisingly practical addition. You can find some fantastic inspiration for complementing your home office decor with other wall features to create a cohesive look.
Common Installation Mistakes and How to Avoid Them

Even the most straightforward DIY project can hit a snag. I've seen it countless times – a few common slip-ups can turn a simple hanging rail wall mounted installation into a real headache, compromising both its safety and lifespan. Let’s walk through how to get it right the first time.
The single biggest mistake? Using the wrong fixings for your wall. It's an easy error to make, but a costly one. Driving standard screws into plasterboard without hitting a stud, or using flimsy plugs in solid brick, is just asking for the rail to pull away from the wall once it's loaded with clothes.
Before you drill a single hole, you must identify your wall type and get the right hardware for the job.
Another classic blunder is sloppy measuring. A rail that isn't perfectly level doesn't just look off; it's also impractical. All your hangers will inevitably slide to one end, putting uneven stress on the fixings. A spirit level isn't optional here – it's your most important tool.
Don't Forget the Weight Limits
It's tempting to see a sturdy steel pipe rail and assume you can hang your entire wardrobe on it. While many of these rails are incredibly tough and can hold up to 60kg, every rail has its limit. Overloading is a surprisingly common problem.
You can learn more about these heavy-duty alternatives to traditional wardrobes over at The Metal Store.
A Key Takeaway: Remember that the total load isn't just the clothes. It's the clothes, the hangers, and the weight of the rail itself. It’s always smart to leave a bit of a safety margin rather than cramming it full.
Thinking about these potential pitfalls beforehand is what separates a successful project from a frustrating one. And if you're planning a bigger storage overhaul, like a craft or hobby room, we've got some fantastic sewing room organisation ideas that you might find helpful.
Still Have a Few Questions?
Even the most straightforward DIY project can leave you with a couple of lingering questions. It’s completely normal. Let’s walk through some of the common things people ask before they start fitting a wall-mounted hanging rail.
What’s the Best Height to Hang My Rail?
I usually find the sweet spot is somewhere between 150cm and 165cm from the floor. This works perfectly for most standard clothes like shirts, trousers, and jackets, keeping them well clear of the ground.
Of course, if you’re planning to hang longer items like maxi dresses or winter coats, you’ll want to aim a bit higher—closer to 180cm should do the trick.
Here's a pro tip: don't just measure and drill. Grab one of your longest garments and hold it up against the wall where you plan to install the rail. This simple visual check is the best way to ensure you've got enough clearance.
Just How Much Weight Can These Rails Actually Take?
This is a great question, and the honest answer is: it depends. The two biggest factors are the rail itself and, crucially, how well it's anchored to the wall.
A heavy-duty rail made from industrial pipe or steel, when properly fixed into solid brickwork or wall studs, can often handle up to 60kg of weight. But you should always treat the manufacturer's stated capacity as the absolute maximum—it's never wise to push it to its limit.
What if I Don’t Have Wooden Studs, but Metal Ones?
Hitting a metal stud instead of a wooden one can throw a spanner in the works if you’re not prepared. Standard wood screws just won't bite into the metal frame.
For this situation, you'll need a different type of fixing. Look for self-drilling metal stud anchors or heavy-duty toggle bolts. These are specifically designed to punch through the thin metal and then expand or grip from behind, giving you a really solid anchor point for your brackets.
If you're looking for a selection of robust and stylish garment rails, the team at Display Guru has a fantastic collection. You can find the right fit for your project on their website at https://www.displayguru.co.uk.