


A Guide to Adjustable Tailor Dummies
Adjustable tailor dummies are one of the most useful tools in a sewer's arsenal, allowing you to create beautifully fitted garments for a whole host of body shapes and sizes. Unlike the old-school, fixed-size mannequins, these modern forms feature a series of dials and adjusters. This means you can change key measurements like the bust, waist, and hips to perfectly mirror a specific person's body. It's this adaptability that truly unlocks the potential to move beyond generic sewing patterns and achieve a bespoke-quality fit.
From Fixed Forms to Flawless Fits
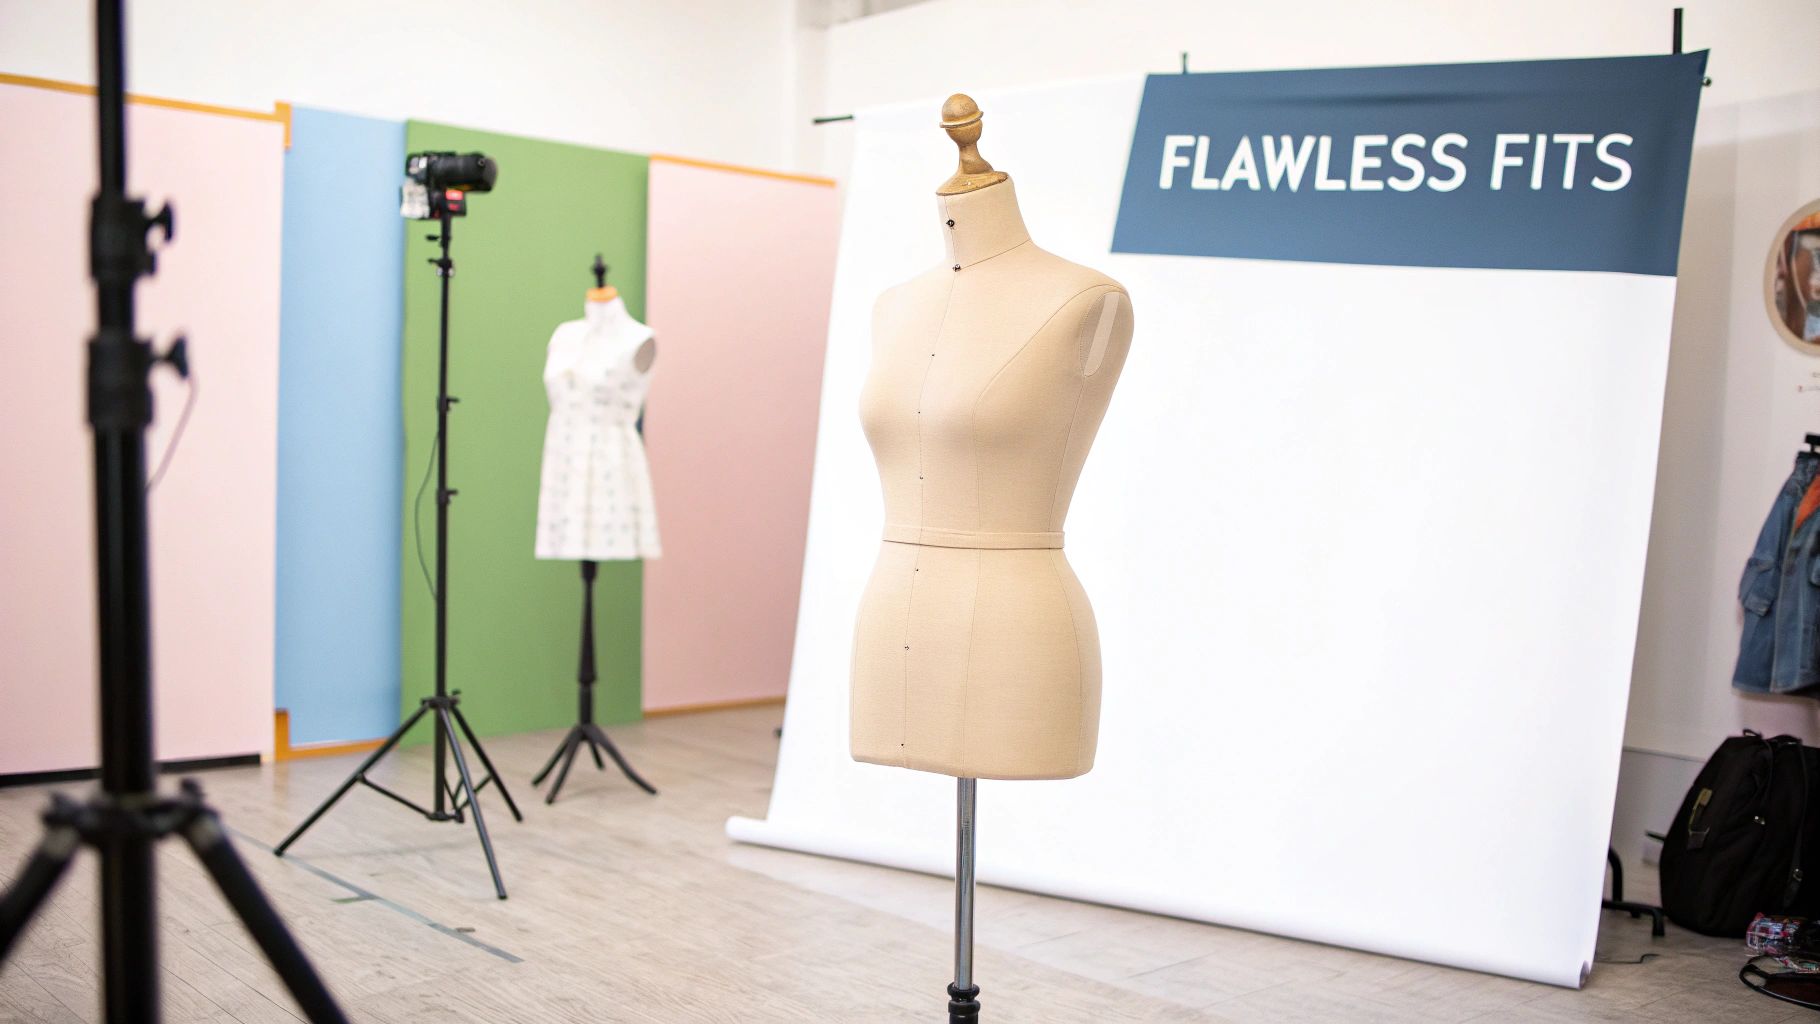
For years, dressmaking and fashion design relied on static, one-size-fits-all mannequins. While they were the industry standard, they came with a huge drawback: they only represented a single, often idealised, body type. This created a constant struggle, a frustrating gap between the garment you envisioned and how it actually looked on a real person.
Think of it like trying to paint a detailed portrait with just one thick brush. You could get the basic shape down, but all the subtle curves and unique details would be lost. Fixed-size dummies posed the same problem, forcing designers to make educated guesses about how a garment would hang on anyone who didn't match the mannequin's exact measurements.
The Rise of Adaptable Solutions
This problem became impossible to ignore as both the fashion industry and the home sewing community started to champion more inclusive and realistic sizing. The one-size-fits-all approach just wasn't cutting it anymore.
Historically, UK mannequins were typically based on a very slim silhouette, usually a UK size 8 or 10. However, by the early 2000s, it was clear that average body measurements had changed, making traditional mannequins far less representative. This sparked a huge demand for a more flexible solution, pushing manufacturers to develop adjustable dummies that could cater to a much broader range of sizes—from a UK size 6 right up to a 18 or larger. This evolution was a massive leap forward for garment making.
The new adjustable tailor dummies were the perfect answer. They offered a dynamic, practical tool that could be customised to reflect an individual's true shape.
The real power of an adjustable dummy lies in its ability to transform. It moves beyond being a static object and becomes a true stand-in for a person, allowing for precise fitting, draping, and alteration without the client or individual needing to be present for every step.
Embracing a New Standard in Fit
Making the switch from a fixed form to an adjustable dummy is about more than just convenience. It's a fundamental change that prioritises accuracy and personalisation. This modern approach gives everyone, from seasoned professionals to passionate hobbyists, the power to achieve a fit that was once incredibly difficult to get right. By learning core principles like understanding the concept of ease for flawless garment construction, you can take full advantage of what these dummies offer.
The benefits are immediate and impactful:
- Enhanced Precision: You can tailor garments to match specific body measurements, even accounting for asymmetries that fixed forms simply can't handle.
- Greater Efficiency: Test patterns and drape fabric on a realistic form, which drastically cuts down on the number of in-person fittings needed.
- Creative Freedom: Working with a reliable body double makes it so much easier to experiment with complex designs and intricate details without hesitation.
- Inclusivity in Design: Adjustable dummies make it possible to create stunning, well-fitting clothes for a much wider variety of body shapes and sizes.
This change really signifies a deeper appreciation for the human form in all its diversity. For anyone interested in taking customisation to the next level, exploring the world of bespoke tailoring offers even more insight. Ultimately, the move to adjustable dummies reflects a modern truth: we want clothes that don't just look good on a hanger, but feel like they were made just for us.
Getting to Grips with Your Adjustable Dummy
To really get the most out of your sewing, it helps to see your adjustable dummy not as one solid object, but as a clever system of interconnected parts. Each bit has a specific job, and when you understand how they all work together, you unlock the secret to a perfect fit. Think of it less like a static statue and more like a precision instrument, just waiting for you to calibrate it.
Let's pull back the curtain and look at the core elements that give these dummies their fantastic flexibility. By breaking down the dress form piece by piece, you'll feel much more confident tweaking and turning it into a true partner for your creative projects.
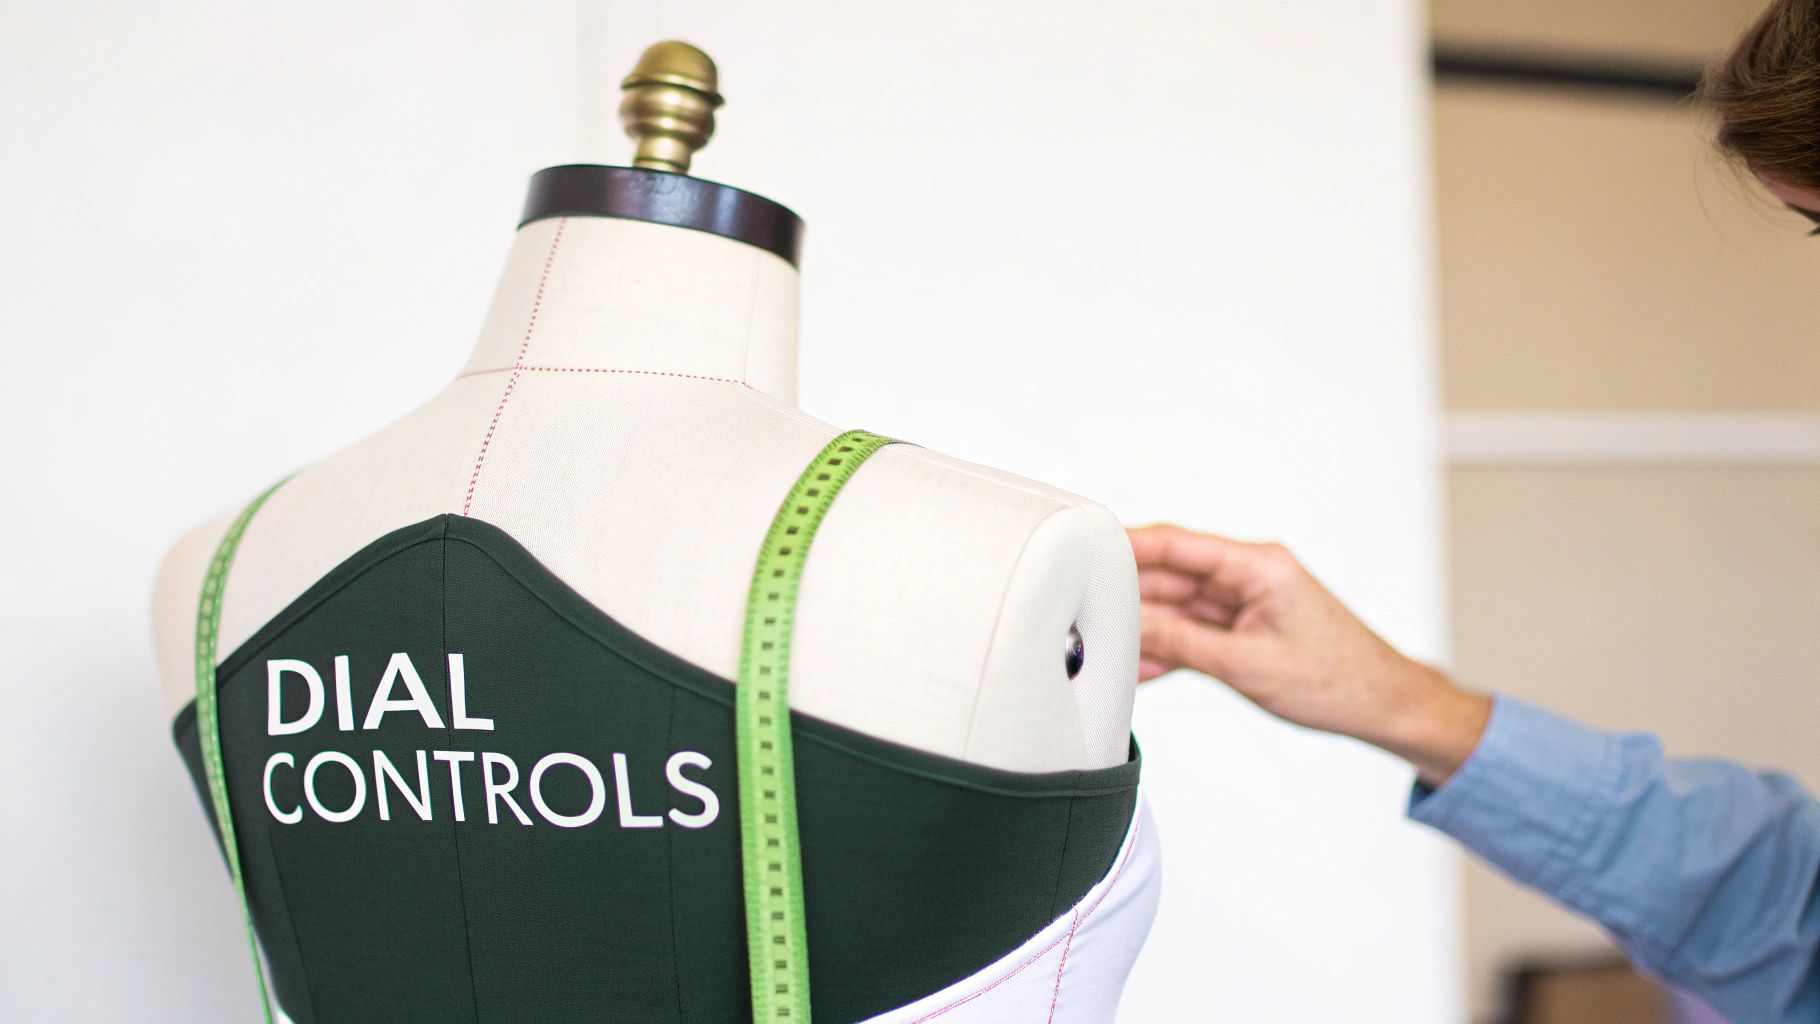
The Heart of the Matter: The Dials
The first things you'll notice on any adjustable dummy are the dials. These are your main controls for customising the torso's most important circumferences. Most models come with anywhere from eight to twelve of these adjusters, all placed strategically to shape the bust, waist, and hips.
Each dial usually works with a simple key and screw. As you turn the key, it expands or contracts a section of the dummy's internal frame, either pushing the padded outer panels apart or pulling them closer. This design is what allows you to make tiny, incremental changes – an absolute must for matching the dummy to real body measurements.
For instance, a standard 12-dial dummy will often have:
- Four dials for the bust, giving you independent control over the upper and lower chest area.
- Four dials for the waist, perfect for creating anything from a dramatic to a subtle waistline.
- Four dials for the hips, which are essential for getting skirts and trousers to hang just right.
This fine-tuned control is what makes an adjustable dummy so brilliant. It lets you replicate a huge range of body shapes that go far beyond any single standard UK size.
Fine-Tuning Your Vertical Proportions
Getting the circumferences right is only half the battle. Two other adjustments are critical for creating a realistic and accurate body form, and they’re often the secret ingredient that takes a fit from good to perfect.
First up is the back waist length adjuster. Usually a locking clip or a simple dial near the base of the torso, this lets you lengthen or shorten the distance from the bottom of the neck to the natural waist. This is a massively important measurement. A tall or petite person might share the same bust and waist size, but their back length could be completely different, which dramatically changes how a garment hangs.
Second is the neck adjustment. This is often a smaller dial or a simple push-button collar that lets you make subtle changes to the neck circumference. It might seem like a minor detail, but it’s vital for fitting collars on blouses, shirts, and jackets. Get the neck wrong, and the whole top of the garment can sit incorrectly.
The key is to understand how the horizontal adjustments (dials) and vertical ones (back length) work together. A garment's fit isn't just about width; it's about where those widths sit along the length of the body.
The Foundation: The Stand and Hem Marker
The stand is the unsung hero of your dress form. It provides the solid, stable base you need for draping, pinning, and making pattern adjustments. Most stands are height-adjustable, so you can work comfortably whether you’re sitting or standing. Look for a sturdy tripod or a weighted base to stop it from wobbling – there’s nothing more frustrating than a shaky dummy when you're trying to pin a straight line.
Many stands also come with an integrated hem marker. This is a simple but ingenious tool, typically a clamp with a long arm that holds a chalk puffer or pin guide. You just set it to the height you want, swing it around the dummy, and you can mark a perfectly level hemline on skirts and dresses. It makes a job that's almost impossible to do accurately on yourself an absolute breeze.
By getting to know each of these components, you go from just owning a tool to really understanding how to use it. When you know the purpose of every dial, lever, and marker, you have the power to create clothes that fit like they were made for you. For a deeper dive into how these components relate to standard sizing, our guide on mannequin measurements offers some excellent extra context.
How to Choose the Right Dress Form
Picking out the right adjustable tailor dummy is a big step, and it’s one worth getting right. Think of it as your silent partner in the sewing room—a stand-in for your own body or a client's. Making a smart choice here is the key to getting that professional-looking fit you're after. The first move? It starts with you, not the dummy.
Before you do anything else, you need to take some honest, accurate body measurements. Grab a flexible measuring tape and jot down your bust, waist, and hip circumferences. Don't forget your back waist length, which is the measurement from the prominent bone at the nape of your neck down to your natural waistline. These numbers are your non-negotiable starting point.
When you start looking at different models, make sure your measurements fall comfortably within the dummy's adjustment range. If your waist is 32 inches, a dummy that only goes up to 31 inches is no good, but one that starts at 33 inches won't work either. You want your measurements to land somewhere in the middle of its range, not pushed to the absolute limits. This ensures the dummy remains stable and accurate.
Decoding Key Features
Once you've narrowed down the size, it's time to dig into the features that separate a basic model from a more advanced one. Not all adjustable dummies are created equal, and knowing what to look for will help you invest wisely.
First, look at the torso construction. An 8-part body offers decent all-around adjustability, but a 12-part body gives you far more control points. This is brilliant for creating more nuanced shapes, especially if you're trying to replicate a figure that isn't perfectly symmetrical or doesn't fit standard proportions.
The surface material is another huge deal. A body covered in a foam-backed fabric is miles better than a plain plastic shell. Why? Because it’s pinnable. This means you can stick pins directly into the form to hold fabric or pattern pieces in place—an absolute game-changer for draping, altering patterns, and getting those tiny fitting details just right.
Stability Is Not Negotiable
The stand might look like an afterthought, but it’s the foundation of your entire setup. A wobbly, unstable dummy isn’t just frustrating; it can completely throw off your work. Keep an eye out for a sturdy base, like a solid metal tripod or a weighted four-legged stand.
Many entry-level models come with lighter plastic stands, which are often fine for occasional use. But if you’re planning to work with heavy fabrics like wool, denim, or bridal satin, you'll need a more robust stand to stop the whole thing from toppling over mid-pin.
A stable stand gives you the confidence to drape, pin, and fit garments without everything shifting around. It's what makes the difference between a productive day and a frustrating one, and it directly impacts the quality of your finished garment.
Finally, see if it comes with a hem marker. This little attachment can save you hours of grief by helping you mark a perfectly even hemline—a task that's notoriously tricky to do on yourself. For a deeper dive into all the things you should consider, our complete guide on how to buy a dress form has even more great advice.
Hobbyist Models Versus Professional Forms
The world of adjustable dummies generally splits into two camps: models designed for hobbyists and those built for the pros. Figuring out where you fit is the key to making the right choice.
Hobbyist models are a fantastic way to get started. They’re much more affordable and have all the basic adjustments you need for most home sewing projects. If you're learning the ropes, making clothes for yourself, or just doing the odd alteration, one of these will serve you well.
Professional models, on the other hand, are engineered for durability and precision. They’re typically made with higher-quality materials, feature more adjustment dials for finer control, and have much sturdier stands. These are the workhorses you’ll find in a busy tailor's shop, a design studio, or a fashion school, built to handle heavy, daily use.
To make it clearer, here's a look at how they stack up.
Adjustable Dummy Features: Hobbyist vs Professional
| Feature | Hobbyist Model (e.g., Singer, Dritz) | Professional Model (e.g., Aristocrat, Diana) | Why It Matters |
|---|---|---|---|
| Adjustment Points | Usually 8-12 dials for basic sizing. | Often 12+ dials with finer increments. | More points allow for a much more precise and nuanced body shape, which is essential for replicating unique figures accurately. |
| Torso Surface | Felt or thin nylon over plastic. | Thick, foam-backed pinnable fabric. | A fully pinnable surface is non-negotiable for professional draping and intensive pattern work. |
| Stand Construction | Lightweight plastic or thin wood tripod. | Heavy-duty metal or solid wood base. | A robust stand is crucial for stability, especially when you're working with heavy fabrics or making forceful adjustments. |
| Durability | Designed for occasional to moderate use. | Built to withstand daily, intensive use. | Professional forms use stronger internal mechanisms and materials that are made to last for many years of hard work. |
| Price Point | £100 - £200 | £250+ | The higher price reflects superior materials, better construction, and the longevity required for commercial use. |
Ultimately, choosing the right adjustable dress form comes down to balancing your current needs, your future sewing ambitions, and your budget. By starting with accurate measurements and taking a good look at these key features, you can pick a dummy that will be a reliable and invaluable partner on your sewing journey for years to come.
Mastering Your Dummy Setup and Use
Unboxing your new adjustable dummy is exciting, but that's just the start. The real magic happens when you transform it from a generic shape into a true body double, unlocking its power to make your sewing faster, easier, and far more accurate. Think of it as part science, part art—it takes precise measurement and a bit of clever padding to bring the silhouette to life.
Getting started is all about building a solid foundation. First, assemble the stand according to the instructions, making sure it’s stable and set at a comfortable working height. With the torso securely mounted, you can get down to the most important job: calibration. This is where you’ll start turning the dials to mirror your measurements, or those of your client.
Dialling in the Perfect Measurements
The heart of setting up your dummy is adjusting those dials, and it’s a job that calls for patience. Don't rush it. Work slowly and methodically to avoid putting any strain on the internal gears.
Follow these steps for the best, most even results:
- Start with Your Core Numbers: Grab your tape measure and begin with the key bust, waist, and hip measurements. Check the circumference on the dummy as you go.
- Adjust in Small Increments: Instead of wrenching one dial all the way, turn each one a little at a time. For the waist, for instance, give each of the four dials a few clicks, then re-measure, repeating until you hit your target. This keeps the expansion even.
- Check Vertical Measurements: Once the circumferences are set, adjust the back-waist length. This is a crucial step that many people miss, but it's the secret to getting bodices, dresses, and jackets to fit perfectly from shoulder to waist.
- Finalise the Neck: Lastly, tweak the neck dial. This is essential for ensuring collars and necklines sit just right, without any awkward gaping or tightness.
After dialling in the basic numbers, it’s time to go beyond the measurements and start mimicking the unique contours of a real body.
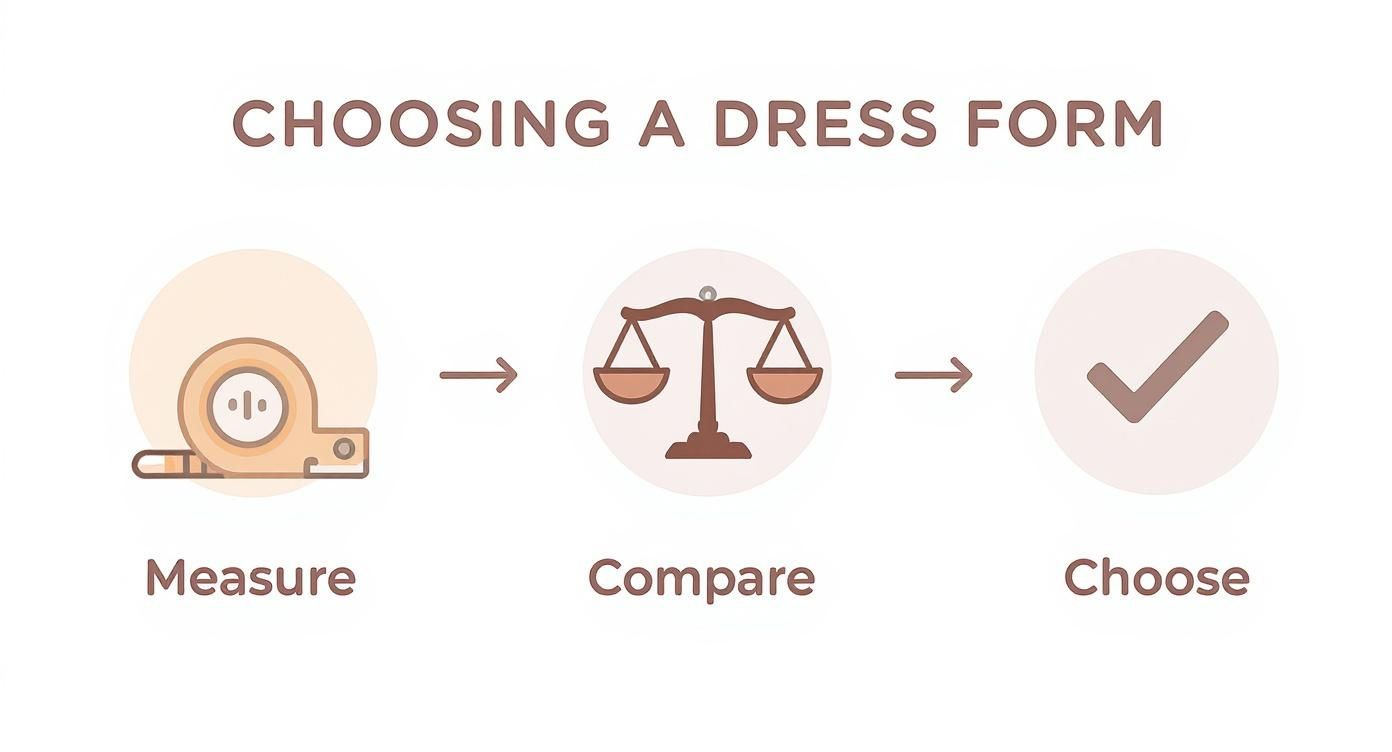
As this flowchart shows, everything starts with accurate self-measurement. That’s the non-negotiable first step that informs every other decision you’ll make.
The Art of Strategic Padding
Let’s be honest, no two bodies are alike, and even the most versatile dummy can’t replicate every individual curve. That’s where padding comes in. By strategically adding volume where it’s needed, you can turn your dummy into an incredibly realistic and useful sewing partner.
A bit of padding can make a world of difference in a few key areas:
- The Bust: You can pad to match a specific cup size, create a fuller bust, or even mimic the shape of a particular bra.
- The Stomach and Lower Abdomen: A small "tummy pad" can completely change how trousers and fitted skirts hang, giving you a much more accurate fit.
- The Hips and Thighs: Padding is brilliant for achieving a pear shape or adding volume to match fuller thighs, which is a game-changer for fitting trousers.
- The Shoulders and Back: Many of us have a rounded upper back or slightly forward-sloping shoulders. These common postural traits are easy to replicate with carefully placed padding.
Professional dressmakers will often use a combination of quilt batting, foam pads, and a snug-fitting cover to build up the dummy's shape. This transforms the generic form into a true body double, ensuring every garment is fitted to a highly accurate and personalised silhouette.
Putting Your Dummy into Practice
With your dummy perfectly adjusted and padded, it’s ready to get to work. One of its most powerful uses is in draping—the art of creating a pattern directly on the form. Pin your fabric to the dummy, moulding and shaping it until your design comes to life. It’s a wonderfully hands-on, creative process that flat pattern-making just can't match.
It's also an indispensable friend for checking fit as you sew. You can easily spot problems like pulling seams, uneven drape, or awkward tension—things that are almost impossible to see when a garment is laid flat or when you're trying to check it on yourself in a mirror.
And don't forget the hem marker! This simple little attachment is a lifesaver for getting perfectly level hems on skirts and dresses. Just set the marker to your desired length, rotate it around the dummy, and mark an accurate line with chalk or pins. This one feature alone will elevate the finish of your garments to a truly professional standard. These adjustable forms have made a real impact in the UK; a 2015 survey revealed that 82% of shoppers were more likely to buy clothing displayed on realistic dummies over old-fashioned, fixed-size mannequins. You can read more in this adjustable dressmaker dummy survey.
Advanced Fitting and Modern Innovations
Once you’ve got the hang of the basic dials and adjustments on your tailor's dummy, you're ready to unlock a whole new level of precision. Professionals know that the built-in settings are just the beginning; the real art is in creating a form that perfectly mirrors a client's unique shape. This is where advanced fitting techniques and a little modern tech come into play.
Think of your adjusted dummy as a good, solid sketch of the human form. Advanced padding is what adds the shading, depth, and subtle contours that bring that sketch to life. It’s all about capturing the nuances that make every body different—from a slightly stooped shoulder to asymmetrical hips or a fuller tummy.
Achieving Nuanced Body Shapes
A tape measure can only tell you so much. For truly bespoke work, you need to replicate the body's actual topography, and for that, tailors turn to specialised padding kits. These usually contain a variety of foam pads that you can pin or attach to the dummy's core to build up specific areas.
This lets you account for all sorts of common physical traits:
- A Rounded Back: A curved pad placed on the upper back can mimic this posture, preventing jackets and blouses from pulling awkwardly at the neckline.
- Asymmetrical Hips: It’s incredibly common for one hip to sit slightly higher or be fuller than the other. Adding a small pad to one side is essential for getting skirts and trousers to hang straight.
- Fuller Bust or Abdomen: Strategic padding in these areas ensures fabric drapes naturally over curves that the standard dummy shape might not fully capture.
By meticulously building up the form, you’re essentially creating a body double. Our guide to adjustable dressmakers dummies can help you choose a base model that’s perfect for these kinds of detailed modifications.
The goal of advanced padding isn't just to match measurements; it's to match the actual shape. You’re transforming the dummy from a generic tool into a personalised canvas, achieving a fit that’s otherwise impossible without having the client right there in front of you.
The Fusion of Technology and Tradition
The bespoke tailoring world isn't immune to innovation. The traditional craft of fitting is being elevated by digital tools that offer astounding precision, bridging the gap between the physical dummy and the digital design process.
One of the most exciting developments is 3D body scanning. This technology creates an incredibly detailed digital model of a person’s body in minutes. This data can then be used to 3D-print a custom dress form from scratch or, more commonly, to guide the padding of an adjustable dummy with pinpoint accuracy. It takes all the guesswork out of the equation.
This blend of old-school craft and new-school tech is becoming the gold standard in high-end tailoring. A 2020 report found that 45% of bespoke tailors in the UK now use adjustable dummies alongside digital measurement tools, a huge leap from just 15% back in 2010. The results speak for themselves, with a reported 30% reduction in fitting errors and a 25% increase in customer satisfaction. If you're curious about where this is all heading, this insightful article about plus-size sewing forms explores some of these innovations.
Your Top Questions About Tailor Dummies
Even with a comprehensive guide, it's natural to have a few nagging questions before you invest in a tailor dummy. You might be wondering about the finer points of sizing or what to do when you get it home. Getting these details ironed out beforehand builds confidence and helps you get the most out of your new sewing partner.
This section tackles some of the most common queries we hear from dressmakers. We'll give you clear, practical answers so you can spend less time scratching your head and more time creating beautifully fitted clothes.
What if My Measurements Fall Between Two Sizes?
This is probably the most common dilemma sewers face, and it's a great question. You’ve measured yourself carefully, only to find your bust fits a ‘Small’ but your hips are firmly in the ‘Medium’ camp. It can feel like you’re stuck, but thankfully, the solution is straightforward.
The golden rule is this: always choose the smaller size. You can easily add padding to build up specific areas on a dummy, but you can't make it smaller than its minimum setting. If you buy a form that’s too large at its smallest, you’ll never be able to get a true-to-life fit for your own body.
For instance, if your waist is 28 inches and you're weighing up a dummy that adjusts from 25-32 inches against one that goes from 29-36 inches, the first one is the clear winner. You can then use padding to build out the bust and hips to match your exact measurements, creating a much more accurate silhouette to work with.
What are the Best Materials for Padding a Dress Form?
Once you’ve got your dummy, padding is how you transform it from a generic form into your body double. While you can buy specialist padding kits, you probably have some brilliant and affordable materials lying around the house already.
Here are a few excellent options for padding out your dummy:
- Polyester Wadding or Batting: This is the go-to for most sewers. It's soft, easy to mould, and can be layered to build up gentle, natural curves. It’s perfect for adding general volume to the bust, tummy, or hips.
- Felt: If you need to create more defined shapes, like building up squared shoulders or adding definition for shoulder blades, felt is fantastic. You can cut it into precise shapes and layer it for very targeted adjustments.
- Shoulder Pads: Don't throw away old shoulder pads! They are perfectly shaped for adding definition to the shoulders and can even be repurposed to help create a fuller bust shape.
- A Fitted T-shirt or Dummy Cover: After pinning all your padding in place, pull a snug-fitting t-shirt or a purpose-made dummy cover over the top. This simple step smooths everything out, creating a uniform surface and holding all your padding securely in place.
The goal is to create a smooth, firm shape that truly mimics your body, not a lumpy or soft one. Take your time, add layers gradually, and keep checking the measurements until you have a perfect match.
Do I Really Need an Adjustable Dummy as a Beginner?
It’s a fair question, especially when you’re just starting out and trying to manage your budget. While you can absolutely learn to sew without one, an adjustable tailor dummy is one of the smartest investments a beginner can make. In fact, it can help you learn the ropes much faster and sidestep some common fitting frustrations.
For a beginner, a dummy brings a few key advantages to the table. It helps you see how a flat piece of fabric becomes a three-dimensional garment, making it much easier to understand how darts create shape or how different fabrics drape. It also makes tricky jobs like setting in sleeves or marking a perfectly even hem—things that are almost impossible to do on yourself—an absolute breeze.
Think of it as your patient, always-available fitting model. It takes away the guesswork that so often discourages new sewers, helping you achieve a much better fit, right from your very first project. So, while it might not be essential on day one, getting an adjustable tailor dummy early in your sewing journey will seriously speed up your learning curve and boost your confidence.
At Display Guru, we specialise in providing high-quality, reliable tools for creators at every skill level. From professional-grade adjustable dummies to sturdy display stands, our curated selection is designed to help you bring your vision to life with precision and style. Explore our full range of tailor dummies and find the perfect partner for your sewing room at https://www.displayguru.co.uk.